Kafka集群的搭建
Posted 日月的弯刀
tags:
篇首语:本文由小常识网(cha138.com)小编为大家整理,主要介绍了Kafka集群的搭建相关的知识,希望对你有一定的参考价值。
Kafka集群的搭建
node1 node2 node3
kafka须用版本(kafka-0.8.2.2),否则不兼容spark1.6
1.启动zookeeper集群node1 node2 node3
zkServer.sh start
zkServer.sh status
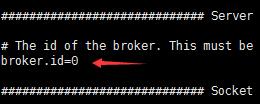
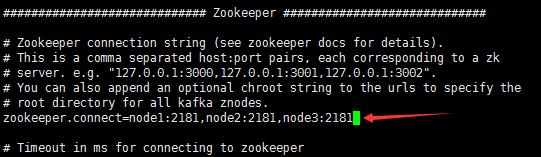
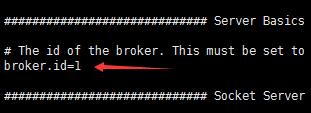
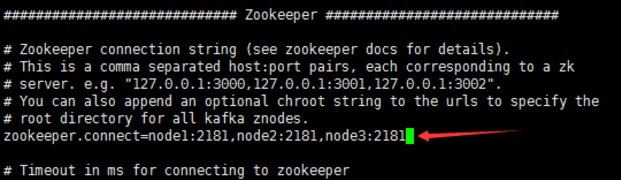
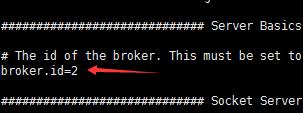
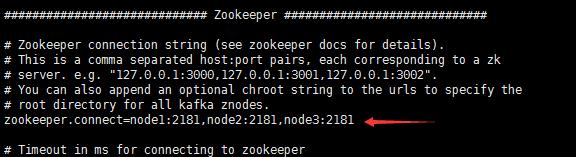
2.修改kafka中的配置文件server.properties(broker.id 和 zookeeper.connect)

broker.id =0 || broker.id=1port =9092log.dirs =/tmp/kafka-logs 并不是存放的kafka日志,而是实际的数据leader的均衡机制,默认为truezookeeper.connect = node1:2181,node2:2181,node3:2181
node1
node2
node3
3.启动kafka集群--测试kafka可用性
第一步:
因为kafka没有主从关系,所以集群中的每一台都需要启动Kafka


nohup /home/kafka_2.10-0.8.2.2/bin/kafka-server-start.sh /home/kafka_2.10-0.8.2.2/config/server.properties &
node1,node2,node3启动命令(启动时编写的脚本中需要指定server.properties)
chmod +x start-kafka.sh
./start-kafka.sh
第二步:
创建topic

/home/kafka_2.10-0.8.2.2/bin/kafka-topics.sh --create --zookeeper node1:2181,node2:2181,node3:2181--replication-factor 3--partitions 3--topic kfk
chmod +x create-topic.sh
./create-topic.sh
第三步:
node1查看刚刚创建的topic

/home/kafka_2.10-0.8.2.2/bin/kafka-topics.sh --list --zookeeper node1:2181,node2:2181,node3:2181
chmod +x list-topic.sh

同样在node2,node3中均可以看到在node1上创建的topic


第四步:
在node1中创建生产者,在node2中创建消费者,node1中生产,查看node2中是否能够消费
node1
vi producer-topic.sh

/home/kafka_2.10-0.8.2.2/bin/kafka-console-producer.sh --broker-list node1:9092,node2:9092,node3:9092--topic kfk
chmod +x producer-topic.sh
./producer-topic.sh

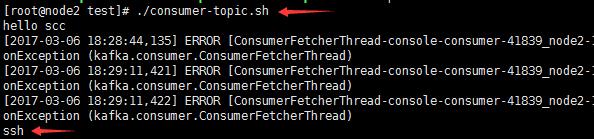
node2
vi consumer-topic.sh

/home/kafka_2.10-0.8.2.2/bin/kafka-console-consumer.sh --zookeeper node1:2181,node2:2181,node3:2181--from-beginning --topic kfk
chmod +x consumer-topic.sh
./consumer-topic.sh
附件列表
以上是关于Kafka集群的搭建的主要内容,如果未能解决你的问题,请参考以下文章