CentOS 6.5安装Zabbix 3.0.4开始
Posted
tags:
篇首语:本文由小常识网(cha138.com)小编为大家整理,主要介绍了CentOS 6.5安装Zabbix 3.0.4开始相关的知识,希望对你有一定的参考价值。
创建zabbix用户
[[email protected] ~]# groupadd zabbix
[[email protected] ~]# useradd -g zabbixzabbix
创建一个目录,在那里下载的源文件将被存储。
[[email protected] ~]# mkdir /home/zabbix/downloads
[[email protected] ~]# cd /home/zabbix/downloads
下载并安装zabbix3.0.4(放出两个下载地址)
[[email protected] downloads]# wget http://jaist.dl.sourceforge.net/project/zabbix/ZABBIX%20Latest%20Stable/3.0.4/zabbix-3.0.4.tar.gz
[[email protected] ~]# wget http://120.52.73.47/nchc.dl.sourceforge.net/project/zabbix/ZABBIX%20Latest%20Stable/3.0.4/zabbix-3.0.4.tar.gz
解压
[[email protected] downloads]# tar -zxvf zabbix-3.0.4.tar.gz
去Zabbix所在的目录数据库mysql
[[email protected] downloads]# cd /home/zabbix/downloads/zabbix-3.0.4/database/mysql/
导入数据库
[[email protected] mysql]# ls
data.sql images.sql schema.sql
[[email protected] mysql]# mysql -u zabbix -p zabbix < schema.sql
[[email protected] mysql]# mysql -u zabbix -p zabbix < images.sql
[[email protected] mysql]# mysql -u zabbix -p zabbix < data.sql
安装依赖包
[[email protected] mysql]# yum install gcc mysql-community-devel libxml2-develunixODBC-devel net-snmp-devel libcurl-devel libssh2-devel OpenIPMI-developenssl-devel openldap-devel
编译
[[email protected] mysql]# cd ../..
[[email protected] zabbix-3.0.4]# ./configure --enable-server --enable-agent --with-mysql --enable-ipv6 --with-net-snmp --with-libcurl --with-libxml2 --with-unixodbc --with-ssh2 --with-openipmi --with-openssl
安装
[[email protected] zabbix-3.0.4]# make install
修改zabbix-server配置
vim /usr/local/etc/zabbix_server.conf
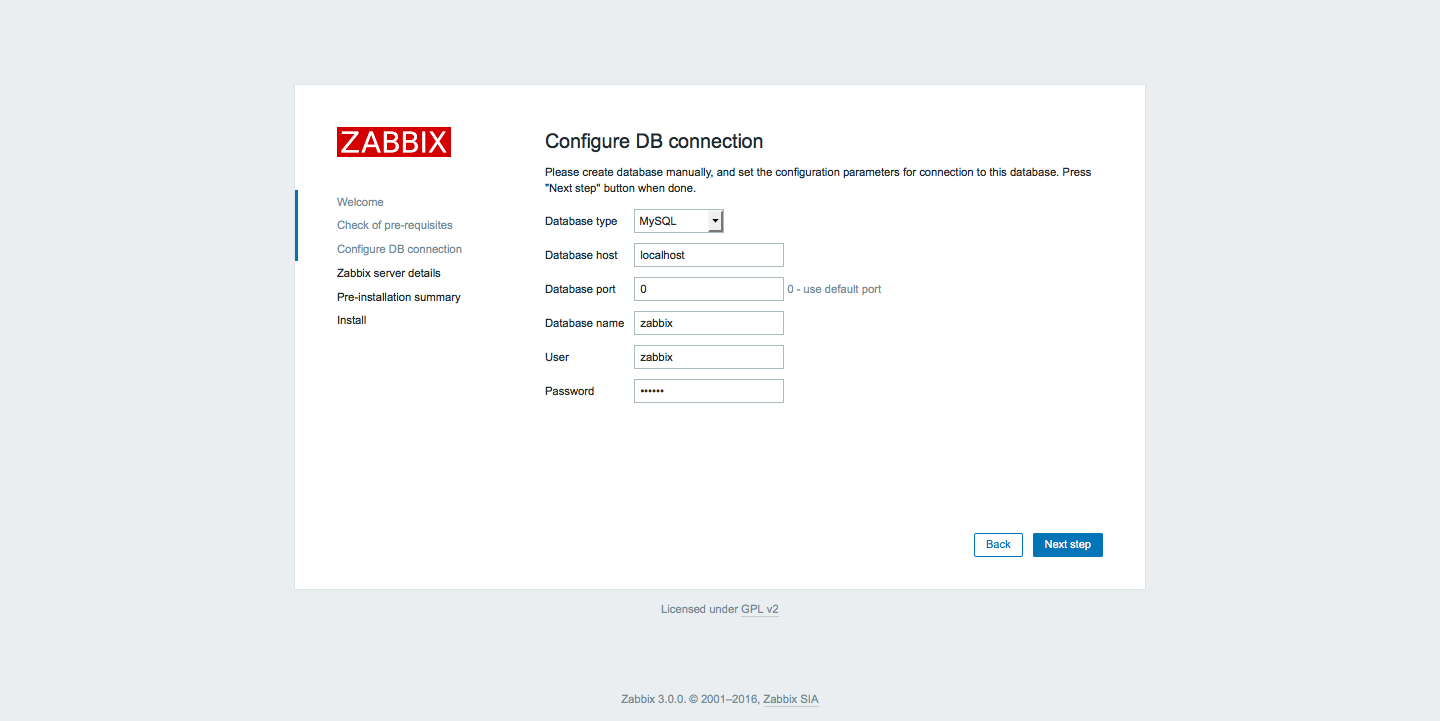
DBName=zabbixDBUser=zabbixDBPassword=gz
创建一个新目录Web前端文件
[[email protected] zabbix-3.0.4]# mkdir /var/www/html/zabbix
移动源到刚才创建的目录下
[[email protected] zabbix-3.0.4]# cd /home/zabbix/downloads/zabbix-3.0.4/frontends/php/
[[email protected] php]# cp -a . /var/www/html/zabbix/
默认情况下cenoos自带选项启用SELinux。虽然它有时在你的方式和难以管理,建议把它放在。
让我们创建一个规则允许我们的Web服务器访问前端文件。
[[email protected] php]# chcon -Rv --type=httpd_sys_content_t /var/www/html
虽然我们仍然在SELinux的,我们也允许Apache和Zabbix连接到网络。
[[email protected] php]# setsebool -P httpd_can_network_connect=1
setsebool:SELinuxis disabled.
[[email protected] php]# setsebool -P zabbix_can_network=1
setsebool:SELinuxis disabled.
设置Apache作为Web用户接口文件的所有者。
[[email protected] php]# chown -R apache:apache /var/www/html/zabbix
添加权限给Zabbix Web界面执行文件。
[[email protected] php]# chmod +x /var/www/html/zabbix/conf/
添加Zabbix服务器和Zabbix代理启动脚本。
[[email protected] php]# cp /home/zabbix/downloads/zabbix-3.0.4/misc/init.d/fedora/core/zabbix_server /etc/init.d/zabbix_server
[[email protected] php]# cp /home/zabbix/downloads/zabbix-3.0.4/misc/init.d/fedora/core/zabbix_agentd /etc/init.d/zabbix_agentd
添加Zabbix服务器和Zabbix代理服务。
[[email protected] php]# chkconfig --add /etc/init.d/zabbix_server
[[email protected] php]# chkconfig --add /etc/init.d/zabbix_agentd
服务加入到开机启动
[[email protected] php]# chkconfig httpd on
[[email protected] php]# chkconfig mysqld on
[[email protected] php]# chkconfig zabbix_server on
[[email protected] php]# chkconfig zabbix_agentd on
启动zabbix服务端和客户端
[[email protected] php]# service zabbix_server start
Starting zabbix_server:[ OK ]
[[email protected] php]# service zabbix_agentd start
Starting zabbix_agentd:[ OK ]
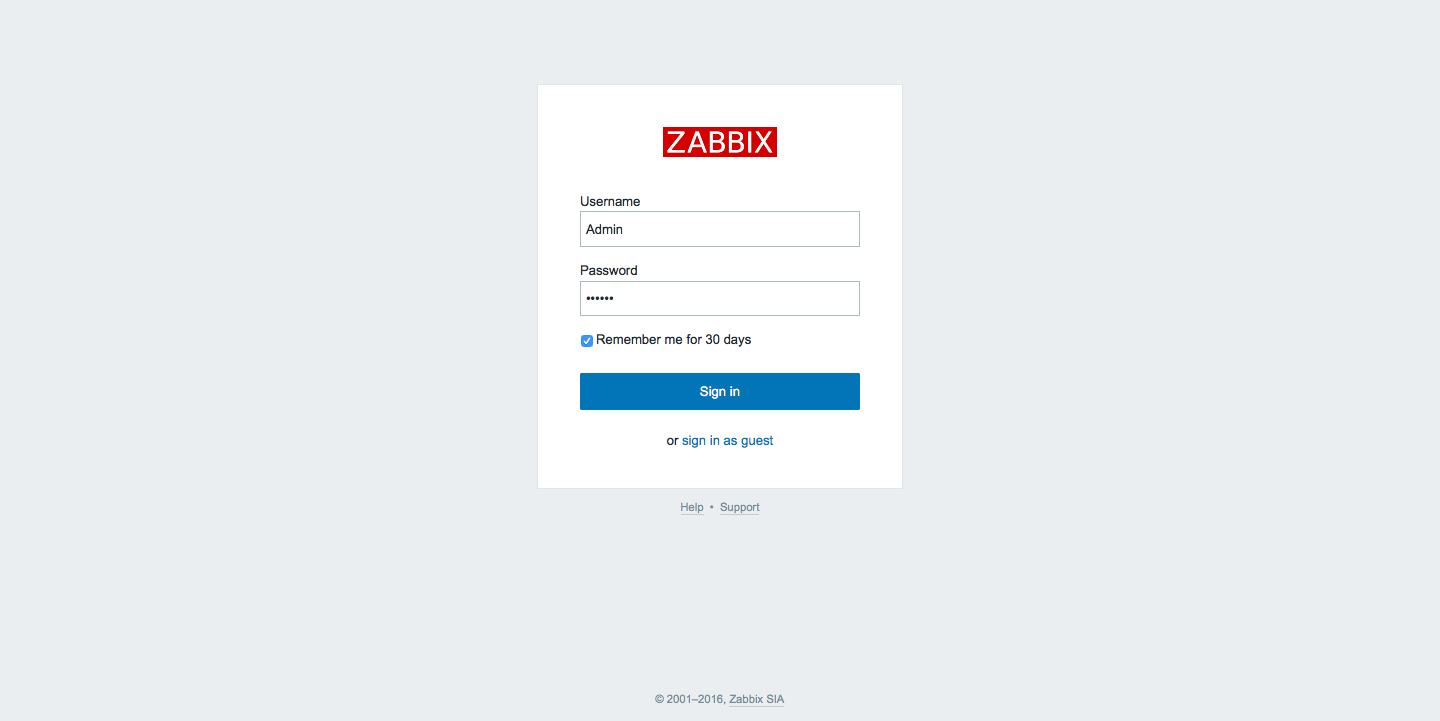
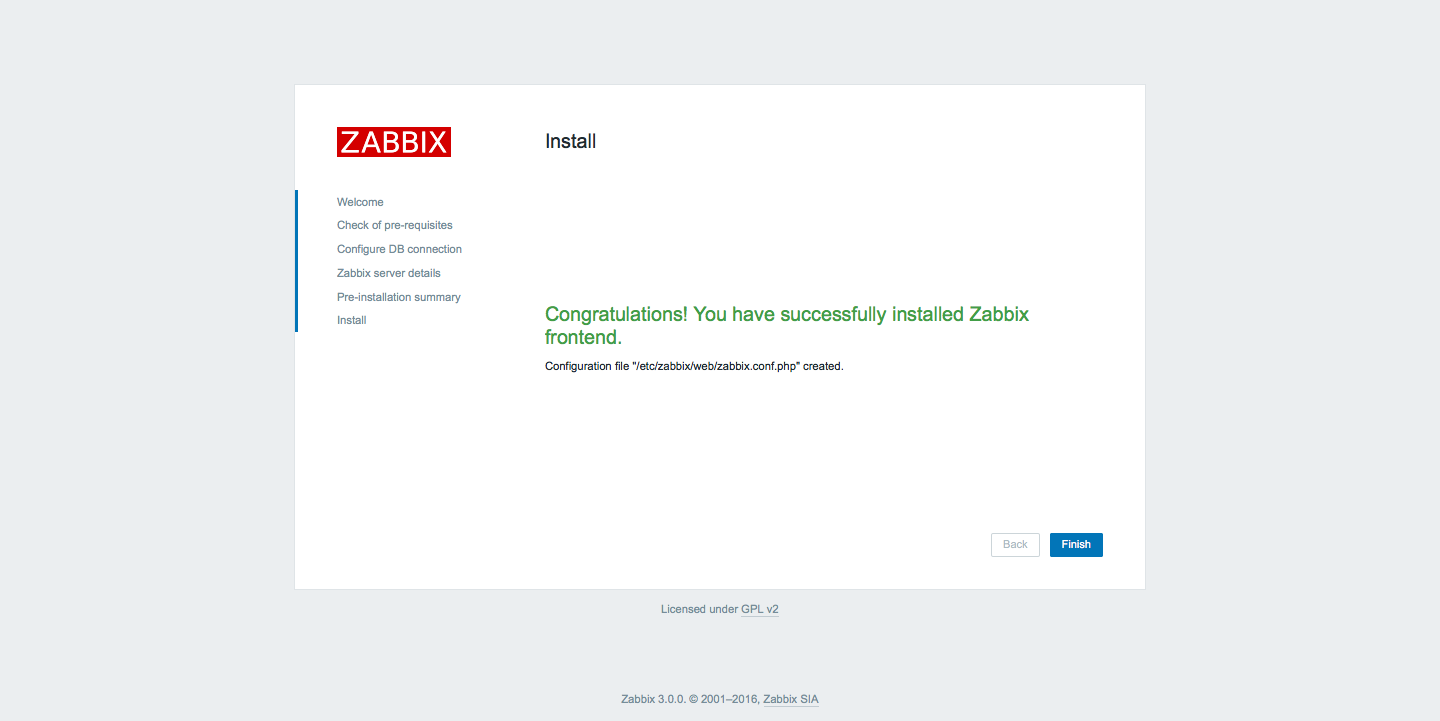
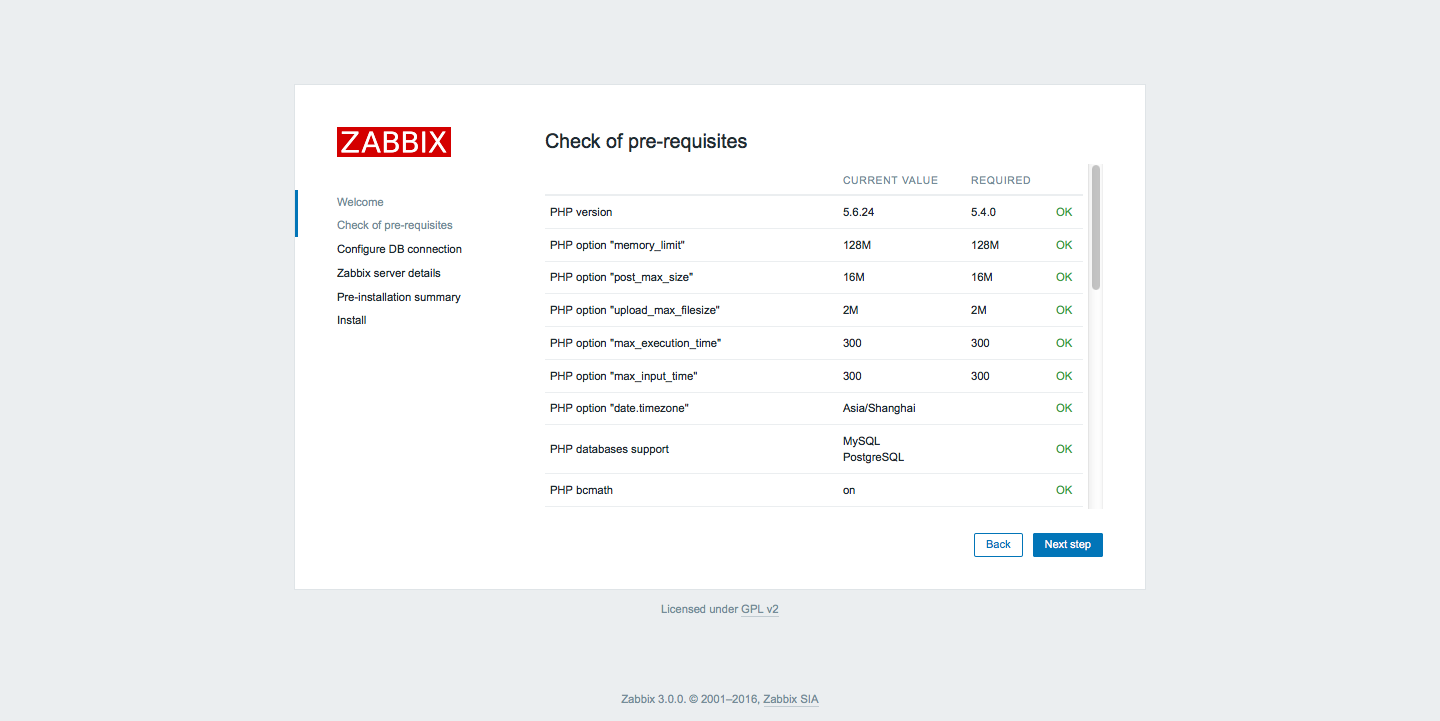
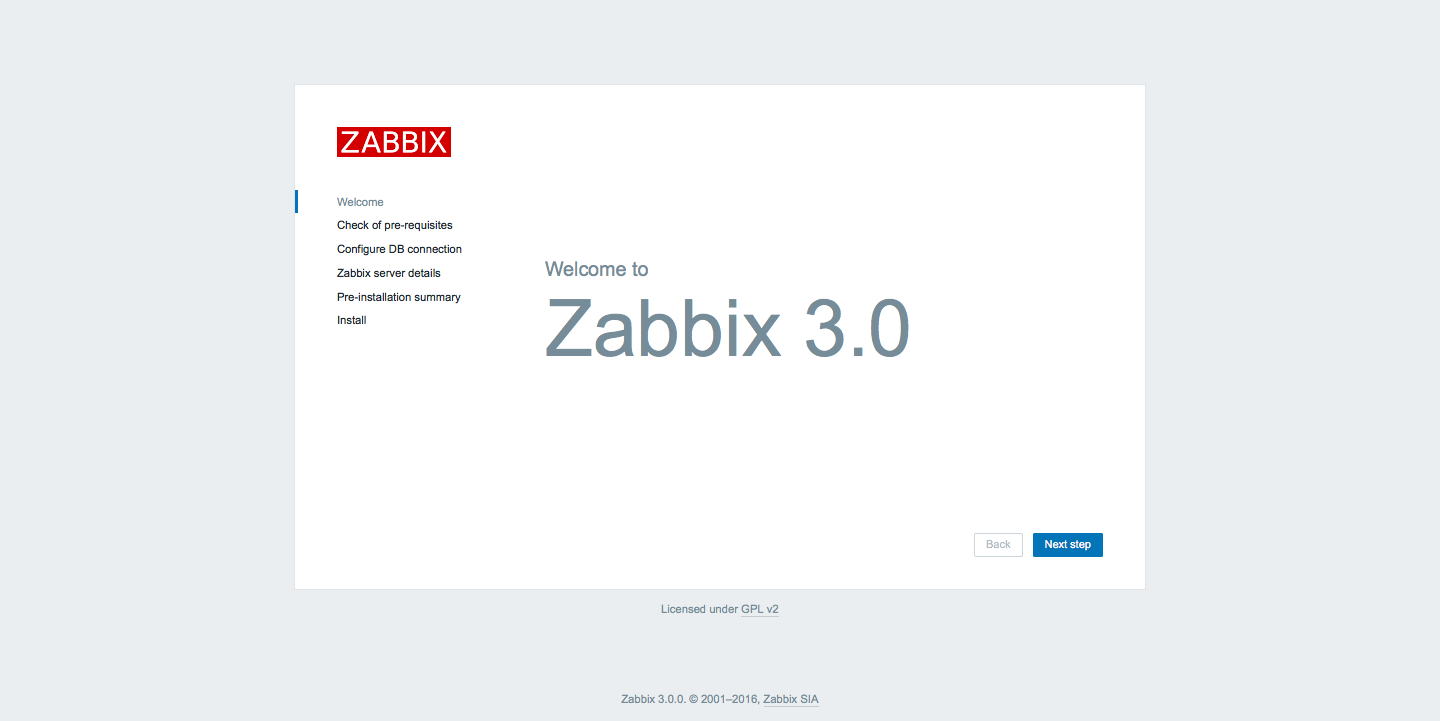
web页面安装
http://101.200.148.30/zabbix
Username: Admin
Password: zabbix
到此就安装完成了
本文出自 “何阳光” 博客,请务必保留此出处http://heyangguang.blog.51cto.com/10930823/1898843
以上是关于CentOS 6.5安装Zabbix 3.0.4开始的主要内容,如果未能解决你的问题,请参考以下文章
CentOS 6.5 zabbix 3.0.4 SendEmail报警
