lnmp 实现owncloud
Posted 奥特最帅
tags:
篇首语:本文由小常识网(cha138.com)小编为大家整理,主要介绍了lnmp 实现owncloud相关的知识,希望对你有一定的参考价值。
安装下载最新nginx
rpm -Uvh http://101.96.8.164/nginx.org/packages/centos/7/x86_64/RPMS/nginx-1.10.3-1.el7.ngx.x86_64.rpm
安装支持的mysql本例为5.7
tar vxf mysql-5.7.17-1.el7.x86_64.rpm-bundle.tar
安装
rpm -ivh mysql-community-server-5.7.17-1.el7.x86_64.rpm mysql-community-client-5.7.17-1.el7.x86_64.rpm mysql-community-common-5.7.17-1.el7.x86_64.rpm mysql-community-libs-5.7.17-1.el7.x86_64.rpm
查看密码
cat /var/log/mysqld.log |grep "temporary pass"
mysql -u root -p
ALTER USER \'root\'@\'localhost\' IDENTIFIED BY \'123.comEr\';
flush privileges;
安装php7 支持的版本
先装依赖包
cd php-7.0.15/
yum -y install libjpeg libjpeg-devel libpng libpng-devel freetype freetype-devel libxml2 libxml2-devel zlib zlib-devel curl curl-devel openssl openssl-devel
./configure --prefix=/usr/local/php7 --enable-fpm --with-fpm-user=nginx --with-fpm-group=nginx --with-mysqli --with-zlib --with-curl --with-gd --with-jpeg-dir --with-png-dir --with-freetype-dir --with-openssl --enable-mbstring --enable-xml --enable-session --enable-ftp --enable-pdo --enable-tokenizer --enable-zip
make
make install
cp php.ini-development /usr/local/php7/lib/php.ini
vi /usr/local/php7/lib/php.ini
mysql.default_socket=/var/lib/mysql/mysql.scok
date.timezone =Asia/Shanghai
查看
/usr/local/php7/bin/php -v
cp /usr/local/php7/etc/php-fpm.conf.default /usr/local/php7/etc/php-fpm.conf
vim /usr/local/php7/etc/php-fpm.conf
env[HOSTNAME]=$HOSTNAME
env[PATH]=/usr/local/bin:/usr/bin:/bin:/usr/local/php/bin
env[TMP]=/tmp
env[TMPDIR]=/tmp
env[TEMP]=/tmp
cp /usr/local/php7/etc/php-fpm.d/www.conf.default /usr/local/php7/etc/php-fpm.d/www.conf
vim /usr/local/php7/etc/php-fpm.d/www.conf
listen = 0.0.0.0:9000
cp sapi/fpm/php-fpm.service /usr/lib/systemd/system/
vim /usr/lib/systemd/system/php-fpm.service
[Unit]
Description=The PHP FastCGI Process Manager
After=syslog.target network.target
[Service]
Type=simple
PIDFile=/var/local/php7/var/run/php-fpm.pid
ExecStart=/usr/local/php7/sbin/php-fpm --nodaemonize --fpm-config /usr/local/php7/etc/php-fpm.conf
ExecReload=/bin/kill -USR2 $MAINPID
[Install]
WantedBy=multi-user.target
systemctl daemon-reload
systemctl enable php-fpm.service
systemctl start php-fpm.service
systemctl status php-fpm.service
mkdir -p /www/lnmp/web
vi /etc/nginx/conf.d/lnmp.conf
systemctl reload nginx.service
setsebool -P httpd_unified 1
vi /etc/nginx/conf.d/lnmp.conf
upstream php-handler {
server 0.0.0.0:9000;
#server unix:/var/run/php5-fpm.sock;
}
server {
listen 80;
server_name _;
# Path to the root of your installation
root /www/lnmp/web/owncloud;
# set max upload size
client_max_body_size 10G;
fastcgi_buffers 64 4K;
# Disable gzip to avoid the removal of the ETag header
gzip off;
# Uncomment if your server is build with the ngx_pagespeed module
# This module is currently not supported.
#pagespeed off;
rewrite ^/caldav(.*)$ /remote.php/caldav$1 redirect;
rewrite ^/carddav(.*)$ /remote.php/carddav$1 redirect;
rewrite ^/webdav(.*)$ /remote.php/webdav$1 redirect;
index index.php;
error_page 403 /core/templates/403.php;
error_page 404 /core/templates/404.php;
location = /robots.txt {
allow all;
log_not_found off;
access_log off;
}
location ~ ^/(?:\\.htaccess|data|config|db_structure\\.xml|README){
deny all;
}
location / {
# The following 2 rules are only needed with webfinger
rewrite ^/.well-known/host-meta /public.php?service=host-meta last;
rewrite ^/.well-known/host-meta.json /public.php?service=host-meta-json last;
rewrite ^/.well-known/carddav /remote.php/carddav/ redirect;
rewrite ^/.well-known/caldav /remote.php/caldav/ redirect;
rewrite ^(/core/doc/[^\\/]+/)$ $1/index.html;
try_files $uri $uri/ /index.php;
}
location ~ \\.php(?:$|/) {
fastcgi_split_path_info ^(.+\\.php)(/.+)$;
include fastcgi_params;
fastcgi_param SCRIPT_FILENAME $document_root$fastcgi_script_name;
fastcgi_param PATH_INFO $fastcgi_path_info;
fastcgi_pass php-handler;
}
# Optional: set long EXPIRES header on static assets
location ~* \\.(?:jpg|jpeg|gif|bmp|ico|png|css|js|swf)$ {
expires 30d;
# Optional: Don\'t log access to assets
access_log off;
}
}
unzip owncloud-9.1.4.zip
cp -Rf owncloud /www/lnmp/web/
chown nginx:nginx /www/lnmp/web/owncloud -Rf
chmod 777 owncloud/ -Rf
chcon -R -t httpd_sys_content_t /www/lnmp/web/owncloud
mysql -u root -p123.comEr
create database owncloud;
create user \'owncloud\'@\'LOCALHOST\' identified by \'123.comEr\';
grant all on owncloud.* to \'owncloud\'@\'LOCALHOST\';
flush privileges;
quit
cd /etc/nginx/conf.d
mv default.conf default.conf.c
systemctl restart nginx
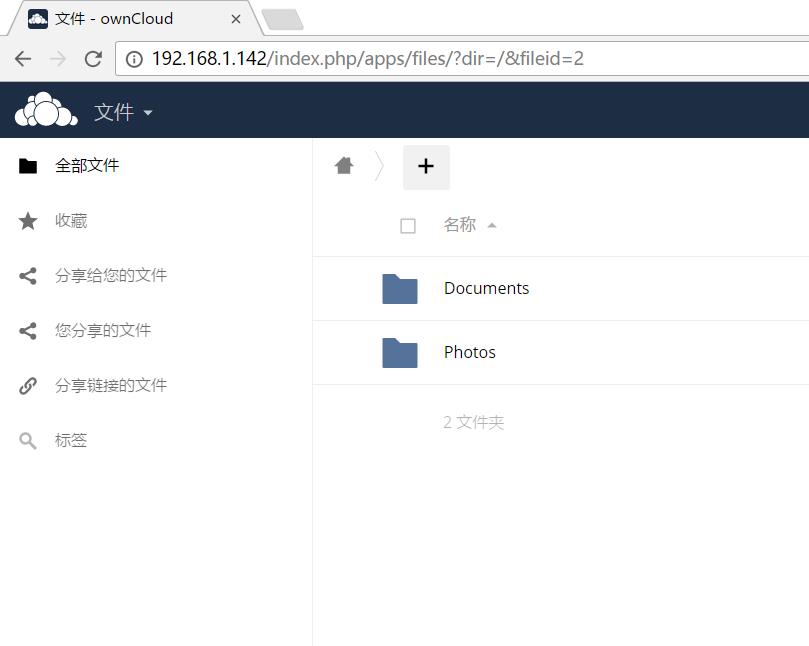
访问192.168.1.142
建立一个可以修改代码的用户aaa,可以用vsftp登录。。
249 yum searchvsftp
251 yum install vsftpd.x86_64
252 useradd -d /www/lnmp/web/owncloud/ -M aaa -s /sbin/nologin
253 passwd aaa
254 getsebool -a |grep ftp
255 setsebool ftpd_full_access on
256 systemctl restart vsftpd
258 chown aaa:nginx /www/lnmp/web/owncloud -Rf
259 chmod 770 /www/lnmp/web/owncloud/ -Rf
260 vi /etc/vsftpd/vsftpd.conf
261 egrep -v "#|^$" /etc/vsftpd/vsftpd.conf #实现牢笼机制
262 echo "chroot_local_user=YES" >> /etc/vsftpd/vsftpd.conf
265 echo "allow_writeable_chroot=YES" >> /etc/vsftpd/vsftpd.conf
267 systemctl restart vsftpd
268 systemctl restart nginx
以上是关于lnmp 实现owncloud的主要内容,如果未能解决你的问题,请参考以下文章