nagios的安装搭建以及添加监控主机
Posted
tags:
篇首语:本文由小常识网(cha138.com)小编为大家整理,主要介绍了nagios的安装搭建以及添加监控主机相关的知识,希望对你有一定的参考价值。
Nagios是一款开源的免费网络监视工具,能有效监控Windows、Linux和Unix的主机状态,交换机路由器等网络设置,打印机等。在系统或服务状态异常时发出邮件或短信报警第一时间通知网站运维人员,在状态恢复后发出正常的邮件或短信通知。
前提时间需要同步
2.查看依赖包是否已经被安装好
#rpm -q gcc glibc glibc-common gd gd-devel xinetd openssl-devel
默认的是没有gd-devel和xinetd的
# yum -y localinstall gd-devel-2.0.35-11.el6.x86_64.rpm
# yum install xinetd
3.添加nagios用户组、用户
# groupadd nagcmd
# useradd -G nagcmd  nagios
# id nagios
uid=501(nagios) gid=502(nagios) 组=502(nagios),501(nagcmd)
# usermod -a -G nagcmd apache
4.安装nagios和nagios-plugins
# tar xf nagios-4.0.2.tar.gz
# cd nagios-4.0.2
# ./configure --prefix=/usr/local/nagios  --with-command-group=nagcmd --enable-event-broker --sysconfdir=/etc/nagios
# make all
# make install
# make install-init
# make install-commandmode
# make install-config
# make install-webconf
# htpasswd -c /etc/nagios/htpasswd.users nagiosadmin
New password:
Re-type new password:
Adding password for user nagiosadmin
# service httpd restart
# chkconfig --add nagios
# chkconfig nagios on
# tar xf nagios-plugins-1.5.tar.gz
# cd nagios-plugins-1.5
# ./configure --with-nagios-user=nagios --with-nagios-group=nagios
# make && make install
# service nagios start
关闭selinux,防止selinux组织脚本运行
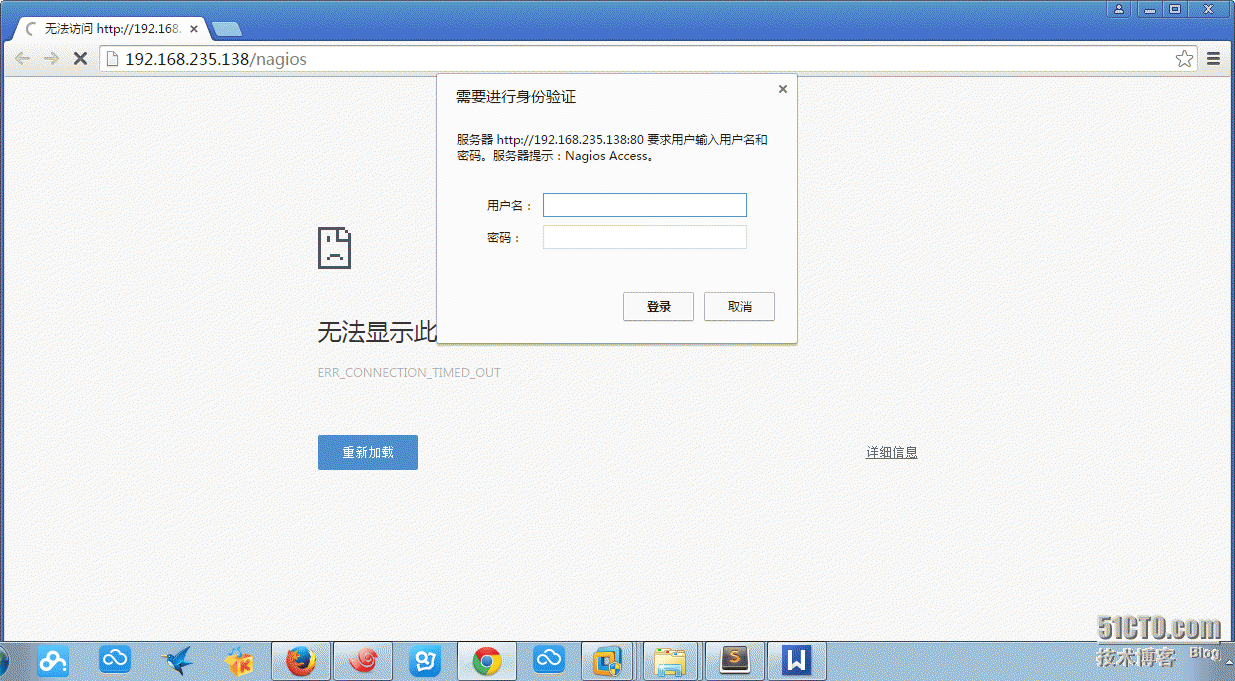
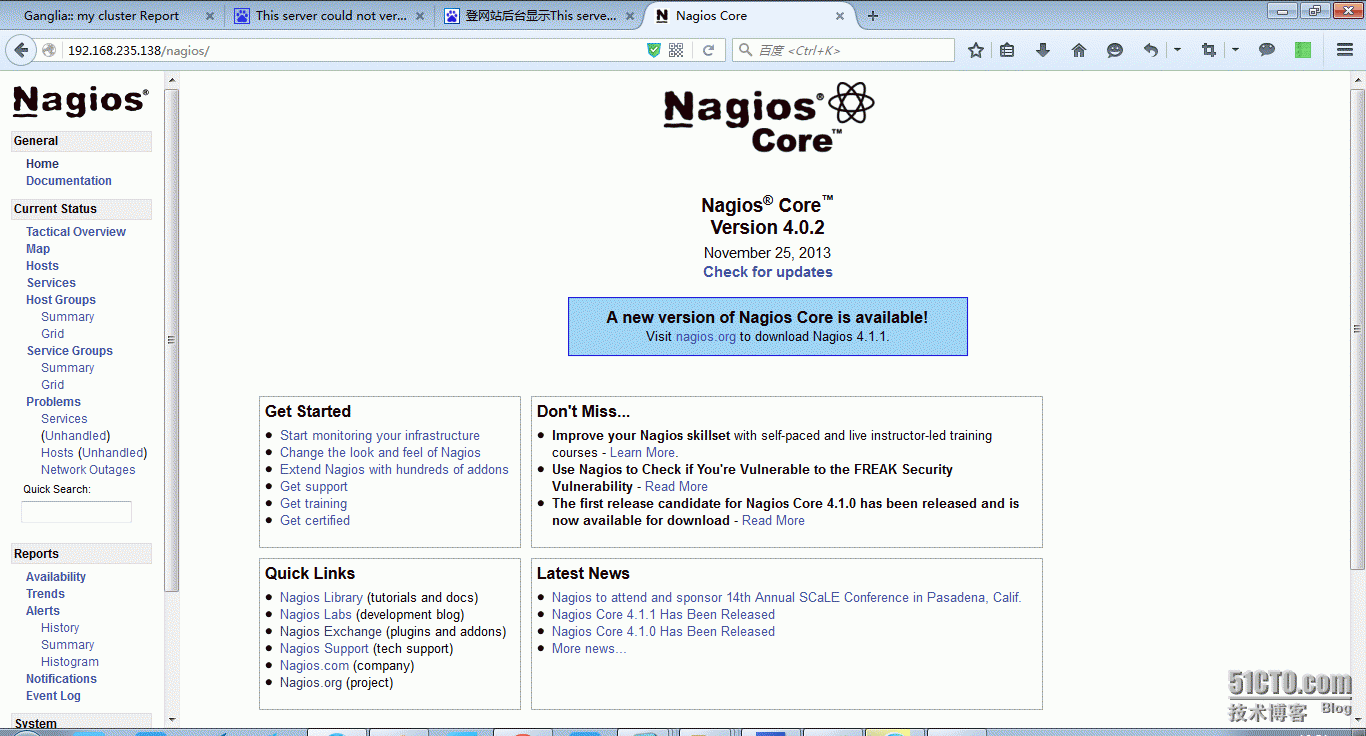
5.登录nagios-web界面
输入用户名和密码
6.被监控端安装nagios-plugins
所需软件nagios-plugins、nrpe
# tar  xf nagios-plugins-1.5.tar.gz
# useradd -s /sbin/nologin nagios
# cd nagios-plugins-1.5
# ./configure --with-nagios-user=nagios --with-nagios-group=nagios
# make all
# make install
7.被监控端安装nrpe
# tar xf nrpe-2.15.tar.gz
# cd nrpe-2.15
# ./configure --with-nrpe-user=nagios --with-nrpe-group=nagios --with-nagios-user=nagios --with-nagios-group=nagios --enable-command-args --enable-ssl
# make all
# make install-plugin
# make install-daemon
# make install-daemon-config
# /usr/local/nagios/bin/nrpe  -c  /usr/local/nagios/etc/nrpe.cfg  -d  //启动nrpe服务
或者   # vim /etc/init.d/nrped
#!/bin/bash
# chkconfig: 2345 88 12
# description: NRPE DAEMON

NRPE=/usr/local/nagios/bin/nrpe
NRPECONF=/usr/local/nagios/etc/nrpe.cfg

case "$1" in
        start)
                echo -n "Starting NRPE daemon..."
                $NRPE -c $NRPECONF -d
                echo " done."
                ;;
        stop)
                echo -n "Stopping NRPE daemon..."
                pkill -u nagios nrpe
                echo " done."
        ;;
        restart)
                $0 stop
                sleep 2
                $0 start
                ;;
        *)
                echo "Usage: $0 start|stop|restart"
                ;;
        esac
exit 0
#  /etc/init.d/nrped start
8.在主监控添加nrpe的定义
# ‘check_nrpe‘ command definition
define command{
        command_name    check_nrpe
        command_line    $USER1$/check_nrpe -H $HOSTADDRESS$ -c $ARG1$
}9.增加主机监控配置项
# vim /etc/nagios/objects/131.cfg
define host{
    use linux-server
    host_name 192.168.235.131
    alias 192.168.235.131
    address 192.168.235.131
}
define service{
    use generic-service
    host_name 192.168.235.131
    service_description load
    check_command check_nrpe!check_load
}
define service{
    use generic-service
    host_name 192.168.235.131
    service_description PING
    check_command check_ping!100.0,20%!200.0,50%
    max_check_attempts 5
    normal_check_interval 1
}
define service{
    use generic-service
    host_name 192.168.235.131
    service_description FTP
    check_command check_ftp!21
    max_check_attempts 5
    normal_check_interval 1
}
define service{
    use generic-service
    host_name 192.168.235.131
    service_description SSH
    check_command check_ssh
    max_check_attempts 5
    normal_check_interval 1
}
define service{
    use generic-service
    host_name 192.168.235.131
    service_description HTTP
    check_command check_http
    max_check_attempts 5
    normal_check_interval 1
}
# vim  /etc/nagios/nagios.cfg
cfg_file=/etc/nagios/objects/131.cfg
# service nagios reload   重载刷新nagios-web界面可以看到添加的被监控主机
好了,此处nagios已经被安装好了,而且被监控节点也已经上线了!
本文出自 “9470860” 博客,请务必保留此出处http://9480860.blog.51cto.com/9470860/1746124
以上是关于nagios的安装搭建以及添加监控主机的主要内容,如果未能解决你的问题,请参考以下文章

