搭建typescript开发环境最详细的全过程
Posted 凌志华
tags:
篇首语:本文由小常识网(cha138.com)小编为大家整理,主要介绍了搭建typescript开发环境最详细的全过程相关的知识,希望对你有一定的参考价值。
本文《搭建typescript开发环境最详细的全过程》的源代码在 https://github.com/lingsbb/ts_demo/ 下载。
搭建typescript开发示例
https://github.com/Microsoft/TypeScriptSamples
typescript案例
https://www.tslang.cn/samples/index.html
安装git:
http://git-scm.com/download下安装git
安装node:
https://nodejs.org/en/download/
将npm设置为淘宝
npm config set registry http://registry.npm.taobao.org
安装完成后使用cnpm来代替npm命令即可
使用node npm安装typescript
npm install -g typescript
安装typings
typings:为js提供智能感知
npm install -g typings
安装concurrently
concurrently:同时运行多个npm命令的工具。
。
npm install -g concurrently
安装live-server
lite-server:一个node轻量级的静态文件服务器
npm install -g live-server
安装google浏览器
安装vscode
http://code.visualstudio.com/Download
下载tomcat
http://tomcat.apache.org/
在d盘下面新建ts文件夹,在下面再新建ts_demo文件夹。生成了D:\\ts\\ts_demo文件夹。
在server.xml文件最下面 HOST节,插入下面的内容:
<Context docBase="D:\\ts\\ts_demo" reloadable="true" debug="0"
path="/ts_demo"/>
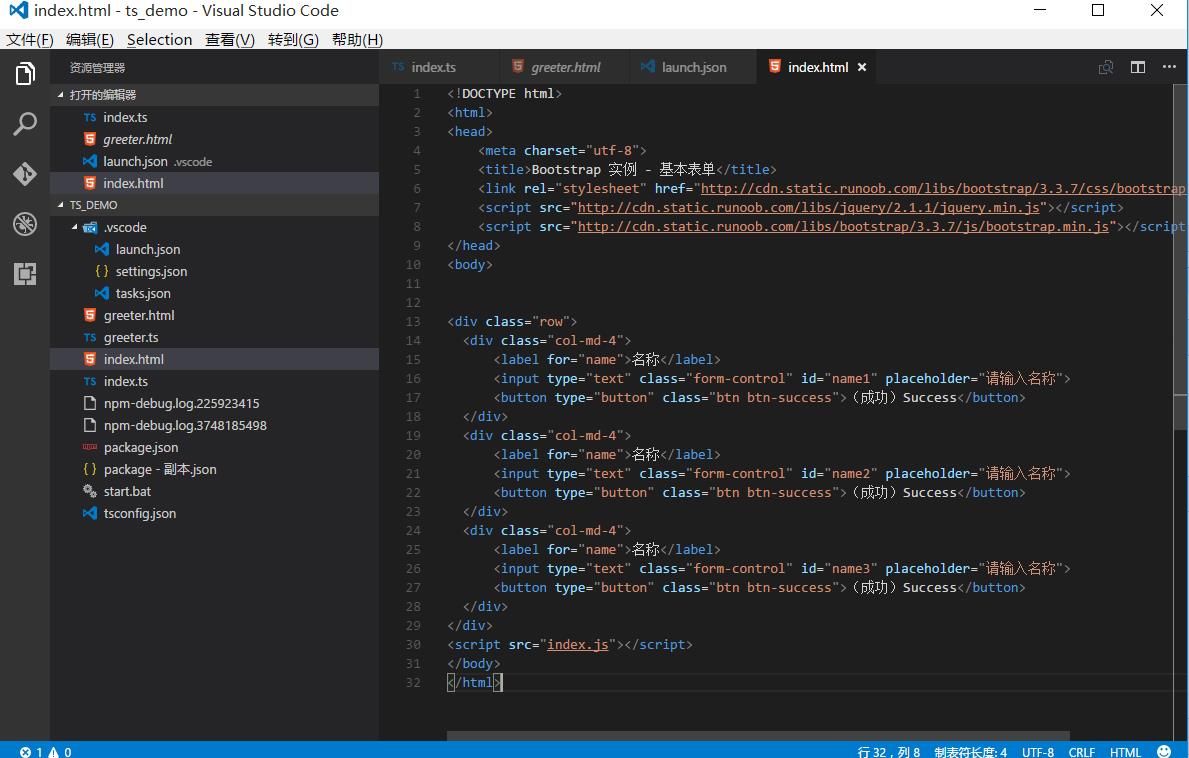
配置ts_demo下面的6个文件的内容:
setting.json、launch.json、tasks.json、tsconfig.json、tsconfig.json、
package.json
新建项目,用vscode打开该项目,下面文件需要设置:
setting.json
{
// "typescript.tsdk": "node_modules/typescript/lib",
"typescript.tsdk": "C:\\\\Users\\\\eyt\\\\AppData\\\\Roaming\\\\npm\\\\node_modules\\
\\typescript\\\\lib",
"vsicons.presets.angular": false
}
launch.json
{
// Use IntelliSense to learn about possible Node.js debug attributes.
// Hover to view descriptions of existing attributes.
// For more information, visit: https://go.microsoft.com/fwlink/?
linkid=830387
"version": "0.2.0",
"configurations": [
{
"type": "node",
"request": "launch",
"name": "启动程序",
"program": "${workspaceRoot}\\\\app.js",
"cwd": "${workspaceRoot}",
"outFiles": [],
"sourceMaps": true
},
{
"name": "运行在服务器",
"type": "chrome",
"request": "launch",
"url": "http://127.0.0.1:8080/",
"sourceMaps": true,
"webRoot": "D:\\\\ts\\\\ts_demo"
},
]
}
tasks.json是IDE自动生成
{
// See https://go.microsoft.com/fwlink/?LinkId=733558
// for the documentation about the tasks.json format
"version": "0.1.0",
"command": "tsc",
"isShellCommand": true,
"args": ["-p", "."],
"showOutput": "silent",
"problemMatcher": "$tsc"
}
tsconfig.json
{
"compilerOptions": {
"module": "commonjs",
"target": "es6",
"noImplicitAny": false,
"sourceMap": true,
"allowJs": true
}
,
"exclude": [
"node_modules"
]
}
package.json
{
"name": "ts_demo",
"version": "0.0.1",
"description": "Learning TypeScript.",
"scripts": {
"start": "tsc && concurrently \\"tsc -w\\" \\"lite-server\\" ",
"lite": "lite-server",
"tsc": "tsc",
"tsc:w": "tsc -w"
},
"author": "2gua",
"license": "ISC",
"dependencies": {
},
"devDependencies": {
"lite-server": "^2.2.0",
"concurrently": "^2.0.0"
}
}
启动tomcat
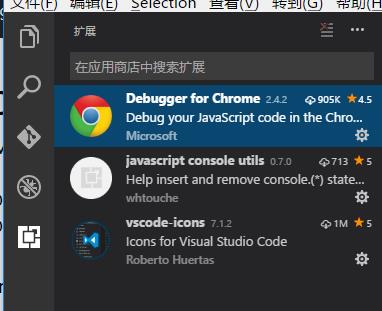
在vscode下载下面的插件

在D:\\ts\\ts_demo,新建start.bat文件。内容如下:
npm start
live-server
pause
如果启动的是tomcat服务器,live-server这行就不用了
npm start如果运行报错,也可能是你的ts源码有问题。比如存在:Property \'value\' does not exist on type \'HTMLElement\'错误,就是ts源码问题。
在vscode里面打开 命令-集成终端,在集成终端输入:start.bat

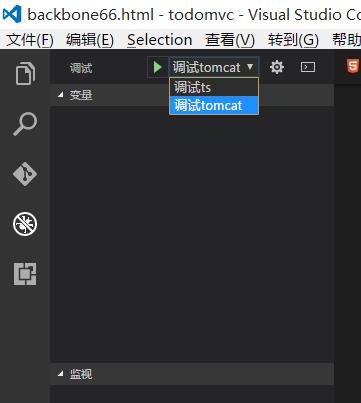
随便找个ts源码,打断电,选择 调试tomcat或者F5运行,即可debug调试:

以上是关于搭建typescript开发环境最详细的全过程的主要内容,如果未能解决你的问题,请参考以下文章