ActiveMQ Part 1 : 基本安装配置(windows 版本)
Posted
tags:
篇首语:本文由小常识网(cha138.com)小编为大家整理,主要介绍了ActiveMQ Part 1 : 基本安装配置(windows 版本)相关的知识,希望对你有一定的参考价值。
1. 安装启动服务
A) 首先下载并安装最新的 JDK(本文使用:jdk-8u66-windows-x64.exe)
B) 从官网下载最新的安装包(本文下载版本为:http://activemq.apache.org/activemq-5143-release.html)
C) 把安装包解压后,在解压目录中找到:\\bin\\win64\\activemq.bat (32位机器则执行相应的 win32 目录下的 activemq.bat文件)
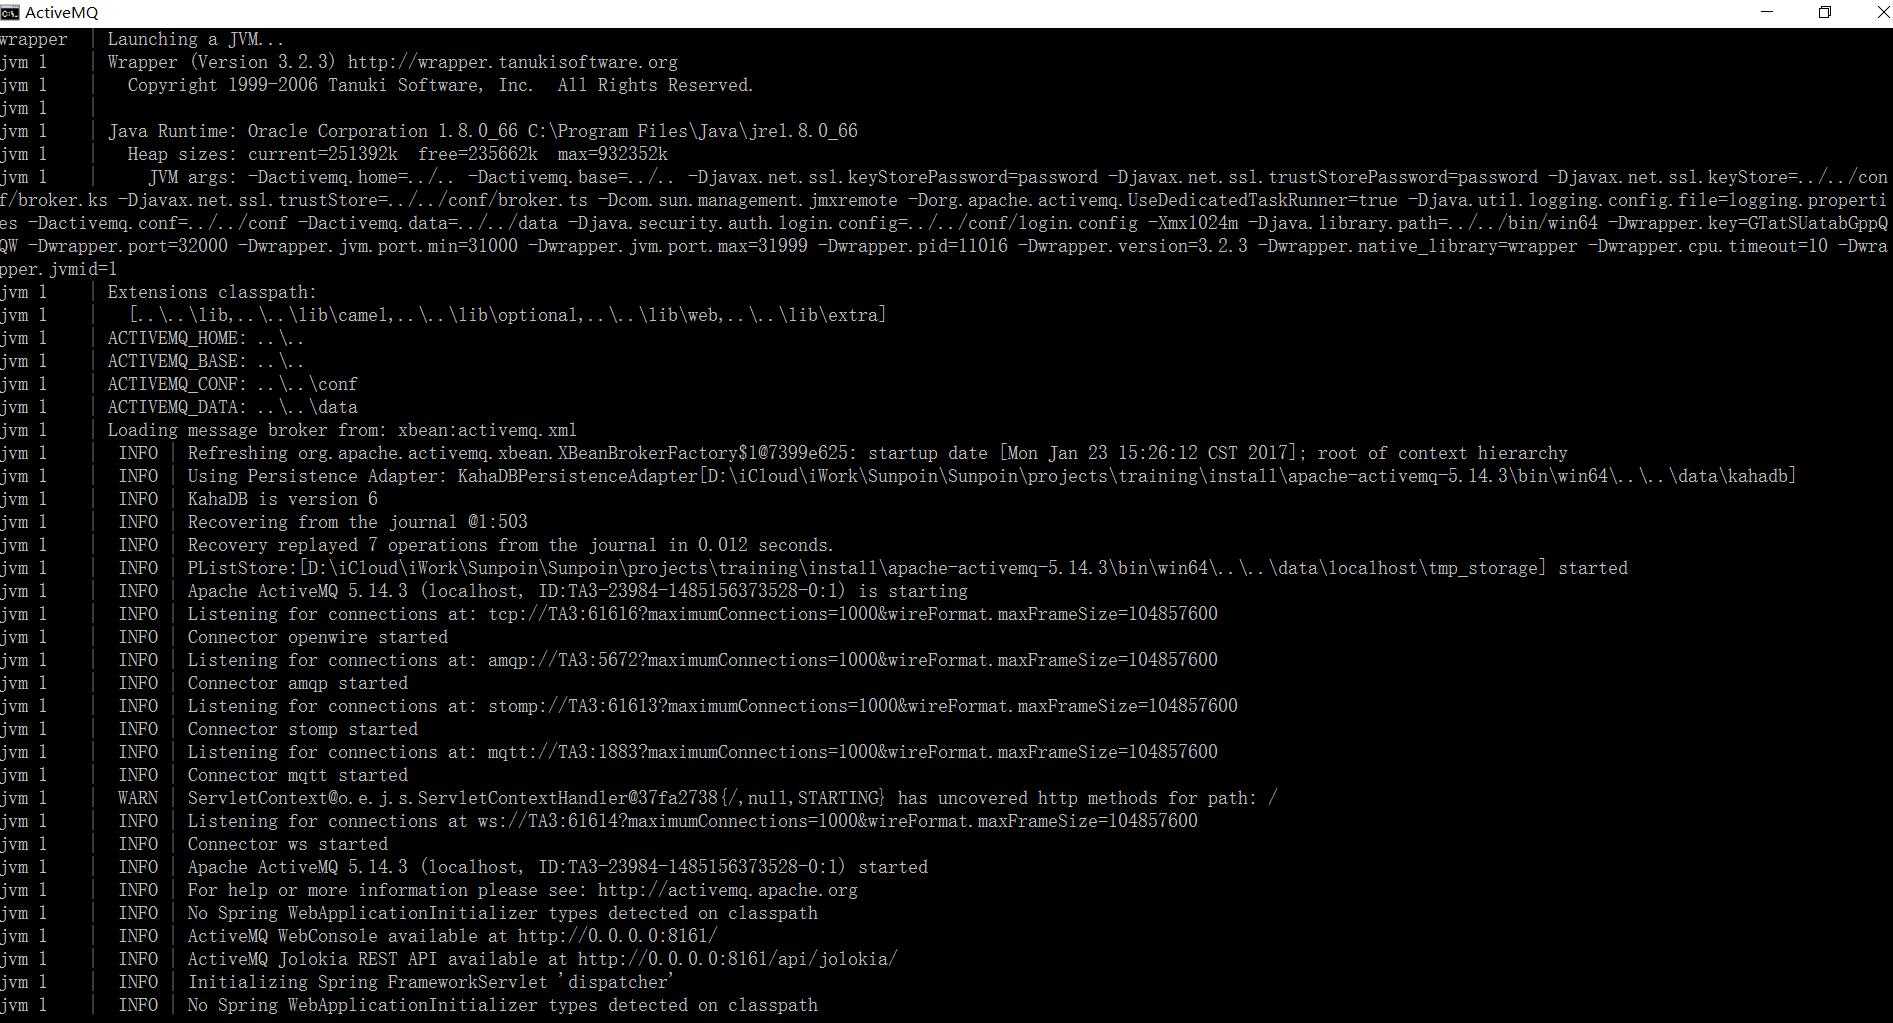
以管理员身份运行 activemq.bat,出现以下完整界面即成功启动了 ActiveMQ 服务;

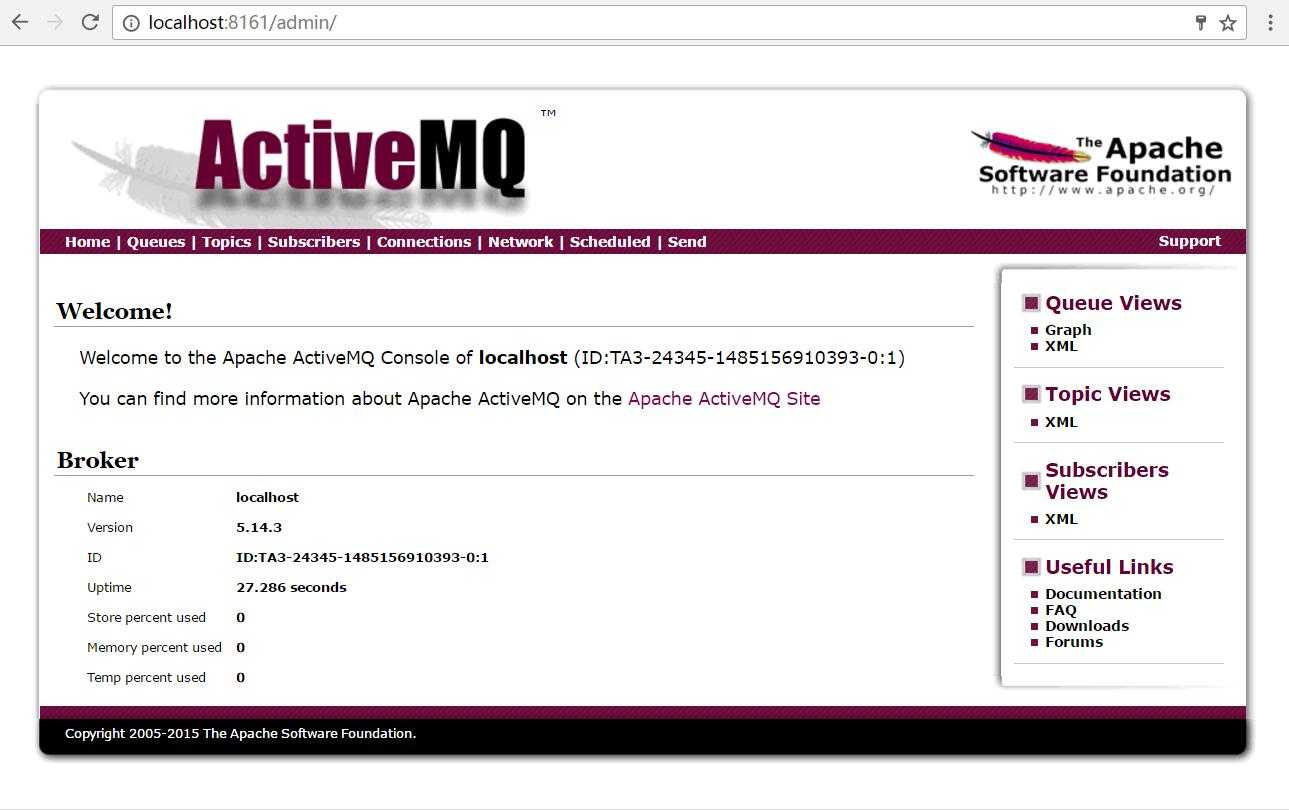
打开浏览器访问 ActiveMQ 的 WEB 管理控制台:http://localhost:8161/admin/ (默认登陆用户名密码为:admin/admin)

2. 基础配置
A) 启用 Debug 日志(方便安装配置过程发现更详细的问题):打开 \\conf\\log4j.properties,在文件中增加:log4j.logger.org.apache.activemq=DEBUG ,并重启控制台程序生效;
这样在日志中就会输出 DEBUG 类型的日志.
B) WEB 控制台权限配置:打开 \\conf\\jetty-realm.properties 文件,可以修改角色、用户名、密码,或增加用户;修改后重启控制台方生效;

1 # Defines users that can access the web (console, demo, etc.)
2 # username: password [,rolename ...]
3 admin: admin, admin
4 user: user, user
View Code
根据管理需要,自行配置;本文则配置为如下内容后续使用.

1 # Defines users that can access the web (console, demo, etc.)
2 # username: password [,rolename ...]
3 webadmin: web.admin, admin
4 webuser1: user.1, user
5 webuser2: user.2, user
View Code
C) 配置启动协议:默认所有 ActiveMQ 支持的协议均会被启动,本文主要启动 mqtt 协议,打开文件:\\conf\\activemq.xml;
找到如下配置,并删除或注释掉以上的其它协议,仅留下 mqtt 协议;

1 <!--
2 The transport connectors expose ActiveMQ over a given protocol to
3 clients and other brokers. For more information, see:
4
5 http://activemq.apache.org/configuring-transports.html
6 -->
7 <transportConnectors>
8 <!-- DOS protection, limit concurrent connections to 1000 and frame size to 100MB -->
9 <transportConnector name="openwire" uri="tcp://0.0.0.0:61616?maximumConnections=1000&wireFormat.maxFrameSize=104857600"/>
10 <transportConnector name="amqp" uri="amqp://0.0.0.0:5672?maximumConnections=1000&wireFormat.maxFrameSize=104857600"/>
11 <transportConnector name="stomp" uri="stomp://0.0.0.0:61613?maximumConnections=1000&wireFormat.maxFrameSize=104857600"/>
12 <transportConnector name="mqtt" uri="mqtt://0.0.0.0:1883?maximumConnections=1000&wireFormat.maxFrameSize=104857600"/>
13 <transportConnector name="ws" uri="ws://0.0.0.0:61614?maximumConnections=1000&wireFormat.maxFrameSize=104857600"/>
14 </transportConnectors>
View Code
D) MQTT协议设置:ActiveMQ 根据上述配置的协议来启动监听服务,可以通过增加以下配置来丰富 mqtt 协议的功能;
maximumConnections=1000&wireFormat.maxFrameSize=104857600 : 为了防止 DOS 攻击,并发连接及最大的传输容量限制(最大容量: 256MB);
transport.defaultKeepAlive=60000 : 配置服务器的默认心跳;默认情况为:假设客户端心跳时间为 10s,服务端对该连接的检测时间则为:10*1.5=15s;
allowLinkStealing=false : 如果有两个或以上的连接使用了相同的 CilentID,则视为盗链;服务器将强制关闭旧的连接(从日志可以看到以下信息)
WARN | Stealing link for clientId PUBSameID-001 From Connection
transport.activeMQSubscriptionPrefetch=100 : 如果订阅端的处理能力较强,这个值越大越好,即服务端将预取多少消息量传递给订阅端;
这个设置需要评估订阅端的最低处理能力,并根据服务器性能来配置;
以下4个配置为许多案例下的最佳配置:
wireFormat.maxInactivityDuration=30000 : 如果服务器在 30s 内没有接收到某个连接发来的消息,则自动断开该连接;
wireFormat.maxInactivityDurationInitalDelay=10000 : 指定 "不活动链接监视器 (InactivityMonitor)" 在多长时间后启动,在需要并发创建许多连接场景非常有效;
transport.useInactivityMonitor=true : 启用”不活动链接监视器“,如果设置为 false,则服务器不监控”不活动连接“;
transport.useKeepAlive=true : 如果设置为 false,则服务器在心跳时间外没收到数据也不会强制关闭连接;
OK,常用配置到此结束,启动 AMQ 服务开始使用.

1 <transportConnectors>
2 <!-- DOS protection, limit concurrent connections to 1000 and frame size to 100MB -->
3 <transportConnector name="mqtt" uri="mqtt://0.0.0.0:1883?maximumConnections=1000&wireFormat.maxFrameSize=104857600&transport.defaultKeepAlive=60000&allowLinkStealing=false&transport.activeMQSubscriptionPrefetch=100&wireFormat.maxInactivityDuration=30000&wireFormat.maxInactivityDurationInitalDelay=10000&transport.useInactivityMonitor=true&transport.useKeepAlive=true"/>
4 <!-- <transportConnector name="openwire" uri="tcp://0.0.0.0:61616?maximumConnections=1000&wireFormat.maxFrameSize=104857600"/>-->
5 <!-- <transportConnector name="amqp" uri="amqp://0.0.0.0:5672?maximumConnections=1000&wireFormat.maxFrameSize=104857600"/>-->
6 <!-- <transportConnector name="stomp" uri="stomp://0.0.0.0:61613?maximumConnections=1000&wireFormat.maxFrameSize=104857600"/>-->
7 <!-- <transportConnector name="ws" uri="ws://0.0.0.0:61614?maximumConnections=1000&wireFormat.maxFrameSize=104857600"/>-->
8 </transportConnectors>
View Code
以上是关于ActiveMQ Part 1 : 基本安装配置(windows 版本)的主要内容,如果未能解决你的问题,请参考以下文章
