博客项目实现文章评论功能(重点是评论回复)
Posted NONE
tags:
篇首语:本文由小常识网(cha138.com)小编为大家整理,主要介绍了博客项目实现文章评论功能(重点是评论回复)相关的知识,希望对你有一定的参考价值。
我开发的博客网站的地址:http://118.89.29.170/RiXiang_blog/
博客项目代码github:https://github.com/SonnAdolf/sonne_blog
有了我的已成型的项目和代码,可以更容易理解这篇文章。

本篇文章记录下自己博客项目评论功能实现的全过程,重点其实是评论回复功能。
【一,写评论】
写评论部分我没有使用富文本编辑器,只是单纯地使用了textarea标签,所以后台不需要作html标签的白名单检验(关于防范xss攻击,可以看我之前的一篇文章http://www.cnblogs.com/rixiang/p/6239464.html),只需要将所有<和>字符作转义即可。
提交到后台需要做的处理:必要的校验,存储。然后生成消息。消息会在用户个人空间消息中心显示。提示用户有新的评论。
数据库存储方面,评论与文章的关系是双向多对一。设置懒加载和级联删除。
写评论部分就这些,没什么好说的。
【二,评论显示】
评论的显示是基于文章的。也就是说在点击、查看一篇文章的同时,在该文章下面显示对这篇文章的所有评论。
上面提到评论和文章是多对一的关系,可知,查询到文章即可查询到该文章的所有评论。也正因此,且鉴于自己博客评论数并不很多情况,对于评论的分页我没有采用数据库查询层的分页方法,而是用java写了分页、排序。我并不确定最好的实现。
    /*
     * Select the article by the id, and show it at the jsp page.
     *
     * @param HttpServletRequest request, Integer id, Model model
     *
     * @return the jsp page
     */
    @RequestMapping(value = "/show", method = RequestMethod.GET)
    public String showFromMainPage(HttpServletRequest request, Integer id,
            Integer currentPage, Model model) throws Exception {
        if (null == id) {
            return "error";
        }
        Article article = articleService.find(id, Article.class);

        // click the link, then read_times ++
        article.setRead_times(article.getRead_times() + 1);
        articleService.update(article);

        article = getArticleOfContentByUrl(article);
        // sort the comments
        List<Comment> comments = commentService.sort(article.getComments());
        String username = userService.getUsernameFromSession(request);
        model.addAttribute("article", article);
        model.addAttribute("username", username);
        model.addAttribute("article_id", id);

        if (currentPage == null || currentPage <= 0) {
            currentPage = 1;
        }
        int totalSize = comments.size();
        PageInfo pageInfo = PageUtils.createPage(10, comments.size(),
                currentPage);
        int beginIndex = pageInfo.getBeginIndex();
        long totalNum = pageInfo.getTotalCount();
        int everyPage = pageInfo.getEveryPage();
        if (totalNum - beginIndex < everyPage) {
            comments = comments.subList(beginIndex, (int) totalNum);
        } else {
            comments = comments.subList(beginIndex, beginIndex + everyPage);
        }

        // 评论分页
        Page<Comment> comments_page = new Page<Comment>(comments, totalSize,
                pageInfo);

        model.addAttribute("comments_page", comments_page);
        return "showArticlePage";
    }
以上代码可看出,访问文章路径需要两个参数,一个是文章id,一个是评论页,类似这样:http://118.89.29.170/RiXiang_blog/article/show.form?id=101¤tPage=2
根据id查询文章Article article = articleService.find(id, Article.class);
然后获取此文章的所有评论List<Comment> comments = commentService.sort(article.getComments());
之后便可以根据评论总数、每页评论数、当前页这三项信息来创建分页类。关于分页工具类,可以看我之前总结的这篇文章http://www.cnblogs.com/rixiang/p/5257085.html
一般情况下,分页的逻辑要放在数据库查询层,而非java后台的service和controller层,我的这个博客项目也实现了基于jpa的查询分页底层工具类。
【三、评论回复功能实现】
评论回复是本篇的重点。这部分我是参考博客园的逻辑实现的,效果是这样:

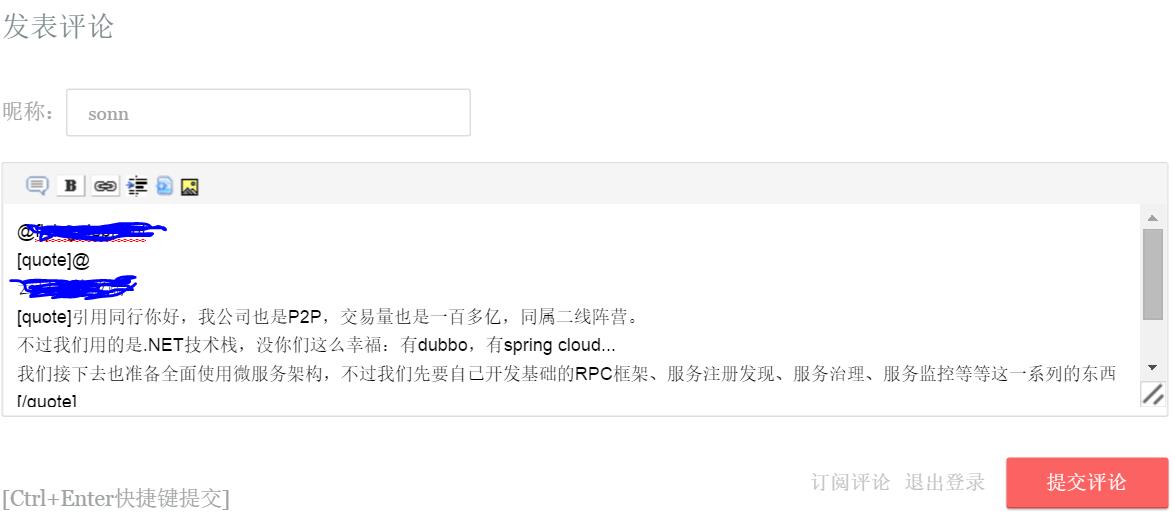
之后我F12查看了下博客园的前端代码,然后便有了思路了。
下面先写下流程:
1,点击文章下评论栏【回复】链接后,调用javascript方法。
2,组合回复内容:@usrname [quote]+引用内容+[/quote]作为写评论的<textarea>标签的初始value。
3,用户在二的基础上写了回复后,点提交,数据库会存储带有[quote]标签的Comment内容,由于是[]而不是<>所以不会因为xss跨站脚本校验而被拦截。然后生成回复的消息(用于通知被回复用户新消息)。
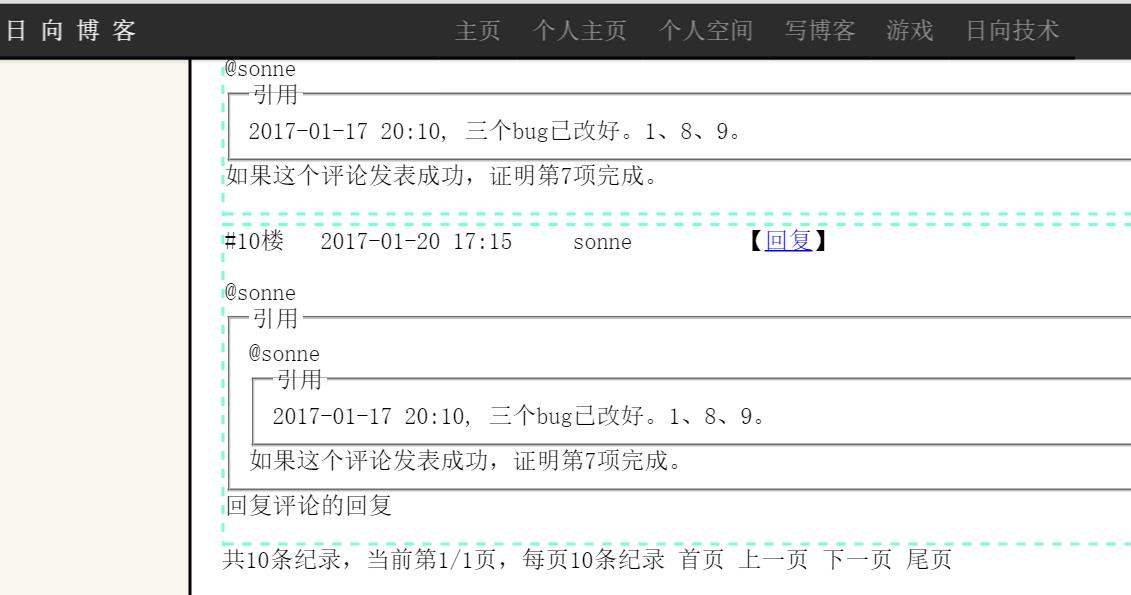
4,页面显示时,查询到的数据库中的Comment内容(带有[quote]标签的Comment内容),在前端显示前用javascript作字符串转化:
[quote]替换为
<fieldset class="comment_quote">
<legend>引用</legend>
xxxxxxxx(引用的内容)
[/quote]替换为</fieldset><br>
这样便完成了html的拼接。显示出来的将不是[quote][/quote],而是:

上述流程的第一二点的实现(quote拼接):
下面是基于jsp标签的评论显示:
<c:forEach items="${comments_page.content}" var="comment"> <div class="comment_box"> <span class = "date">#${comment.floor}楼  ${fn:substring(comment.date,0,16)}</span>   <span class = "author">${comment.authorName}</span>     【<a href="javascript:void(0)" onclick="quote_comment(\'${comment.content}\',\'${comment.authorName}\')">回复</a>】<br> <p class = "comment_content">${comment.content}</p> </div> </c:forEach>
【<a href="javascript:void(0)" onclick="quote_comment(\'${comment.content}\',\'${comment.authorName}\')">回复</a>】表示点击【回复】链接后,调用quote_comment(content, usr_name)这一javascript方法。注意点击链接调用js方法的写法。以及jsp标签内容作为js方法参数的写法,里面的单引号一定不能落下。
                function quote_comment(content, usr_name) {
                    quote_content = \'@\' + usr_name + \' [quote]\' + content.trim() + \'[/quote]\';
                    document.getElementById("comment_txt").value = quote_content;
                    document.getElementsByTagName(\'body\')[0].scrollTop=document.getElementsByTagName(\'body\')[0].scrollHeight;
                }
上面代码用于组装@用户名和[quote]标签,document.getElementById("comment_txt").value = quote_content;这句用于给textarea(写评论输入框)赋值。
document.getElementsByTagName(\'body\')[0].scrollTop=document.getElementsByTagName(\'body\')[0].scrollHeight;表示跳转至页面最底端。(写评论输入框在页面最底下)
上述流程的第三四点(回复内容显示部分):
在
$(document).ready(function() { ......});
里加入这两句(页面初始化时候):
                  var comment_arr=getElementsClass("comment_content");
                  commentsQuoteTagReset(comment_arr);
首先调用方法function getElementsClass(classnames)获取所有class属性为comment_content的内容,(上面贴的jsp代码,<p class = "comment_content">${comment.content}</p>这句说明设置显示评论内容的p标签的class为comment_content,然后我们根据该class标签做javascript dom操作):
             function getElementsClass(classnames){
                   var classobj= new Array();
                   //数组下标
                   var classint=0;
                   //获取HTML的所有标签
                   var tags=document.getElementsByTagName("*");
                   for(var i in tags){
                         if(tags[i].nodeType==1){
                              //判断节点类型
                              if(tags[i].getAttribute("class") == classnames)
                              {
                                    classobj[classint]=tags[i];
                                    classint++;
                               }
                          }
                    }
                    return classobj;
               }
之后替换[quote]和[/quote]:
               function commentsQuoteTagReset(comment_arr) {
                   var str;
                   for(var i=0; i < comment_arr.length; i++) {
                        str = comment_arr[i].innerHTML;
                        str = str.replace(/\\[quote]/g,"<fieldset class=\\"comment_quote\\"><legend>引用</legend>");
                        str = str.replace(/\\[\\/quote]/g,"</fieldset>");
                        comment_arr[i].innerHTML=str;
                   }
               }
要注意javascript里字符串替换没有类似java replaceAll的写法,replace的话只能替换查询到的第一个。
需要这样的写法:
str = str.replace(/\\aaa/g,\'bbb\');
comment_arr[i].innerHTML=str;写法可以替换对应的<p>标签的内容。
这样实现的效果便是:
以上です
主要讲的是思路,加上一些我自己觉得有必要记录的技术点。细节方面,如果基础好的话,有了思路就可以瞬间懂了。我就是f12看了博客园页面然后瞬间有了思路。
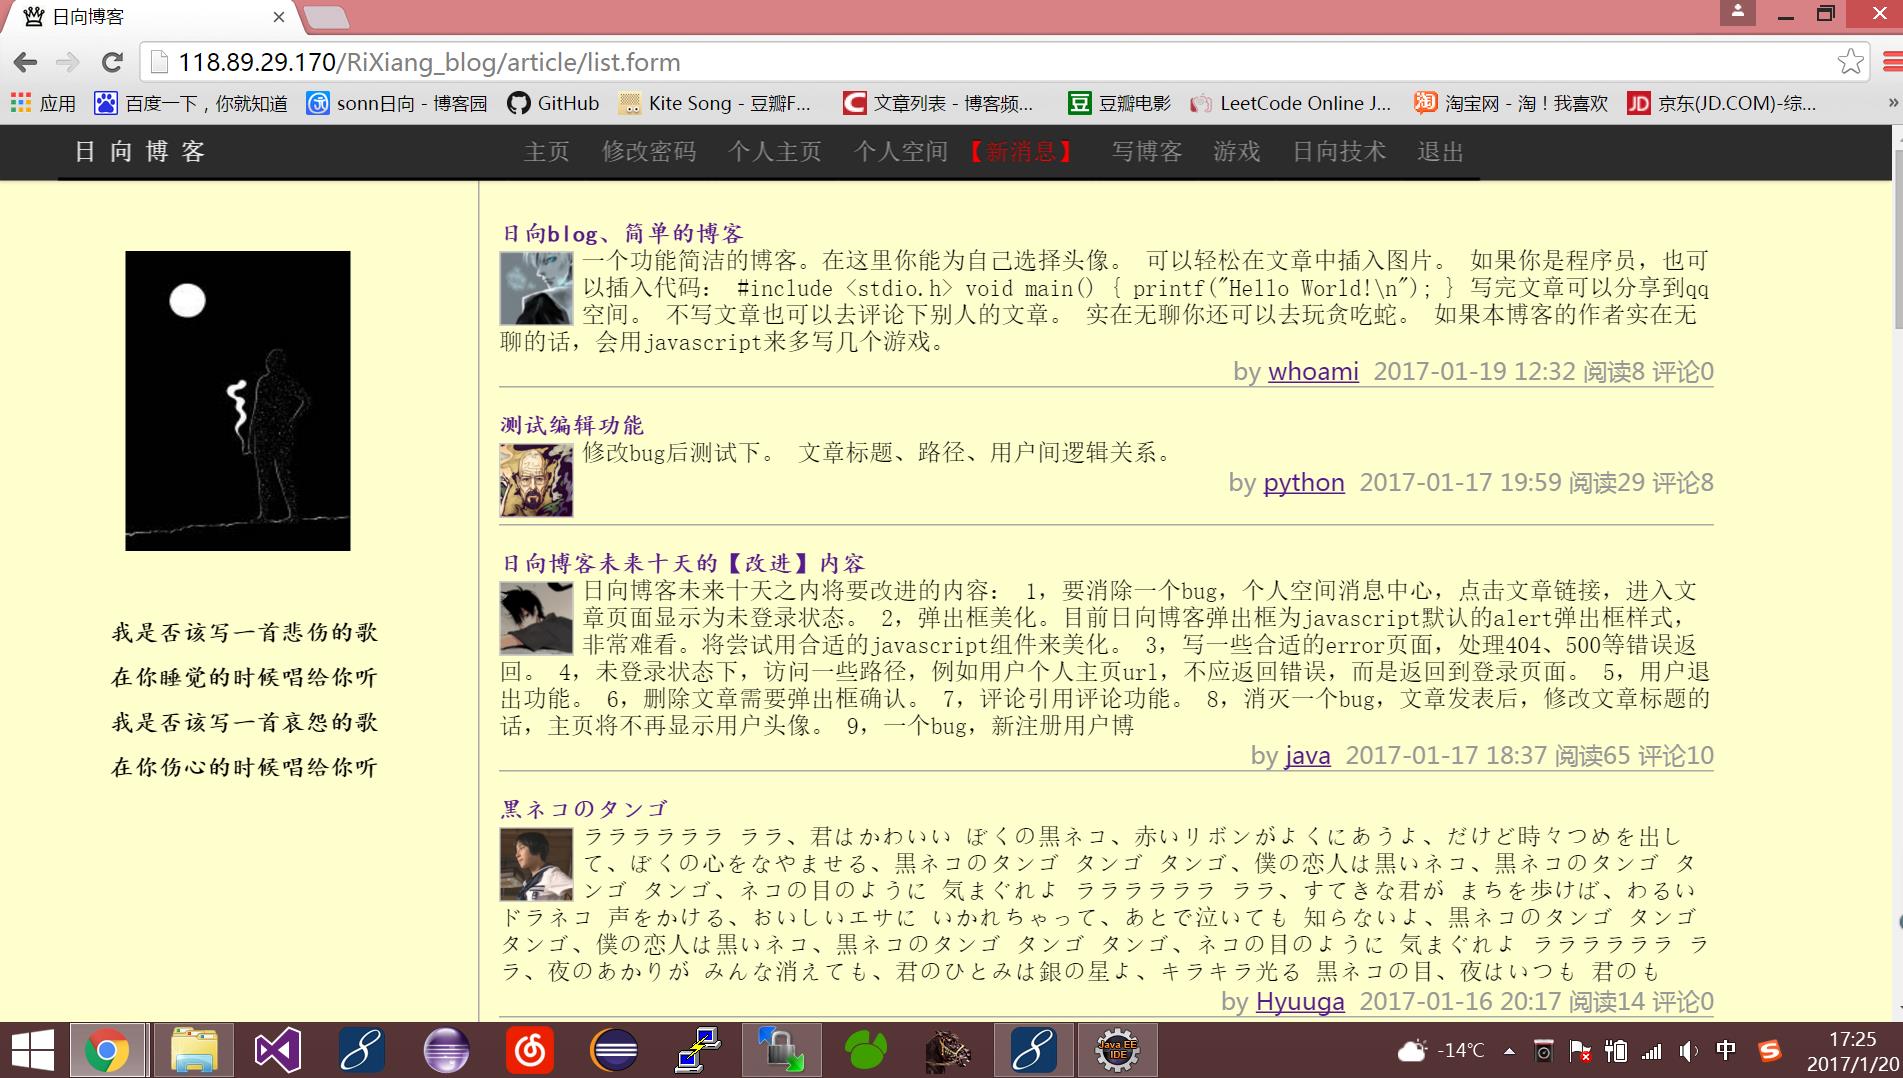
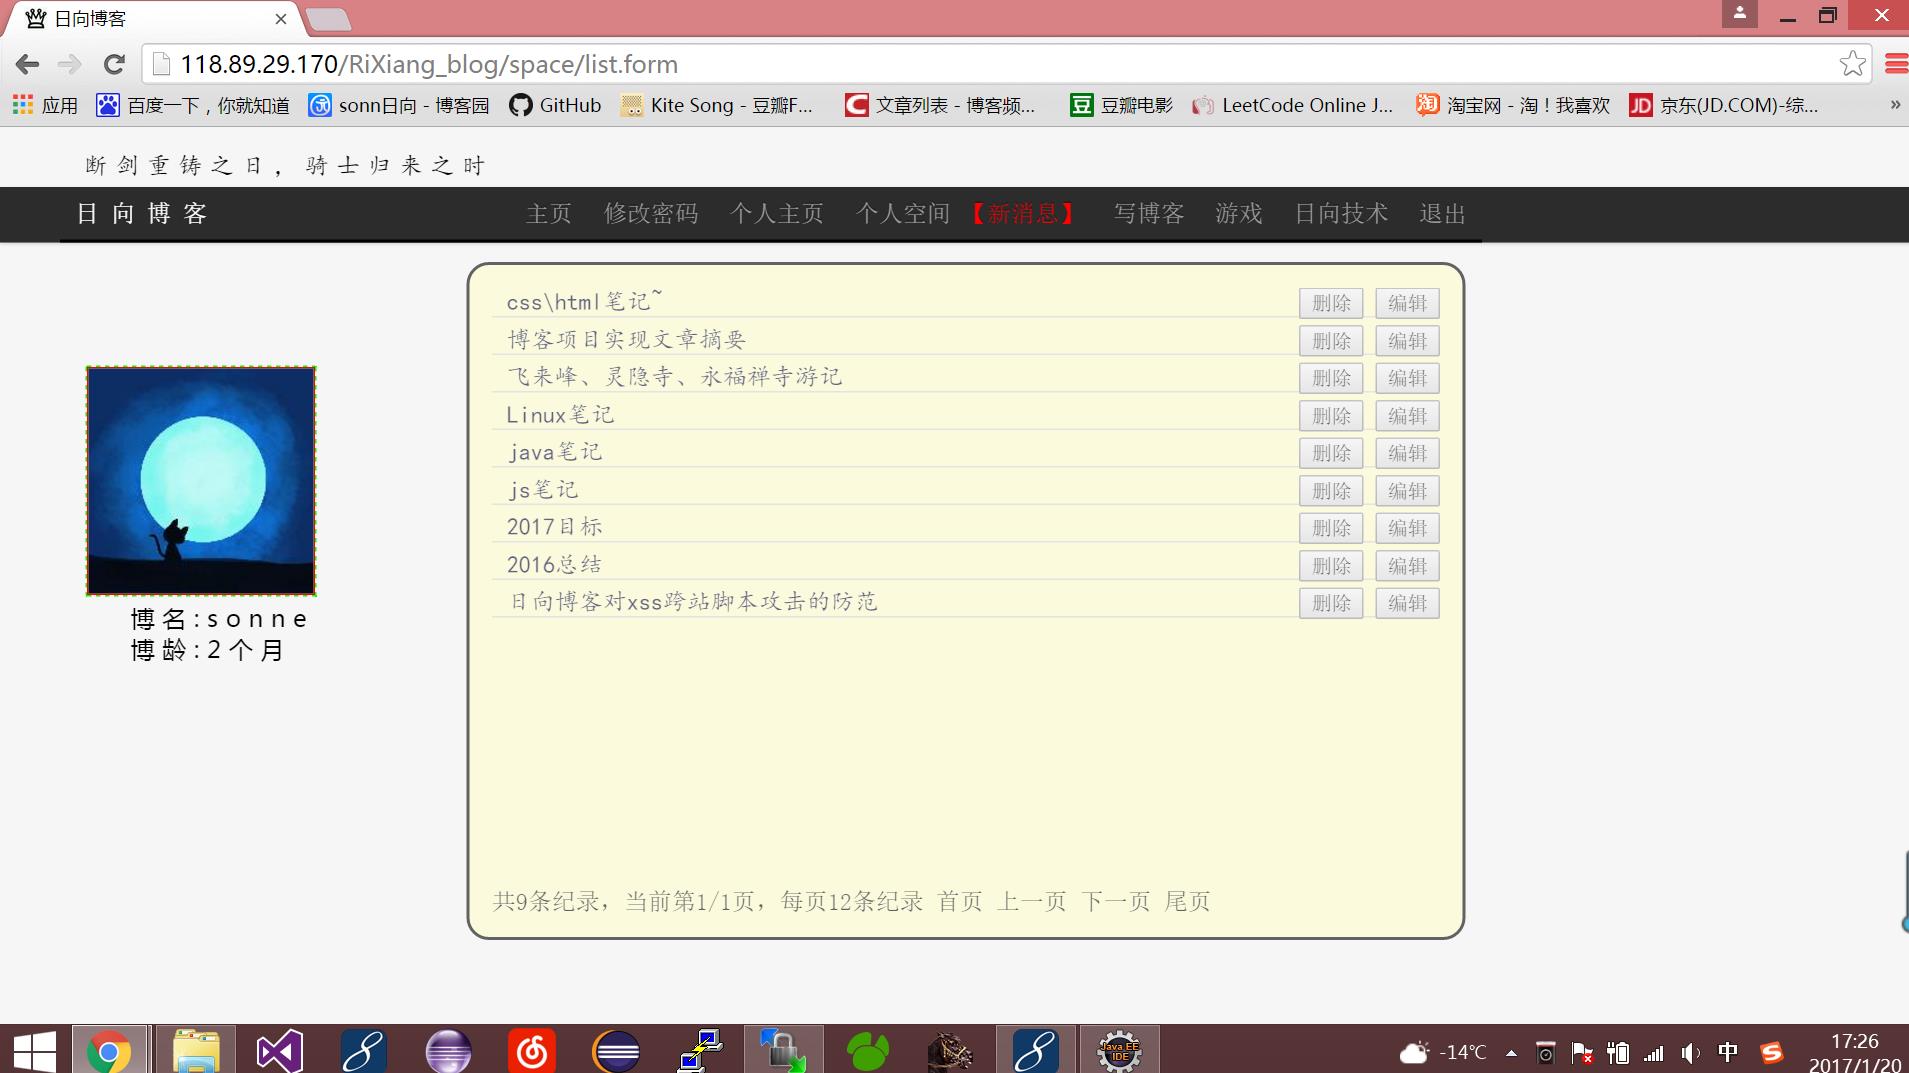
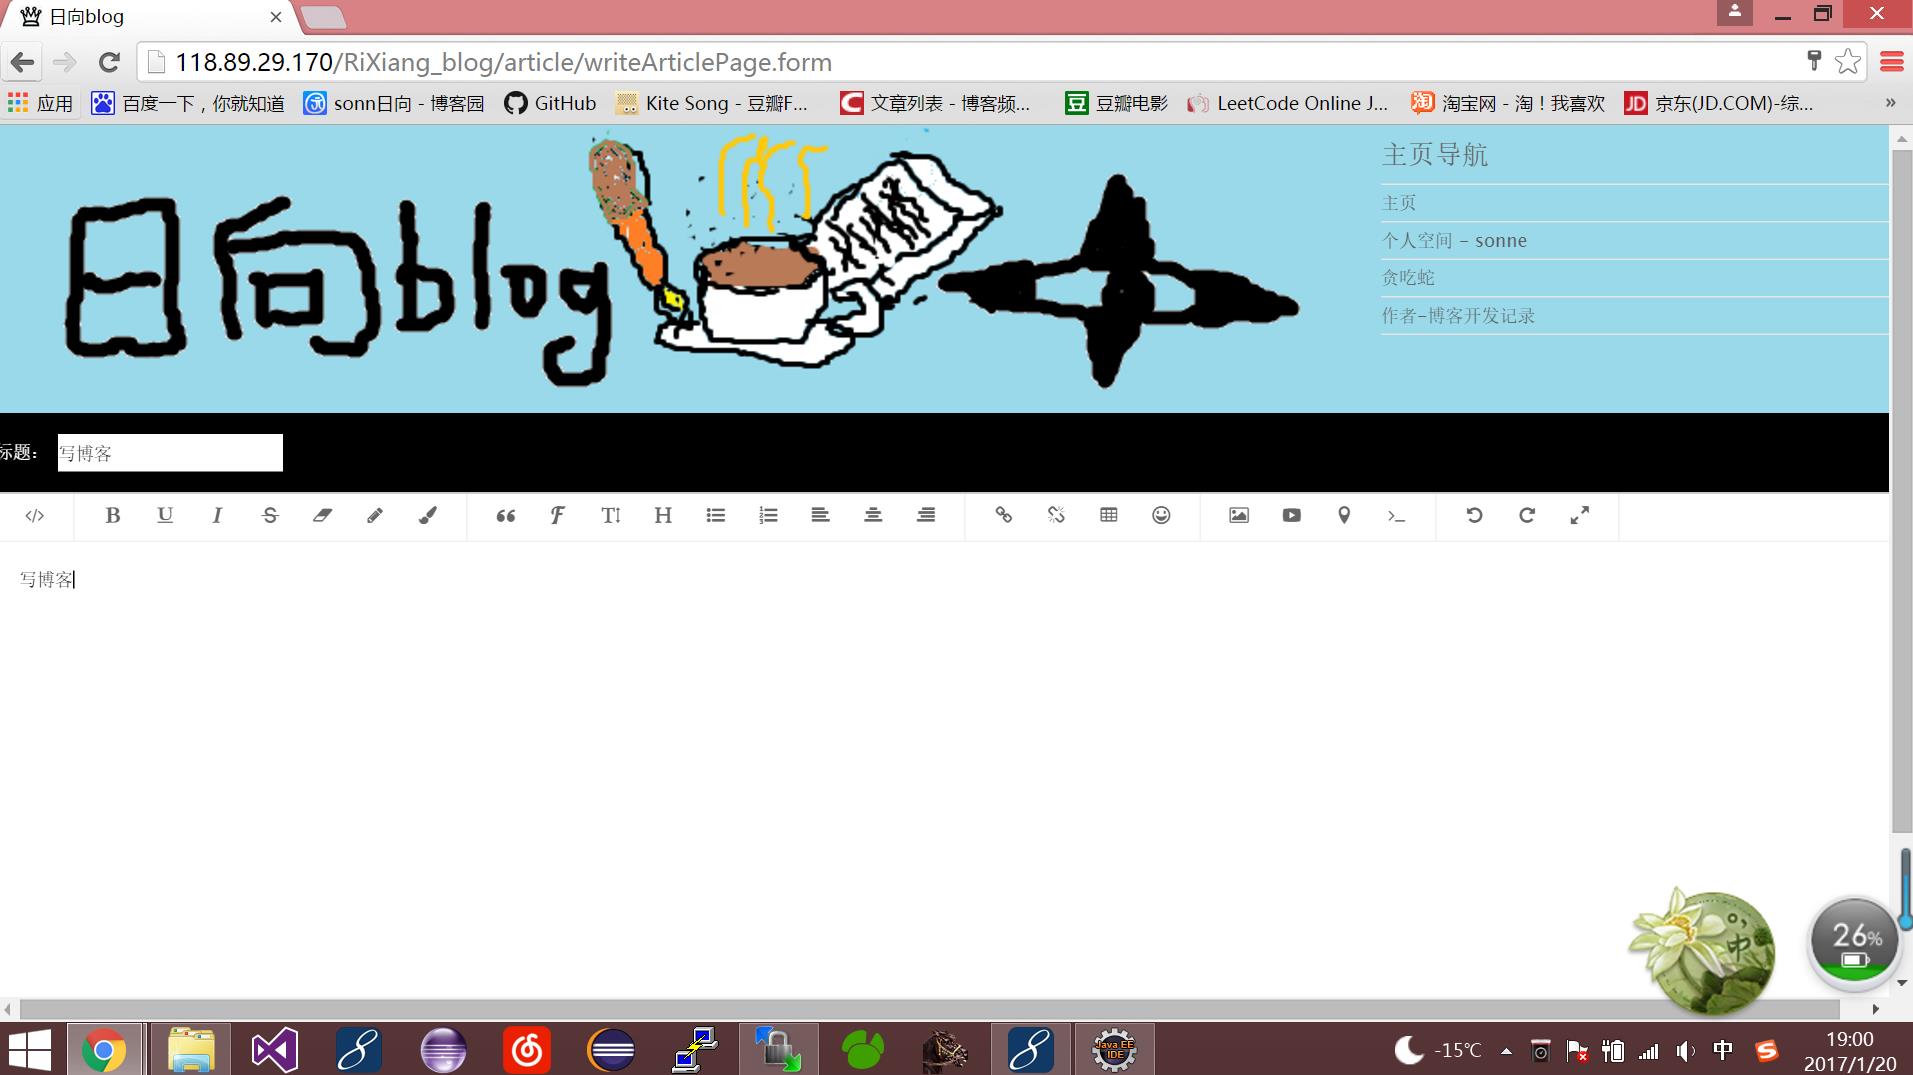
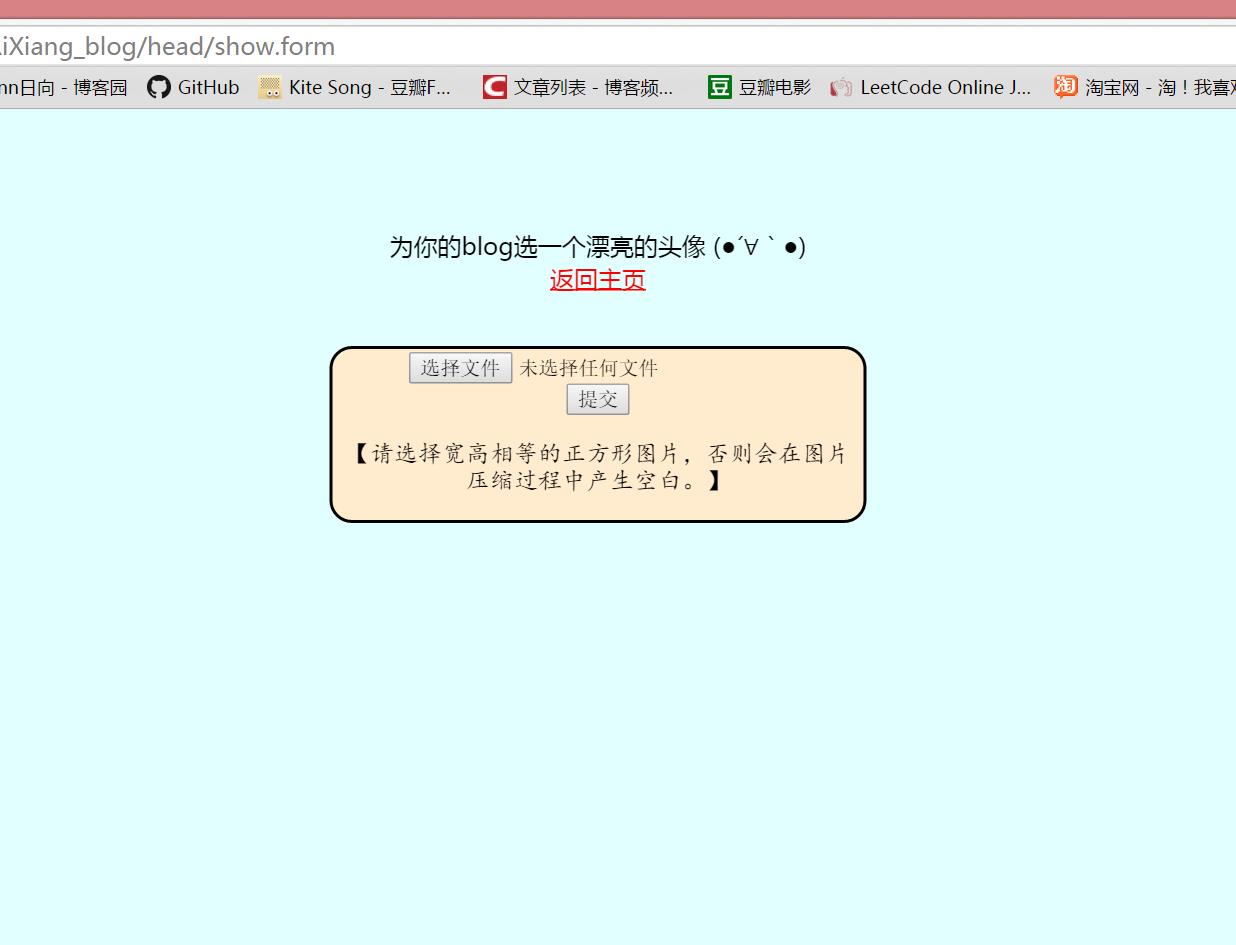
最后贴几张博客的图片。这个博客功能基本都已实现,以后就是不断优化了。

以上是关于博客项目实现文章评论功能(重点是评论回复)的主要内容,如果未能解决你的问题,请参考以下文章