封装 用canvas绘制直线的函数--面向对象
Posted !master
tags:
篇首语:本文由小常识网(cha138.com)小编为大家整理,主要介绍了封装 用canvas绘制直线的函数--面向对象相关的知识,希望对你有一定的参考价值。
 1 <!DOCTYPE html>
 2 <html lang="en">
 3 <head>
 4     <meta charset="UTF-8">
 5     <title>用面向对象的思想 封装 在canvas绘制直线的函数</title>
 6 </head>
 7 <body>
 8     <canvas id="cv"></canvas>
 9 </body>
10 </html>
11 <script>
12     var cv = document.getElementById("cv");
13     cv.width = 600;
14     cv.height = 300;
15     cv.style.border = "1px solid red";
16     var ctx = cv.getContext("2d");
17
18     //面向对象编程
19     //1 创建构造函数
20     //2 构造函数的原型设置
21     //3 调用的时候,通过 new+构造函数 来创建一个对象(实例)
22
23     //构造绘制直线的函数
24     function drawLine(parameters) {
25         this.init(parameters);
26     }
27     //替换原型对象实现继承
28     drawLine.prototype = {
29         constructor: drawLine,
30         init: function (parameters) {
31             this.ctx = parameters.ctx;
32             this.startX = parameters.points[0];
33             this.startY = parameters.points[1];
34             this.endX = parameters.points[2];
35             this.endY = parameters.points[3];
36             //以下3个属性,可以不设置,用短路运算实现添加默认属性值
37             this.lineWidth = parameters.lineWidth || 1;
38             this.lineDash = parameters.lineDash || [];
39             this.strokeStyle = parameters.strokeStyle || "#000";
40         },
41         //原型中,一般用来储存对象的方法或者共有的属性
42         stroke: function () {
43             this.ctx.beginPath();
44             this.ctx.moveTo(this.startX, this.startY);
45             this.ctx.lineTo(this.endX, this.endY);
46             this.ctx.lineWidth = this.lineWidth;
47             this.ctx.setLineDash(this.lineDash);
48             this.ctx.strokeStyle = this.strokeStyle;
49             this.ctx.stroke();
50         }
51     };
52
53     //调用构造函数,传入参数
54     var line = new drawLine({
55         ctx: ctx,
56         points: [100, 100, 300, 100],
57         lineDash: [4, 2],
58         strokeStyle: "red"
59     });
60     line.stroke();
61     var line2 = new drawLine({
62         ctx: ctx,
63         points: [100, 200, 300, 200],
64         lineWidth: 6
65     });
66     line2.stroke();
67 </script>
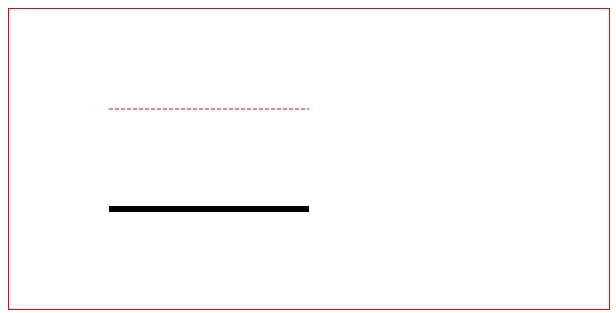
效果图:

以上是关于封装 用canvas绘制直线的函数--面向对象的主要内容,如果未能解决你的问题,请参考以下文章