win10 uwp 简单MasterDetail
Posted lindexi_gd
tags:
篇首语:本文由小常识网(cha138.com)小编为大家整理,主要介绍了win10 uwp 简单MasterDetail相关的知识,希望对你有一定的参考价值。
中文
English
本文主要讲实现一个简单的界面,可以在窗口比较大显示列表和内容,窗口比较小时候显示列表或内容。也就是在窗口比较小的时候,点击列表会显示内容,点击返回会显示列表。
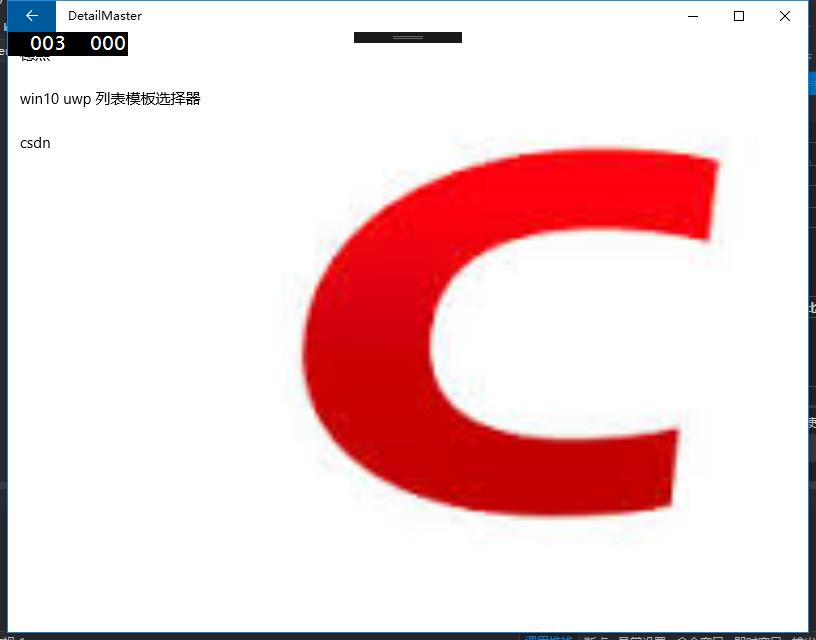
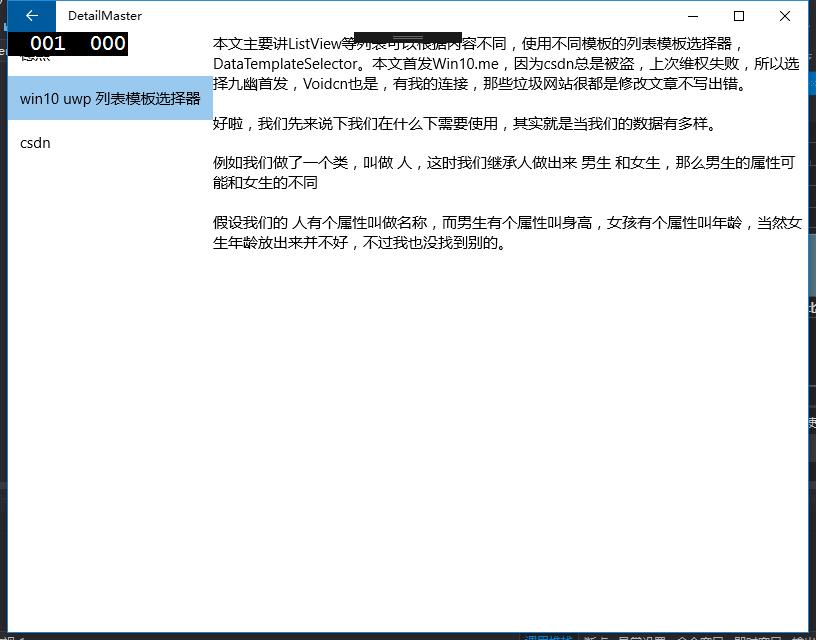
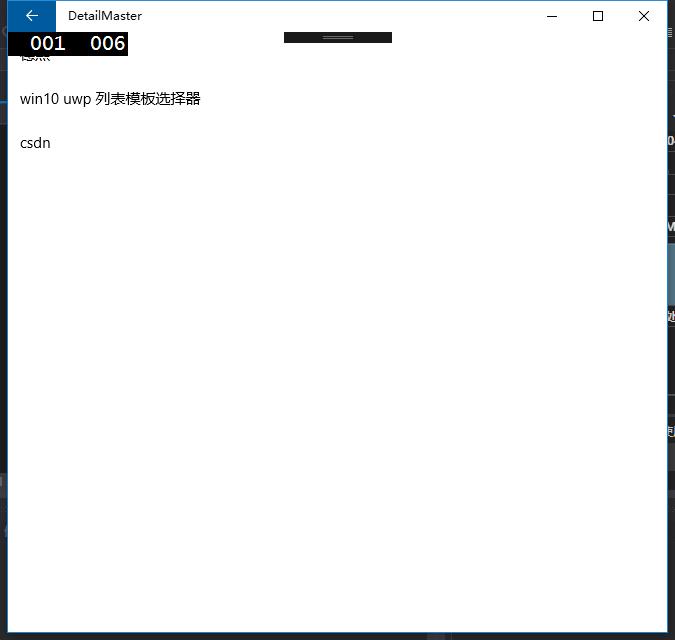
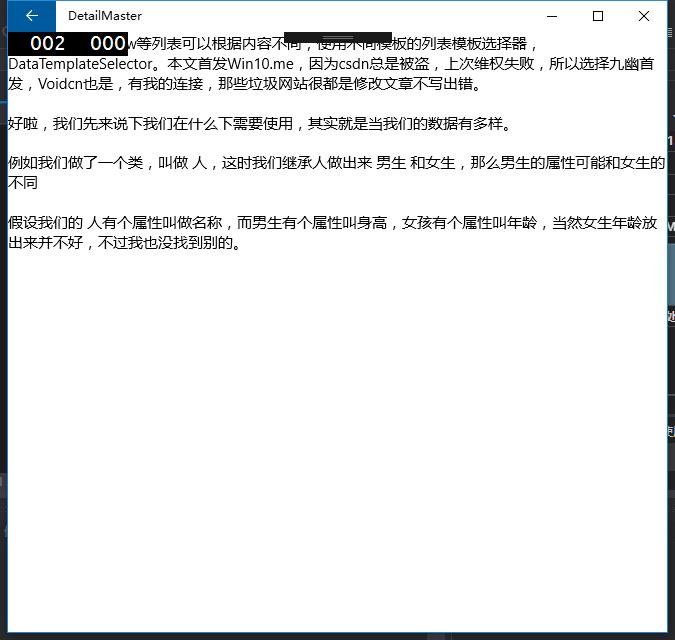
先放图,很简单。
开始的窗口是大,显示列表,因为开始没有点击列表就显示图片,点击列表显示内容,就是下面的图。


如果屏幕小,那么显示列表或内容
当然可以看下垃圾wr的

然后发下我的,可以看到我的最垃圾


https://msdn.microsoft.com/windows/uwp/controls-and-patterns/master-details
国内晓迪文章很好,但是对我渣渣很难。
本文是很简单的,一般和我一样渣都能大概知道。
代码其实我在很大的压力会议写的,不到一个钟,写完修改,和大家说,我写的很简单,可以修改我代码,可以自己写
我们首先一个Grid,分为两栏,其中一栏为List,一栏为Content
在大屏,也就是我们可以把Grid两栏显示,基本就是Frame导航就好了。
如果屏幕小,我们合并为一个Grid,使用顺序,对,List和Content的Zindex设置他们的位置,Zindex比较大的会显示,也就是判断是否存在Content,存在就显示他,不存在,显示List。
应该可以看懂。
现在来说Frame导航。
UWP 导航
Content是一个Frame和一个Image的Grid
            <Grid Grid.Column="{x:Bind View.GridInt,Mode=OneWay}" x:Name="Img"

                  Canvas.ZIndex="{x:Bind View.ZFrame,Mode=OneWay}">

                <Image  Source="../Assets/images.jpg"

                       ></Image>

                <Frame x:Name="frame"

                       ></Frame>

            </Grid>
先不要Grid的属性,我会在后面说。
我们没Frame的Content,也就是我们没点击List,会显示图片,Frame有页面就不会显示,因为ZIndex Frame比Image大,很简单
页面传参数很简单,首先是Frame
FrameNavigate(typeof(页), 参数);
我们在参数写我们要传页面
在页面
        protected override void OnNavigatedTo(NavigationEventArgs e)

        {

            var 参数= e.Parameter as 传输的参数;

            base.OnNavigatedTo(e);

        }
如果要保存我们的页面,不要导航都新建,在构造NavigationCacheMode = NavigationCacheMode.Enabled;
List点击
我们创建数据Model,我们使用MVVM
    public class AddressBook

    {

        public string Id { set; get; }

        public string Name { set; get; }

        public string Str { set; get; }

    }
随便的,可以根据你需要修改
我们在ViewModel,我在View新建两个DetailPage.xaml MasterDetailPage.xaml,所以在ViewModel DetailMasterModel.cs
我们在里面
public ObservableCollection<AddressBook> EccryptAddress { set; get; }
记住要修改列的数量需要使用的
然后我们需要在View写,让我们的数据显示
                <ListView ItemClick="{x:Bind View.MasterClick}"

                      IsItemClickEnabled="True"

                      ItemsSource="{x:Bind View.EccryptAddress}"

                      >

                    <ListView.ItemTemplate>

                        <DataTemplate x:DataType="view:AddressBook">

                            <Grid>

                                <TextBlock Text="{x:Bind Name}"></TextBlock>

                            </Grid>

                        </DataTemplate>

                    </ListView.ItemTemplate>

                </ListView>
当然需要我们在view.xaml.cs
        public MasterDetailPage()

        {

            View = new DetailMasterModel();

            this.InitializeComponent();

        }

        private DetailMasterModel View { set; get; }
我们给ListView我们ViewModel的数据,这样就可以显示,我们使用ItemClick可以得到ListView被点击,当然要IsItemClickEnabled="True"
        public void MasterClick(object o, ItemClickEventArgs e)

        {

            AddressBook temp = e.ClickedItem as AddressBook;

            if (temp == null)

            {

                return;

            }

            HasFrame = true;

            Detail.Navigate(typeof(DetailPage), temp.Str);

            Narrow();

        }
我们拿到点击传给Frame,在ViewModel,把Frame叫Detail
因为点击所以我们的Frame有内容 HasFrame=true;
后退按钮
在App写
Windows.UI.Core.SystemNavigationManager.GetForCurrentView().AppViewBackButtonVisibility = Windows.UI.Core.AppViewBackButtonVisibility.Visible;
我们在ViewModel
SystemNavigationManager.GetForCurrentView().BackRequested += BackRequested;
如果不知道我说的是什么,可以去下我源代码https://github.com/lindexi/UWP
然后在按后退按钮,就把我们的hasFrame=false;
大概我们就把一个页面做好,Detail就显示我们点击传的str
我们需要手机按后退也是 Windows.Phone.UI.Input.HardwareButtons.BackPressed
页面更改大小
我们获得页面大小修改,可以简单
       <VisualStateManager.VisualStateGroups >

            <VisualStateGroup CurrentStateChanged="{x:Bind View.NarrowVisual}">

                <VisualState>

                    <VisualState.StateTriggers>

                        <AdaptiveTrigger MinWindowWidth="720"/>

                    </VisualState.StateTriggers>

                    <VisualState.Setters >

                        <!--<Setter Target="Img.Visibility" Value="Collapsed"></Setter>-->

                    </VisualState.Setters>

                </VisualState>

                <VisualState>

                    <VisualState.StateTriggers>

                        <AdaptiveTrigger MinWindowHeight="200">

                        </AdaptiveTrigger>

                    </VisualState.StateTriggers>

                    <VisualState.Setters >

                    </VisualState.Setters>

                </VisualState>

            </VisualStateGroup>

        </VisualStateManager.VisualStateGroups>
        public void NarrowVisual(object sender, VisualStateChangedEventArgs e)

        {

            Narrow();

        }
CurrentStateChanged就是当触发我们的界面变化发生,用这个比较好,因为我们界面大小修改不一定会小于我们设置的,一旦小于再触发,因为View的函数需要object sender, VisualStateChangedEventArgs e
那么从函数获得我们窗口变化可以使用下面两个:
Window.Current.Bounds.Width放在函数,就可以得到我们的窗口大小。
当然我们可以给我们VisualState名,从e.NewState拿到Name就很简单,我们使用Narrow,判断显示屏是小还是可以显示两个
我推荐是使用第一个,因为第二个我们必须修改前台就修改ViewModel
修改显示
我们先判断我们现在屏幕,显示两个还是显示List一个,如果是显示两个,那么我们不需要什么,当然我们需要给默认。
默认Grid左边Auto,右边*,分两个,然后左边是List,如果没有Frame,那么显示图片
如果屏小,那么就显示List,这时我们修改Grid为左边*,右边auto,然后把我们Grid,有Frame,修改为左边,这样我们右边就没有,左边有List和Grid
如果我们HasFrame,还记得hasFrame在哪?就是我们Frame存在内容就是true,那么我们把Frame的ZIndex>List的ZIndex,我们就显示Frame,如果我们按返回,那么把List的ZIndex大于Frame
可以看到我们需要设置一个ZIndex就好
我们就在界面变化,和点击后悔,点击列表,使用判断,我们判断写成一个函数,函数判断现在窗口,判断HasFrame,很简单。
如果看不懂我上面说的,可以看我代码https://github.com/lindexi/UWP/tree/master/uwp/src/DetailMaster
我们开始的大屏幕是使用Grid有分开,左边列表,右边Content,其中Content是Frame,用到页面导航。
如果屏幕小,那么使用List和Content放在同一个Grid,依靠Zindex显示,如果是需要显示列表就列表的ZIndex大,需要显示内容,就把内容的ZIndex大。
我们需要判断我们是否点击了List和用户是否点了返回键,一旦按返回键,我们显示列表,当然在我们屏幕大,可以不做什么,如果屏幕小,就需要设置ZIndex。
那么我们在界面变化的是否,是否知道我们显示内容还是显示列表,这时就是我们得HasFrame,依靠这个选择ZIndex
修改我代码
现在需要说下,如何修改我的代码,作为你需要。
一般可以自己写一个,不过通过修改我的代码会让你更加理解
首先我们需要Model,这是你自己定义的,随便写
然后打开ViewModel,我们里面关键的有ObservableCollection的,这是列表。
MasterClick里面把跳转换为你需要的。
BackRequested是返回,按返回键,我们现在简单使用界面的,不使用硬件,如果需要硬件其实简单。
界面开始的Image可以换为你需要的,然后其他的可以选择不修改。
很简单使用。
源码
接着我们来说下我源代码怎么做。
我首先新建Model,放下随意的,然后在ViewModel使用ObservableCollection,当然给他的也是随意的
在界面我们需要Grid,这时我绑定了GridLength,设置这个简单。
如果需要auto,简单 GridLength.Auto,如果需要1*,可以new GridLength(1, GridUnitType.Star);就是这样,开始是左边Auto,右边1*,MasterGrid就是列表啦,这个不想说
我绑定是用x:Bind,要OneWay
我写List需要使用Grid,因为背景透明,其实我在List也可以用背景,但是我想我会在List做弹出,最后想着用Grid
 <Grid

                Background="White"

                Canvas.ZIndex="{x:Bind View.ZListView,Mode=OneWay}">
在List
            <Grid Grid.Column="{x:Bind View.GridInt,Mode=OneWay}"

                  Canvas.ZIndex="{x:Bind View.ZFrame,Mode=OneWay}">
我们需要做一点修改,在我们的内容没有,我们是不需要返回键的,那么这时的返回键可以作为按两次退出,这个可以看http://blog.csdn.net/xuzhongxuan/article/details/49962705
如果我们按返回,但是我们撸了一半,假如我们是页面跳转,不使用我源码,那么加上NavigationCacheMode ,保存页面,这样不会让页面现在的选择重新
下面说下English,其实是Google翻译,因为我这个遇到一个用英文问我的人,不知道是不是,反正就直接翻译
English
I make a Easy MasterDetail to use.It’s very easy,and I has not yet been see the other easier that it.
In big screen and the widescreen,we have a Grid with two columns.And the left is list and the right is content.
The content is an Image and a Frame.If not content,show Image,else show content.
In narrowscreen,we make the list and content in a col.If has content ,the content’s Zindex is greater than the list.And if click the backButton ,the List’s zindex is greater than content.
We make the list’s background white,so if the list zindex is grerater than content and we can’t see content.
We have bool value is hasFrame ,if we has content ,it is true,else false.In the windows be narrow ,if the hasFrame==true ,we make Content’s zindex greater than list.
We can change the model for your class and write ObservableCollection.In MasterClick ,we can make Navigate.
If something perplexes you,mailto lindexi_gd@163.com.

本作品采用知识共享署名-非商业性使用-相同方式共享 4.0 国际许可协议进行许可。欢迎转载、使用、重新发布,但务必保留文章署名林德熙(包含链接:http://blog.csdn.net/lindexi_gd ),不得用于商业目的,基于本文修改后的作品务必以相同的许可发布。如有任何疑问,请与我联系。
以上是关于win10 uwp 简单MasterDetail的主要内容,如果未能解决你的问题,请参考以下文章