Angular2 Hello World 之 2.0.0-beta.14
Posted du_blog
tags:
篇首语:本文由小常识网(cha138.com)小编为大家整理,主要介绍了Angular2 Hello World 之 2.0.0-beta.14相关的知识,希望对你有一定的参考价值。
公司现在采用angualrjs开发一些web应用,采用的是angular1,现在angular2已经差不多了,听说最近rc6已经出来了……其实感觉好慢啊!之前也做过一些anglar2的例子,但是没有记录下来,现在重新拾起来还费了半天劲儿!弄了半天总是报错,按着文件对比了半天也没有找打是哪里写错了……哎!最后发现是版本的问题,这次想把它记录下来,方便之后查看。
环境:Visual Studio 2015 Update 3+Asp.net core templates
一、创建一个 Asp.net core空项目
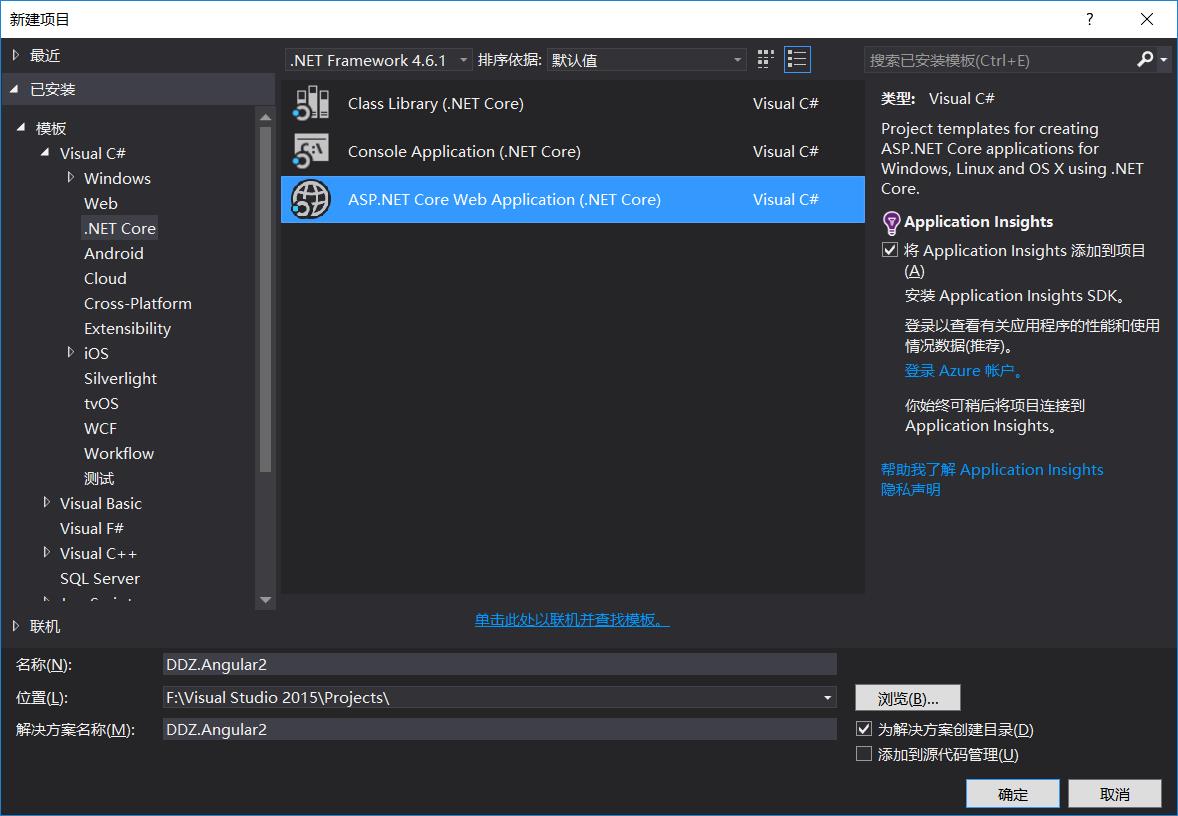
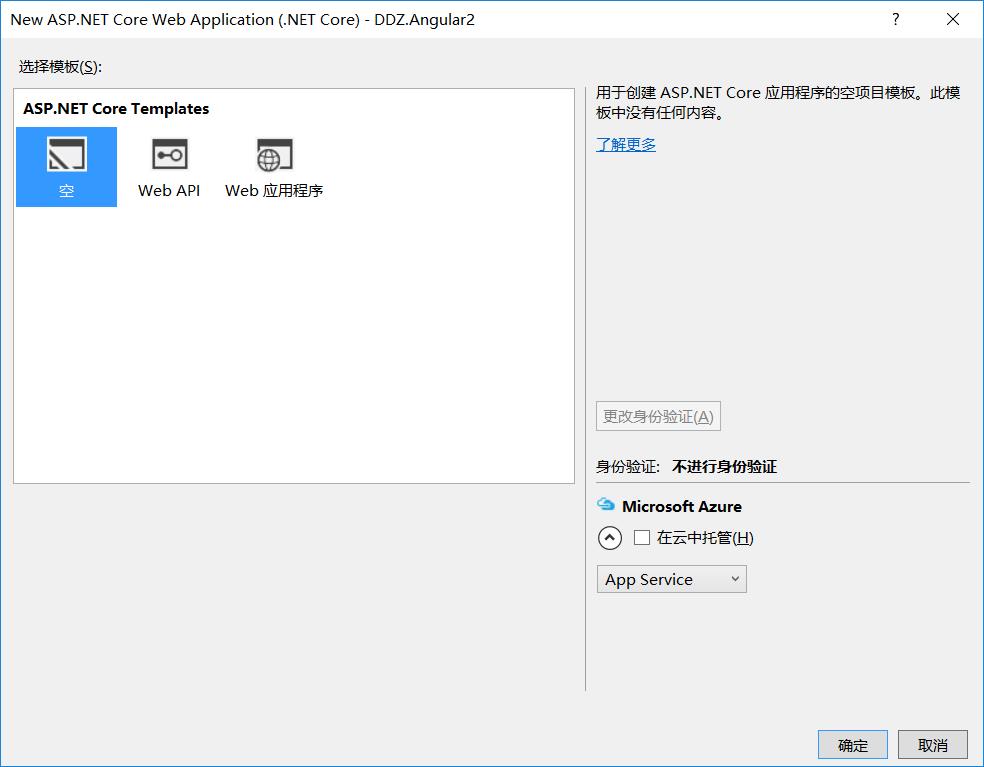
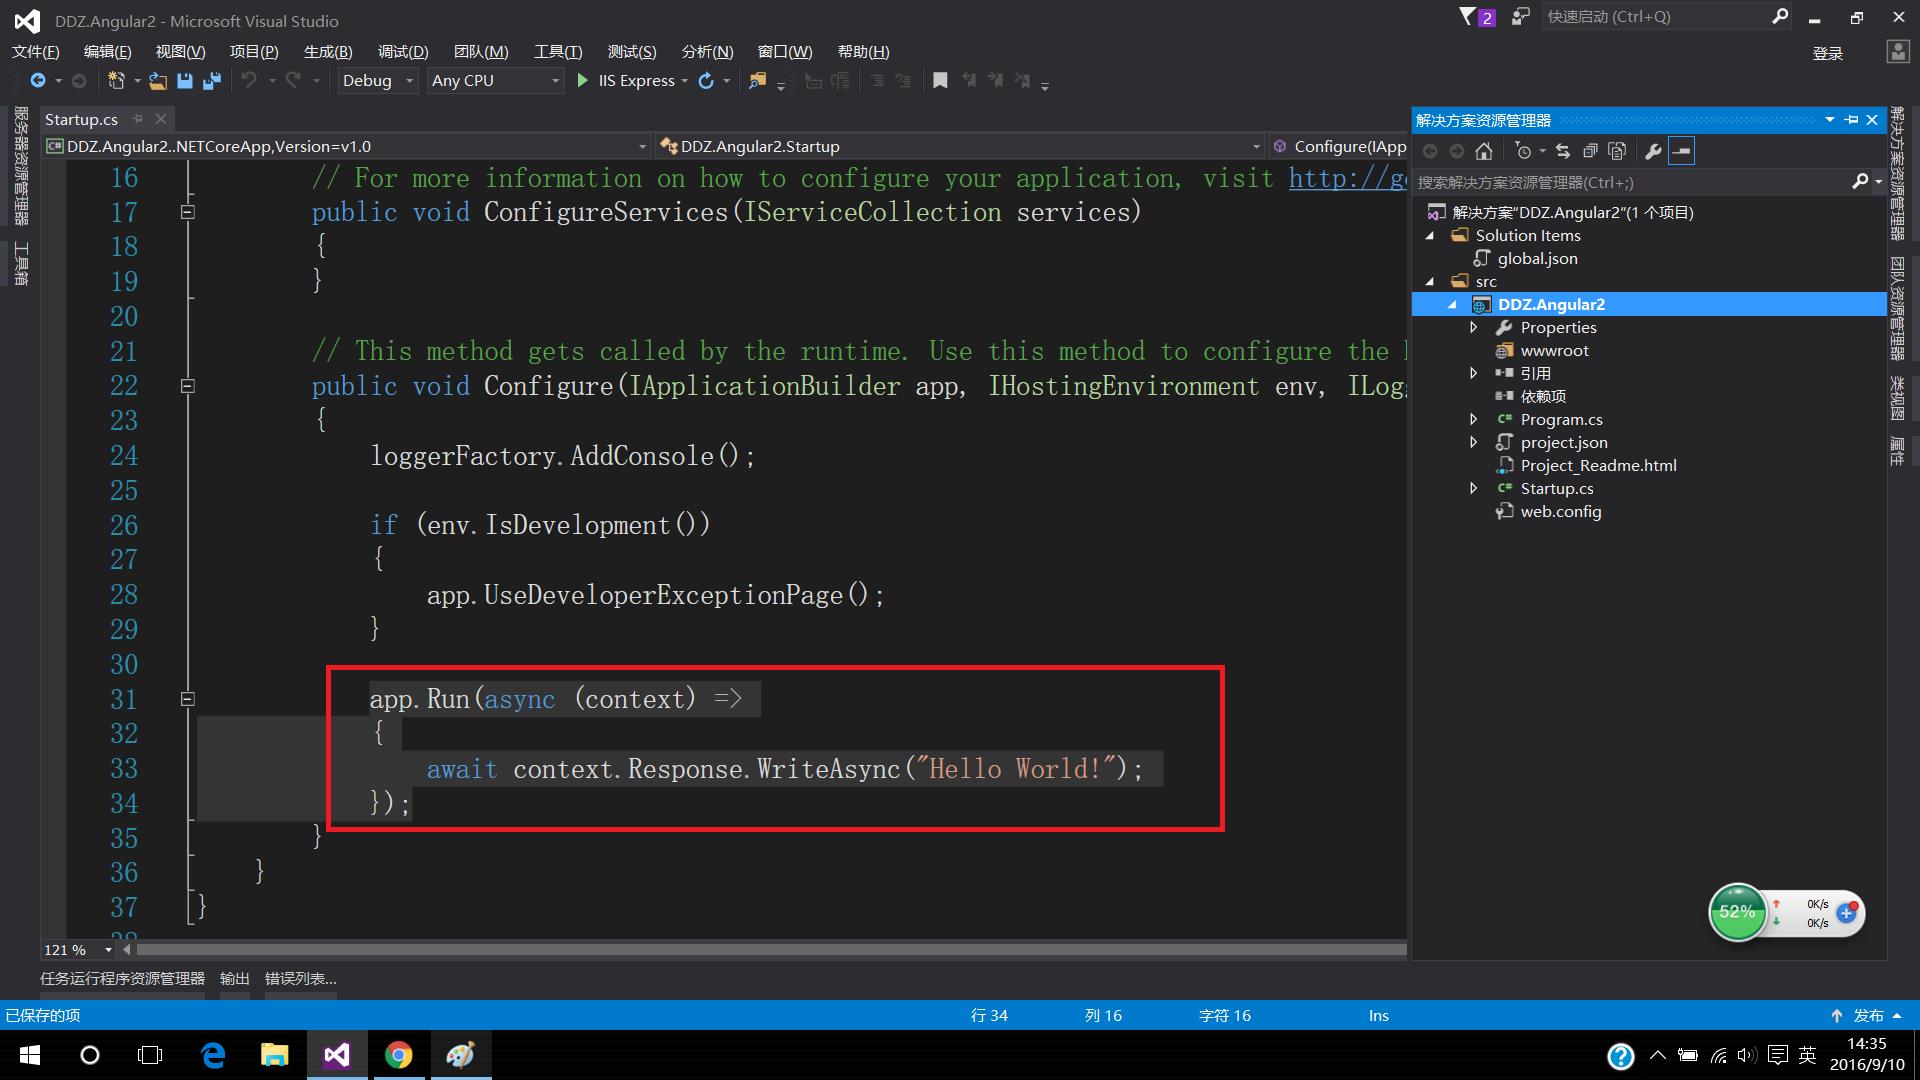
至此,一个空的项目就创建成功了。可以直接按F5调试,如下图:
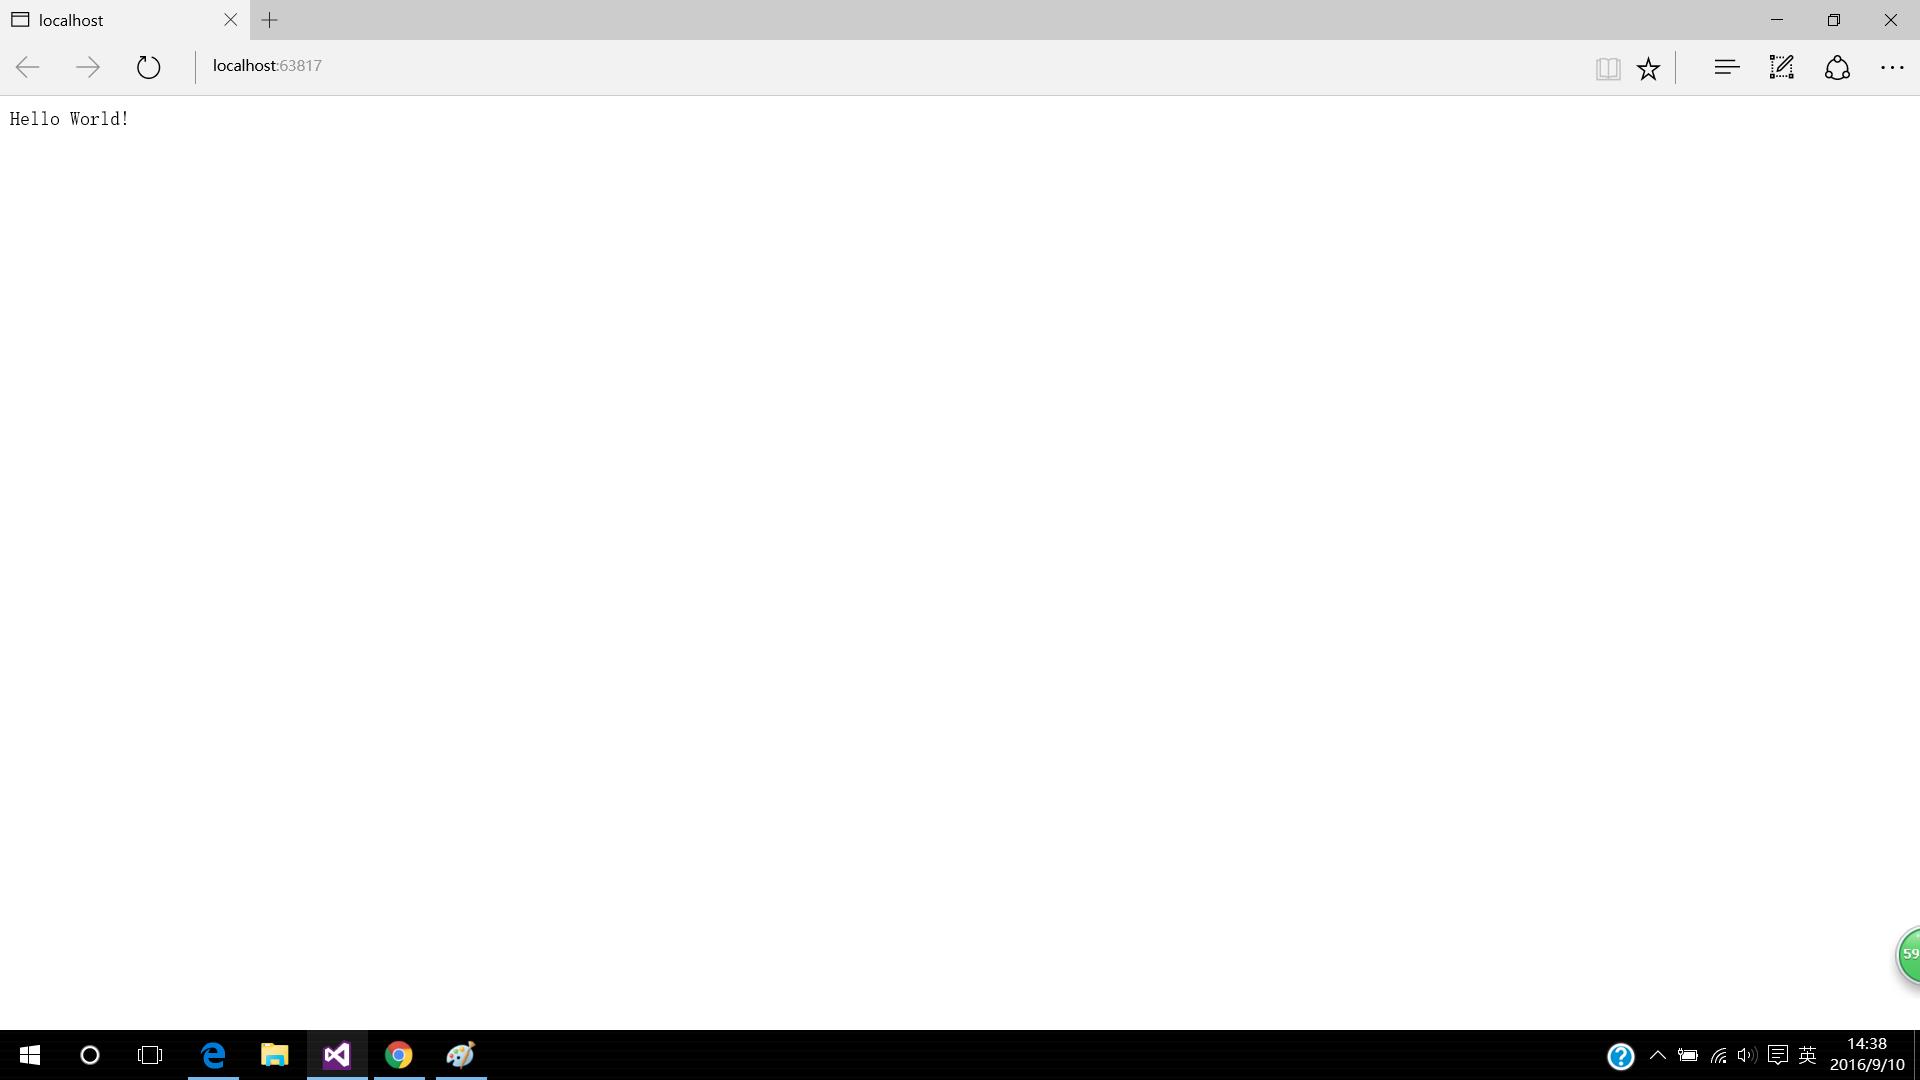
页面的输出的“Hello World!”是下面这段代码起的作用,

1 app.Run(async (context) =>
2 {
3        await context.Response.WriteAsync("Hello World!");
4 });
现在我们要将上面代码换掉(如果不换掉,在浏览器查看网页时总是显示“Hello World!”),代码如下(添加静态文件处理):

1 app.UseStaticFiles();
二、添加“NPM 配置文件”至项目根目录下,并添加angular2以及依赖包(程序会自动下载),如下:

 1 {
 2   "version": "1.0.0",
 3   "name": "asp.net",
 4   "private": true,
 5   "dependencies": {
 6     "angular2": "2.0.0-beta.14",
 7     "systemjs": "0.19.24",
 8     "rxjs": "5.0.0-beta.3",
 9     "zone.js": "0.6.6"
10   },
11   "devDependencies": {
12     "gulp": "3.9.1"
13   }
14 }
三、添加“Gulp 配置文件”至项目根目录下,用于移动angular2以及依赖包到指定的目录下,代码如下:

 1 var gulp = require(\'gulp\');
 2
 3 gulp.task("angular2:moveLibs", function () {
 4     return gulp.src([
 5             "node_modules/angular2/bundles/angular2-polyfills.js",
 6             "node_modules/systemjs/dist/system.src.js",
 7             "node_modules/rxjs/bundles/Rx.js",
 8             "node_modules/angular2/bundles/angular2.dev.js",
 9     ]).pipe(gulp.dest(\'./wwwroot/libs/\'));
10 });
添加完成之后,右键“gulpfile.js”选择“任务运行程序资源管理器”,如下图:
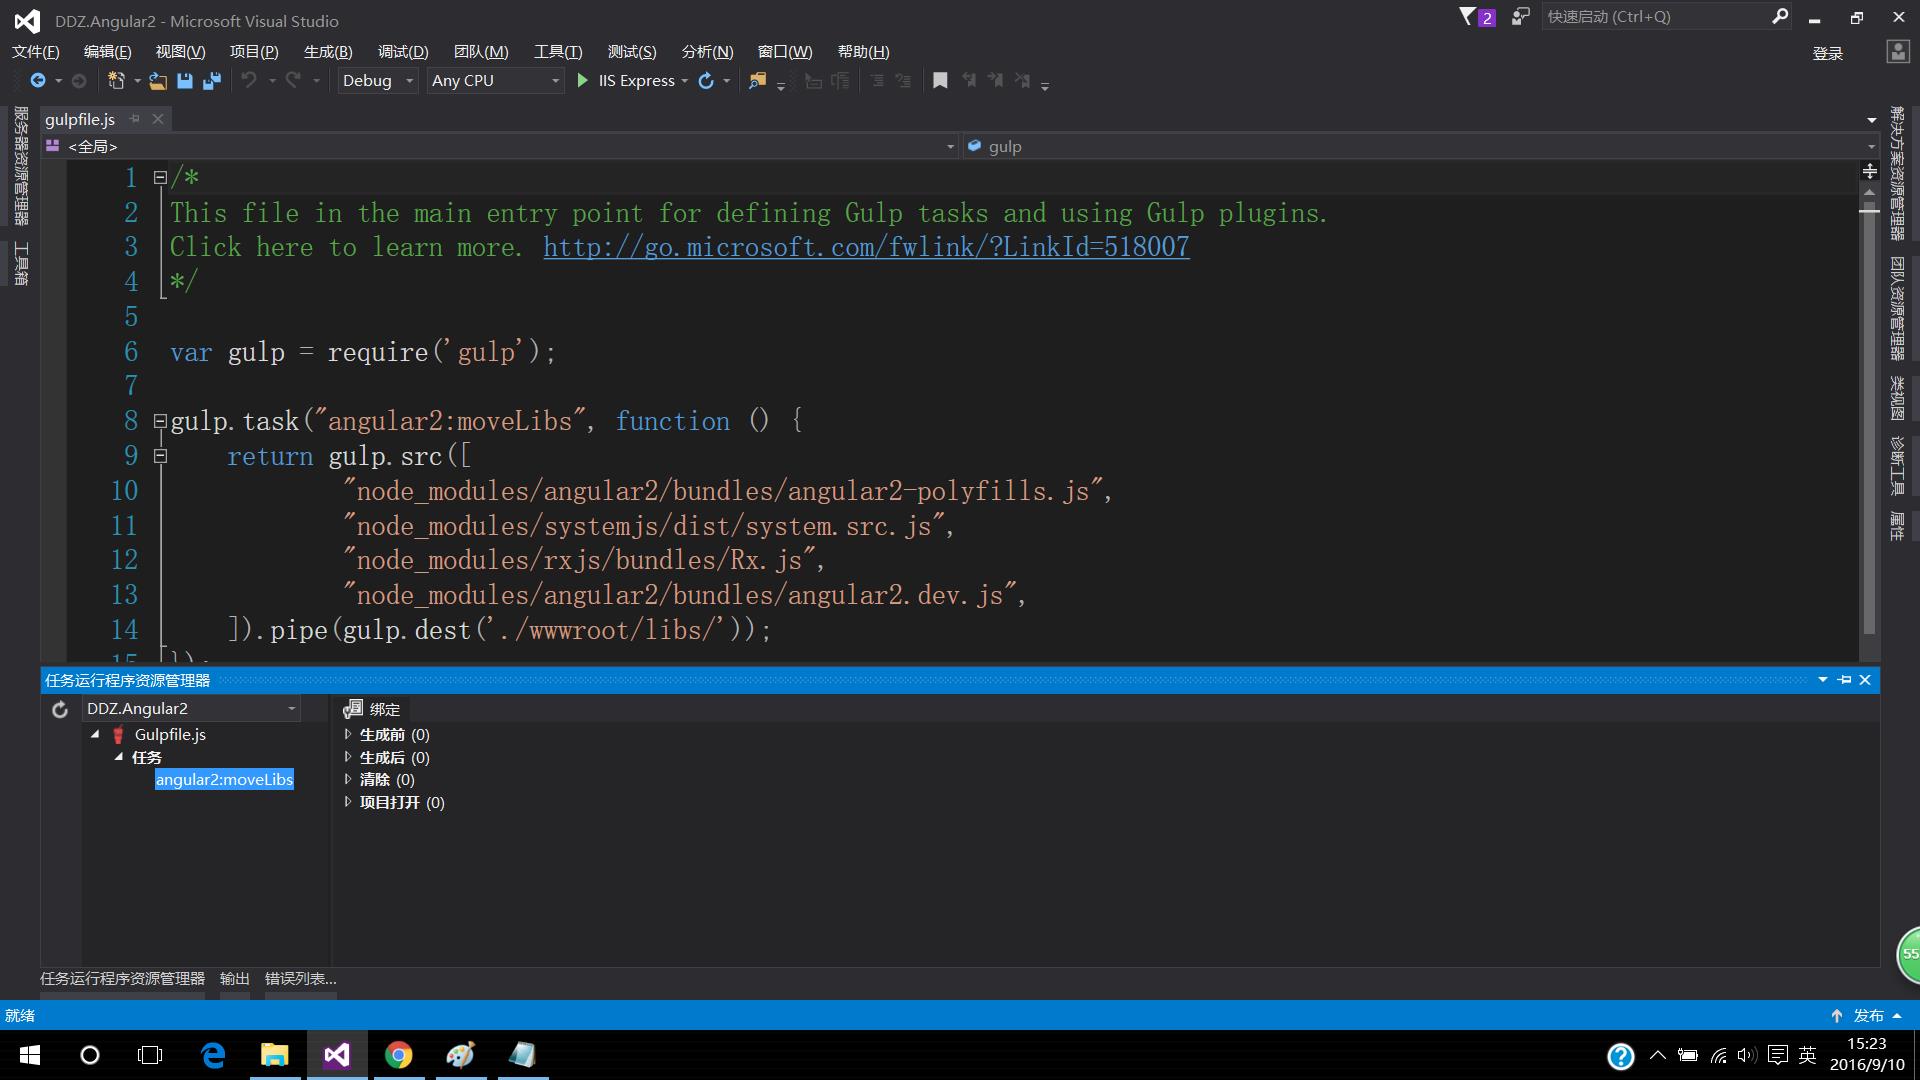
如上图会发现一个任务:“angular2:moveLibs”,然后右键该任务点击“运行”,如下图:
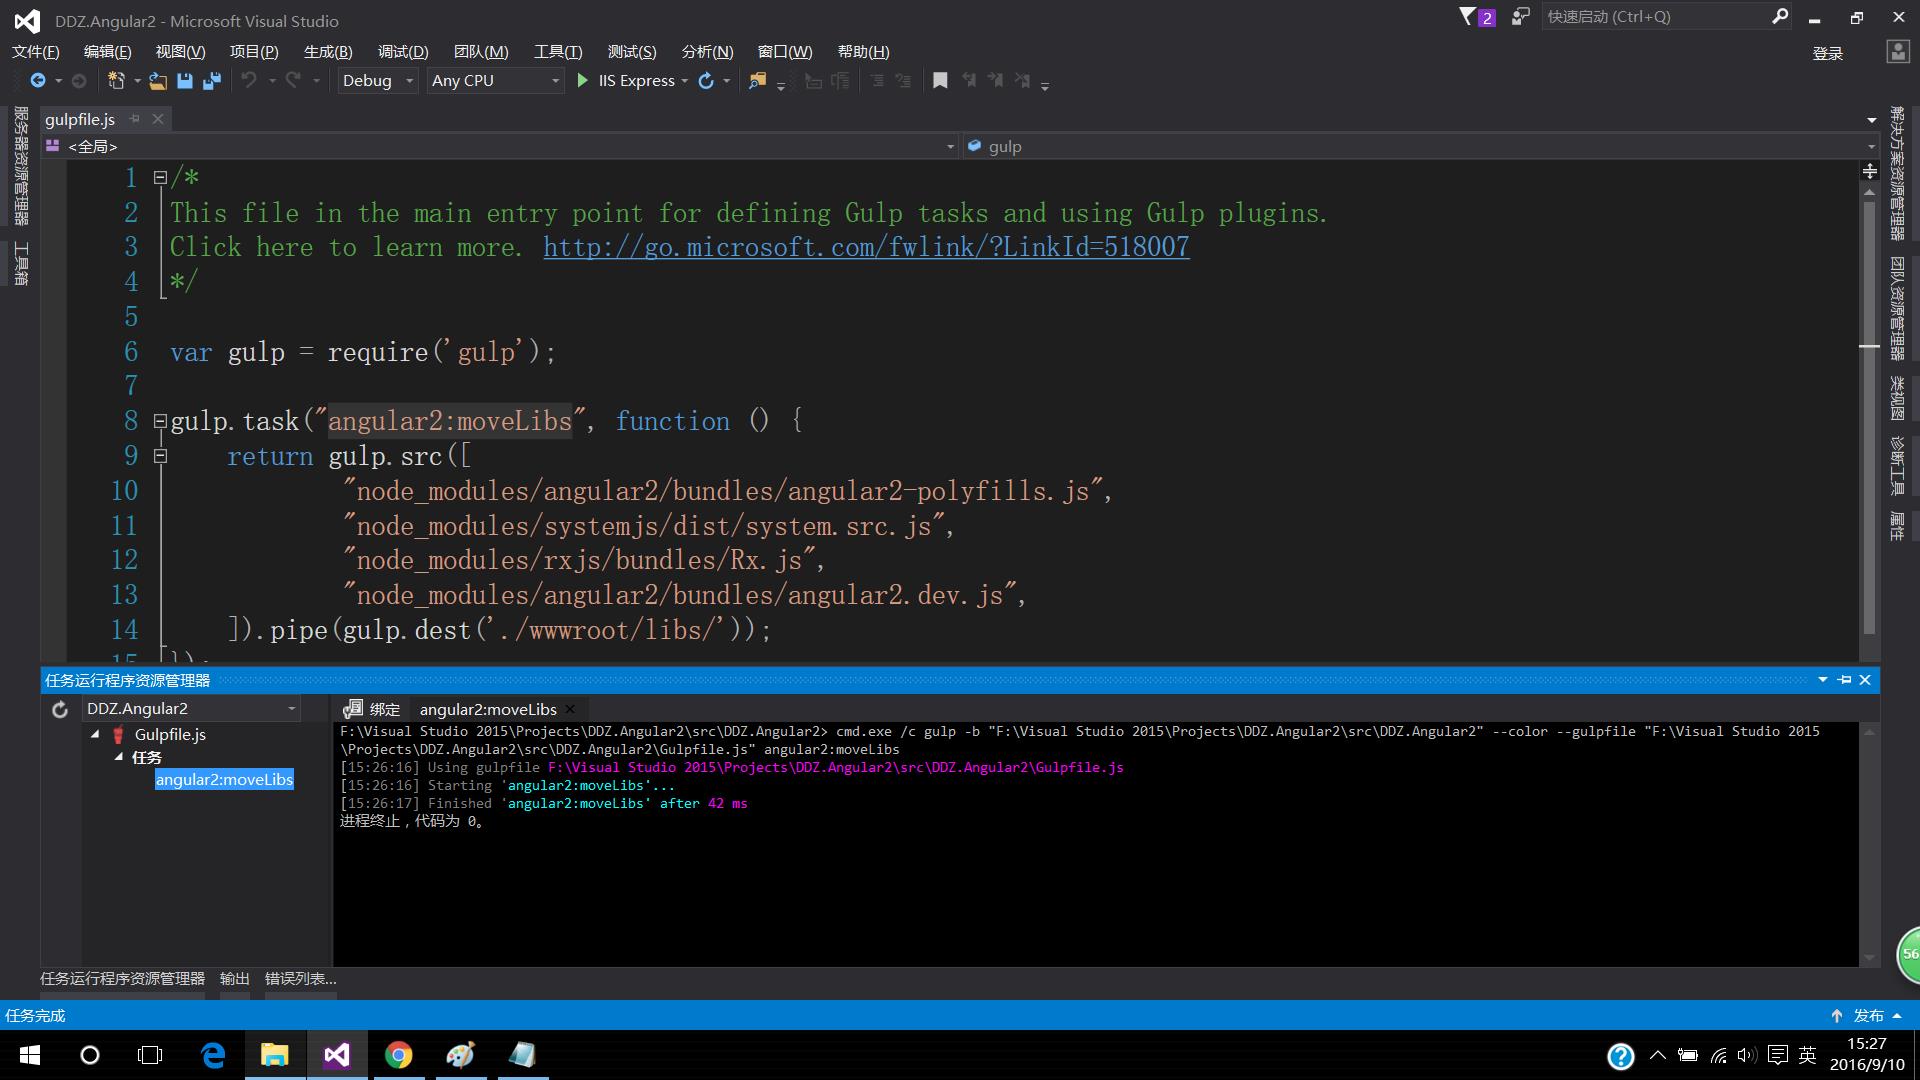
此时便会将gulp任务中指定的js文件拷贝到指定的路径下,这里是“./wwwroot/libs/”。
四、在项目更目录下添加目录“typescripts”(用来存放typescript脚本文件,也是我们编写的angular2代码)以及在该目录下添加“TypeScript JSON 配置文件”,并在配置文件中添加如下代码:

 1 {
 2   "compilerOptions": {
 3     "target": "es6",
 4     "module": "system",
 5     "moduleResolution": "node",
 6     "sourceMap": true,
 7     "emitDecoratorMetadata": true,
 8     "experimentalDecorators": true,
 9     "removeComments": false,
10     "noImplicitAny": false,
11     "outDir": "../wwwroot/typescripts"
12   },
13   "exclude": [
14     "node_modules",
15     "wwwroot"
16   ]
17 }
说明:"outDir": "../wwwroot/typescripts" 该配置会将“typescripts”目录中的*.ts文件编译为对应的*.js文件放到wwwroot/typescripts目录中。
在该目录下新建两个“TypeScript 文件”,这里分别命名:“app.ts”,“boot.ts”。前者是demo主程序,后者为启动使用(不知道说的对不对),代码如下:

1 import {Component} from \'angular2/core\';
2 @Component({
3     selector: \'my-app\',
4     template: \'<h1>My First Angular 2 App</h1>\'
5 })
6 export class AppComponent { }

1 import {bootstrap}    from \'angular2/platform/browser\';
2 import {AppComponent} from \'./app\';
3 bootstrap(AppComponent);
五、在“wwwroot”目录下新建“index.html”文件,代码如下:

 1 <html>
 2 <head>
 3     <base href="/">
 4     <title>Angular 2 QuickStart</title>
 5     <meta name="viewport" content="width=device-width, initial-scale=1">
 6     <!-- 1. Load libraries -->
 7     <script src="libs/angular2-polyfills.js"></script>
 8     <script src="libs/system.src.js"></script>
 9     <script src="libs/rx.js"></script>
10     <script src="libs/angular2.dev.js"></script>
11     <!-- 2. Configure SystemJS -->
12     <script>
13       System.config({
14         packages: {
15             typescripts: {
16             format: \'register\',
17             defaultExtension: \'js\'
18           }
19         }
20       });
21         System.import(\'typescripts/boot\')
22             .then(null, console.error.bind(console));
23     </script>
24 </head>
25 <!-- 3. Display the application -->
26 <body>
27     <my-app>Loading...</my-app>
28 </body>
29 </html>
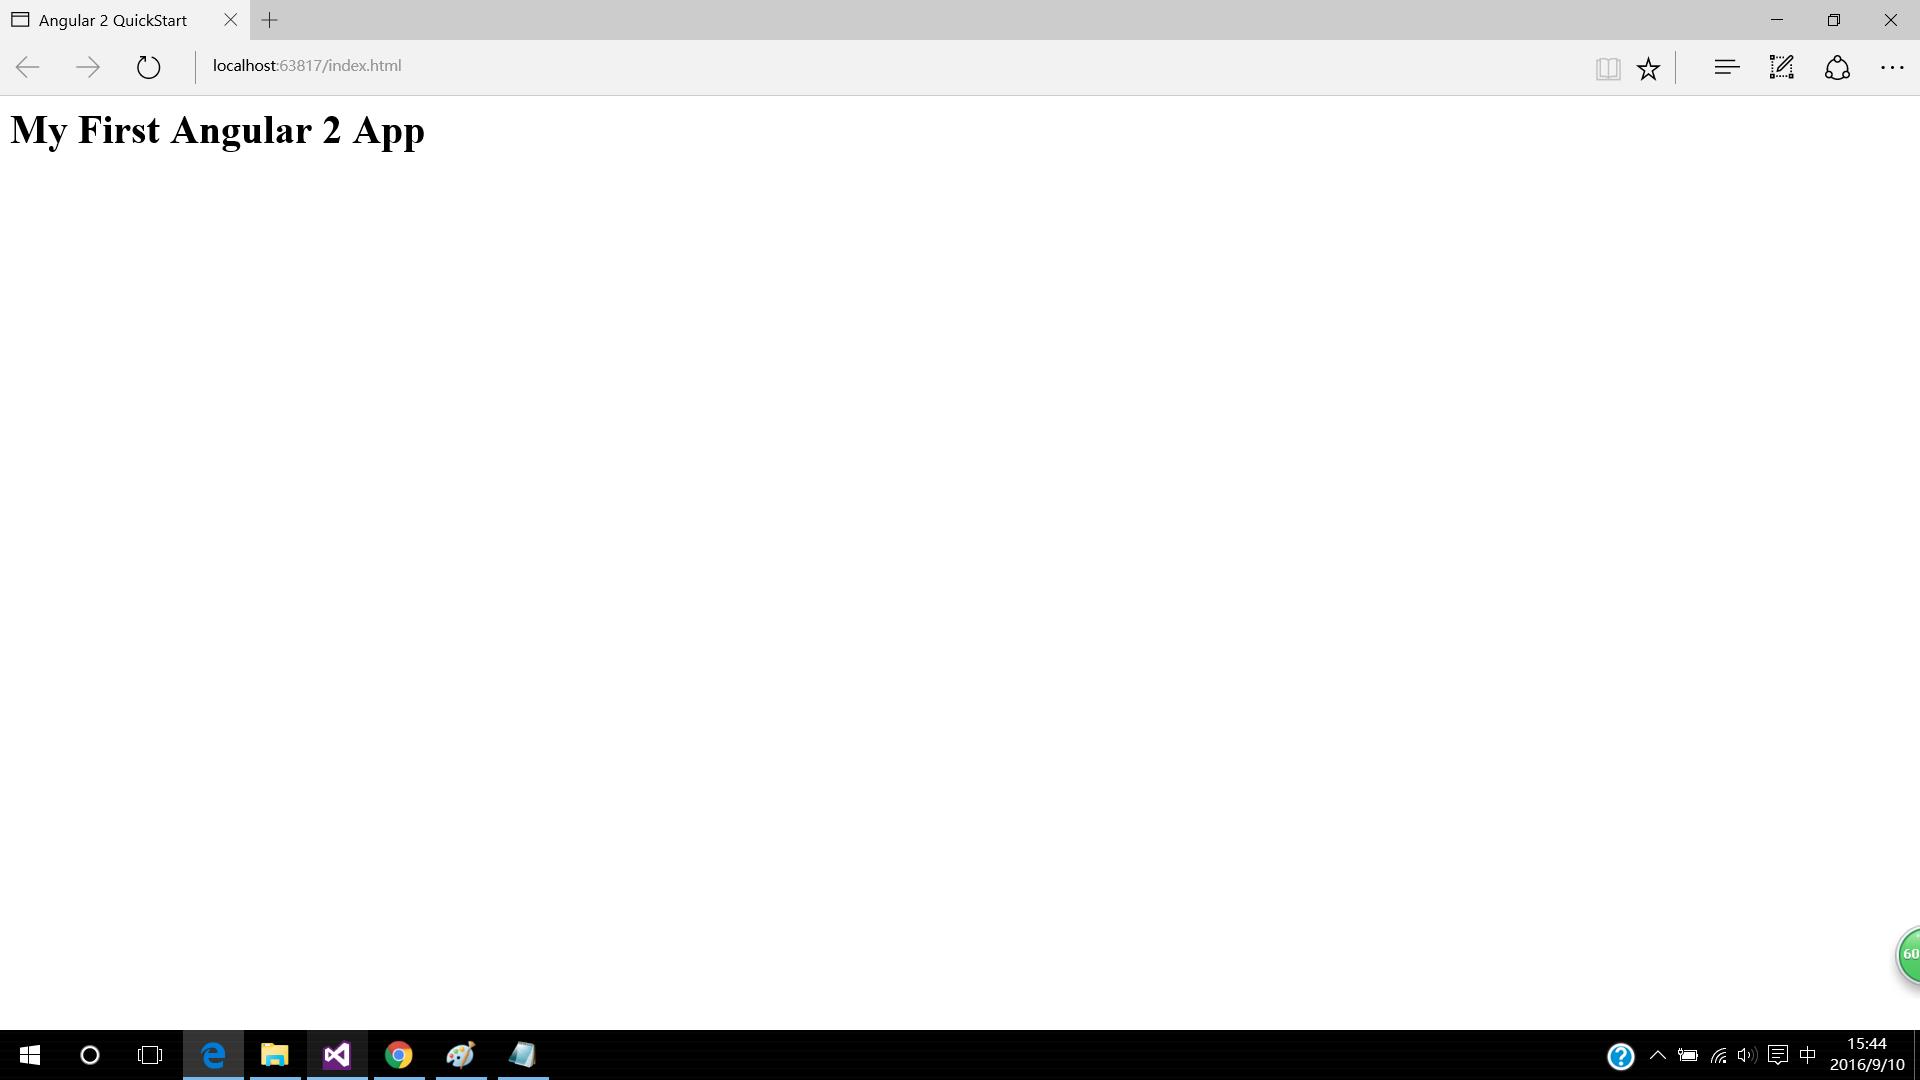
至此,所有的新建工作已经完成,然后生成一下解决方案。你会发现在“wwwroot”目录下生成了“typescripts”文件夹,其中是“app.ts”,“boot.ts”对应的js文件。最后让我们看一下我们的劳动成果,在浏览器查看index.html页面,如下图:
到此,此文已经结束了。再说一下为什么没有使用最新的angular2版本,而是使用了2.0.0-beta.14。我有个毛病,喜欢使用最新版的。开始是使用最新版的,但是报错了,所以就采用之前使用的版本,最新版本的angular2 Demo下次接着写。
以上是关于Angular2 Hello World 之 2.0.0-beta.14的主要内容,如果未能解决你的问题,请参考以下文章
