maven发布到私服
Posted fengzp
tags:
篇首语:本文由小常识网(cha138.com)小编为大家整理,主要介绍了maven发布到私服相关的知识,希望对你有一定的参考价值。
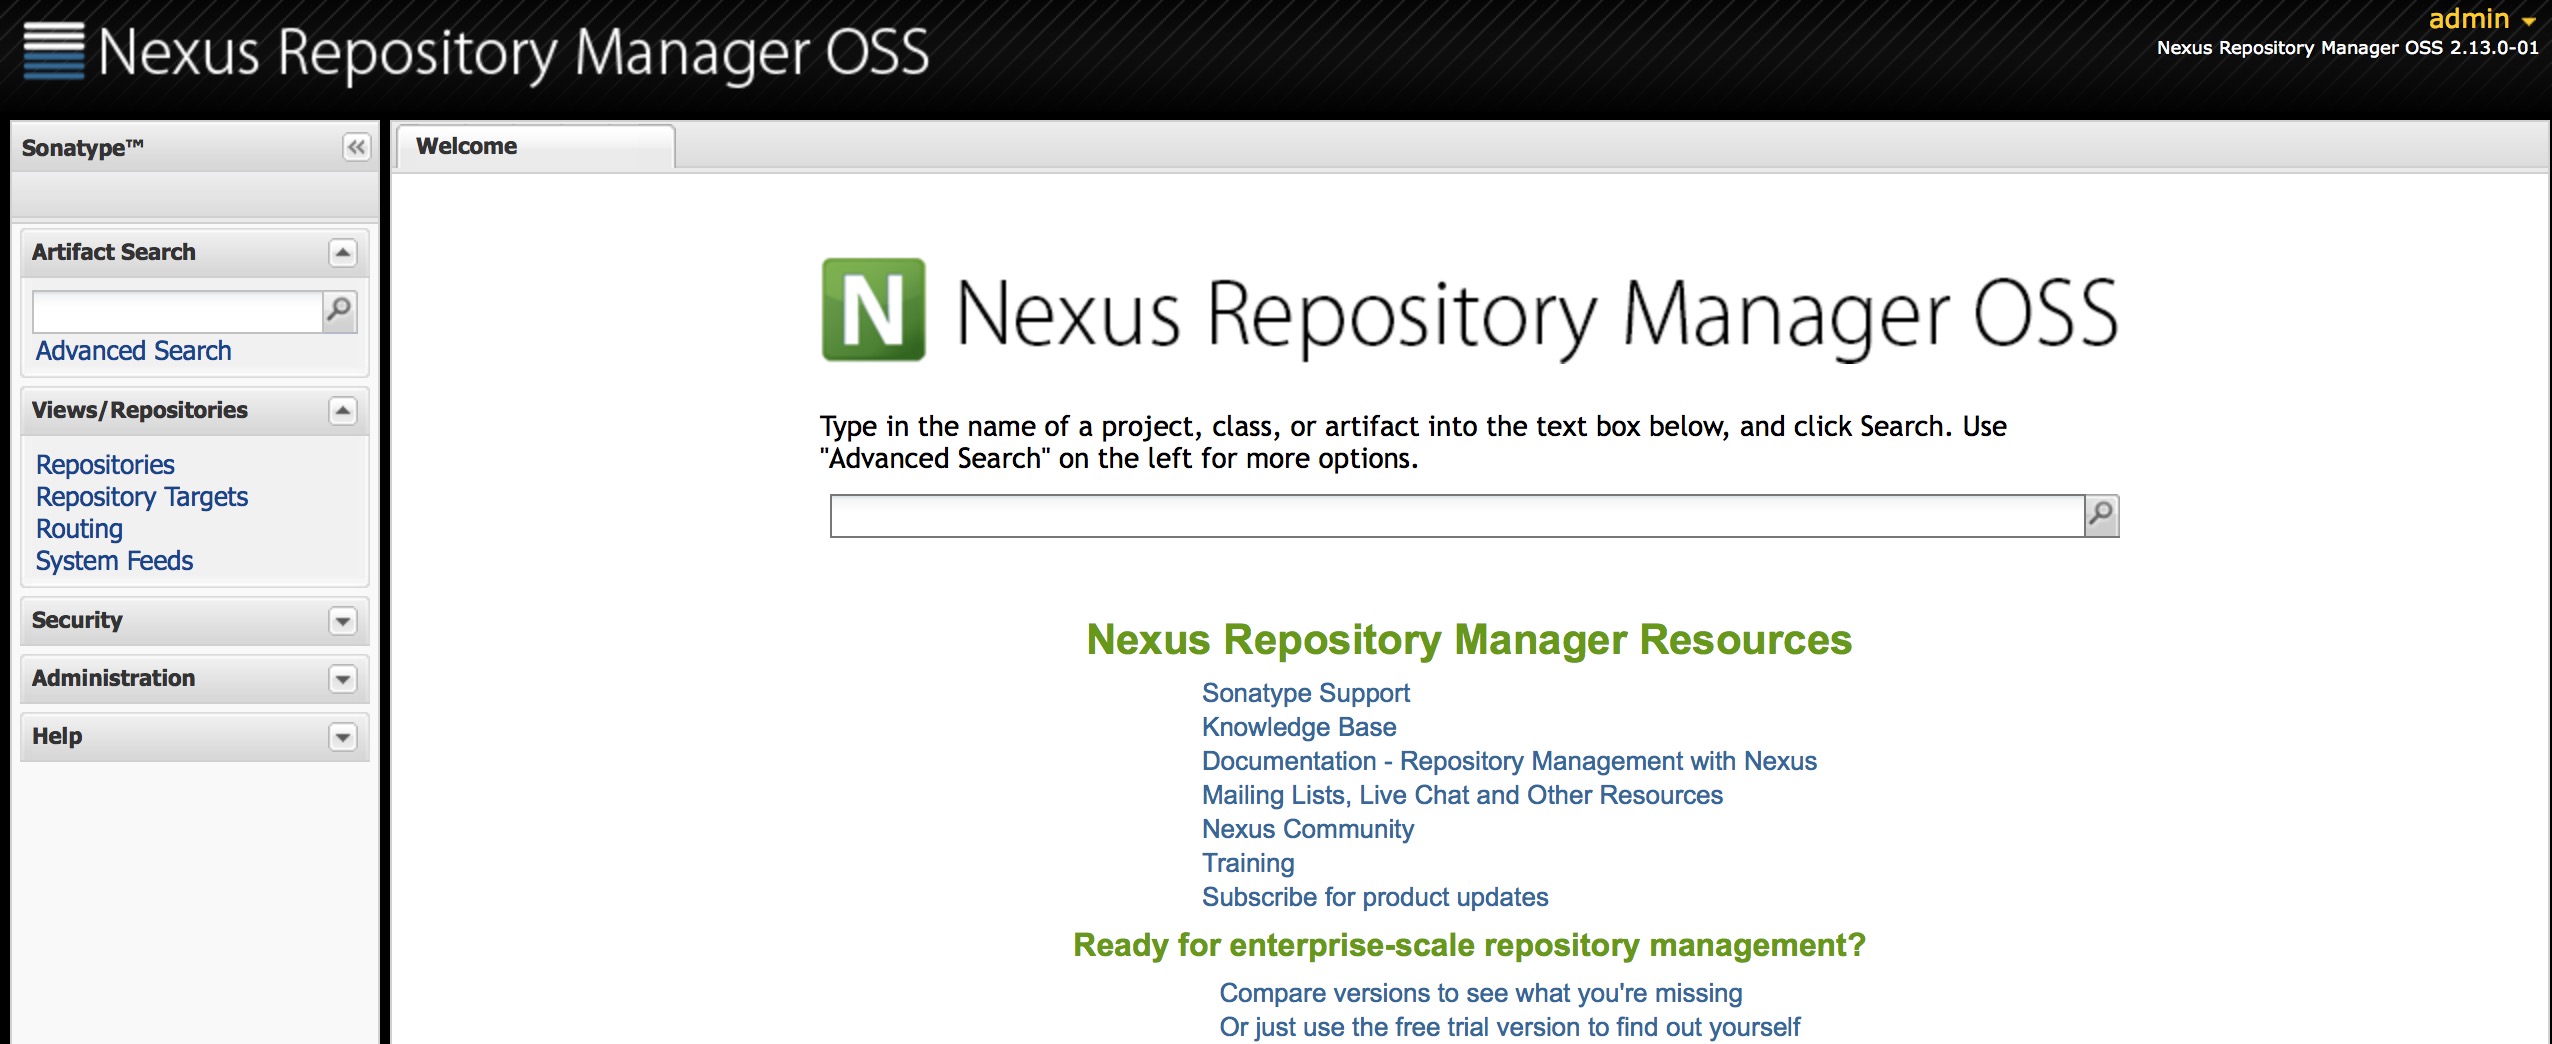
1.安装Nexus
这里是用homebrew安装, brew nexus
安装成功后,默认的访问端口为8081, 我这里的访问地址是http://192.168.99.100:8081
默认用户:admin 密码:admin123

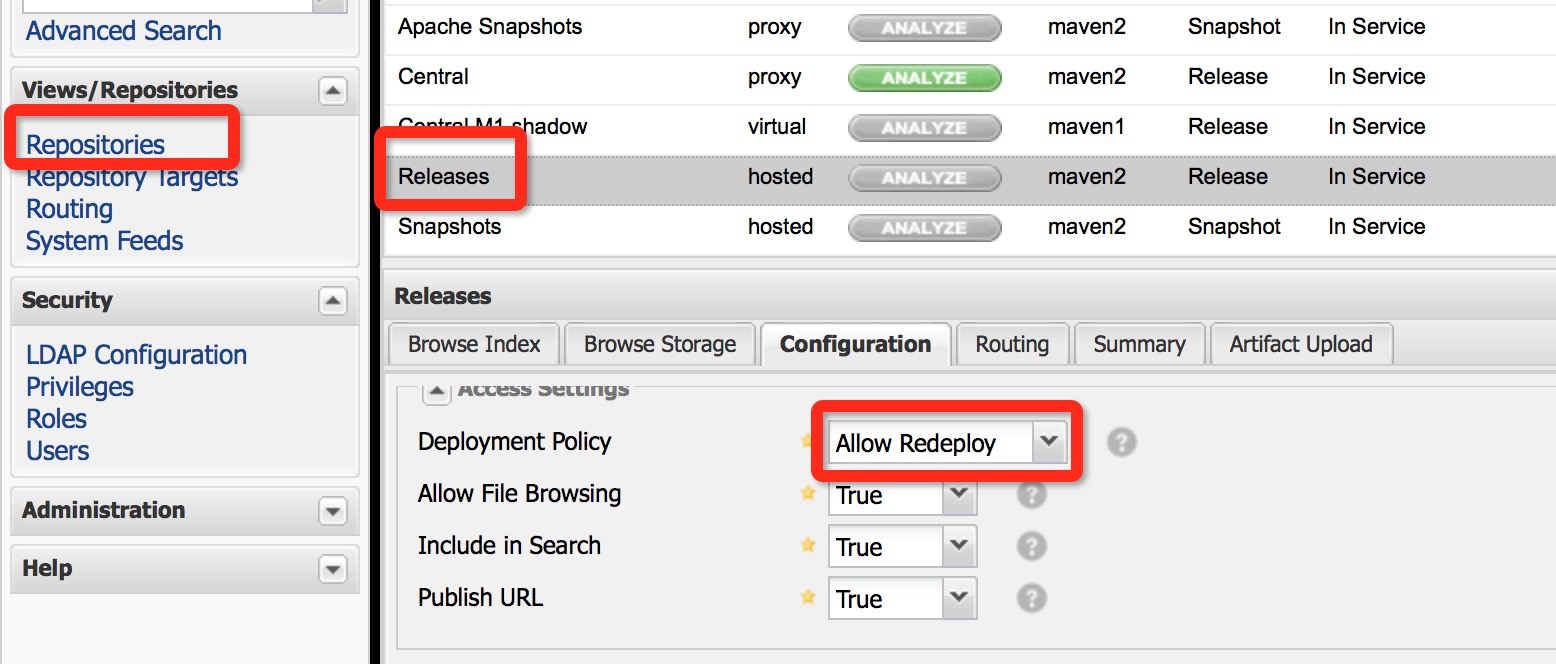
2.设置nexus的release配置为允许发布

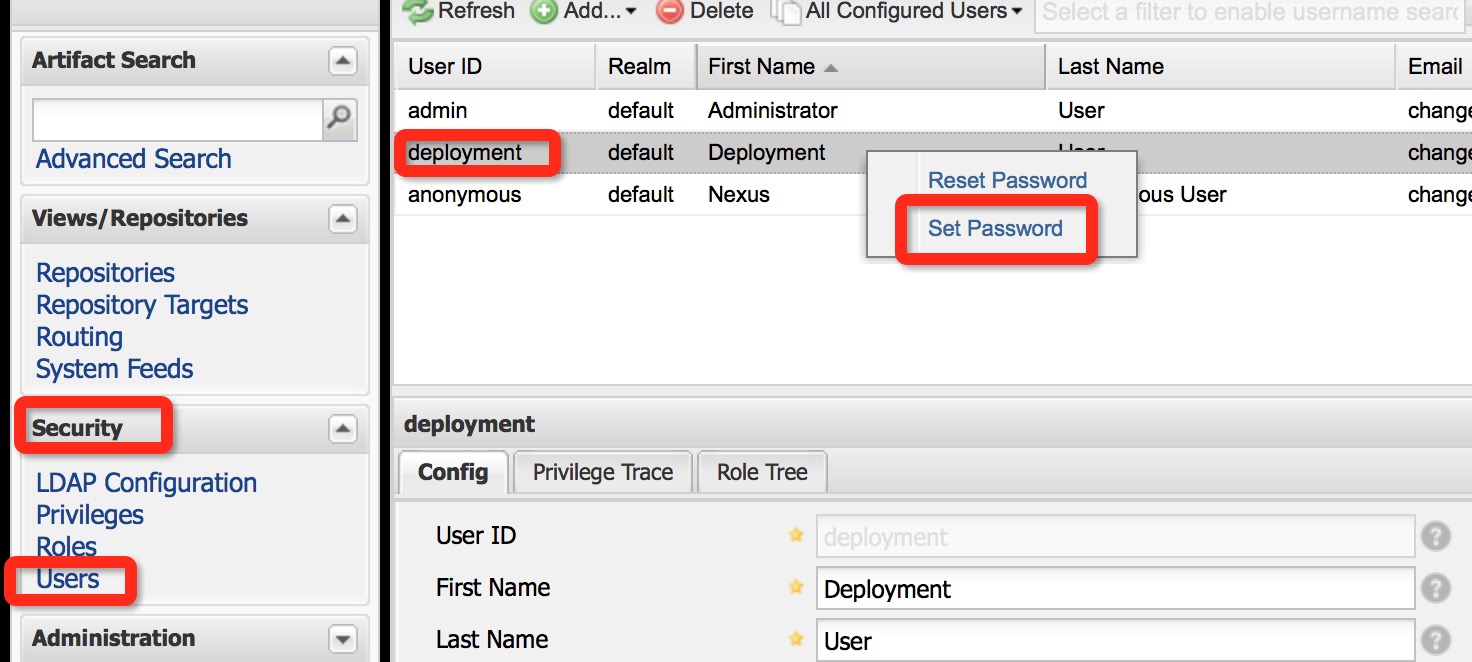
3.设置nexus的deployment用户密码

4.修改本地maven配置文件,添加server
打开本地的settings.xml,找到<servers>,添加以下配置
<server>
<id>snapshots</id>
<username>nexus-deployment</username>
<password>123456</password>
</server>
<server>
<id>nexus-releases</id>
<username>deployment</username>
<password>123456</password>
</server>
这里的password就是刚刚设置的密码
5.修改要发布的项目的pom.xml配置
添加以下配置:
<distributionManagement>
  <!--<repository>-->
    <!--<id>nexus-releases</id>-->
    <!--<url>http://192.168.99.100:8081/content/repositories/releases</url>-->
  <!--</repository>-->
  <snapshotRepository>
    <id>nexus-snapshots</id>
    <url>http://192.168.99.100:8081/content/repositories/snapshots</url>
  </snapshotRepository>
</distributionManagement>
注意:这里的id和刚在settings.xml文件添加的id要一致
6.创建项目骨架
参考:http://www.javatang.com/archives/2010/01/23/4518375.html/comment-page-1
在项目的根目录下执行
# mvn clean
# mvn archetype:create-from-project (这个命令会生成archetype相关的文件)
# cd target/generated-sources/archetype/ (在这个目录下能看到刚生成的文件)
发布到本地:
执行mvn install
发布到私服:
在这个目录下的pom.xml添加第五步的配置
执行mvn deploy
7.查看本地archetype
vi ~/.m2/archetype-catalog.xml
8.创建远程项目模板
1.eclipse
首先添加远程原型目录

新增maven项目时就会自动读取远程的模板

2.idea
idea需要每个模板都手动添加

以上是关于maven发布到私服的主要内容,如果未能解决你的问题,请参考以下文章