eclipse maven新建springMVC项目(原创)
Posted
tags:
篇首语:本文由小常识网(cha138.com)小编为大家整理,主要介绍了eclipse maven新建springMVC项目(原创)相关的知识,希望对你有一定的参考价值。
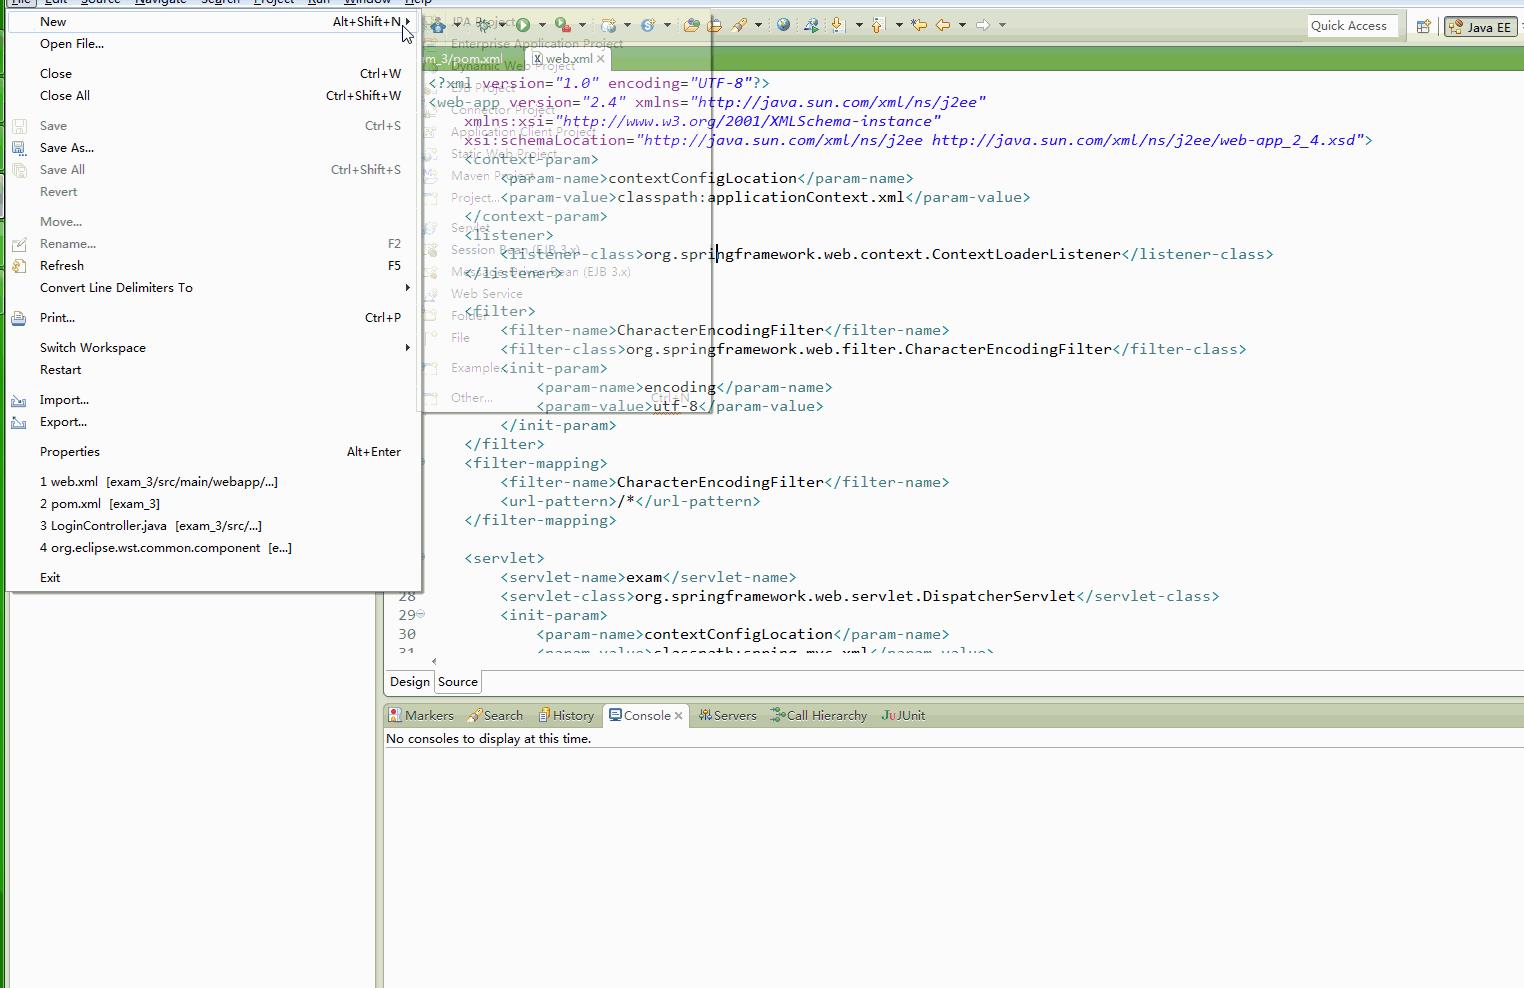
1、配置eclipse maven

2、新建maven项目

3、新建src/main/java,更新pom

<project xmlns="http://maven.apache.org/POM/4.0.0" xmlns:xsi="http://www.w3.org/2001/XMLSchema-instance"
  xsi:schemaLocation="http://maven.apache.org/POM/4.0.0 http://maven.apache.org/maven-v4_0_0.xsd">
  <modelVersion>4.0.0</modelVersion>
  <groupId>exam</groupId>
  <artifactId>exam_3</artifactId>
  <packaging>war</packaging>
  <version>0.0.1-SNAPSHOT</version>
  <name>exam_3 Maven Webapp</name>
  <url>http://maven.apache.org</url>
  <dependencies>
    <dependency>
      <groupId>junit</groupId>
      <artifactId>junit</artifactId>
      <version>3.8.1</version>
      <scope>test</scope>
    </dependency>

    <dependency>
        <groupId>org.springframework</groupId>
        <artifactId>spring-web</artifactId>
        <version>3.0.5.RELEASE</version>
    </dependency>

    <dependency>
        <groupId>org.springframework</groupId>
        <artifactId>spring-webmvc</artifactId>
        <version>3.0.5.RELEASE</version>
    </dependency>

    <dependency>
        <groupId>org.apache.geronimo.specs</groupId>
        <artifactId>geronimo-servlet_2.5_spec</artifactId>
        <version>1.2</version>
    </dependency>

  </dependencies>
  <build>
    <finalName>exam_3</finalName>
    <plugins>
            <plugin>
                <!-- 编译插件 -->
                <groupId>org.apache.maven.plugins</groupId>
                <artifactId>maven-compiler-plugin</artifactId>
                <version>2.3.2</version>
                <configuration>
                    <source>1.6</source>
                    <target>1.6</target>
                </configuration>
            </plugin>
            <plugin>
                <!-- 源码插件 -->
                <groupId>org.apache.maven.plugins</groupId>
                <artifactId>maven-source-plugin</artifactId>
                <version>2.1</version>
                <!-- 发布时自动将源码同时发布的配置 -->
                <executions>
                    <execution>
                        <id>attach-sources</id>
                        <goals>
                            <goal>jar</goal>
                        </goals>
                    </execution>
                </executions>
            </plugin>
                <plugin>
                <groupId>org.mortbay.jetty</groupId>
                <artifactId>maven-jetty-plugin</artifactId>
                <version>6.1.26</version>
                <configuration>
                    <webAppSourceDirectory>src/main/webapp</webAppSourceDirectory>
                    <contextPath>/exam_3</contextPath>
                    <scanIntervalSeconds>10</scanIntervalSeconds>
                    <connectors>
                        <connector implementation="org.mortbay.jetty.nio.SelectChannelConnector">
                            <port>5555</port>
                            <maxIdleTime>100</maxIdleTime>
                        </connector>
                    </connectors>
                </configuration>
            </plugin>
        </plugins>
  </build>
</project>
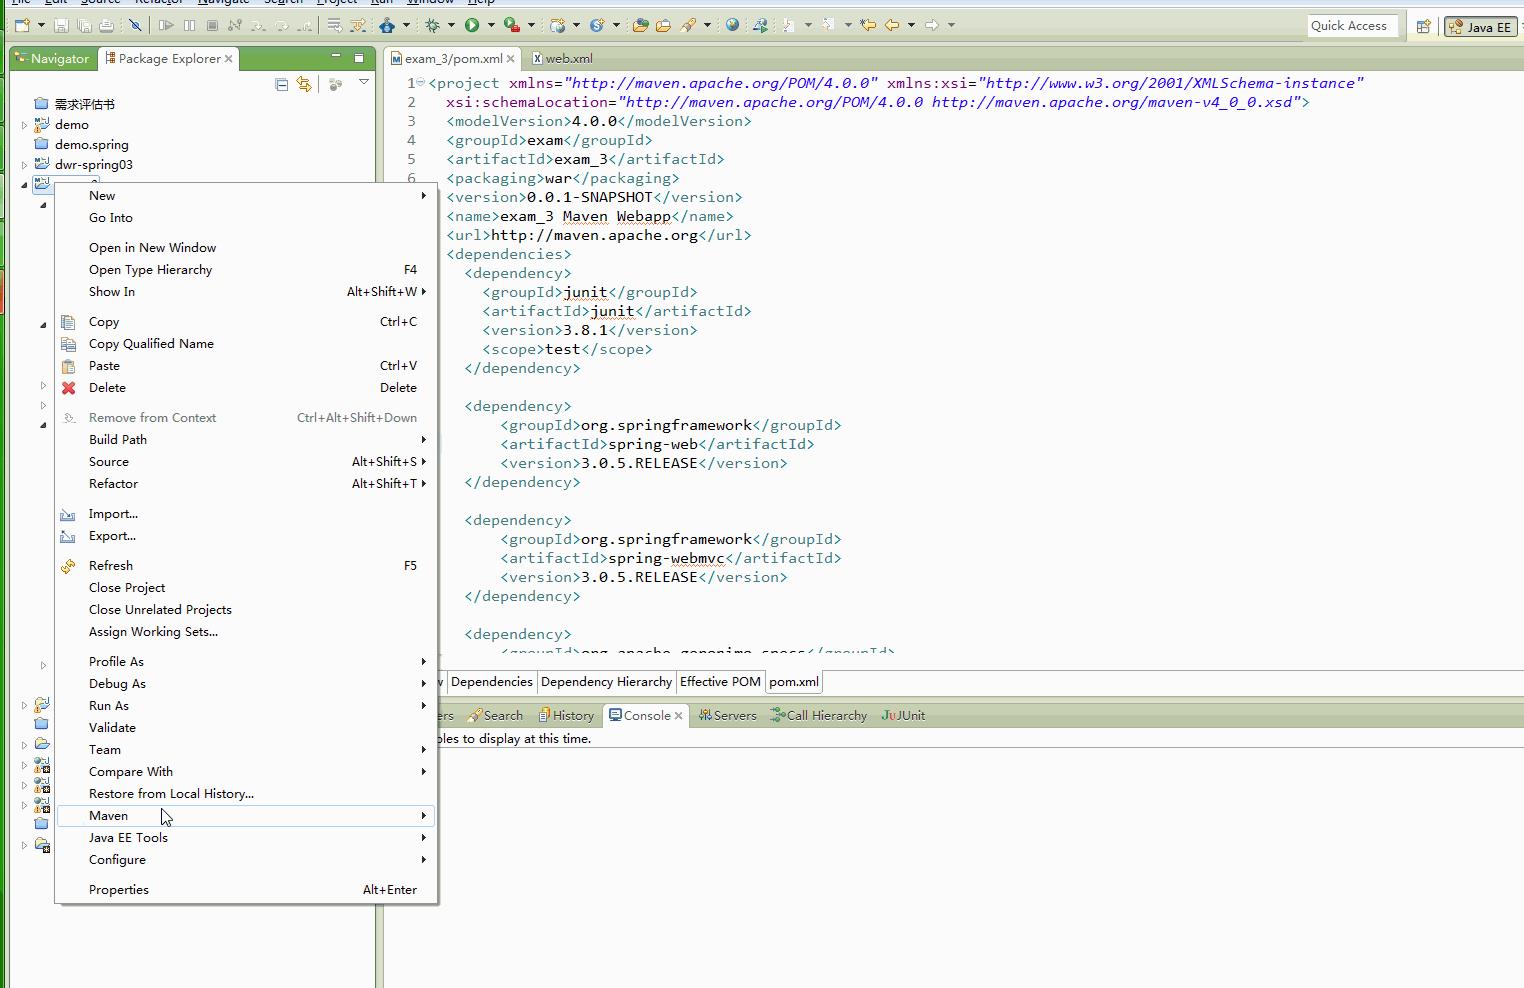
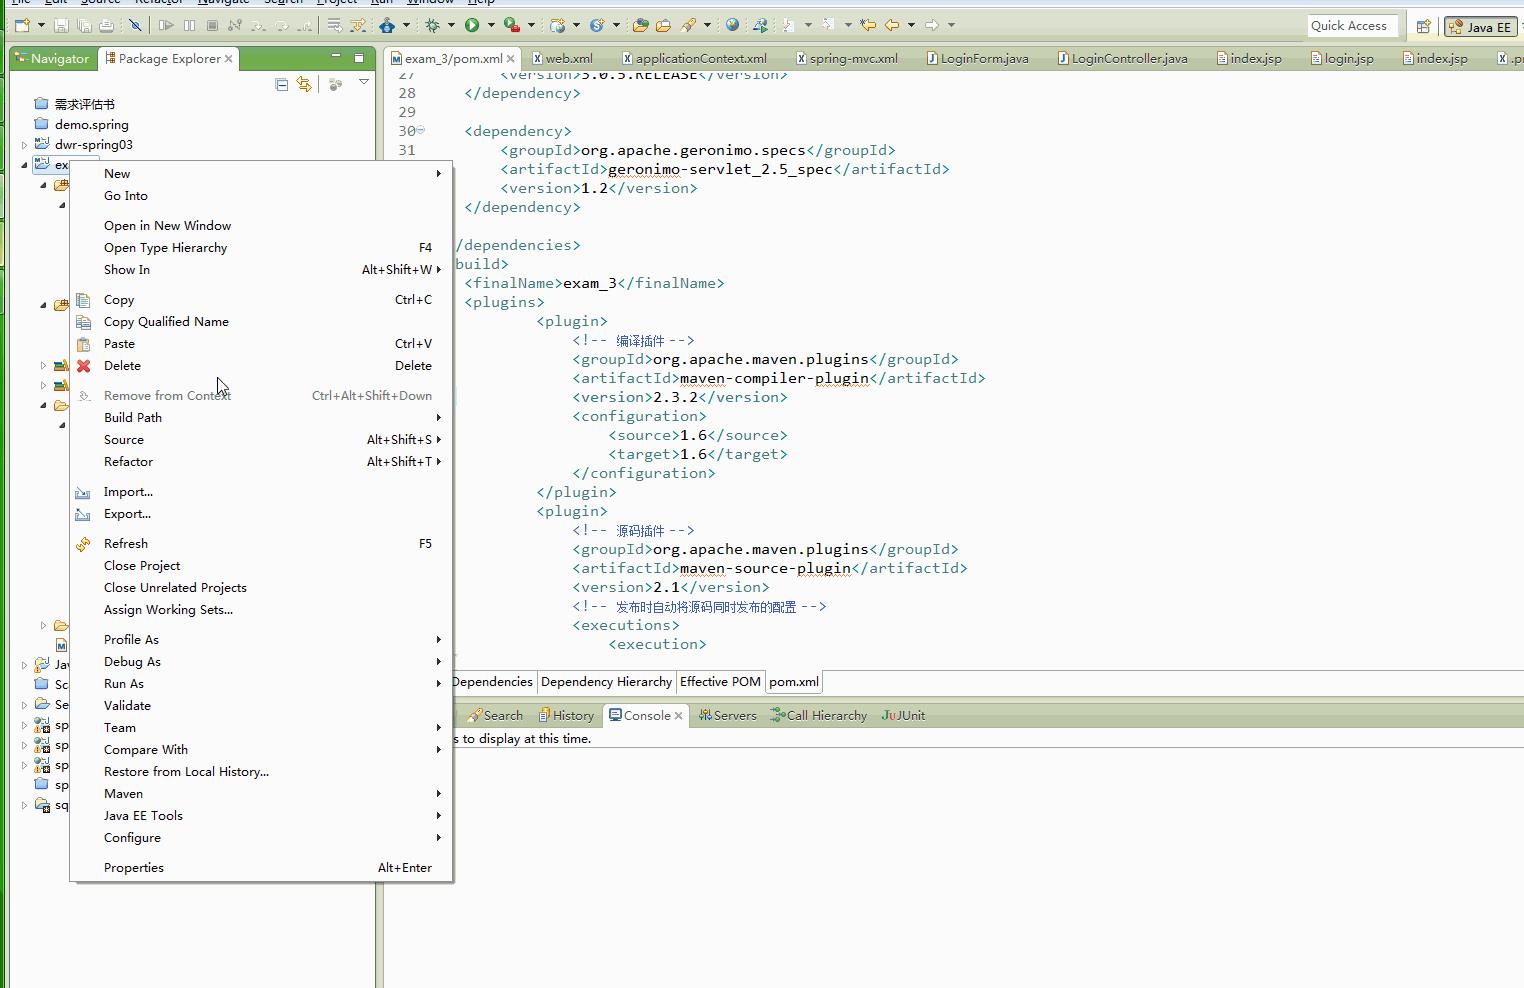
4、更新项目maven依赖

5、写web.xml

<?xml version="1.0" encoding="UTF-8"?>
<web-app version="2.4" xmlns="http://java.sun.com/xml/ns/j2ee"
    xmlns:xsi="http://www.w3.org/2001/XMLSchema-instance"
    xsi:schemaLocation="http://java.sun.com/xml/ns/j2ee http://java.sun.com/xml/ns/j2ee/web-app_2_4.xsd">
    <context-param>
        <param-name>contextConfigLocation</param-name>
        <param-value>classpath:applicationContext.xml</param-value>
    </context-param>
    <listener>
        <listener-class>org.springframework.web.context.ContextLoaderListener</listener-class>
    </listener>

    <filter>
        <filter-name>CharacterEncodingFilter</filter-name>
        <filter-class>org.springframework.web.filter.CharacterEncodingFilter</filter-class>
        <init-param>
            <param-name>encoding</param-name>
            <param-value>utf-8</param-value>
        </init-param>
    </filter>
    <filter-mapping>
        <filter-name>CharacterEncodingFilter</filter-name>
        <url-pattern>/*</url-pattern>
    </filter-mapping>

    <servlet>
        <servlet-name>exam</servlet-name>
        <servlet-class>org.springframework.web.servlet.DispatcherServlet</servlet-class>
        <init-param>
            <param-name>contextConfigLocation</param-name>
            <param-value>classpath:spring-mvc.xml</param-value>
        </init-param>
    </servlet>

    <servlet-mapping>
        <servlet-name>exam</servlet-name>
        <url-pattern>/</url-pattern>
    </servlet-mapping>

    <welcome-file-list>
        <welcome-file>index.jsp</welcome-file>
    </welcome-file-list>
</web-app>
6、写src/main/resources目录下applicationContext.xml和spring-mvc.xml

<?xml version="1.0" encoding="UTF-8"?>
<!DOCTYPE beans PUBLIC "-//SPRING//DTD BEAN//EN" "http://www.springframework.org/dtd/spring-beans.dtd">
<beans>
</beans>

<?xml version="1.0" encoding="UTF-8"?>
<!-- Bean头部 -->
<beans xmlns="http://www.springframework.org/schema/beans"
    xmlns:xsi="http://www.w3.org/2001/XMLSchema-instance" xmlns:p="http://www.springframework.org/schema/p"
    xmlns:mvc="http://www.springframework.org/schema/mvc" xmlns:context="http://www.springframework.org/schema/context"
    xmlns:util="http://www.springframework.org/schema/util"
    xsi:schemaLocation="http://www.springframework.org/schema/beans http://www.springframework.org/schema/beans/spring-beans-3.0.xsd
            http://www.springframework.org/schema/context http://www.springframework.org/schema/context/spring-context-3.0.xsd
            http://www.springframework.org/schema/mvc http://www.springframework.org/schema/mvc/spring-mvc-3.0.xsd
            http://www.springframework.org/schema/util http://www.springframework.org/schema/util/spring-util-3.0.xsd">

    <!-- 激活@Controller模式 -->
    <mvc:annotation-driven />
    <!-- 对包中的所有类进行扫描,以完成Bean创建和自动依赖注入的功能 需要更改 -->
    <context:component-scan base-package="com.demo.web.controller" />

    <bean class="org.springframework.web.servlet.mvc.annotation.AnnotationMethodHandlerAdapter" />

    <bean id="viewResolver" class="org.springframework.web.servlet.view.InternalResourceViewResolver">
        <property name="prefix">
            <value>/WEB-INF/jsp/</value>
        </property>
        <property name="suffix">
            <value>.jsp</value>
        </property>
    </bean>
</beans>
7、新增部分代码

public class LoginForm {
    private String username;
    private String password;

    public String getUsername() {
        return username;
    }

    public void setUsername(String username) {
        this.username = username;
    }

    public String getPassword() {
        return password;
    }

    public void setPassword(String password) {
        this.password = password;
    }
}

@Controller
 public class LoginController {
     @RequestMapping(value="logind")
     public ModelAndView login(HttpServletRequest request,HttpServletResponse response,LoginForm command ){
         String username = command.getUsername();
         ModelAndView mv = new ModelAndView("/index/index","command","LOGIN SUCCESS, " + username);
         return mv;
     }
 }
index.jsp login.jsp

<%@ page language="java" contentType="text/html; charset=utf-8"
     pageEncoding="utf-8"%>
 <!DOCTYPE html PUBLIC "-//W3C//DTD HTML 4.01 Transitional//EN" "http://www.w3.org/TR/html4/loose.dtd">
 <html>
 <head>
 <meta http-equiv="Content-Type" content="text/html; charset=utf-8">
 <title>Insert title here</title>
 </head>
 <body>
     ${command}
 </body>
 </html>

<%@ page language="java" contentType="text/html; charset=utf-8"
    pageEncoding="utf-8"%>
<!DOCTYPE html PUBLIC "-//W3C//DTD HTML 4.01 Transitional//EN" "http://www.w3.org/TR/html4/loose.dtd">
<html>
<head>
<meta http-equiv="Content-Type" content="text/html; charset=utf-8">
<title>Insert title here</title>
</head>
<body>
    <div>
        <form action="logind" methed="get">
            <input type="text" name="username">
            <input type="submit" value="SUBMIT">
        </form>
    </div>
</body>
</html>
根目录index.jsp

<%
     request.getRequestDispatcher("/WEB-INF/jsp/login/login.jsp").forward(request,response); %>
<html>
<body>
<h2>Hello World!</h2>
</body>
</html>
8、目录结构

9、运行项目

ok..........................(转载请注明出处,谢谢^_- )
以上是关于eclipse maven新建springMVC项目(原创)的主要内容,如果未能解决你的问题,请参考以下文章
在Eclipse下使用Maven创建SpringMVC样例项目
eclipse 创建maven 项目 动态web工程完整示例
