RabbitMQ使用——基于SpringBoot
Posted tractors
tags:
篇首语:本文由小常识网(cha138.com)小编为大家整理,主要介绍了RabbitMQ使用——基于SpringBoot相关的知识,希望对你有一定的参考价值。
一、简单示例:
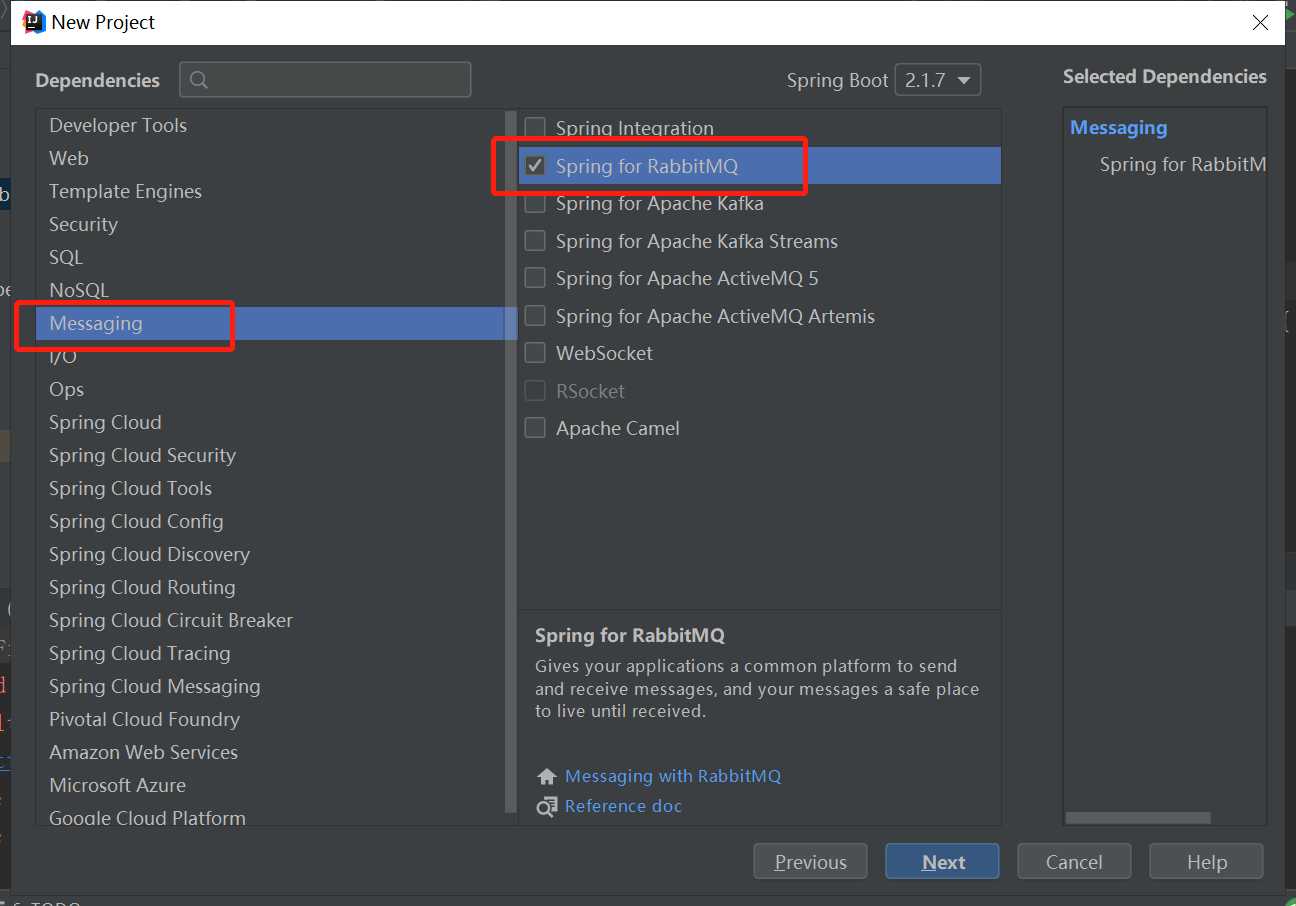
1)创建一个spring boot项目:

2)配置
spring:
  application:
    name: spring-boot-amqp
  rabbitmq:
    host: 192.168.80.140
    port: 5672
    username: rabbit
    password: 123456
3)创建列队配置:
import org.springframework.amqp.core.Queue;
import org.springframework.context.annotation.Bean;
import org.springframework.context.annotation.Configuration;

@Configuration
public class RabbitMQConfiguration
    @Bean
    public Queue queue()
        return new Queue("helloRabbit");
4)消费者:
@Component
public class HelloRabbitConsumer
    @RabbitListener(queues = "helloRabbit")
    public void process(String message)
        System.out.println("Consumer: " + message);
5)生产者:
@Component
public class HelloRabbitProvider
    @Autowired
    private RabbitTemplate rabbitTemplate;

    public void send(String message)
        rabbitTemplate.convertAndSend("helloRabbit", message);
6)测试:
@RunWith(SpringRunner.class)
@SpringBootTest
public class RabbitmqSpringbootApplicationTests
    @Autowired
    private HelloRabbitProvider helloRabbitProvider;

    @Test
    public void testSender()
        for (int i = 0; i < 10; i++)
            helloRabbitProvider.send("hello motor");
二、路由模式:
1)路由/列队配置:

@Configuration
public class RabbitMQConfiguration
    @Bean
    public Queue getQueue()
        return new Queue("simple_queue");


    @Bean
    public FanoutExchange getFanoutExchange()
        return  new FanoutExchange("fanout_exchange_new");


    @Bean
    public Binding getBinding(Queue getQueue, FanoutExchange getFanoutExchange)
        return BindingBuilder.bind(getQueue).to(getFanoutExchange);
2)生产者:

@Component
public class RabbitProvider
    @Autowired
    private RabbitTemplate rabbitTemplate;

    public void send(String message)
        //rabbitTemplate.convertAndSend("helloRabbit", message);
        rabbitTemplate.convertAndSend("fanout_exchange_new","", message);
3)消费者:

@Component
public class RabbitConsumer
    @RabbitListener(queues = "simple_queue")
    public void process(String message)
        System.out.println("Consumer: " + message);
4)测试:

@RunWith(SpringRunner.class)
@SpringBootTest
public class RabbitmqSpringbootApplicationTests
    @Autowired
    private RabbitProvider RabbitProvider;

    @Test
    public void testSender()
        for (int i = 0; i < 10; i++)
            RabbitProvider.send("hello motor");
三、通配符模式:
1)路由/列队配置:
@Configuration
public class RabbitMQConfiguration
    @Bean
    public Queue getQueue()
        return new Queue("simple_queue");


    @Bean
    public FanoutExchange getFanoutExchange()
        return  new FanoutExchange("fanout_exchange_new");


    @Bean
    public Binding getBinding(Queue getQueue, FanoutExchange getFanoutExchange)
        return BindingBuilder.bind(getQueue).to(getFanoutExchange);


    @Bean
    public TopicExchange getTopicExchange()
        return new TopicExchange("topic_exchange_new");


    @Bean
    public Binding getBinding2(Queue getQueue,TopicExchange getTopicExchange)
        return BindingBuilder.bind(getQueue).to(getTopicExchange).with("product.*");
2)生产者:
@Component
public class RabbitProvider
    @Autowired
    private RabbitTemplate rabbitTemplate;

    public void send(String message)
        //rabbitTemplate.convertAndSend("helloRabbit", message);
        //rabbitTemplate.convertAndSend("fanout_exchange_new","", message);
        rabbitTemplate.convertAndSend("topic_exchange_new","product.add","topic模式消息");
以上是关于RabbitMQ使用——基于SpringBoot的主要内容,如果未能解决你的问题,请参考以下文章
