nginx+lua+ngx_lua_waf实现waf功能
Posted
tags:
篇首语:本文由小常识网(cha138.com)小编为大家整理,主要介绍了nginx+lua+ngx_lua_waf实现waf功能相关的知识,希望对你有一定的参考价值。
用途:防止sql注入,本地包含,部分溢出,fuzzing测试,xss,×××F等web***
防止svn/备份之类文件泄漏
防止ApacheBench之类压力测试工具的***
屏蔽常见的扫描***工具,扫描器
屏蔽异常的网络请求
屏蔽图片附件类目录php执行权限
防止webshell上传1.下载并解压luajit 2.0.5
wget http://luajit.org/download/LuaJIT-2.0.5.tar.gz
tar -zxvf LuaJIT-2.0.5.tar.gz
cd LuaJIT-2.0.5
make install PREFIX=/data/luajit(选自己的目录)

2.软连接
ln -s /usr/local/luajit/lib/libluajit-5.1.so.2 /lib64/libluajit-5.1.so.2
3.下载并解压ngx_devel_kit
wget https://github.com/simpl/ngx_devel_kit/archive/v0.3.0.tar.gz
tar -zxvf v0.3.0.tar.gz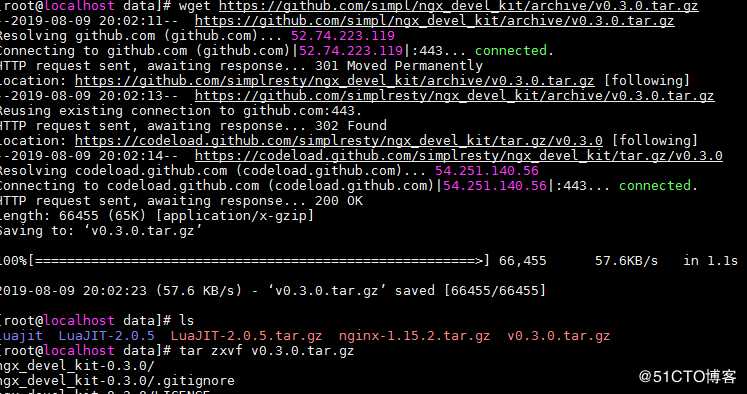
4.下载并解压lua-nginx-module
wget https://github.com/openresty/lua-nginx-module/archive/v0.10.14rc3.tar.gz
tar -zxvf v0.10.14rc3.tar.gz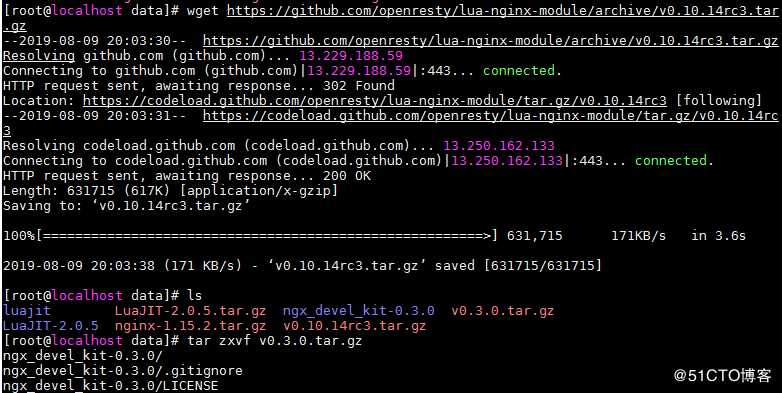
5.编译安装nginx
①下载依赖包
yum install -y gcc gcc-c++ wget git geoip-devel gd-devel pcre-deve libcurl-devel libxml2 libxml2-devel libgd-devel openssl-devel 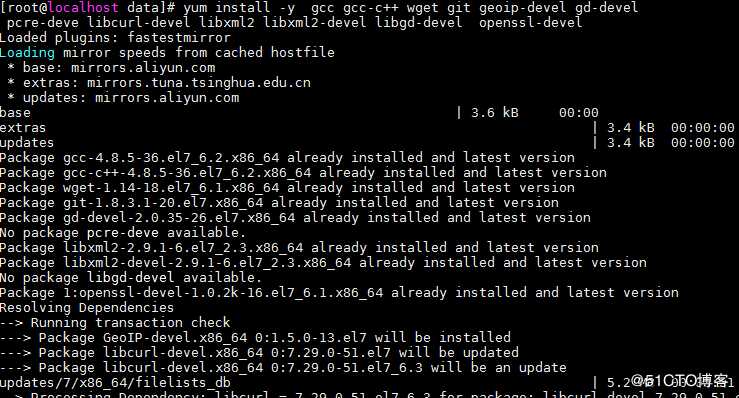
②下载nginx包
wget http://nginx.org/download/nginx-1.15.2.tar.gz
③编译安装(目录看对了 选自己的目录)
./configure \
--prefix=/data/nginx \
--error-log-path=/var/log/php-fpm/error.log \
--http-log-path=/phpstudy/server/nginx/logs/access.log \
--with-http_ssl_module \
--with-http_v2_module \
--with-http_realip_module \
--with-http_addition_module \
--with-http_image_filter_module \
--with-http_geoip_module \
--with-http_sub_module \
--with-http_dav_module \
--with-http_flv_module \
--with-http_mp4_module \
--with-http_gunzip_module \
--with-http_gzip_static_module \
--with-http_random_index_module \
--with-http_secure_link_module \
--with-http_degradation_module \
--with-http_slice_module \
--with-http_stub_status_module \
--with-pcre \
--with-pcre-jit \
--with-stream \
--with-stream_ssl_module \
--with-debug \
--add-module=/data/ngx_devel_kit-0.3.0 \
--add-module=/data/lua-nginx-module-0.10.14rc3 \
--with-ld-opt="-Wl,-rpath,$LUAJIT_LIB" ;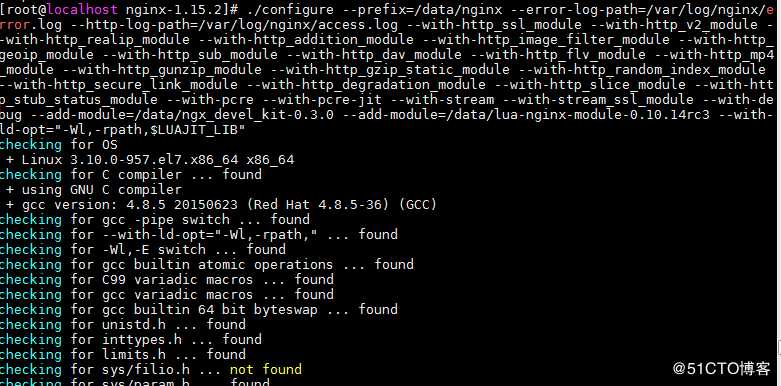
(报错的话 自己百度找问题 都有答案及详解的)
④编译安装
make && make install
6.将waf功能模块,解压后重命名为waf(并移动到nginx的配置目录下)
mv /data/ngx_lua_waf-0.7.2/ waf
cp -rf /data/waf/ /data/nginx/conf/
7.修改waf模块的规则配置路径
8.vim /data/nginx/conf/waf/config.lua
RulePath = "/usr/local/nginx/conf/waf/wafconf/"
--规则存放目录
attacklog = "off"
--是否开启***信息记录,需要配置logdir
logdir = "/usr/local/nginx/logs/hack/"
--log存储目录,该目录需要用户自己新建,切需要nginx用户的可写权限
UrlDeny="on"
--是否拦截url访问
Redirect="on"
--是否拦截后重定向
CookieMatch = "on"
--是否拦截cookie***
postMatch = "on"
--是否拦截post***
whiteModule = "on"
--是否开启URL白名单
black_fileExt="php","jsp"
--填写不允许上传文件后缀类型
ipWhitelist="127.0.0.1"
--ip白名单,多个ip用逗号分隔
ipBlocklist="1.0.0.1"
--ip黑名单,多个ip用逗号分隔
CCDeny="on"
--是否开启拦截cc***(需要nginx.conf的http段增加lua_shared_dict limit 10m;)
CCrate = "100/60"
--设置cc***频率,单位为秒.
--默认1分钟同一个IP只能请求同一个地址100次
html=[[Please go away~~]]
--警告内容,可在中括号内自定义
备注:不要乱动双引号,区分大小写
9.修改nginx的配置文件使其加载waf功能模块,并加载博客的nginx配置文件
vim /data/nginx/conf/nginx.conf
http里面添加如下
lua_package_path "/data/nginx/conf/waf/config.lua";
lua_shared_dict limit 10m;
init_by_lua_file /usr/local/nginx/conf/waf/init.lua;
access_by_lua_file /usr/local/nginx/conf/waf/waf.lua;
10.启动nginx设置开机启动
systemctl start nginx.service
systemctl enable nginx.service
11.创建nginx软连接
ln -s /usr/local/nginx/sbin/* /usr/local/sbin/
12.http://你的IP/test.php?id=../etc/passwd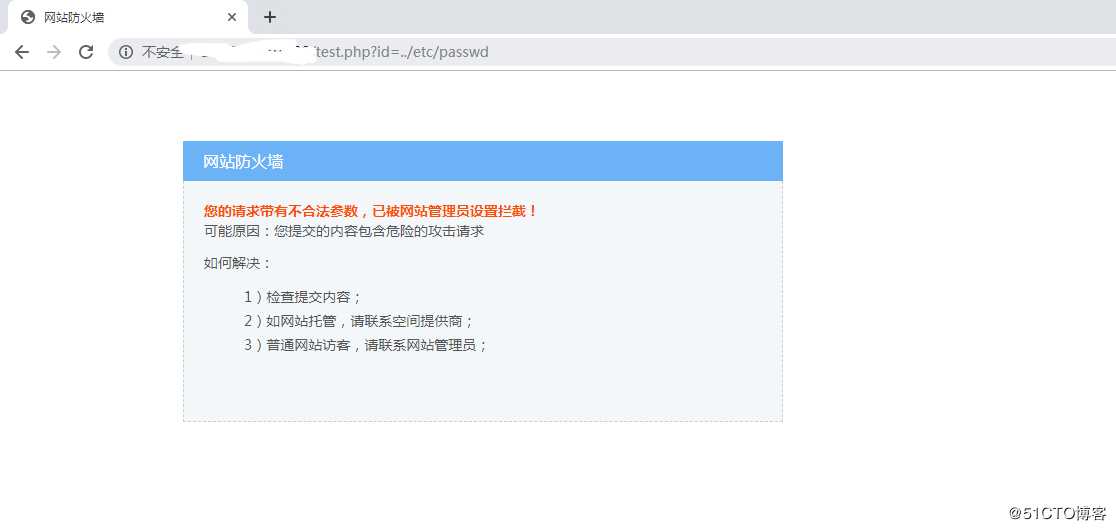
这样就成功了!!!
以上是关于nginx+lua+ngx_lua_waf实现waf功能的主要内容,如果未能解决你的问题,请参考以下文章