其他综合-VMware 从模板机快速克隆多台
Posted wjclinux
tags:
篇首语:本文由小常识网(cha138.com)小编为大家整理,主要介绍了其他综合-VMware 从模板机快速克隆多台相关的知识,希望对你有一定的参考价值。
1、实验描述
通过
CentOS 7.6的模板机快速克隆,为实现搭建其他项目而提供干净的实验平台。
【基于此文章的环境】点我快速打开文章
2、实验环境
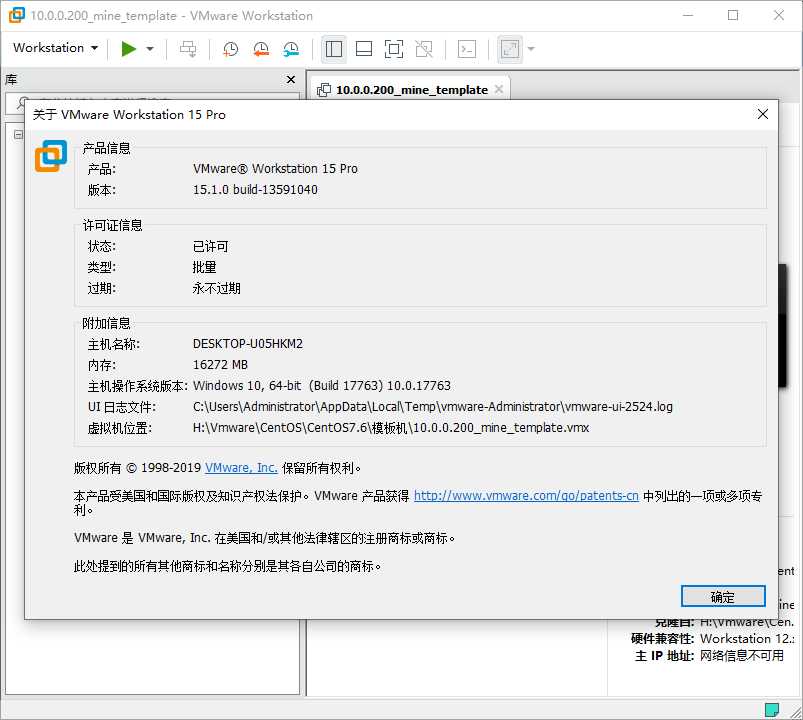
使用软件的版本:
VMware 15 Pro
3、实验工具
【VMware12&15】【001-VMware 12&15】点我快速打开分享(若异常,请私信,万分感谢) 【提取码:0rb9 】
【CentOS7.6】【002-CentOS 7.6】点我快速打开分享(若异常,请私信,万分感谢) 【提取码:9tri 】
4、实验步骤
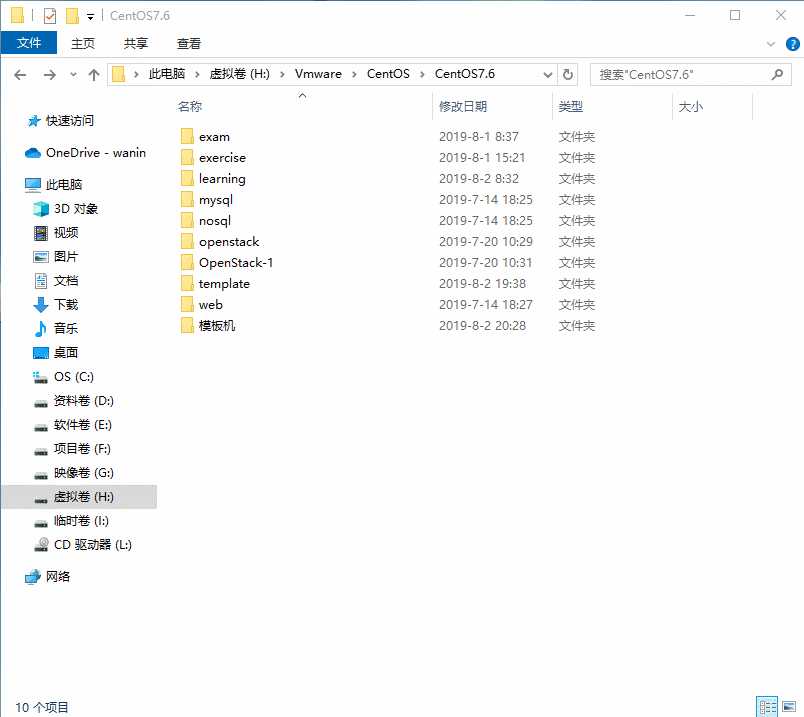
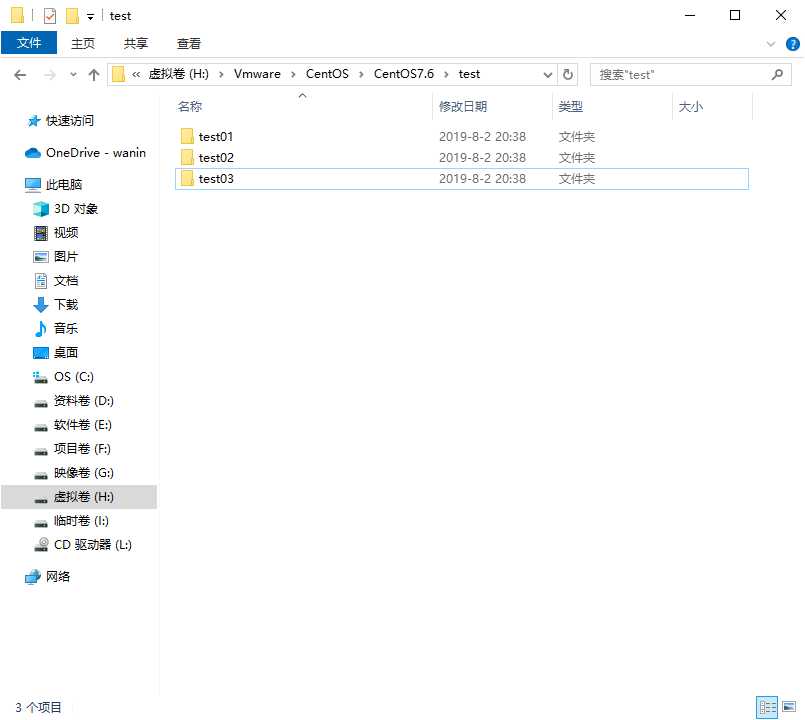
4.1 创建文件夹
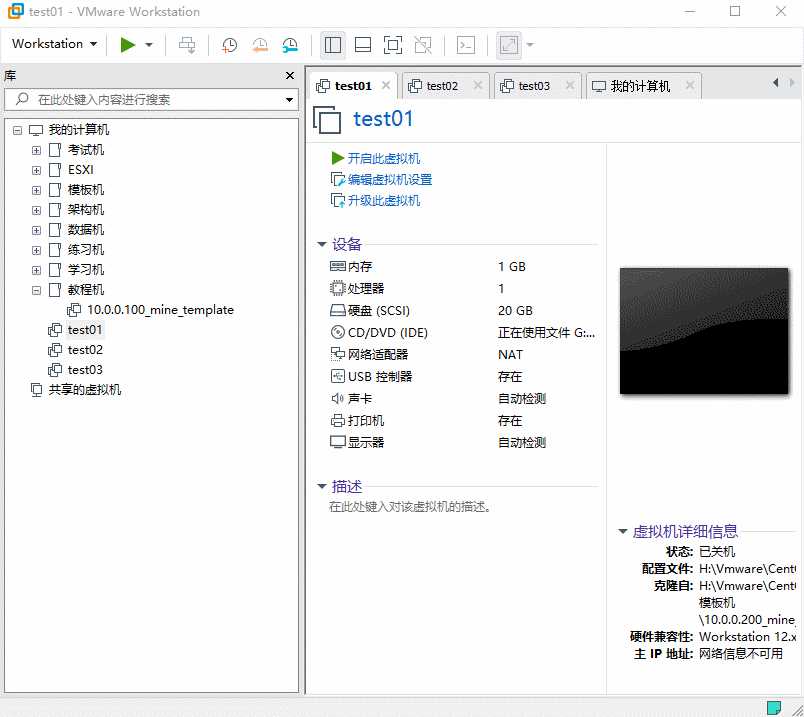
4.2 克隆第一台
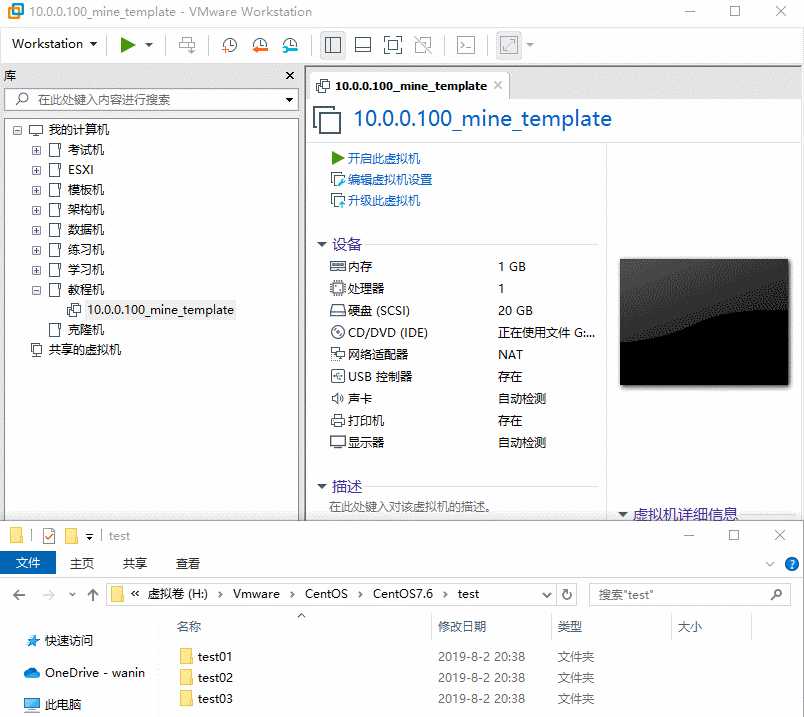
克隆其他虚拟机的步骤是一样的,这里以
test01为例,进行演示
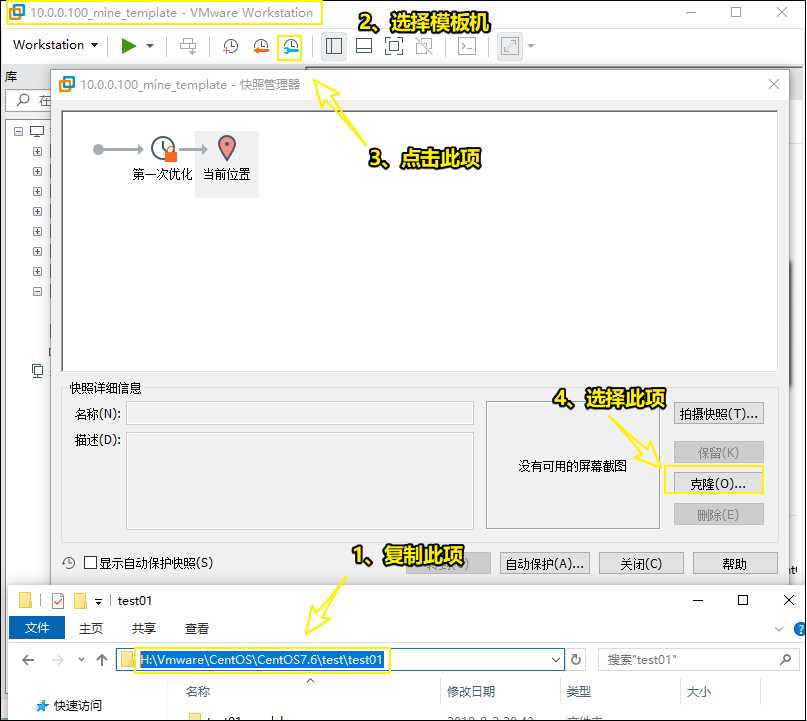
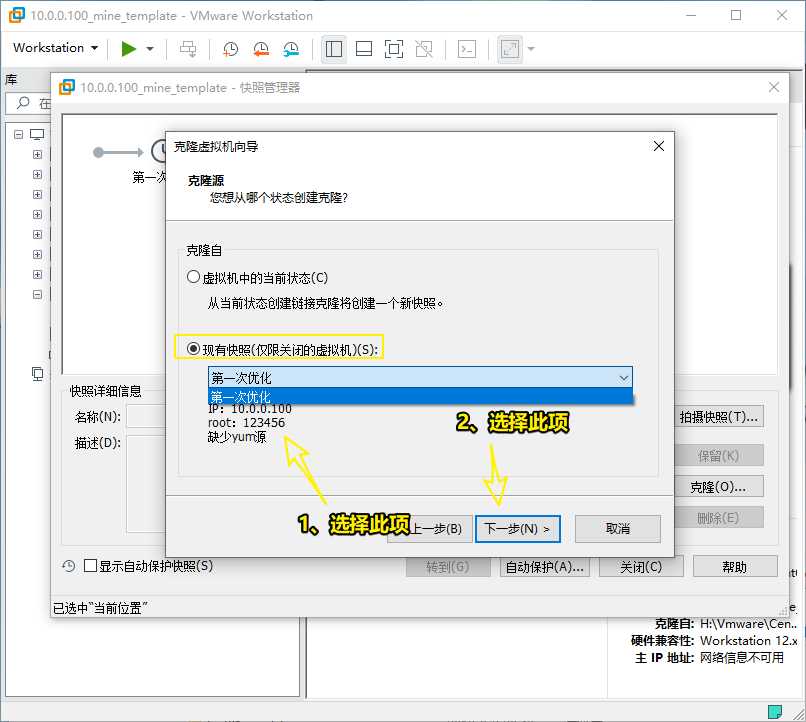
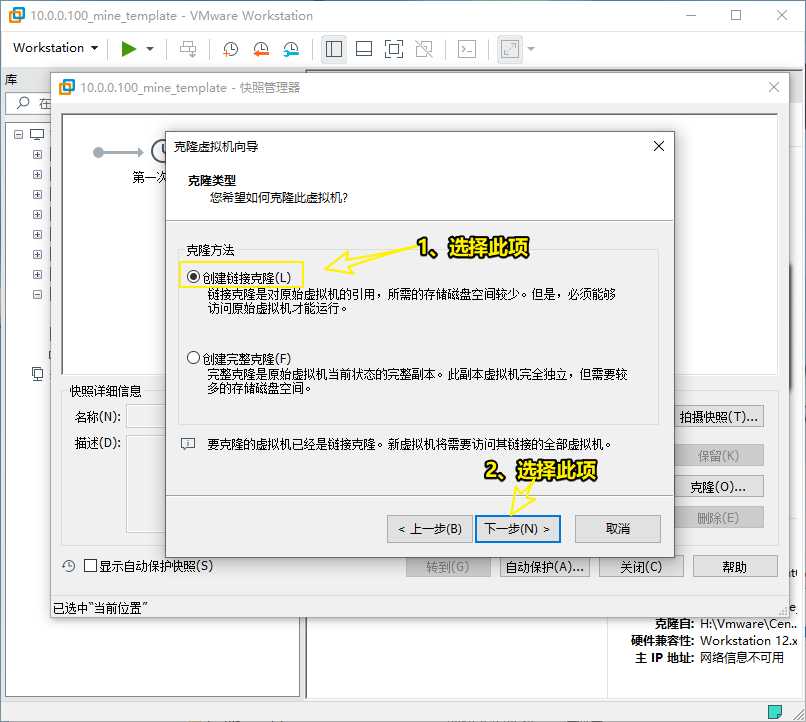
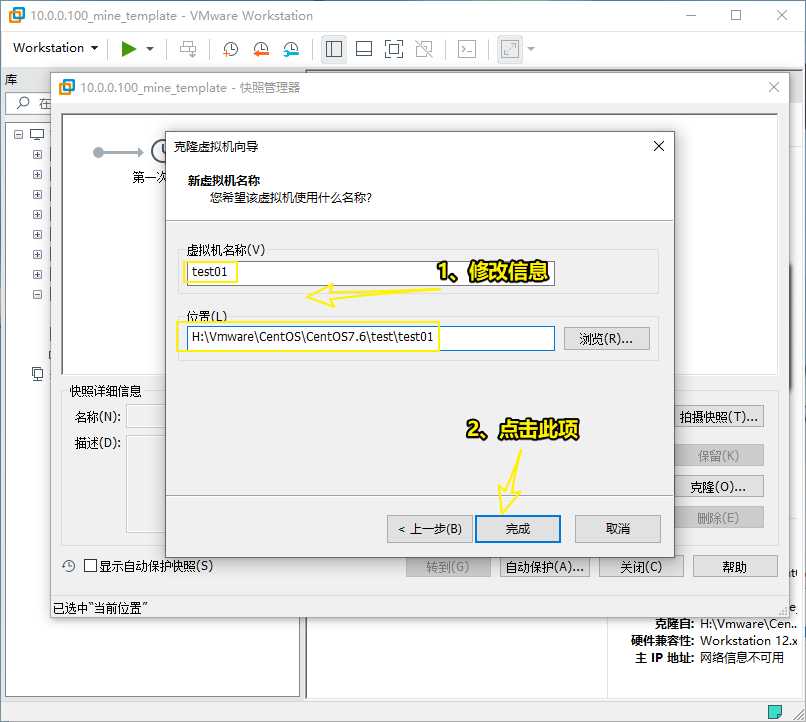
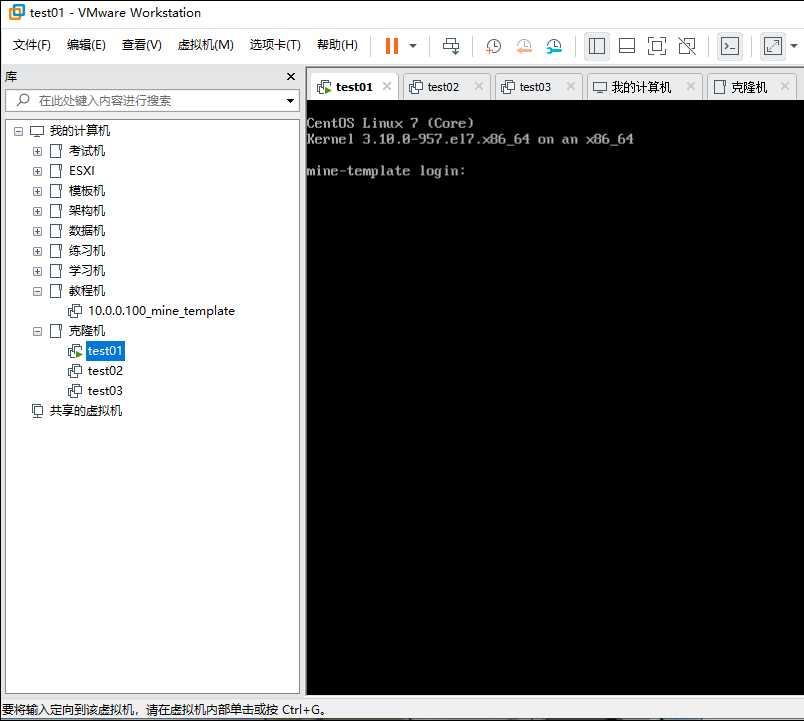
4.3 开启第一台
一台一台开,第一:一下开启,电脑会卡死,第二:方便改IP地址
4.4 test01
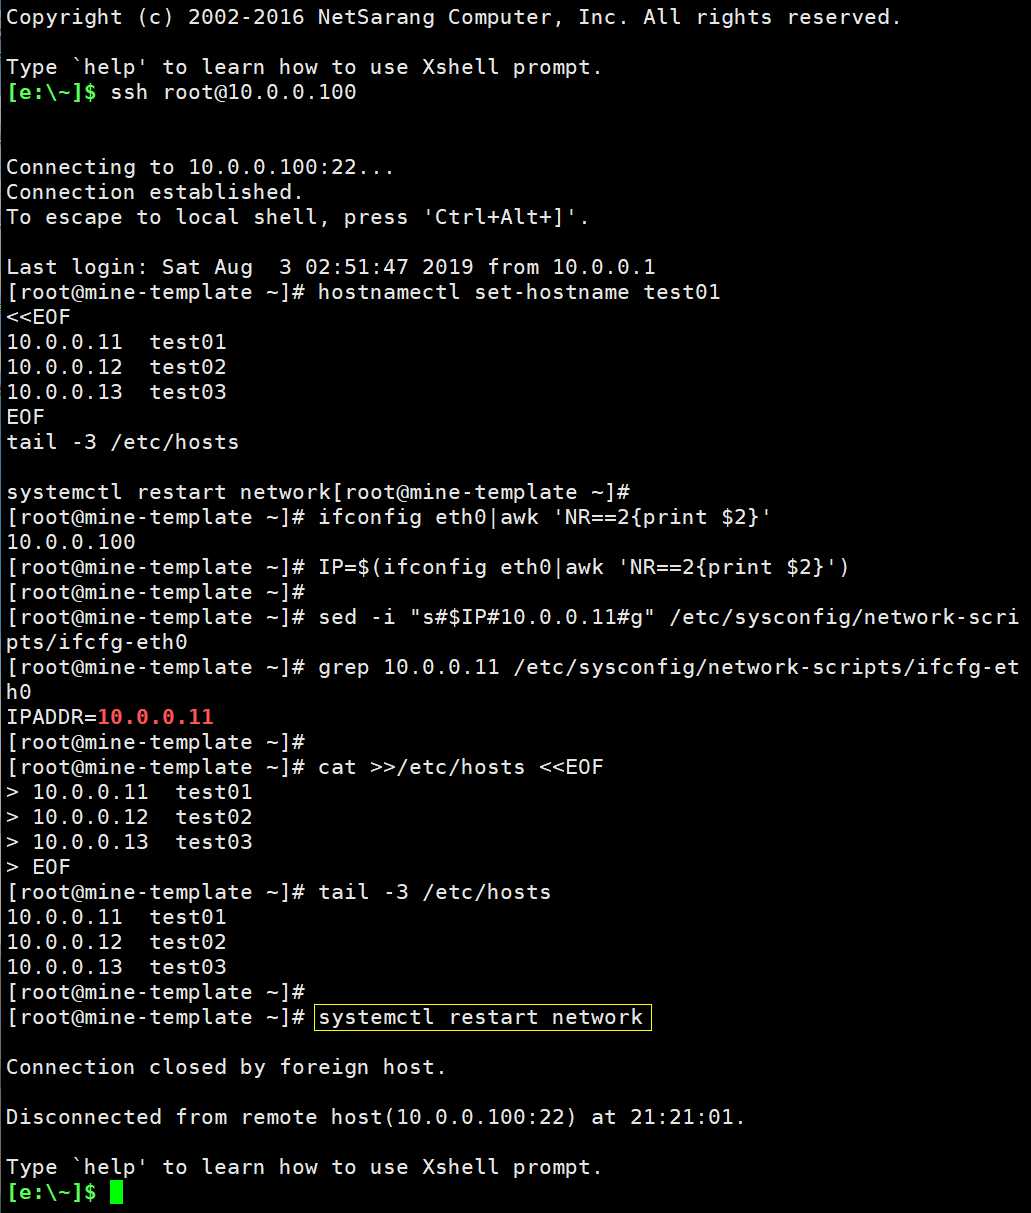
1. 修改信息
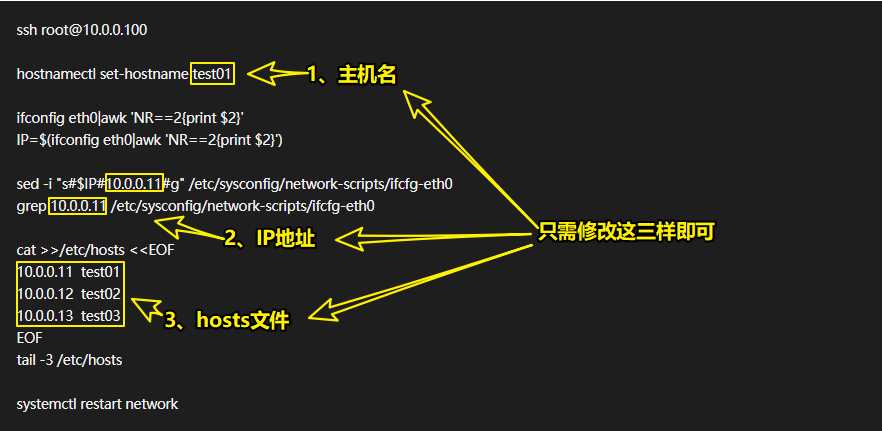
需要改变的信息见下图标记
ssh root@10.0.0.100

hostnamectl set-hostname test01

ifconfig eth0|awk 'NR==2print $2'
IP=$(ifconfig eth0|awk 'NR==2print $2')

sed -i "s#$IP#10.0.0.11#g" /etc/sysconfig/network-scripts/ifcfg-eth0
grep 10.0.0.11 /etc/sysconfig/network-scripts/ifcfg-eth0

cat >>/etc/hosts <<EOF
10.0.0.11  test01
10.0.0.12  test02
10.0.0.13  test03
EOF
tail -3 /etc/hosts

systemctl restart network
2. 登录关机
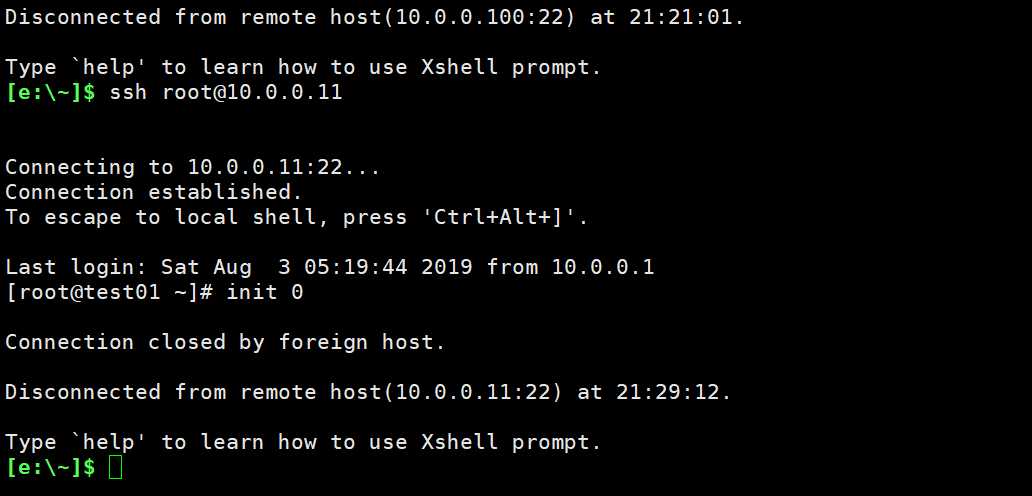
ssh root@10.0.0.11

init 0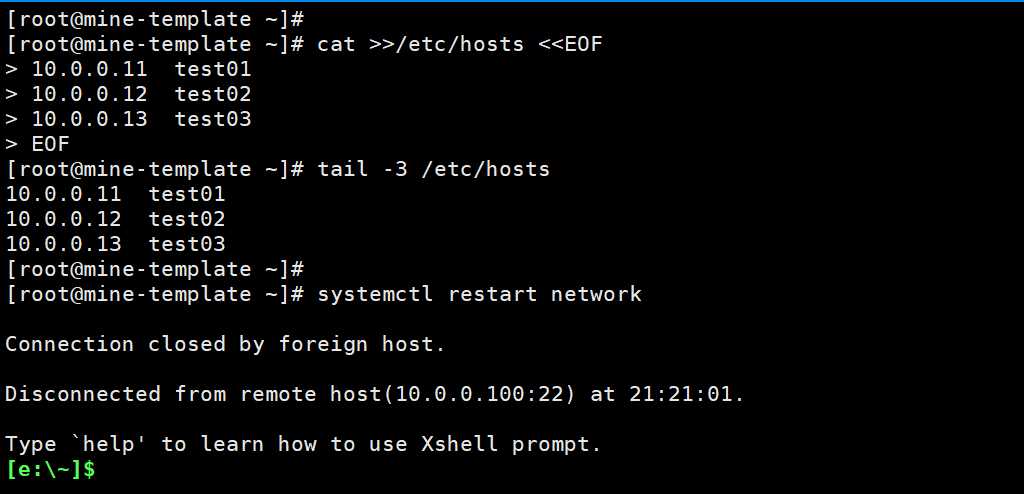
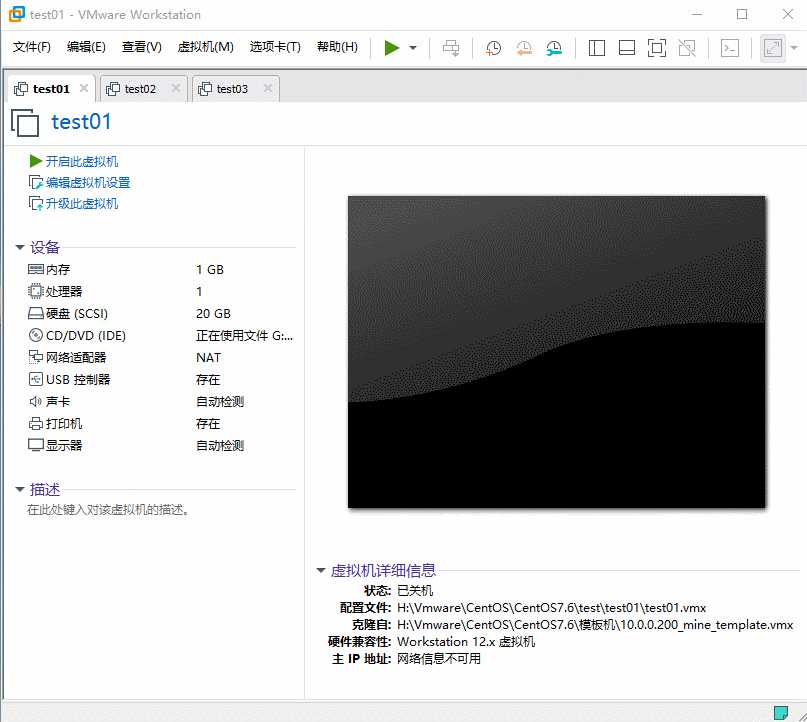
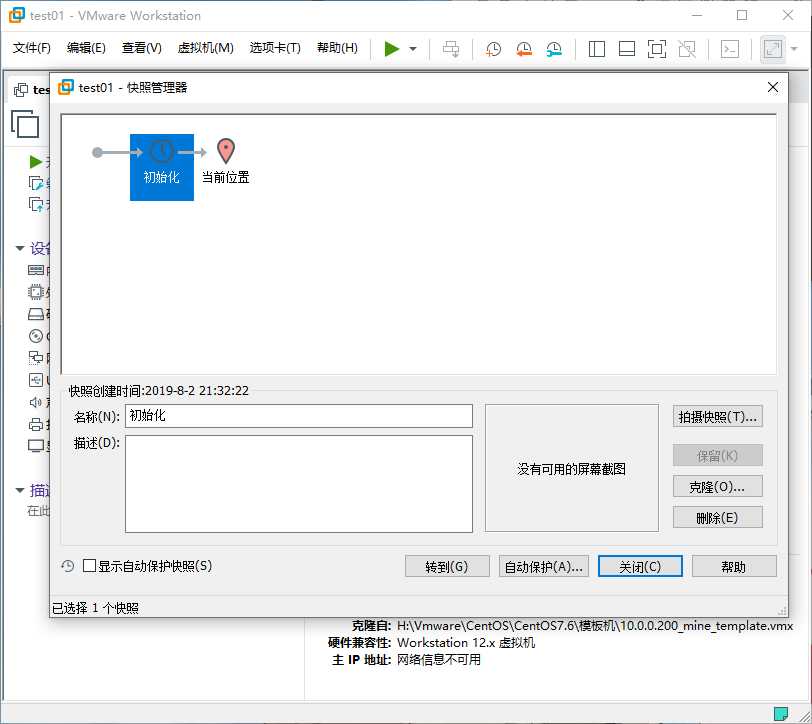
3. 拍摄快照
4.5 test02
1. 修改信息
ssh root@10.0.0.100

hostnamectl set-hostname test02

ifconfig eth0|awk 'NR==2print $2'
IP=$(ifconfig eth0|awk 'NR==2print $2')

sed -i "s#$IP#10.0.0.12#g" /etc/sysconfig/network-scripts/ifcfg-eth0
grep 10.0.0.12 /etc/sysconfig/network-scripts/ifcfg-eth0

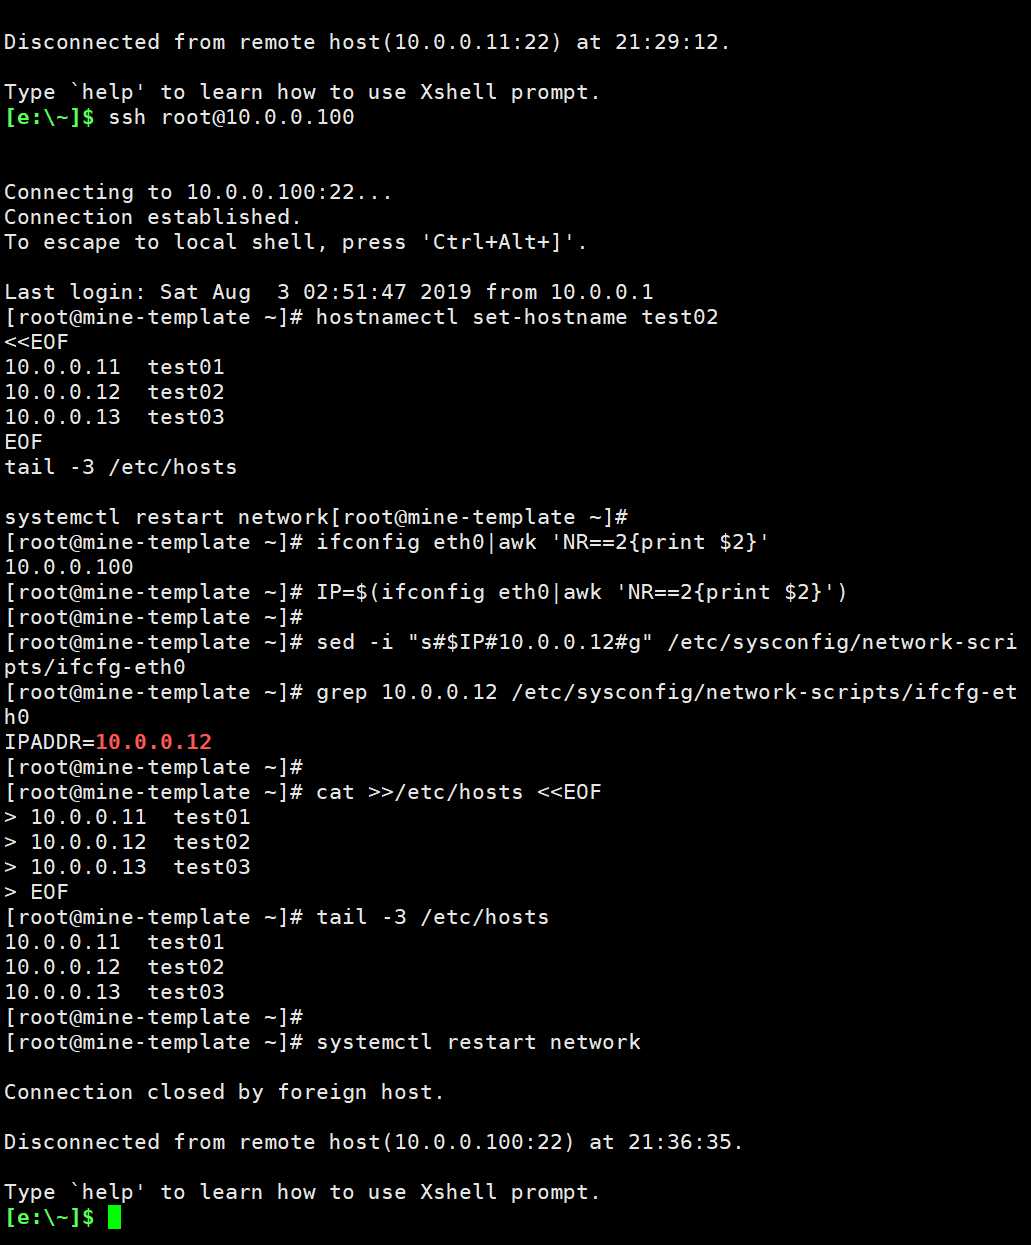
cat >>/etc/hosts <<EOF
10.0.0.11  test01
10.0.0.12  test02
10.0.0.13  test03
EOF
tail -3 /etc/hosts

systemctl restart network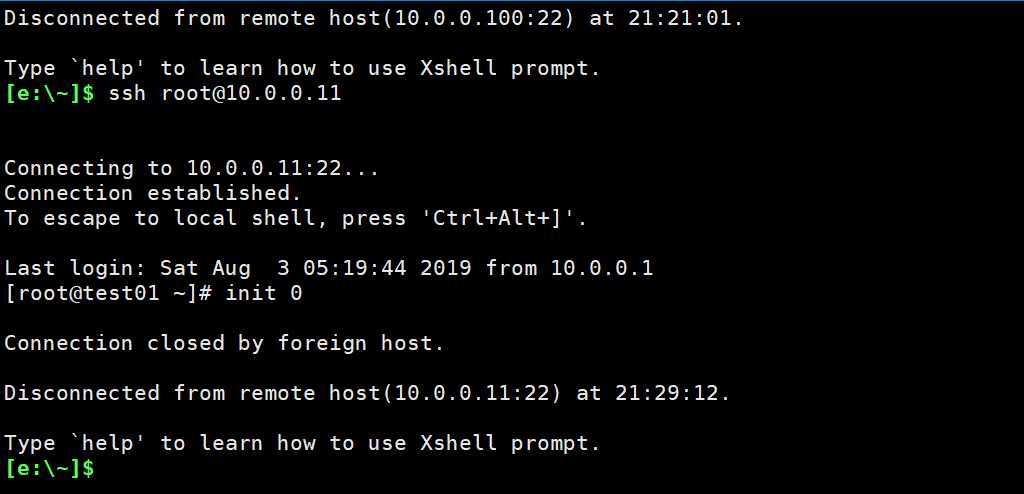
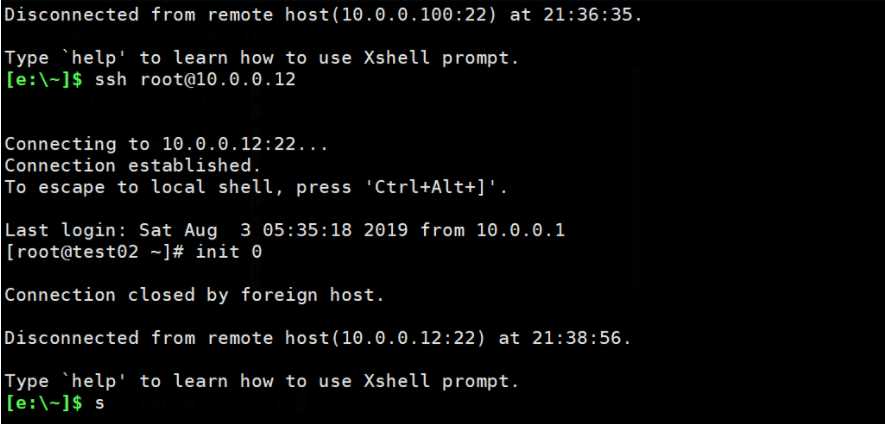
2. 登录关机
ssh root@10.0.0.12

init 0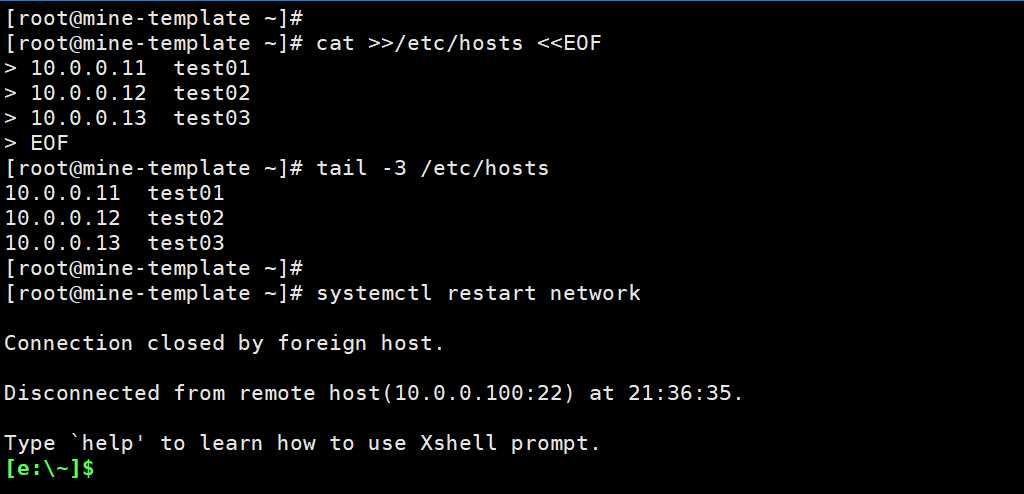
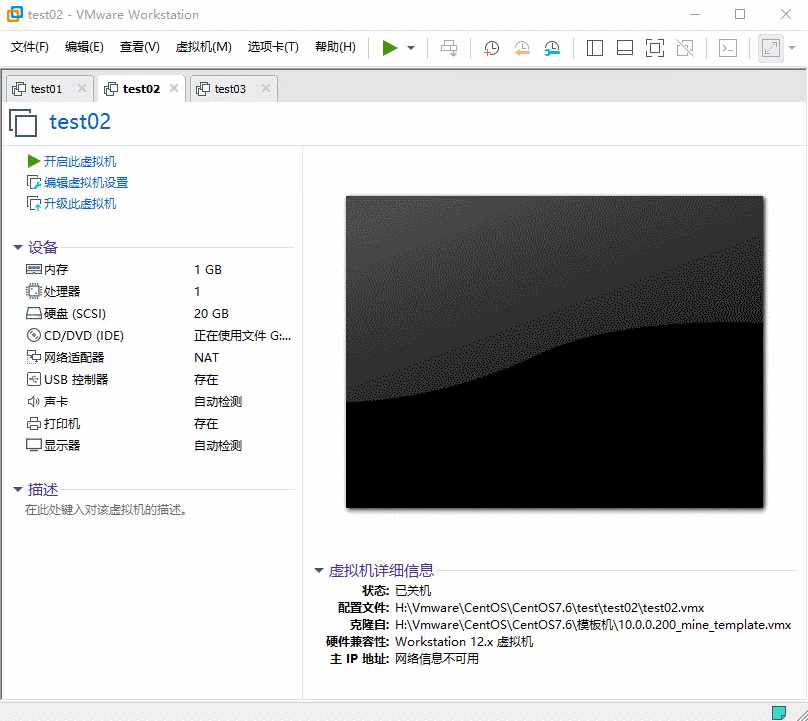
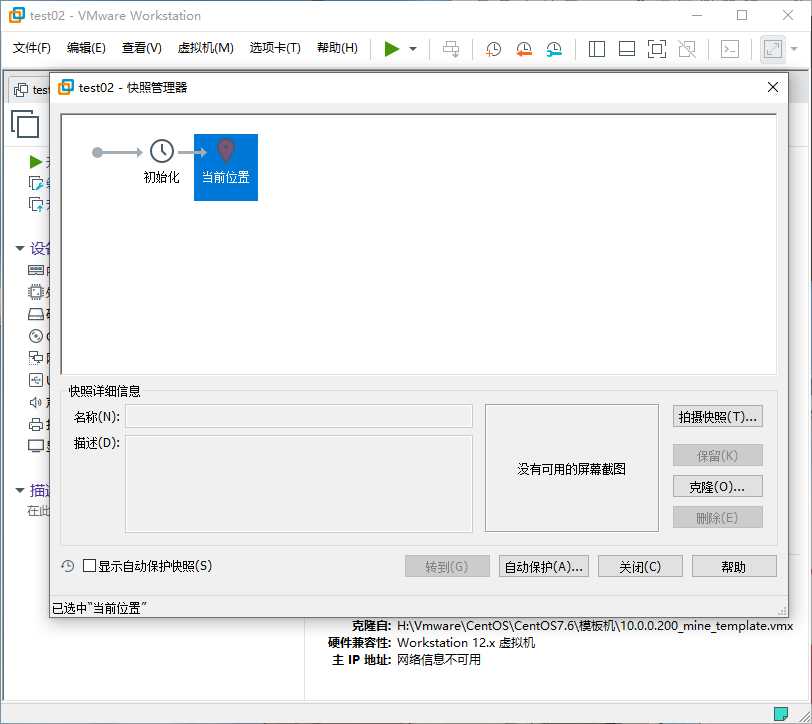
3. 拍摄快照
4.6 test03
1. 修改信息
ssh root@10.0.0.100

hostnamectl set-hostname test03

ifconfig eth0|awk 'NR==2print $2'
IP=$(ifconfig eth0|awk 'NR==2print $2')

sed -i "s#$IP#10.0.0.13#g" /etc/sysconfig/network-scripts/ifcfg-eth0
grep 10.0.0.13 /etc/sysconfig/network-scripts/ifcfg-eth0

cat >>/etc/hosts <<EOF
10.0.0.11  test01
10.0.0.12  test02
10.0.0.13  test03
EOF
tail -3 /etc/hosts

systemctl restart network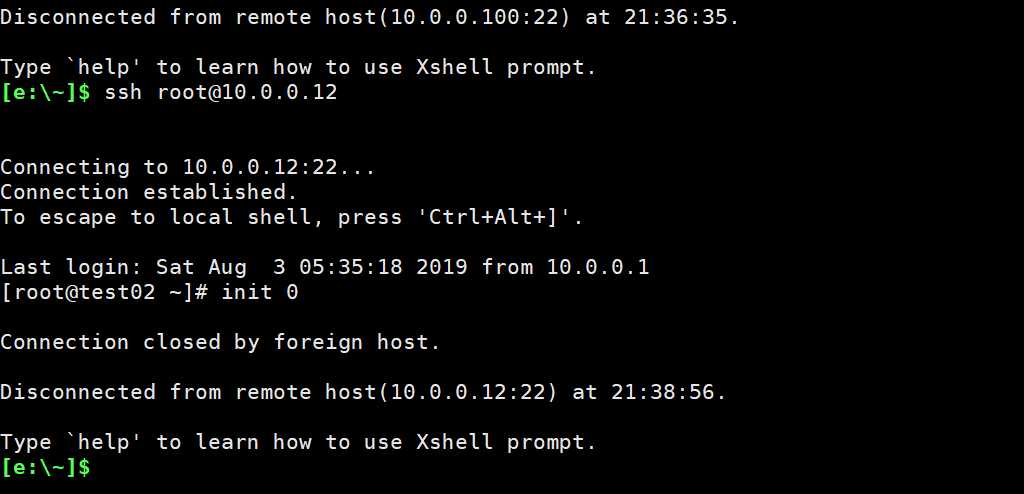
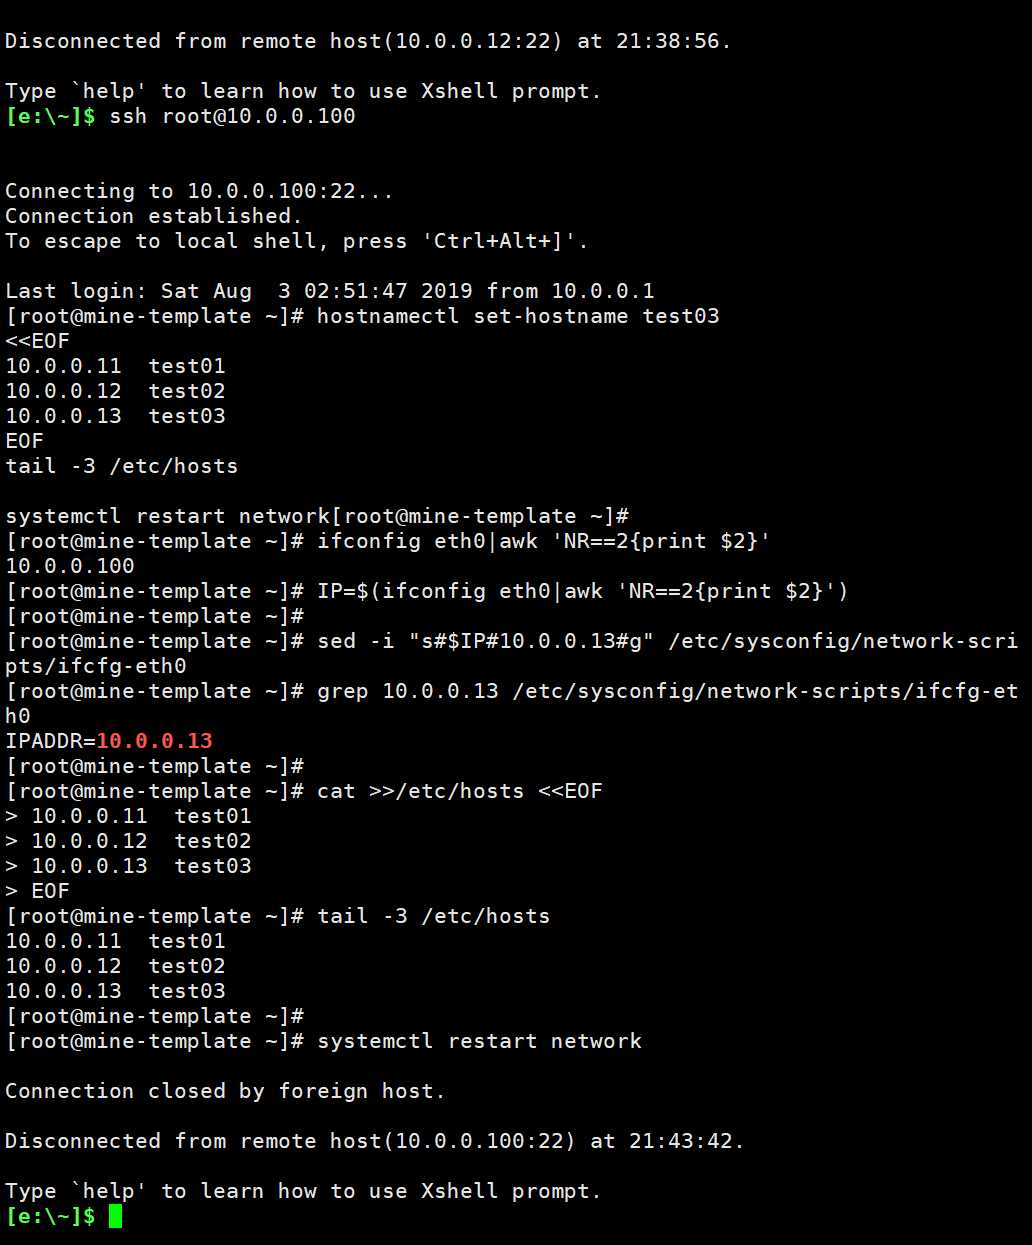
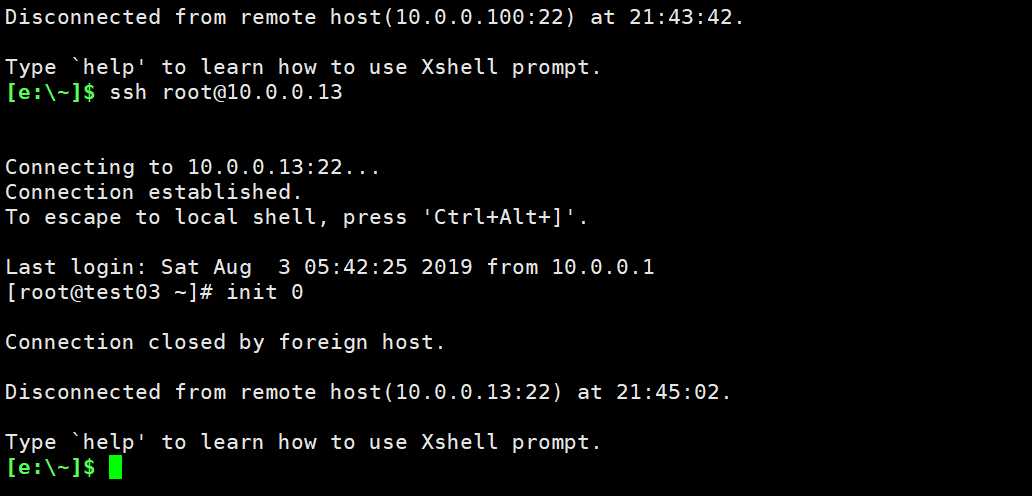
2. 登录关机
ssh root@10.0.0.13

init 0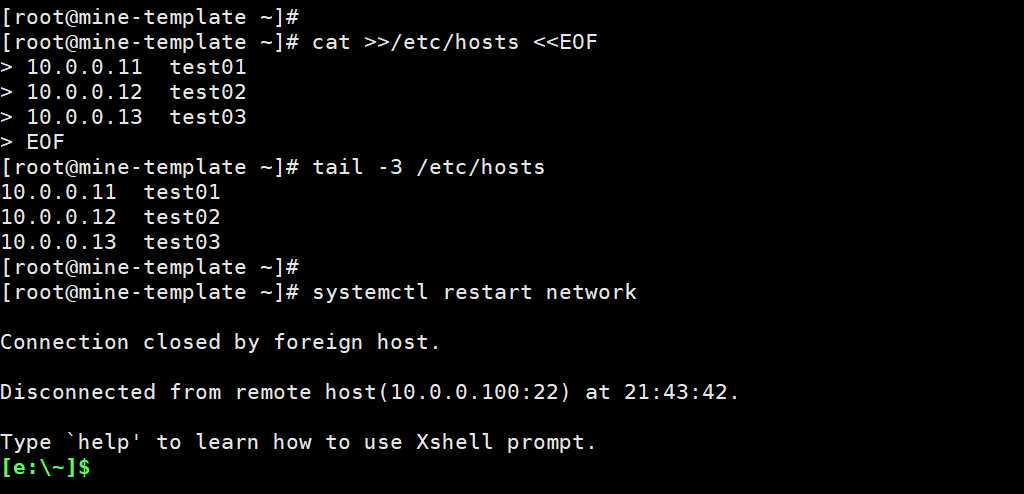
3. 拍摄快照
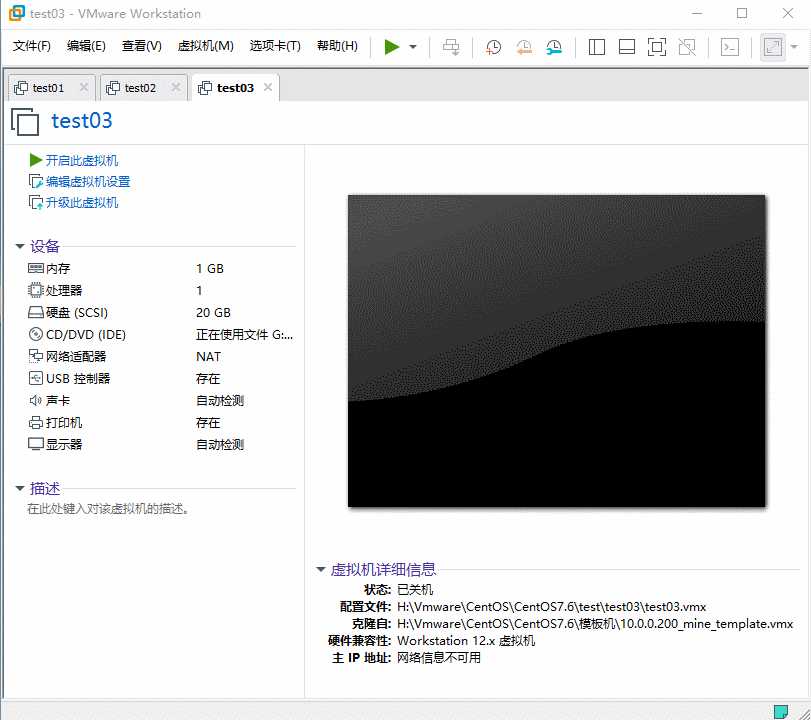
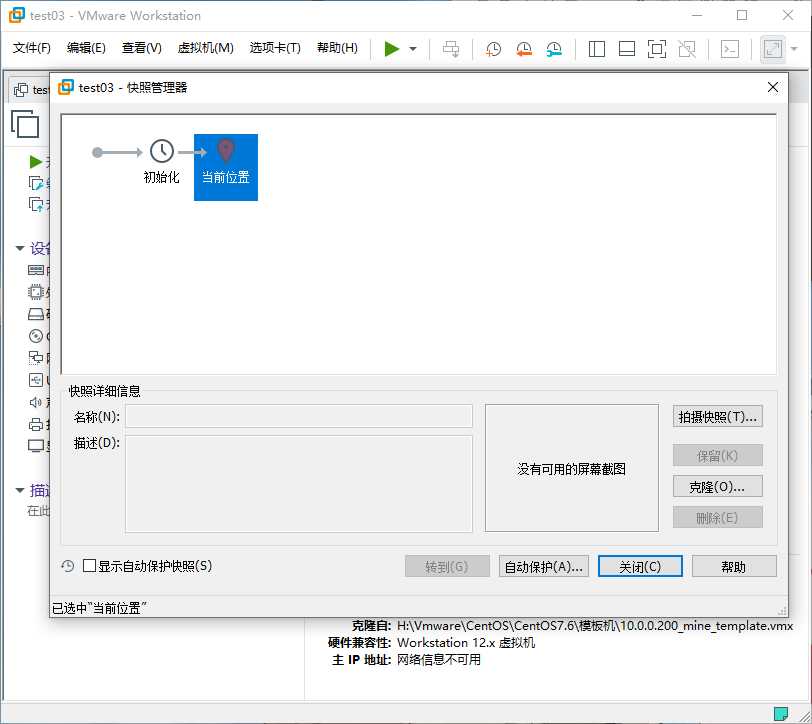
至此,三台虚拟机快速的克隆出来了,这下,做一些其他实验,再也不要担心实验环境不纯了,更方便的是:这次实验玩了,只需将这几台虚拟机都恢复成
初始化的快照,又是一套干净的虚拟机环境了。怎么样,快来动手试试吧!
以上是关于其他综合-VMware 从模板机快速克隆多台的主要内容,如果未能解决你的问题,请参考以下文章