nginx实战
Posted daisyyang
tags:
篇首语:本文由小常识网(cha138.com)小编为大家整理,主要介绍了nginx实战相关的知识,希望对你有一定的参考价值。
(一)nginx反向代理
1. 安装nginx用到的源:
[epel]
name=epel
enabled=1
gpgcheck=0
baseurl=https://mirrors.aliyun.com/epel/7Server/x86_64/
2. 环境部署:
centos7.5
反向代理服务器IP:192.168.42.173
web1服务器IP:192.168.42.122
web2服务器IP:192.168.42.172
3. 下载nginx
yum install -y nginx
4.配置nginx文件,我们实现这样一个效果,静态文件都被代理到192.168.42.122,动态文件都被调度到192.168.42.172,实现动静分离
[[email protected] ~]# cat /etc/nginx/nginx.conf
# For more information on configuration, see:
#   * Official English Documentation: http://nginx.org/en/docs/
#   * Official Russian Documentation: http://nginx.org/ru/docs/

user nginx;
worker_processes auto;
error_log /var/log/nginx/error.log;
pid /run/nginx.pid;

# Load dynamic modules. See /usr/share/nginx/README.dynamic.
include /usr/share/nginx/modules/*.conf;

events
    worker_connections 1024;


http
    log_format  main  ‘$remote_addr - $remote_user [$time_local] "$request" ‘
                      ‘$status $body_bytes_sent "$http_referer" ‘
                      ‘"$http_user_agent" "$http_x_forwarded_for"‘;

    access_log  /var/log/nginx/access.log  main;

    sendfile            on;
    tcp_nopush          on;
    tcp_nodelay         on;
    keepalive_timeout   65;
    types_hash_max_size 2048;

    include             /etc/nginx/mime.types;
    default_type        application/octet-stream;

    # Load modular configuration files from the /etc/nginx/conf.d directory.
    # See http://nginx.org/en/docs/ngx_core_module.html#include
    # for more information.
    include /etc/nginx/conf.d/*.conf;

    server
        listen       80 default_server;
        listen       [::]:80 default_server;
        server_name  _;
        root         /var/www/html;
    index index.html index.php;
        # Load configuration files for the default server block.
        include /etc/nginx/default.d/*.conf;

        location ~\\.html$
    proxy_pass http://192.168.42.122;

    location ~^/.*(\\.php)$
        proxy_pass http://192.168.42.172;


        error_page 404 /404.html;
            location = /40x.html


        error_page 500 502 503 504 /50x.html;
            location = /50x.html


# Settings for a TLS enabled server.
#
#    server
#        listen       443 ssl http2 default_server;
#        listen       [::]:443 ssl http2 default_server;
#        server_name  _;
#        root         /usr/share/nginx/html;
#
#        ssl_certificate "/etc/pki/nginx/server.crt";
#        ssl_certificate_key "/etc/pki/nginx/private/server.key";
#        ssl_session_cache shared:SSL:1m;
#        ssl_session_timeout  10m;
#        ssl_ciphers HIGH:!aNULL:!MD5;
#        ssl_prefer_server_ciphers on;
#
#        # Load configuration files for the default server block.
#        include /etc/nginx/default.d/*.conf;
#
#        location /
#
#
#        error_page 404 /404.html;
#            location = /40x.html
#
#
#        error_page 500 502 503 504 /50x.html;
#            location = /50x.html
#
#
5.进行语法检测,并进行重启nginx
[[email protected] ~]# nginx -t
nginx: the configuration file /etc/nginx/nginx.conf syntax is ok
nginx: configuration file /etc/nginx/nginx.conf test is successful
[[email protected] ~]# systemctl restart nginx
6.配置web服务端
web服务器192.168.42.122部署:
[[email protected] ~]# yum install -y httpd [[email protected] ~]# echo "i am jamhsiao‘s fans" > /var/www/html/index.html [[email protected] ~]# cat /var/www/html/index.html i am jamhsiao‘s fan
[[email protected] ~]# systemctl restart httpd
web服务器192.168.42.172部署:
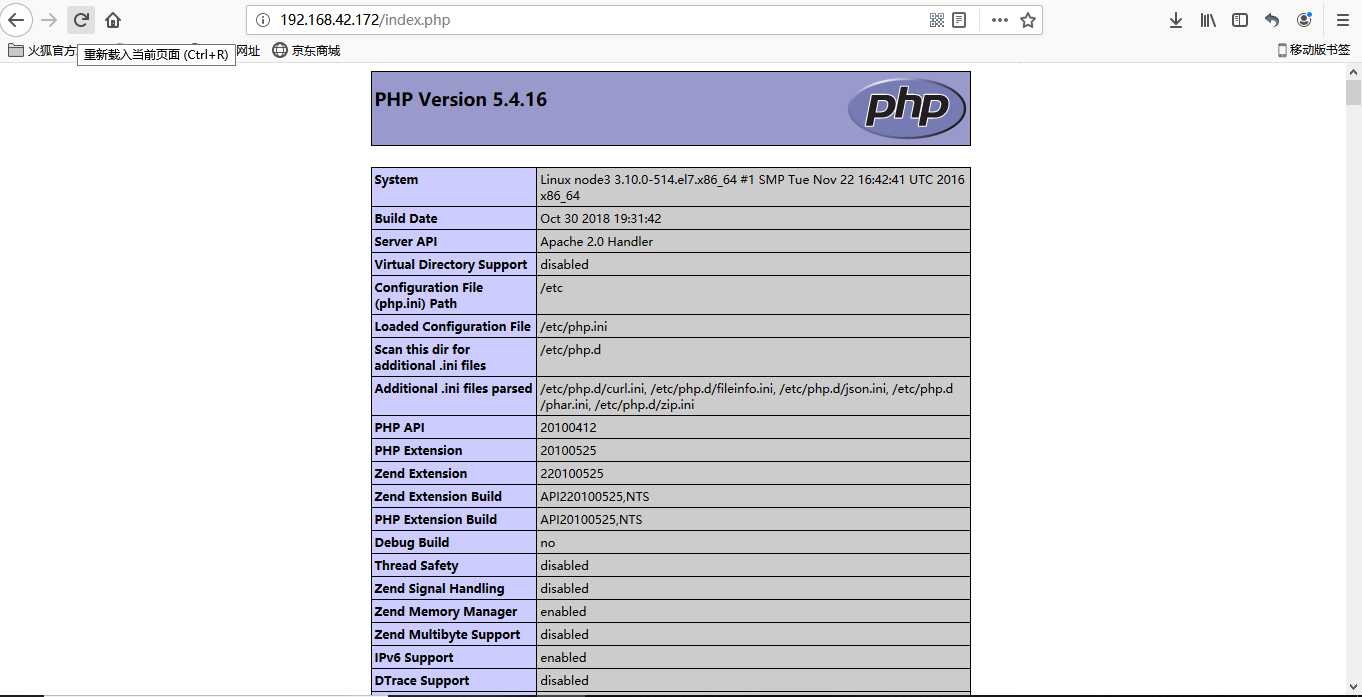
[[email protected] ~]# yum install php -y
[[email protected] ~]# vim /var/www/html/index.php [[email protected] ~]# cat /var/www/html/index.php <?php phpinfo(); ?>
[[email protected] ~]# systemctl restart httpd
7.web服务器关闭安全服务
[[email protected] ~]# iptables -F

[[email protected] ~]# iptables -F
8.访问静态页面

9.访问动态界面
(二)nginx实现负载均衡
1.环境部署:
centos7.5
nginx服务器IP:192.168.42.173
web1服务器端IP:192.168.42.122
web2服务器端IP:192.168.42.172
2. 编辑配置文件
[[email protected] ~]# cat /etc/nginx/nginx.conf
# For more information on configuration, see:
#   * Official English Documentation: http://nginx.org/en/docs/
#   * Official Russian Documentation: http://nginx.org/ru/docs/

user nginx;
worker_processes auto;
error_log /var/log/nginx/error.log;
pid /run/nginx.pid;

# Load dynamic modules. See /usr/share/nginx/README.dynamic.
include /usr/share/nginx/modules/*.conf;

events
    worker_connections 1024;


http
    log_format  main  ‘$remote_addr - $remote_user [$time_local] "$request" ‘
                      ‘$status $body_bytes_sent "$http_referer" ‘
                      ‘"$http_user_agent" "$http_x_forwarded_for"‘;

    access_log  /var/log/nginx/access.log  main;

    sendfile            on;
    tcp_nopush          on;
    tcp_nodelay         on;
    keepalive_timeout   65;
    types_hash_max_size 2048;

    include             /etc/nginx/mime.types;
    default_type        application/octet-stream;

    # Load modular configuration files from the /etc/nginx/conf.d directory.
    # See http://nginx.org/en/docs/ngx_core_module.html#include
    # for more information.
    include /etc/nginx/conf.d/*.conf;
    upstream jam
    server 192.168.42.122 weight=1 max_fails=3 fail_timeout=5;
    server 192.168.42.172 weight=2 max_fails=3 fail_timeout=5;

    server
        listen       80 default_server;
        listen       [::]:80 default_server;
        server_name  _;
        root         /var/www/html;
    index index.html index.php;
        # Load configuration files for the default server block.
        include /etc/nginx/default.d/*.conf;
#  location ~ \\.html$
#        proxy_pass http://192.168.42.122;
#
#        location ~^/.*(\\.php)$
#        proxy_pass http://192.168.42.172;
#

    location /
    proxy_pass http://jam/;
    proxy_set_header host $proxy_host;
    proxy_set_header realip $remote_addr;

        error_page 404 /404.html;
            location = /40x.html


        error_page 500 502 503 504 /50x.html;
            location = /50x.html


# Settings for a TLS enabled server.
#
#    server
#        listen       443 ssl http2 default_server;
#        listen       [::]:443 ssl http2 default_server;
#        server_name  _;
#        root         /usr/share/nginx/html;
#
#        ssl_certificate "/etc/pki/nginx/server.crt";
#        ssl_certificate_key "/etc/pki/nginx/private/server.key";
#        ssl_session_cache shared:SSL:1m;
#        ssl_session_timeout  10m;
#        ssl_ciphers HIGH:!aNULL:!MD5;
#        ssl_prefer_server_ciphers on;
#
#        # Load configuration files for the default server block.
#        include /etc/nginx/default.d/*.conf;
#
#        location /
#
#
#        error_page 404 /404.html;
#            location = /40x.html
#
#
#        error_page 500 502 503 504 /50x.html;
#            location = /50x.html
#
#
3. 检测语法问题并重启nginx
[[email protected] ~]# nginx -t
nginx: the configuration file /etc/nginx/nginx.conf syntax is ok
nginx: configuration file /etc/nginx/nginx.conf test is successful
[[email protected] ~]# systemctl restart nginx
4. web端与反向代理一样
5.浏览器访问(输入服务端IP)

如果没有出现轮询,可能是浏览器的问题,建议换个浏览器试试。
(三)LNMP架构上线动态网站
1. 下载php-fpm需要用到下面的源
[centos]
name=centos base
enabled=1
gpgcheck=0
baseurl=http://mirrors.163.com/centos/7/os/x86_64/
2. 安装服务程序
[[email protected] yum.repos.d]# yum install nginx php php-mysql php-fpm mariadb-server -y
3.修改配置文件
[[email protected] ~]# cat /etc/nginx/nginx.conf
# For more information on configuration, see:
#   * Official English Documentation: http://nginx.org/en/docs/
#   * Official Russian Documentation: http://nginx.org/ru/docs/

user nginx;
worker_processes auto;
error_log /var/log/nginx/error.log;
pid /run/nginx.pid;

# Load dynamic modules. See /usr/share/nginx/README.dynamic.
include /usr/share/nginx/modules/*.conf;

events
    worker_connections 1024;


http
    log_format  main  ‘$remote_addr - $remote_user [$time_local] "$request" ‘
                      ‘$status $body_bytes_sent "$http_referer" ‘
                      ‘"$http_user_agent" "$http_x_forwarded_for"‘;

    access_log  /var/log/nginx/access.log  main;

    sendfile            on;
    tcp_nopush          on;
    tcp_nodelay         on;
    keepalive_timeout   65;
    types_hash_max_size 2048;

    include             /etc/nginx/mime.types;
    default_type        application/octet-stream;

    # Load modular configuration files from the /etc/nginx/conf.d directory.
    # See http://nginx.org/en/docs/ngx_core_module.html#include
    # for more information.
    include /etc/nginx/conf.d/*.conf;
#    upstream jam
#    server 192.168.42.122 weight=1 max_fails=3 fail_timeout=5;
#    server 192.168.42.172 weight=2 max_fails=3 fail_timeout=5;
#
    server
#        listen       80 default_server;
#        listen       [::]:80 default_server;
    listen    80;
        server_name  _;
        root         /var/www/html;
    index index.html index.php;
        # Load configuration files for the default server block.
        include /etc/nginx/default.d/*.conf;
#  location ~ \\.html$
#        proxy_pass http://192.168.42.122;
#
        location ~^/.*(\\.php)$
        fastcgi_pass 127.0.0.1:9000;
    include fastcgi.conf;


#    location /
#    proxy_pass http://jam/;
#    proxy_set_header host $proxy_host;
#    proxy_set_header realip $remote_addr;
#
        error_page 404 /404.html;
            location = /40x.html


        error_page 500 502 503 504 /50x.html;
            location = /50x.html


# Settings for a TLS enabled server.
#
#    server
#        listen       443 ssl http2 default_server;
#        listen       [::]:443 ssl http2 default_server;
#        server_name  _;
#        root         /usr/share/nginx/html;
#
#        ssl_certificate "/etc/pki/nginx/server.crt";
#        ssl_certificate_key "/etc/pki/nginx/private/server.key";
#        ssl_session_cache shared:SSL:1m;
#        ssl_session_timeout  10m;
#        ssl_ciphers HIGH:!aNULL:!MD5;
#        ssl_prefer_server_ciphers on;
#
#        # Load configuration files for the default server block.
#        include /etc/nginx/default.d/*.conf;
#
#        location /
#
#
#        error_page 404 /404.html;
#            location = /40x.html
#
#
#        error_page 500 502 503 504 /50x.html;
#            location = /50x.html
#
#
4. 重启nginx和php-fpm
[[email protected] ~]# systemctl restart nginx
[[email protected] ~]# systemctl restart php-fpm
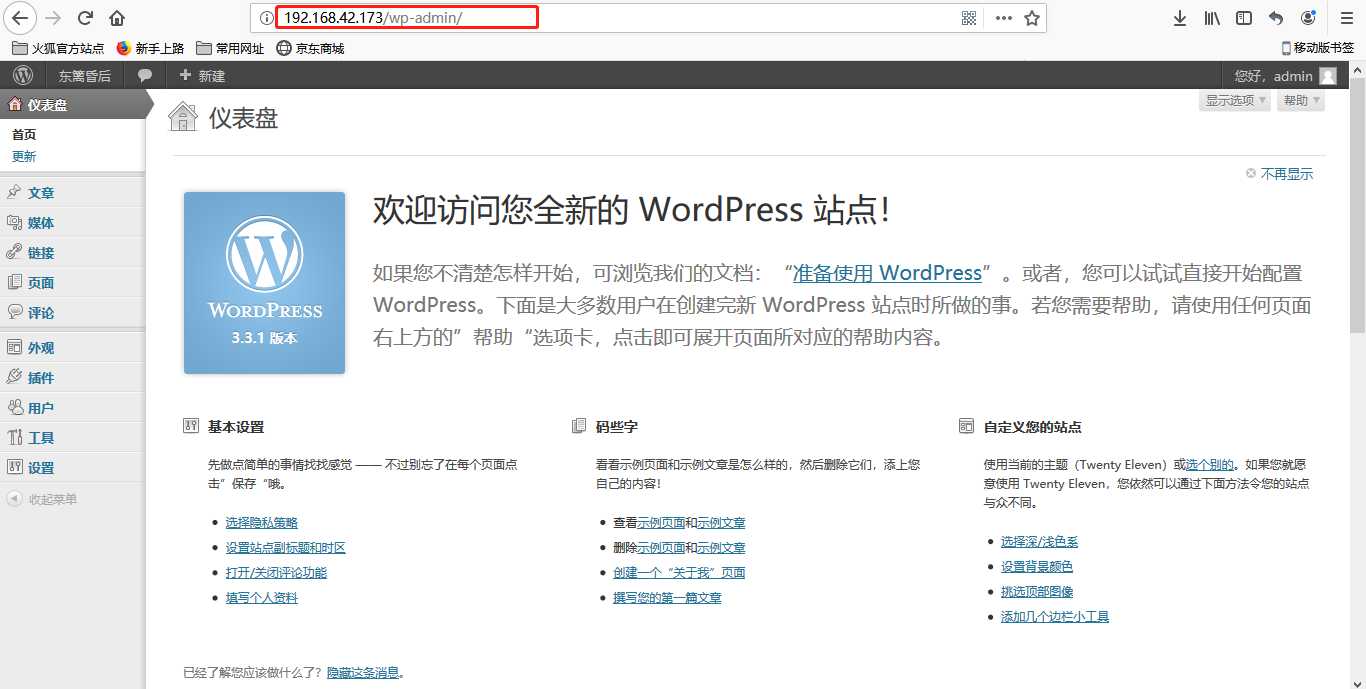
5. 上传wordpress并修改配置文件
以下操作要在 /var/www/html 目录下进行,我懒,就不改了。
[[email protected] ~]# rz
[[email protected] ~]# unzip wordpress-3.3.1-zh_CN.zip
[[email protected] ~]# ls
jam  wordpress  wordpress-3.3.1-zh_CN.zip
[[email protected] ~]# mv wordpress/* .
[[email protected] ~]# ls
index.php                  wp-cron.php
jam                        wp-includes
license.txt                wp-links-opml.php
readme.html                wp-load.php
wordpress                  wp-login.php
wordpress-3.3.1-zh_CN.zip  wp-mail.php
wp-activate.php            wp-pass.php
wp-admin                   wp-register.php
wp-app.php                 wp-settings.php
wp-blog-header.php         wp-signup.php
wp-comments-post.php       wp-trackback.php
wp-config-sample.php       xmlrpc.php
wp-content
[[email protected] ~]# cp wp-config-sample.php wp-config.php
[[email protected] ~]# vim wp-config.php

/** WordPress 数据库的名称 */
define(‘DB_NAME‘, ‘jam‘);

/** MySQL 数据库用户名 */
define(‘DB_USER‘, ‘jam‘);

/** MySQL 数据库密码 */
define(‘DB_PASSWORD‘, ‘0330‘);
6.重启数据库,创建用户并给权限
[[email protected] ~]# systemctl restart mariadb
[[email protected] ~]# mysql -uroot
Welcome to the MariaDB monitor.  Commands end with ; or \\g.
Your MariaDB connection id is 2
Server version: 5.5.60-MariaDB MariaDB Server

Copyright (c) 2000, 2018, Oracle, MariaDB Corporation Ab and others.

Type ‘help;‘ or ‘\\h‘ for help. Type ‘\\c‘ to clear the current input statement.

MariaDB [(none)]> create database jam;
Query OK, 1 row affected (0.00 sec)

MariaDB [(none)]> grant all on *.* to [email protected]‘localhost‘ ident
ified by "0330";
Query OK, 0 rows affected (0.00 sec)
7.浏览器访问
以上部署完成,下一篇我会在此基础上做一个小项目:Linux 系统中部署 LNMP 高可用负载均衡架构集群实现动态博客。
敬请期待!!!
以上是关于nginx实战的主要内容,如果未能解决你的问题,请参考以下文章