关于Staltstack
Posted smlile-you-me
tags:
篇首语:本文由小常识网(cha138.com)小编为大家整理,主要介绍了关于Staltstack相关的知识,希望对你有一定的参考价值。
cat /etc/hosts(master和minion都添加)
127.0.0.1 localhost localhost.localdomain localhost4 localhost4.localdomain4
::1 localhost localhost.localdomain localhost6 localhost6.localdomain6
192.168.1.201 kvm2
192.168.1.202 kvm3
salt-master端执行
====================================================
#换阿里源:
wget https://mirrors.aliyun.com/epel/epel-release-latest-7.noarch.rpm
yum -y install epel-release-latest-7.noarch.rpm
#master端安装salt-master和salt-minion
yum -y install salt-master salt-minion
#设置master
sed -i "s/^#interface: 0.0.0.0/interface: `ip a|grep "/24"|awk -F ‘/‘ ‘print $1‘|awk -F ‘ ‘ ‘print $2‘`/" /etc/salt/master
sed -i "/interface:/a\\id: `ip a|grep "/24"|awk -F ‘/‘ ‘print $1‘|awk -F ‘ ‘ ‘print $2‘`" /etc/salt/master
sed -i "s/^#file_roots/file_roots/" /etc/salt/master
sed -i "s/^# base/ base/" /etc/salt/master
sed -i "s/# - \\/srv\\/salt/ - \\/srv\\/salt/" /etc/salt/master
sed -i "s/^#auto_accept: False/auto_accept: True/" /etc/salt/master
sed -i "s/^#publish_port/publish_port/" /etc/salt/master
sed -i "s/#ret_port/ret_port/" /etc/salt/master
#启动master
systemctl start salt-master
#设置开机自启动
chkconfig salt-master on
#设置minion
cat /etc/salt/minion|grep -v ^#|grep -v ^$
master: 192.168.1.201
id: 192.168.1.201
#启动minion
systemctl start salt-minion
#设置开机自启动
chkconfig salt-minion on
============================================================
#minion端安装minion
wget https://mirrors.aliyun.com/epel/epel-release-latest-7.noarch.rpm
yum -y install epel-release-latest-7.noarch.rpm
yum -y install salt-minion
#设置minion端minion的配置文件
cat /etc/salt/minion|grep -v ^#|grep -v ^$
master: 192.168.1.201
id: 192.168.1.202
systemctl start salt-minion
systemctl enable salt-minion
******************************************************
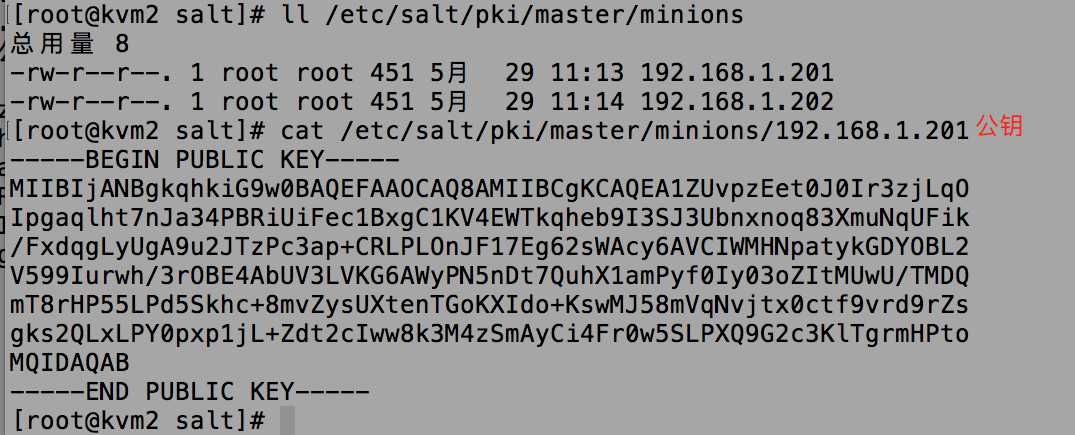
如果此时删除了/etc/salt/pki/master目录下的所有
或者删除了/etc/salt/pki/minion目录下的所有
那么客户端和服务器的salt-master和salt-minion都需要重启
******************************************************
#salt-master端操作
[[email protected] master]# pwd
/etc/salt/pki/master
[[email protected] master]# salt-key -L (-L:列表 -D:删除所有 -d:删除选中的 -A:同意所有 -a 192*)
Accepted Keys:
192.168.1.201 #重点
192.168.1.202 #重点
Denied Keys:
Unaccepted Keys:
Rejected Keys:
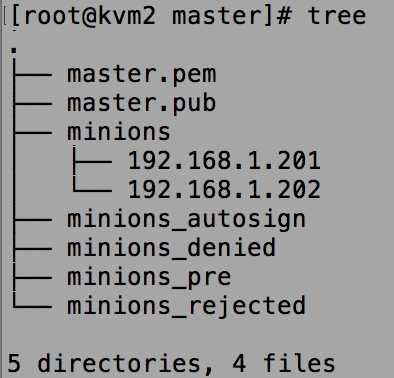
[[email protected] master]# tree
.
├── master.pem
├── master.pub
├── minions
├── minions_autosign
├── minions_denied
├── minions_pre
│ ├── 192.168.1.201
│ └── 192.168.1.202
└── minions_rejected
[[email protected] master]# salt-key -A

测试:

**********************************************
解决:
登录到192.168.1.202上,并执行rm -rf /etc/salt/pki/minion/minion_master.pub
再重启下:systemctl restart salt-minion
说明:
minion端拿到的key与master端的不符,验证无法通过。
解决方法是删除minion端的key,再重新与master进行连接和认证
master端再全部接收一次salt-key -A 并 重启salt-master和salt-minion
**********************************************


注:打开上面配置文件中的选项
mkdir /srv/salt
systemctl restart salt-master
#写一个安装httpd的服务
cd /srv/salt/
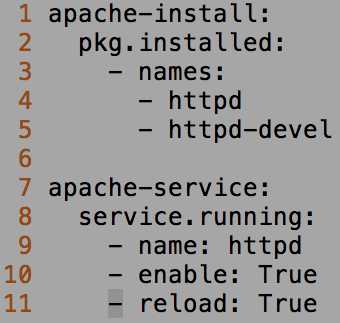
vim apache.sls (下行比上行多2个空格)
apache-install: (标题)
pkg.installed: (pkg模块的installed方法)
- names:
- httpd
- httpd-devel
apache-service: (标题)
service.running: (service模块的running方法)
- name: httpd
- enable: True
- reload: True
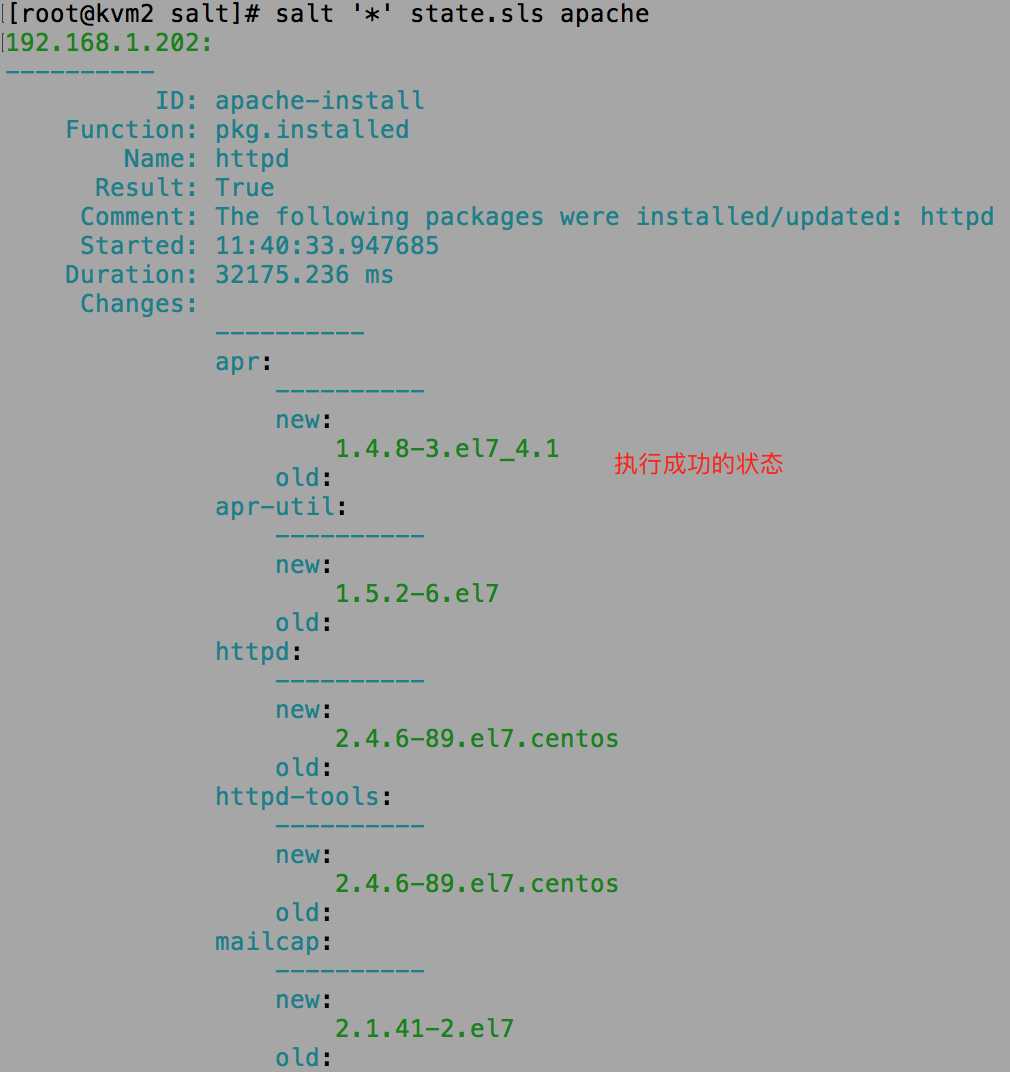
*************** 中间省略一部分 *******************
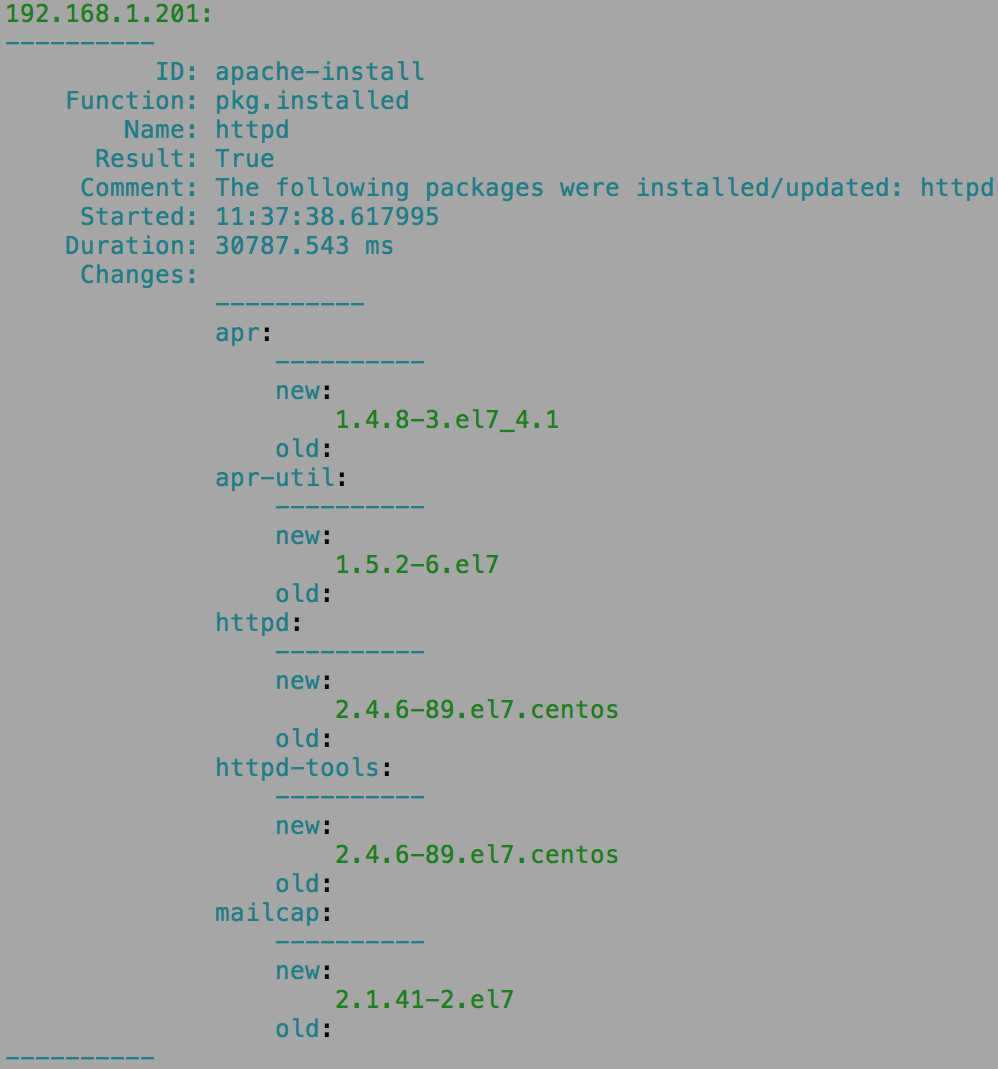
salt ‘*‘ cmd.run ‘yum -y install net-tools‘

高级状态:
cd /srv/salt
vim top.sls #文件必须放在base环境下
base:
‘192.168*‘:
- apache
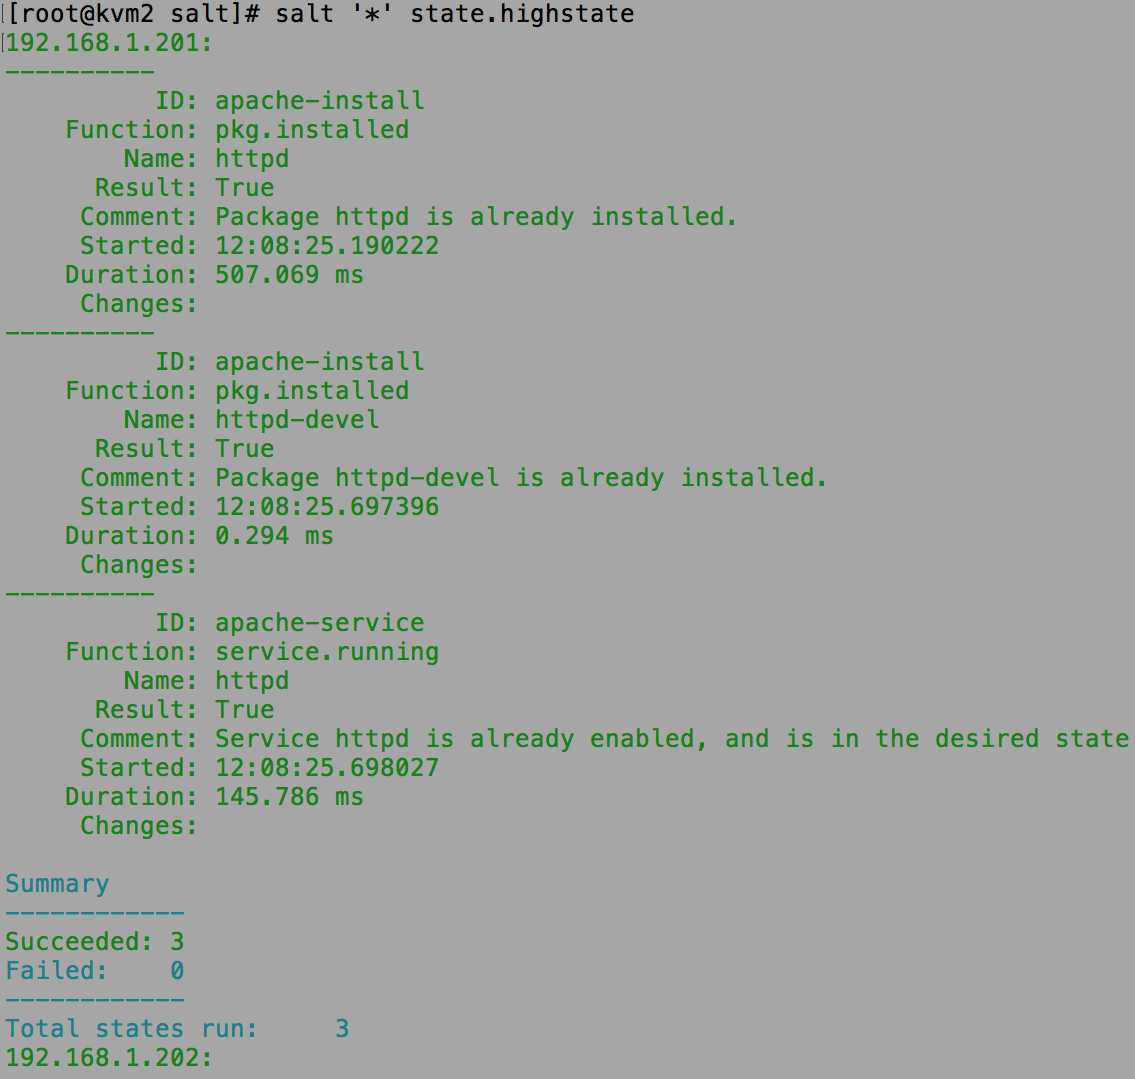
[[email protected] salt]# salt ‘*‘ state.highstate
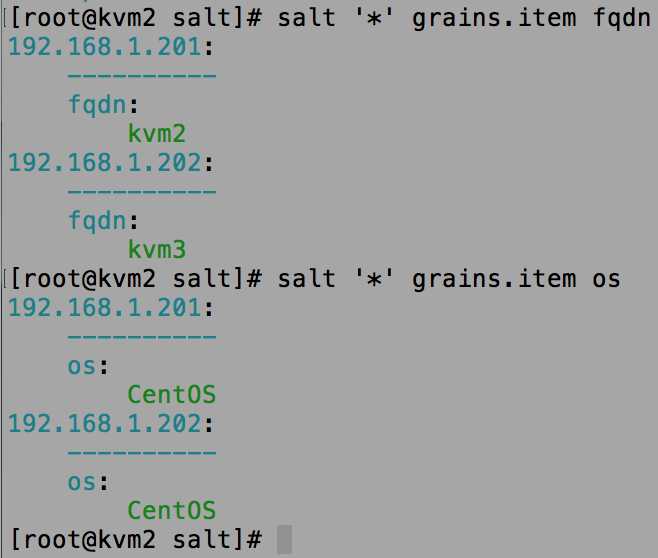
[[email protected] salt]# salt ‘*‘ grains.ls
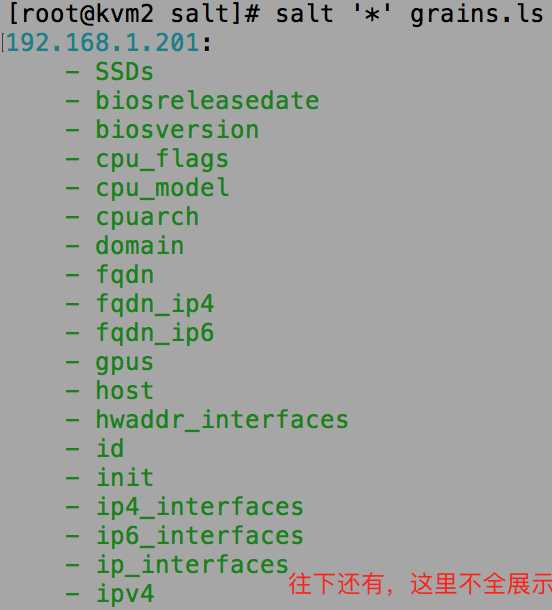
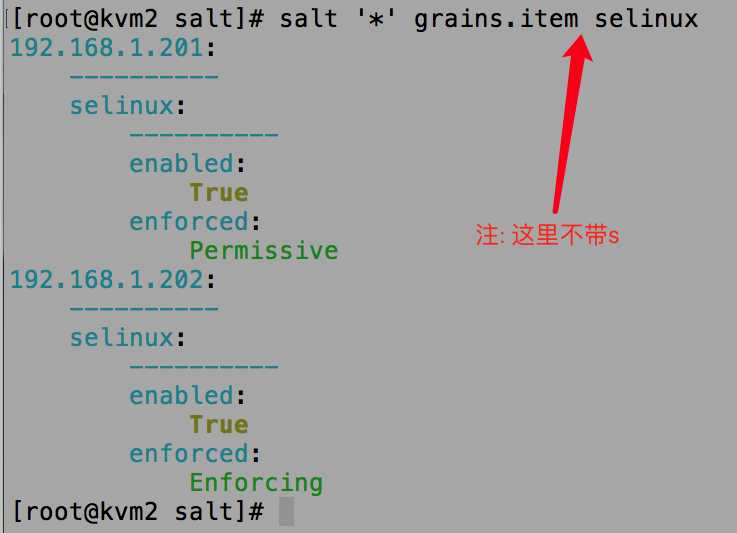
[[email protected] salt]# salt ‘*‘ grains.items
#把所有grains的内容显示出来,也可以是单台机器的 salt ‘192.168.1.202‘ grains.items
#显示的内容中包括cpu标志位、base的版本、base的时间、cpu型号、cpu架构、域名、fqdn名、硬件信息等
以上是关于关于Staltstack的主要内容,如果未能解决你的问题,请参考以下文章