asp.net Mvc 使用NPOI导出Excel文件
Posted zhangnever
tags:
篇首语:本文由小常识网(cha138.com)小编为大家整理,主要介绍了asp.net Mvc 使用NPOI导出Excel文件相关的知识,希望对你有一定的参考价值。
1.新建MVC项目,新建控制器、视图
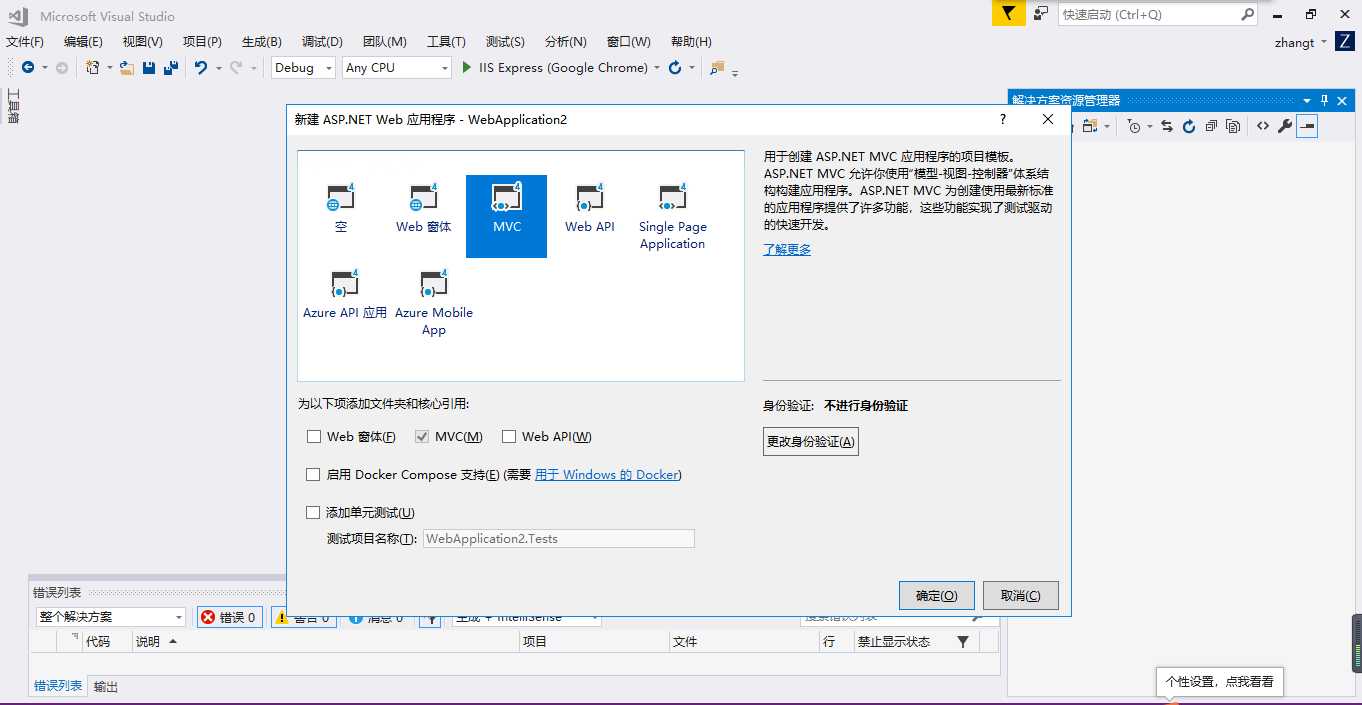
添加控制器:

添加视图(将使用布局页前面的复选框里的勾勾去掉)
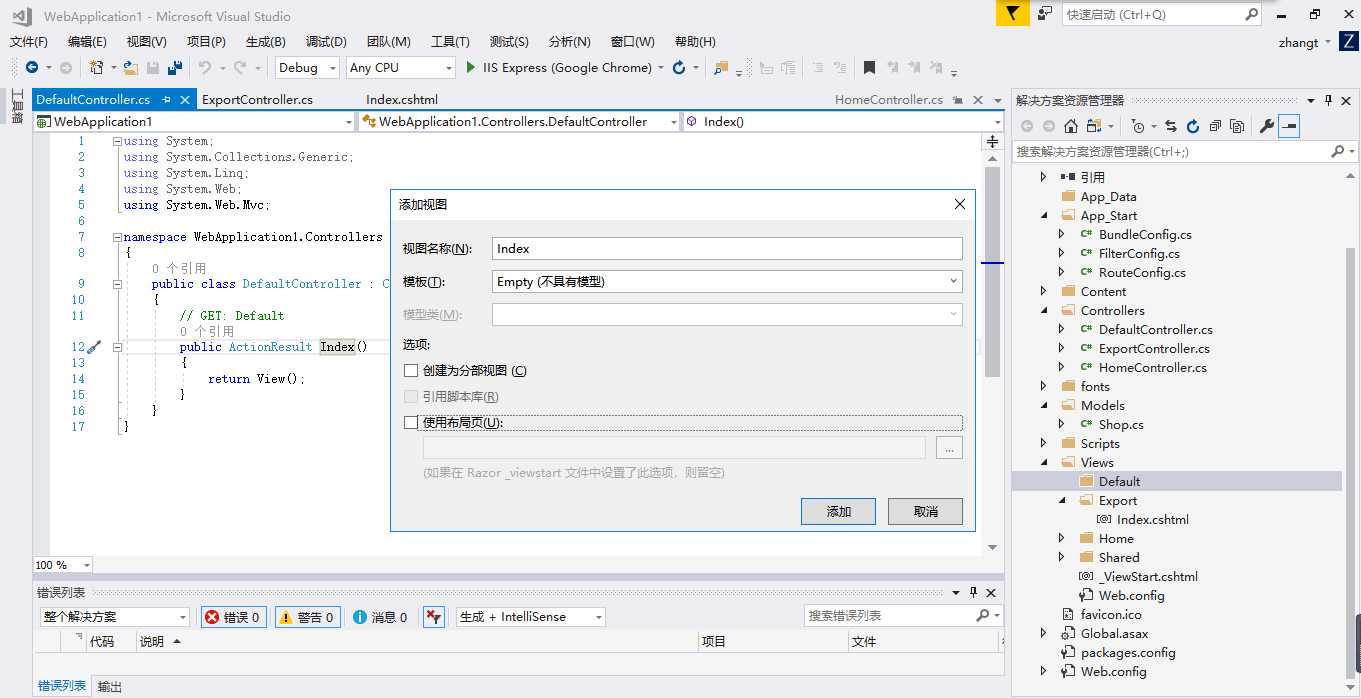
2.在Models里新建一个类
 public class Shop

        /// <summary>
        /// 编号
        /// </summary>
        public int Number  get; set;
        /// <summary>
        /// 商品名称
        /// </summary>
        public string ShopName  get; set;
        /// <summary>
        /// 商品价格
        /// </summary>
        public double Price  get; set;
        /// <summary>
        /// 商品种类
        /// </summary>
        public string ShopType  get; set;
        /// <summary>
        /// 时间
        /// </summary>
        public DateTime Date  get; set;
        /// <summary>
        /// 添加数据
        /// </summary>
        /// <returns></returns>

        public List<Shop> AddShop()

            var shops = new List<Shop>();
            shops.Add(new Shop()  Number = 1001, ShopName = "小熊饼干", Price = 9.9, ShopType = "零食", Date = DateTime.Now );
            shops.Add(new Shop()  Number = 1002, ShopName = "旺仔QQ糖", Price = 5.6, ShopType = "零食", Date = DateTime.Now );
            shops.Add(new Shop()  Number = 1001, ShopName = "奥利奥饼干", Price = 15.5, ShopType = "零食", Date = DateTime.Now );
            return shops;
3.在控制器里新增一个方法,编写导出的代码
   public FileResult ExportData()

            Shop shop = new Shop();
            //获得数据
            var Data=shop.AddShop();
            //创建一个新的excel文件
            HSSFWorkbook book = new HSSFWorkbook();
            //创建一个工作区
            ISheet sheet = book.CreateSheet("sheet1");
            //创建一行 也就是在sheet1这个工作区创建一行 在NPOI中只有先创建才能后使用
            IRow row = sheet.CreateRow(0);
            for (int i = 0; i < 5; i++)

                //设置单元格的宽度
                sheet.SetColumnWidth(i, 16 * 156);

            sheet.SetColumnWidth(4, 30 * 156);
            sheet.SetColumnWidth(1, 21 * 156);
            //定义一个样式,迎来设置样式属性
            ICellStyle setborder = book.CreateCellStyle();

            //设置单元格上下左右边框线 但是不包括最外面的一层
            setborder.BorderLeft = BorderStyle.Thin;
            setborder.BorderRight = BorderStyle.Thin;
            setborder.BorderBottom = BorderStyle.Thin;
            setborder.BorderTop = BorderStyle.Thin;

            //文字水平和垂直对齐方式
            setborder.VerticalAlignment = VerticalAlignment.Center;//垂直居中
            setborder.Alignment = HorizontalAlignment.Center;//水平居中
            setborder.WrapText = true;//自动换行

            //再定义一个样式,用来设置最上面标题行的样式
            ICellStyle setborderdeth = book.CreateCellStyle();

            //设置单元格上下左右边框线 但是不包括最外面的一层
            setborderdeth.BorderLeft = BorderStyle.Thin;
            setborderdeth.BorderRight = BorderStyle.Thin;
            setborderdeth.BorderBottom = BorderStyle.Thin;
            setborderdeth.BorderTop = BorderStyle.Thin;

            //定义一个字体样式
            IFont font = book.CreateFont();
            //将字体设为红色
            font.Color = IndexedColors.Red.Index;
            //font.FontHeightInPoints = 17;
            //将定义的font样式给到setborderdeth样式中
            setborderdeth.SetFont(font);

            //文字水平和垂直对齐方式
            setborderdeth.VerticalAlignment = VerticalAlignment.Center;//垂直居中
            setborderdeth.Alignment = HorizontalAlignment.Center;//水平居中
            setborderdeth.WrapText = true;  //自动换行

            //设置第一行单元格的高度为25
            row.HeightInPoints = 25;
            //设置单元格的值
            row.CreateCell(0).SetCellValue("编号");
            //将style属性给到这个单元格
            row.GetCell(0).CellStyle = setborderdeth;
            row.CreateCell(1).SetCellValue("商品名称");
            row.GetCell(1).CellStyle = setborderdeth;
            row.CreateCell(2).SetCellValue("商品价格");
            row.GetCell(2).CellStyle = setborderdeth;
            row.CreateCell(3).SetCellValue("商品种类");
            row.GetCell(3).CellStyle = setborderdeth;
            row.CreateCell(4).SetCellValue("日期");
            row.GetCell(4).CellStyle = setborderdeth;
            //循环的导出到excel的每一行
            for (int i = 0; i < Data.Count; i++)

                //每循环一次,就新增一行  索引从0开始 所以第一次循环CreateRow(1) 前面已经创建了标题行为0
                IRow row1 = sheet.CreateRow(i + 1);
                row1.HeightInPoints = 21;
                //给新加的这一行创建第一个单元格,并且给这第一个单元格设置值 以此类推...
                row1.CreateCell(0).SetCellValue(Convert.ToString(Data[i].Number));
                //先获取这一行的第一个单元格,再给其设置样式属性 以此类推...
                row1.GetCell(0).CellStyle = setborder;
                row1.CreateCell(1).SetCellValue(Data[i].ShopName);
                row1.GetCell(1).CellStyle = setborder;
                row1.CreateCell(2).SetCellValue(Convert.ToString(Data[i].Price));
                row1.GetCell(2).CellStyle = setborder;
                row1.CreateCell(3).SetCellValue(Data[i].ShopType);
                row1.GetCell(3).CellStyle = setborder;
                row1.CreateCell(4).SetCellValue(Convert.ToString(Data[i].Date));
                row1.GetCell(4).CellStyle = setborder;

            System.IO.MemoryStream ms = new System.IO.MemoryStream();
            book.Write(ms);
            ms.Seek(0, SeekOrigin.Begin);
            DateTime dttime = DateTime.Now;
            string datetime = dttime.ToString("yyyy-MM-dd");
            string filename = "报表导出" + datetime + ".xls";
            return File(ms, "application/vns.ms-excel", filename);
4.视图页引入脚本文件及编写相应代码
@
    Layout = null;


<!DOCTYPE html>

<html>
<head>
    <meta name="viewport" content="width=device-width" />
    <title>Index</title>
    <link href="http://localhost:64014/bootstrap/css/bootstrap.min.css" rel="stylesheet" />
    <script src="http://localhost:64014/js/jquery-3.4.0.min.js"></script>
    <script src="http://localhost:64014/bootstrap/js/bootstrap.min.js"></script>

    <style type="text/css">
        *
            margin: 0px;
            padding: 0px;


        button
            margin-top: 5px;
            margin-left: 5px;

    </style>
    <script type="text/javascript">
        function exports()
            //用ajax调用导出方法
            $.ajax(
                type: ‘GET‘,
                url: ‘/Export/ExportData‘,
                success: function ()
                    //注:Ajax直接调用后台的下载方法是导出不了文件的,原因是ajax无法接收后台的文件流,所以,需要再次用window.location=url或者window.open(url)下载
                    window.location = ‘/Export/ExportData‘

            )

    </script>
</head>
<body>
    <div>
        @*按钮用bootstrap渲染一下,会好看一些(*^_^*)*@
        <button class="btn btn-info" style="width:90px" onclick="exports()">导出</button>
    </div>
</body>
</html>
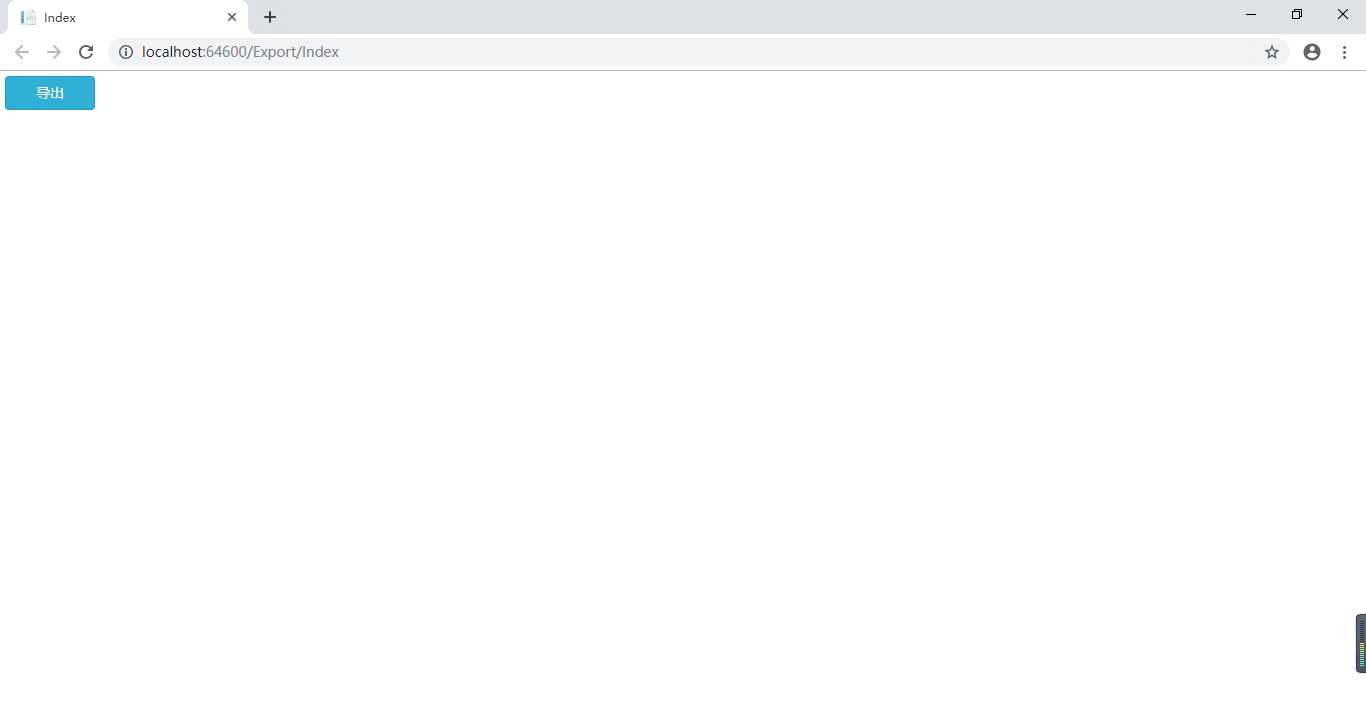
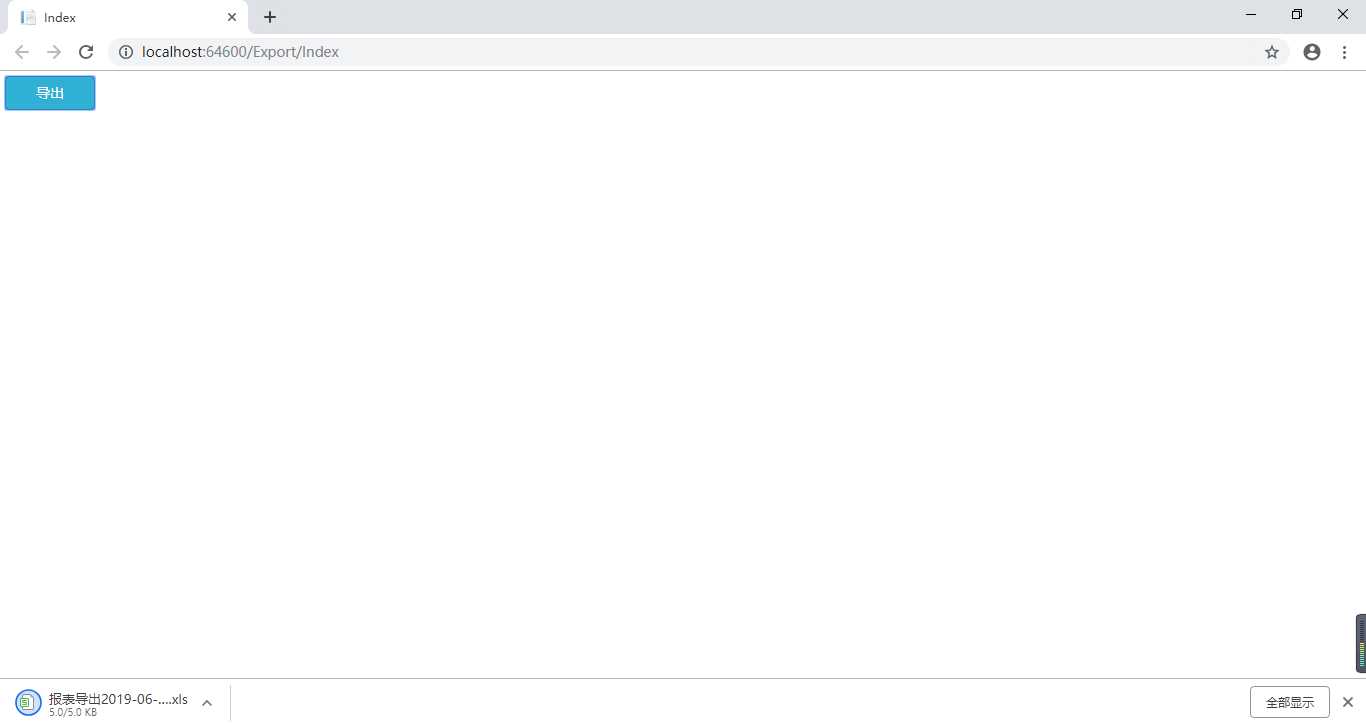
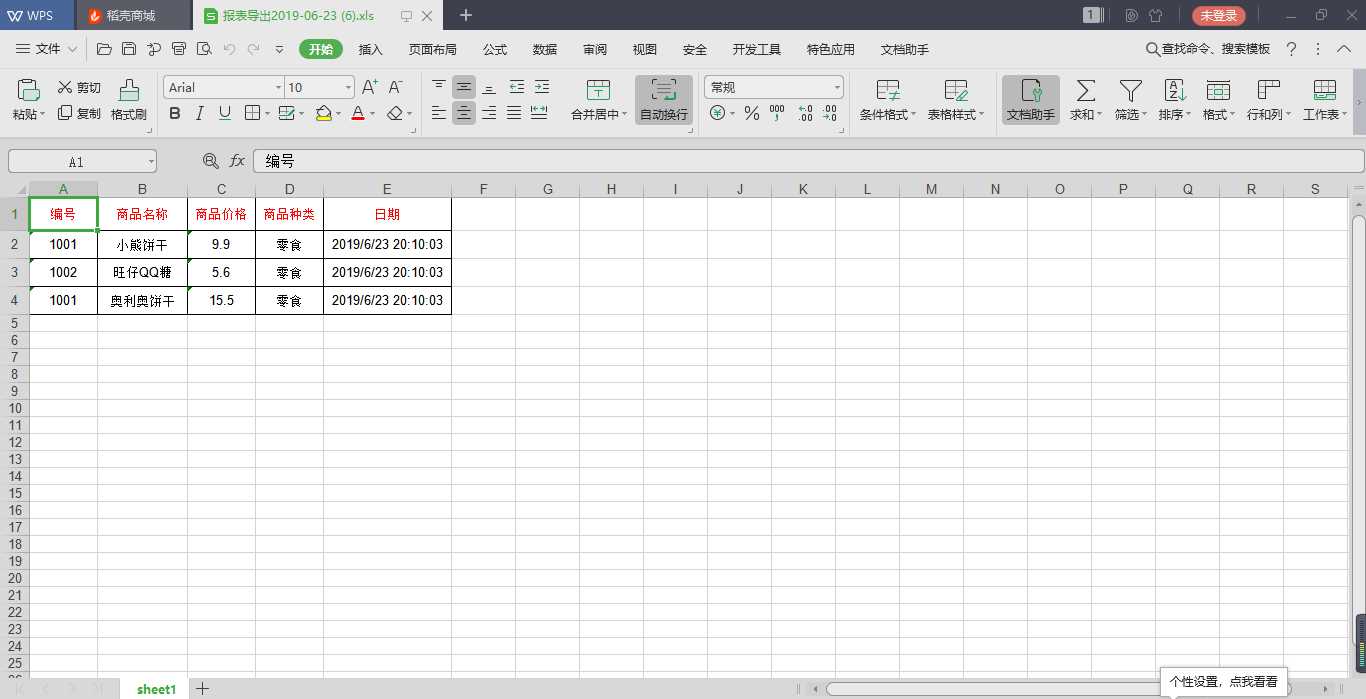
5.效果:
以上是关于asp.net Mvc 使用NPOI导出Excel文件的主要内容,如果未能解决你的问题,请参考以下文章