vscode源码分析窗口里的主要元素
Posted liulun
tags:
篇首语:本文由小常识网(cha138.com)小编为大家整理,主要介绍了vscode源码分析窗口里的主要元素相关的知识,希望对你有一定的参考价值。
第一篇: vscode源码分析【一】从源码运行vscode
第二篇:vscode源码分析【二】程序的启动逻辑,第一个窗口是如何创建的
第三篇:vscode源码分析【三】程序的启动逻辑,性能问题的追踪
第四篇:vscode源码分析【四】程序启动的逻辑,最初创建的服务
第五篇:vscode源码分析【五】事件分发机制
第六篇:vscode源码分析【六】服务实例化和单例的实现
第七篇:vscode源码分析【七】主进程启动消息通信服务
第八篇:vscode源码分析【八】加载第一个画面
在上一节中,我们讲到加载第一个画面时,加载了一个workbench.js
(src\\vs\\code\\electron-browser\\workbench\\workbench.js)
这个文件中执行了:
bootstrapWindow.load([
	‘vs/workbench/workbench.main‘,
	‘vs/nls!vs/workbench/workbench.main‘,
	‘vs/css!vs/workbench/workbench.main‘
]
加载了workbench.main,这个文件负责初始化界面需要用到的库
它本身不负责执行任何逻辑,但却加载了三百多个类,哈!
bootstrapWindow.load的回调方法里,执行了:
require(‘vs/workbench/electron-browser/main‘).main(configuration);这句代码很重要
我们看看这个类的main方法;它执行了:
	const renderer = new CodeRendererMain(configuration);
	return renderer.open();
CodeRendererMain类也在同一个文件里
(src\\vs\\workbench\\electron-browser\\main.ts)
它的构造函数里做了一些初始化工作(界面缩放事件设置、文件读写库的设置等)
不重要,先不理会,先看open方法:
this.workbench = new Workbench(document.body, services.serviceCollection, services.logService);
//......
const instantiationService = this.workbench.startup();
你看到,我们把body传给了workbench的实例
workbench的构造函数里,并没有用这个body做什么事情;
而是把他传递给了它的父类:Layout(src\\vs\\workbench\\browser\\layout.ts),存储在父类parent属性里
这个类很重要,我们待会儿会说;
现在我们看看workbench的startup方法
				// Layout
				this.initLayout(accessor);
				// Registries
				this.startRegistries(accessor);
				// Context Keys
this._register(instantiationService.createInstance(WorkbenchContextKeysHandler));
				// Register Listeners
				this.registerListeners(lifecycleService, storageService, configurationService);
				// Render Workbench
this.renderWorkbench(instantiationService, accessor.get(INotificationService) as NotificationService, storageService, configurationService);
				// Workbench Layout
this.createWorkbenchLayout(instantiationService);
				// Layout
				this.layout();
initLayout方法,初始化了一堆服务(environmentService,lifecycleService等),监听了一堆事件(全屏、编辑器显隐等)
renderWorkbench方法(最重要!),给body和一个叫container的元素加了一系列的样式;
container元素是在父类Layout里初始化的,这个元素最终会是所有组件的父亲;
	private _container: htmlElement = document.createElement(‘div‘);
	get container(): HTMLElement  return this._container;
之后,给container元素加了几个子元素:
[
			 id: Parts.TITLEBAR_PART, role: ‘contentinfo‘, classes: [‘titlebar‘] ,
			 id: Parts.ACTIVITYBAR_PART, role: ‘navigation‘, classes: [‘activitybar‘, this.state.sideBar.position === Position.LEFT ? ‘left‘ : ‘right‘] ,
			 id: Parts.SIDEBAR_PART, role: ‘complementary‘, classes: [‘sidebar‘, this.state.sideBar.position === Position.LEFT ? ‘left‘ : ‘right‘] ,
			 id: Parts.EDITOR_PART, role: ‘main‘, classes: [‘editor‘], options:  restorePreviousState: this.state.editor.restoreEditors  ,
			 id: Parts.PANEL_PART, role: ‘complementary‘, classes: [‘panel‘, this.state.panel.position === Position.BOTTOM ? ‘bottom‘ : ‘right‘] ,
			 id: Parts.STATUSBAR_PART, role: ‘contentinfo‘, classes: [‘statusbar‘]
		].forEach(( id, role, classes, options ) =>
			const partContainer = this.createPart(id, role, classes);

			if (!configurationService.getValue(‘workbench.useExperimentalGridLayout‘)) 				this.container.insertBefore(partContainer, this.container.lastChild);


			this.getPart(id).create(partContainer, options);
		);
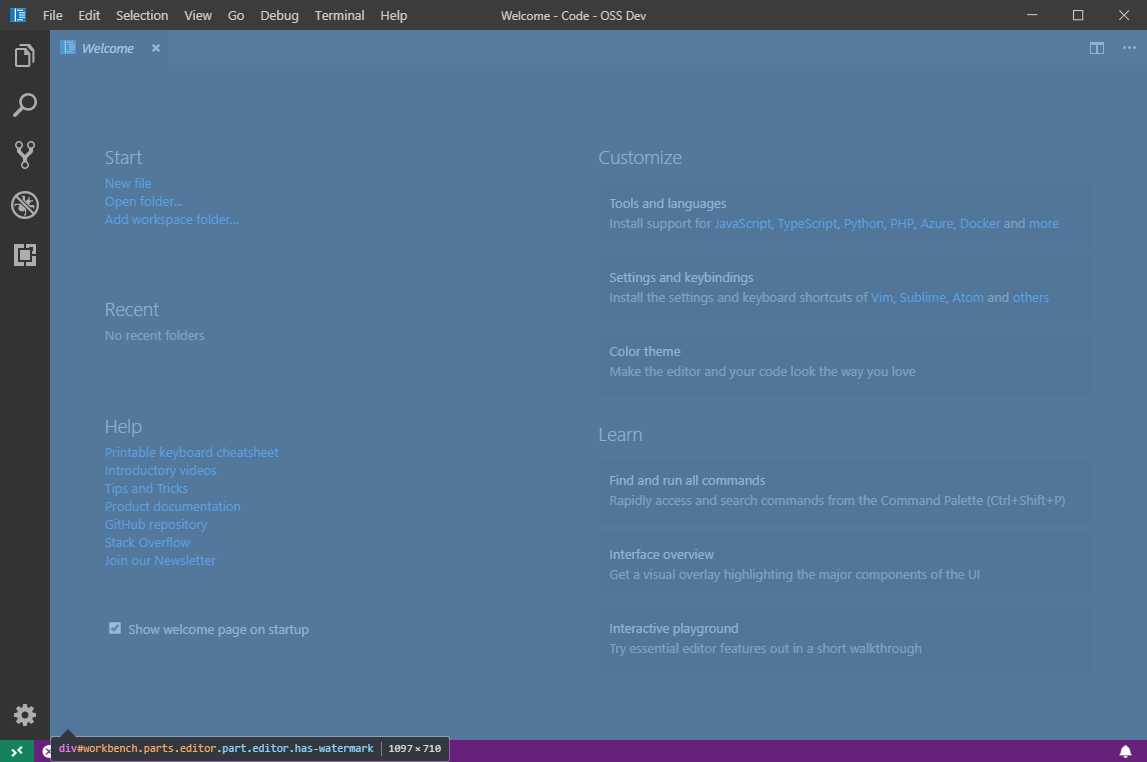
这几个子元素分别是最左侧的ACTIVITYBAR_PART,中间的EDITOR_PART,等等(注意:窗口的菜单栏也是他自己渲染的)


这些元素创建出来之后,就加入到container里去了;
然后把container加入到body里去了(parent存的是body)
this.parent.appendChild(this.container);在startup方法里还调用了this.layout()方法
				position(this.container, 0, 0, 0, 0, ‘relative‘);
				size(this.container, this._dimension.width, this._dimension.height);
				// Layout the grid widget
this.workbenchGrid.layout(this._dimension.width, this._dimension.height);
				// Layout grid views
				this.layoutGrid();
在这里把container放到到最大,占据整个body
至此界面主要元素渲染完成!
另外:
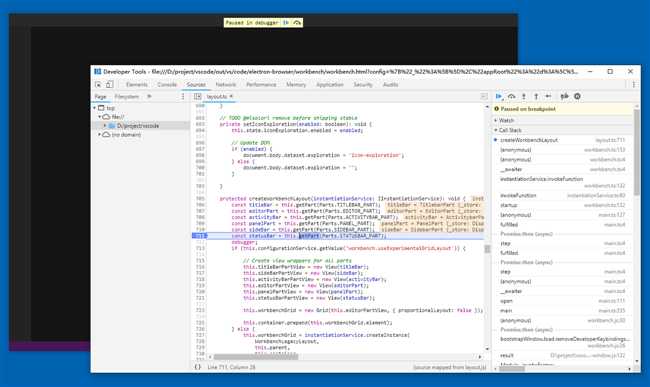
想调试界面里的内容,就不能用第一节讲的调试方法来调试了;
你可以运行:
.\\scripts\\code.bat先启动画面,然后按Ctrl+Shift+i打开调试窗口;
如果需要刷新画面的话,可以按Ctrl+R刷新画面;

以上是关于vscode源码分析窗口里的主要元素的主要内容,如果未能解决你的问题,请参考以下文章