jquery的uploadify插件实现的批量上传V3.2.1版
Posted 洛阳之晨,譬如临安初雨
tags:
篇首语:本文由小常识网(cha138.com)小编为大家整理,主要介绍了jquery的uploadify插件实现的批量上传V3.2.1版相关的知识,希望对你有一定的参考价值。
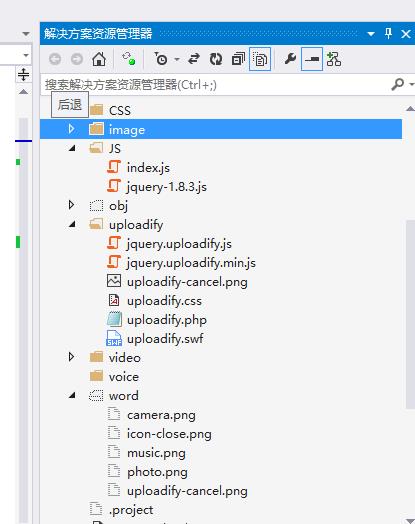
你需要如下配置(包括引入文件)html:
<html xmlns="http://www.w3.org/1999/xhtml">
<head runat="server">
    <meta http-equiv="Content-Type" content="text/html; charset=utf-8" />
    <title></title>
    <script src="JS/jquery-1.8.3.js"></script>
    <script src="uploadify/jquery.uploadify.min.js"></script>
    <script src="uploadify/jquery.uploadify.js"></script>
    <link href="uploadify/uploadify.css" rel="stylesheet" />
</head>
<body>
    <form id="form1" runat="server">
        <script type="text/javascript">
            $(function () {
                $(\'#file_upload\').uploadify({
                    \'swf\': \'/uploadify/uploadify.swf\',//必须
                    \'uploader\': \'UploadHandler.ashx\',//处理上传图片的后台地址
                    \'cancelImg\': \'image/ico/uploadify-cancel.png\',//取消的图片
                    \'auto\': false//设为false 可以禁止自动上传,默认true
                    // Put your options here
                });
            });
        </script>
        <input type="file" name="file_upload" id="file_upload" />
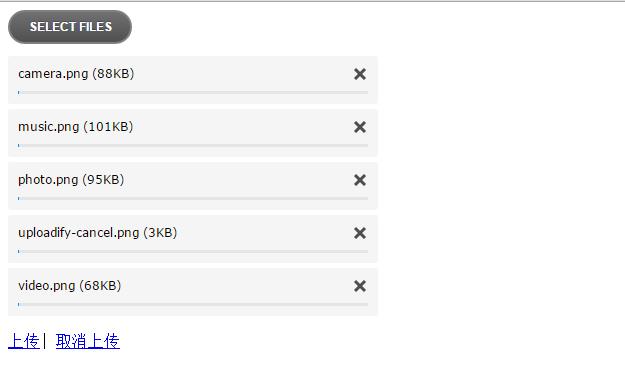
         <a href="javascript:$(\'#file_upload\').uploadify(\'upload\',\'SWFUpload_0_1\')">上传</a>|
      <a href="javascript:$(\'#file_upload\').uploadify(\'stop\',\'SWFUpload_0_3\')">取消上传</a>
    </form>
</body>
</html>
upload方法是上传方法,第二个参数是指上传指定的某一个,写法固定,只有后面的0-1或者0—3可以改动代表的某一个,如果多个,需要逗号分离,如:
SWFUpload_0_1,SWFUpload_0_3

后台写法:
        public void ProcessRequest(HttpContext context)
        {
            context.Response.ContentType = "text/plain";
            //context.Response.Write("Hello World");

            HttpPostedFile file = context.Request.Files["Filedata"];
            string uploadPath =
                HttpContext.Current.Server.MapPath("\\\\word") + "\\\\";

            if (file != null)
            {
                if (!Directory.Exists(uploadPath))
                {
                    Directory.CreateDirectory(uploadPath);
                }
                file.SaveAs(uploadPath + file.FileName);
                //存入数据库的操作可以在此处添加。。。。。。


                //下面这句代码缺少的话,上传成功后上传队列的显示不会自动消失
                context.Response.Write("1");
            }
            else
            {
                context.Response.Write("0");
            }
        }
官方API地址:
http://www.uploadify.com/documentation/
中文API地址:
http://www.mamicode.com/info-detail-506696.html
样例图:


有兴趣的同学可以看看官方网站
以上是关于jquery的uploadify插件实现的批量上传V3.2.1版的主要内容,如果未能解决你的问题,请参考以下文章