centos 安装gitlab
Posted elsons
tags:
篇首语:本文由小常识网(cha138.com)小编为大家整理,主要介绍了centos 安装gitlab相关的知识,希望对你有一定的参考价值。
1.开始安装依赖软件:yum -y install policycoreutils openssh-server openssh-clients postfix
2.设置postfix开机自启动,postfix支持gitlab发信功能:systemctl enable postfix && systemctl start postfix
如果出现:
Job for postfix.service failed because the control process exited with error code. See "systemctl status postfix.service" and "journalctl -xe" for details.
vim /etc/postfix/main.cf
inet_protocols = ipv4
inet_interfaces = all
3.下载gitlab包(建议去网站下载最新版本https://mirrors.tuna.tsinghua.edu.cn/gitlab-ce/yum/el7/?C=M&O=A)
wget https://mirrors.tuna.tsinghua.edu.cn/gitlab-ce/yum/el7/gitlab-ce-11.3.3-ce.0.el7.x86_64.rpm
rpm -i gitlab-ce-11.3.3-ce.0.el7.x86_64.rpm
如果报错:
error: Failed dependencies:
policycoreutils-python is needed by gitlab-ce-10.7.3-ce.0.el7.x86_64
安装环境
yum install policycoreutils-python
别的网站下载后有时候会报错

4.修改gitlab 端口和ip
vim /etc/gitlab/gitlab.rb
IP地址+端口号: external_url ‘http://192.168.0.217:8010‘
5.配置并启动gitlab
gitlab-ctl reconfigure (可能会一段时间)
gitlab-ctl restart
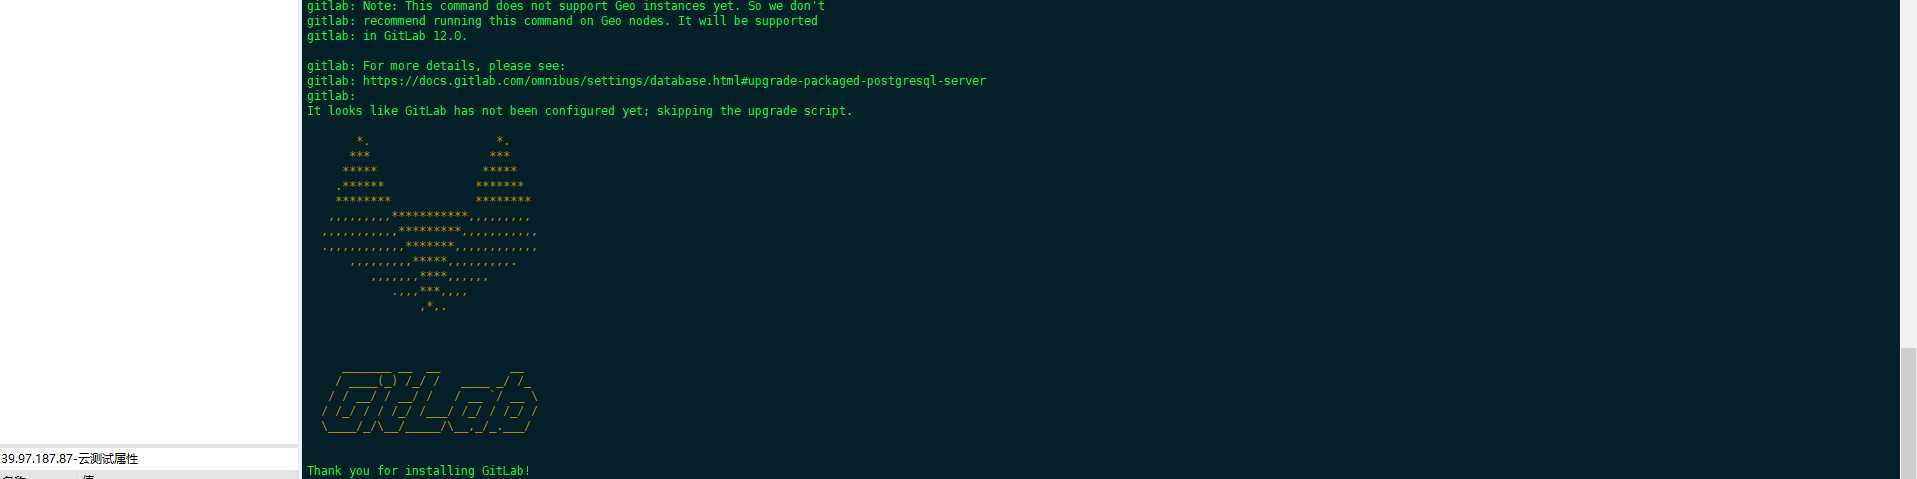
下图表示成功

6.页面打开 如果出现这个错误
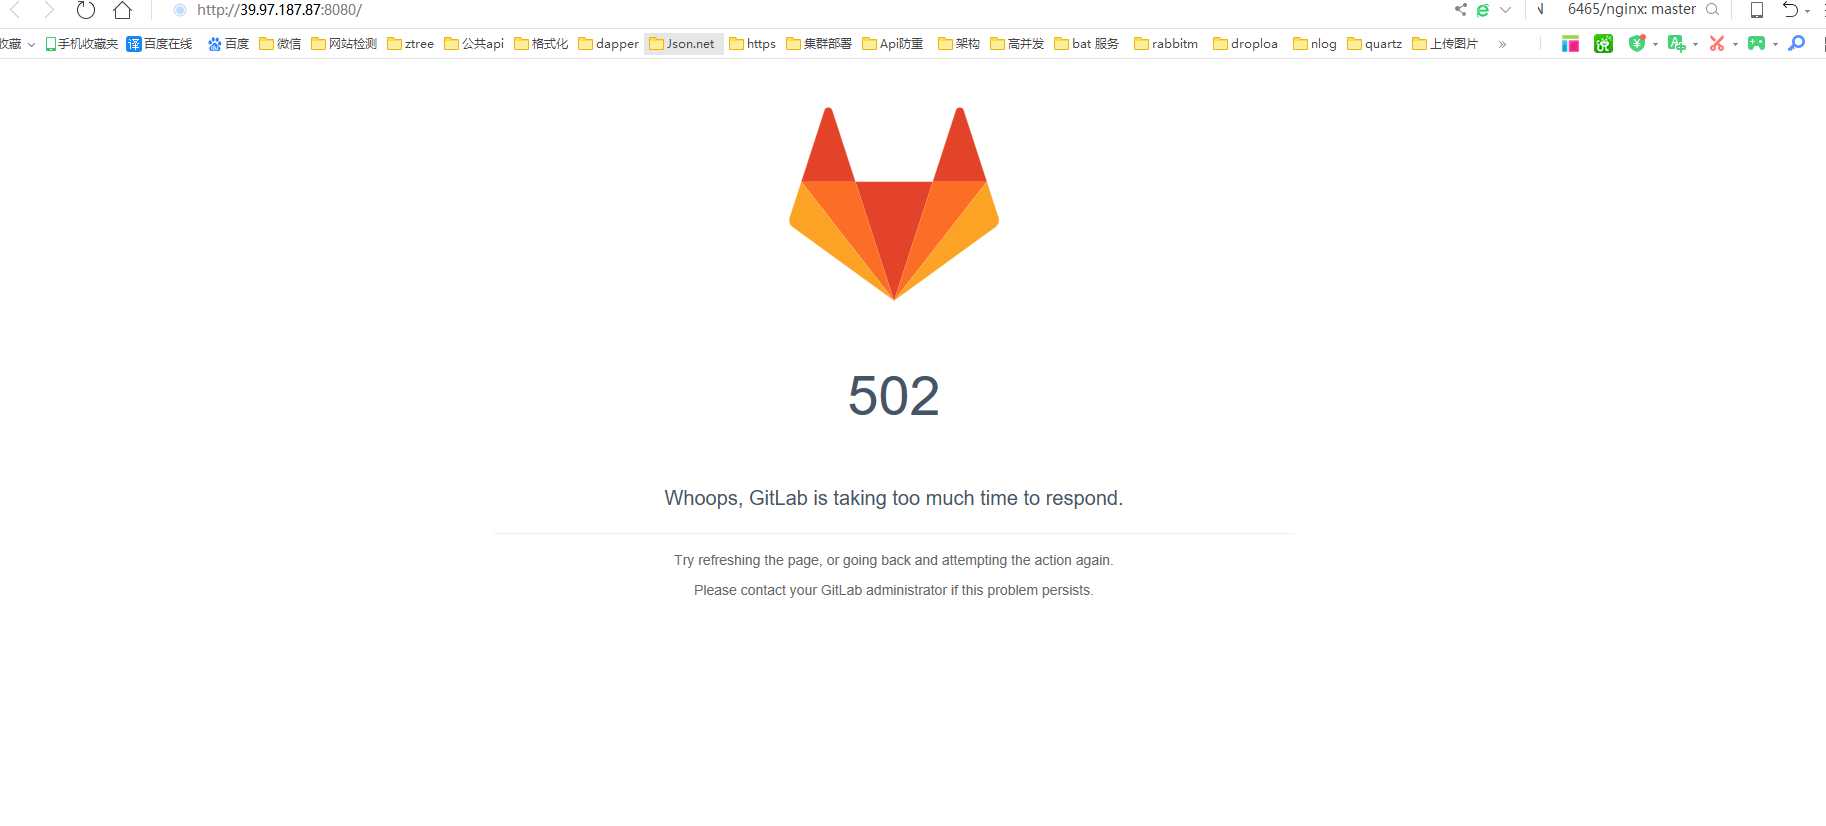
1.更改端口号 vim /etc/gitlab/gitlab.rb(更改后要重新运行)
gitlab-ctl reconfigure (可能会一段时间)
gitlab-ctl restart
2.权限问题,解决方法:chmod -R 755 /var/log/gitlab
3.内存大于4G
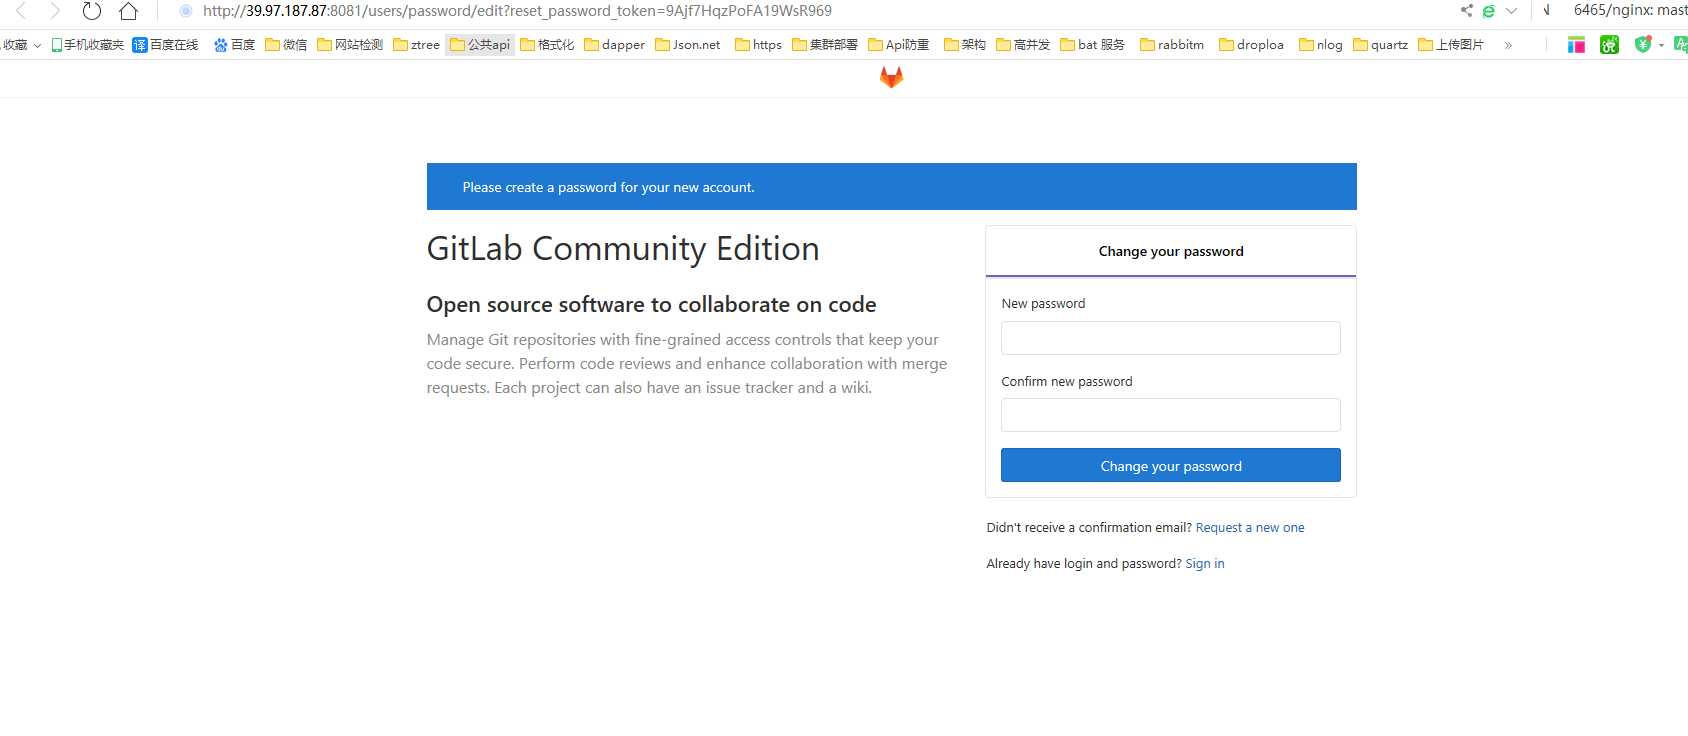
7.首次进入会让你修改密码:修改后进入
.后来把端口改为8081后就可以了
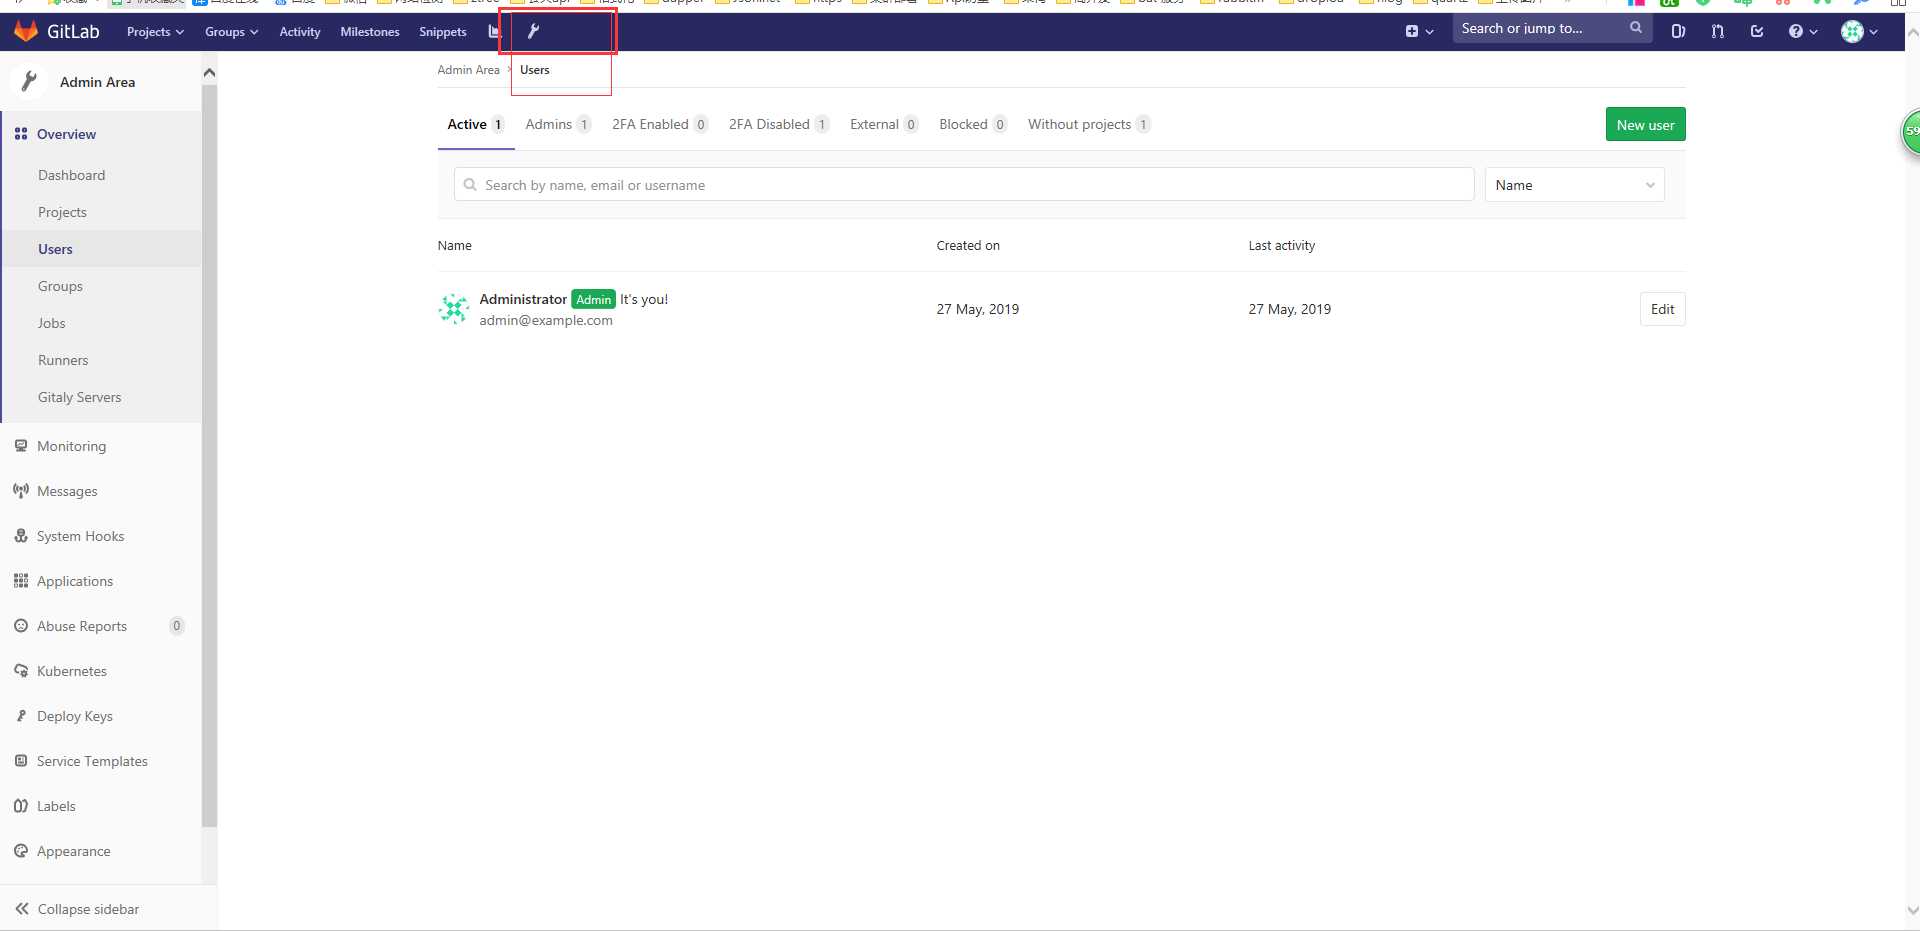
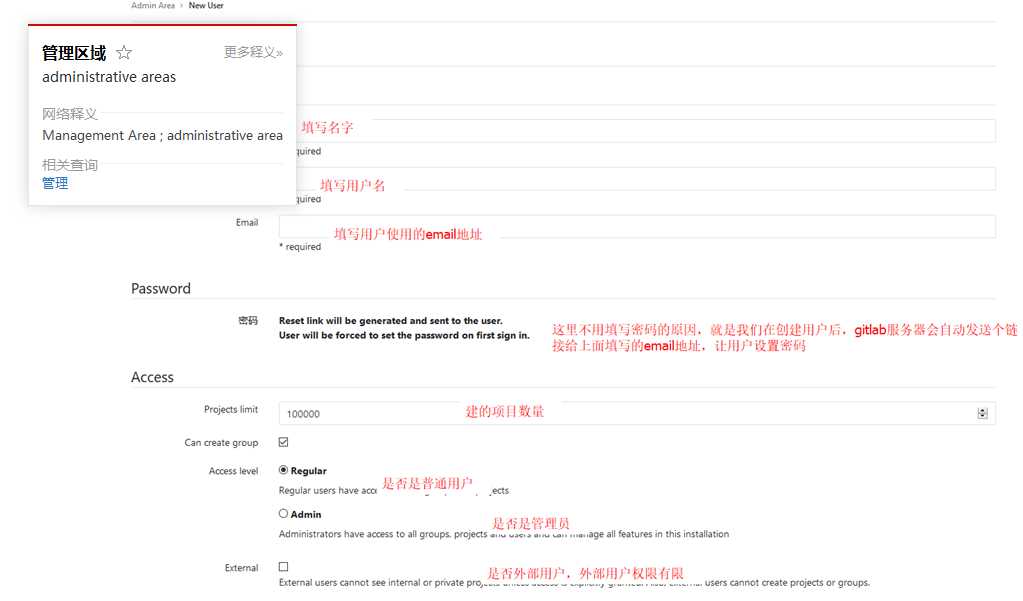
9.创建用户
1.点击小工具
2.添加user
10.关于发送邮箱。postfix默认用的25端口,但是阿里云又不让开启25端口。
vim /etc/gitlab/gitlab.rb
gitlab_rails[‘smtp_enable‘] = true
gitlab_rails[‘smtp_address‘] = "smtp.qq.com"
gitlab_rails[‘smtp_port‘] = 465
gitlab_rails[‘smtp_user_name‘] = "[email protected]"  # 你自己QQ号
gitlab_rails[‘smtp_password‘] = "*************"             # QQ授权码
gitlab_rails[‘smtp_domain‘] = "smtp.qq.com"
gitlab_rails[‘smtp_authentication‘] = "login"
gitlab_rails[‘smtp_enable_starttls_auto‘] = true
gitlab_rails[‘smtp_tls‘] = true
gitlab_rails[‘gitlab_email_from‘] = ‘[email protected]‘   # 你自己QQ号
3.打开自己的qq邮箱
打开QQ邮箱-设置-账户-帐户安全-开启服务-POP3/SMTP服务-生成授权码-发个短信
gitlab-ctl reconfigure 重新配置
4.进入gitlab-rails console
Notify.test_email(‘yoyo_你自己随便邮箱@qq.com‘, ‘邮件标题_test‘, ‘邮件正文_test‘).deliver_now
[[email protected]m7ocdxc43mxwv5uwZ ~]# gitlab-rails console
-------------------------------------------------------------------------------------
 GitLab:       11.11.0 (3e8ca2fb781)
 GitLab Shell: 9.1.0
 PostgreSQL:   9.6.11
-------------------------------------------------------------------------------------
Loading production environment (Rails 5.1.7)
irb(main):001:0> Notify.test_email(‘[email protected]‘,‘标题党‘,‘正文‘).deliver_now
Notify#test_email: processed outbound mail in 189.3ms
Sent mail to [email protected] (1514.7ms)
Date: Mon, 27 May 2019 15:56:21 +0800
From: GitLab <[email protected]>
Reply-To: GitLab <[email protected]>
To: [email protected]
Message-ID: <[email protected]>
Subject: =?UTF-8?Q?=E6=A0=87=E9=A2=98=E5=85=9A?=
Mime-Version: 1.0
Content-Type: text/html;
 charset=UTF-8
Content-Transfer-Encoding: 7bit
Auto-Submitted: auto-generated
X-Auto-Response-Suppress: All

<!DOCTYPE html PUBLIC "-//W3C//DTD HTML 4.0 Transitional//EN" "http://www.w3.org/TR/REC-html40/loose.dtd">
<html><body><p>正文</p></body></html>

=> #<Mail::Message:70328290558700, Multipart: false, Headers: <Date: Mon, 27 May 2019 15:56:21 +0800>, <From: GitLab <[email protected]>>, <Reply-To: GitLab <[email protected]>>, <To: [email protected]>, <Message-ID: <[email protected]>>, <Subject: 标题党>, <Mime-Version: 1.0>, <Content-Type: text/html; charset=UTF-8>, <Content-Transfer-Encoding: 7bit>, <Auto-Submitted: auto-generated>, <X-Auto-Response-Suppress: All>>
irb(main):002:0> exit()
[[email protected] ~]#
5.现在创建用户就会发送邮件
以上是关于centos 安装gitlab的主要内容,如果未能解决你的问题,请参考以下文章