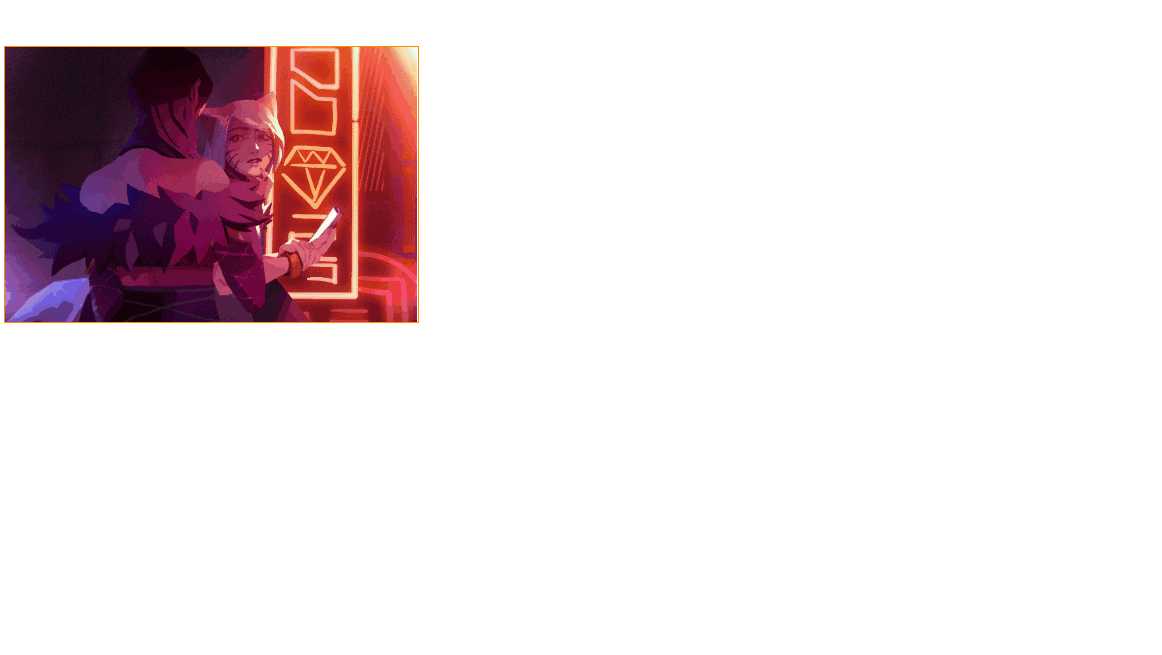
电商网站常用放大镜特效
Posted linbudu
tags:
篇首语:本文由小常识网(cha138.com)小编为大家整理,主要介绍了电商网站常用放大镜特效相关的知识,希望对你有一定的参考价值。
预览效果:
类似于之前做过的裁剪预览效果

html、CSS代码
<!DOCTYPE html>
<html lang="en">
<head>
    <meta charset="UTF-8">
    <meta name="viewport" content="width=device-width, initial-scale=1.0">
    <meta http-equiv="X-UA-Compatible" content="ie=edge">
    <title>Document</title>
    <script src="demo.js"></script>
    <style>
        #demo{
            display: block;
            width: 330px;
            height: 220px;
            margin: 50px;
            position: relative;
            border: 1px solid darkorange;
        }
        img{
            width: 330px;
            height: 220px;
        }
        #small-box{
            /* width: 330px; */
            position: relative;
            z-index: 1;
        }
        #float-box{
            display: none;
            position: absolute;
            background-color: #ffffcc;
            width: 200px;
            height: 125px;
            opacity: 0.5;
            cursor: move;
            border: 1px solid #ccc;
        }
        #big-box{
            display: none;
            position: absolute;
            top: 0;
            left: 400px;;
            width: 400px;
            height: 300px;
            overflow: hidden;
            border: 1px solid #ccc;
            z-index: 1;
        }
        #big-box img{
            width: 600px;
            height: 400px;
            position: absolute;
            z-index: 5;
        }
        #mark{
            position: absolute;
            display: block;
            width: 330px;
            height: 220px;
            background-color: #fff;
            opacity: 0;
            z-index: 10;
        }
    </style>
</head>
<body>
    <div id="demo">
        <div id="small-box">
            <div id="mark"></div>
            <div id="float-box"></div>
            <img src="img1.jpg" alt="小图">
        </div>
        <div id="big-box">
            <img src="img1.jpg" alt="大图">
        </div>
    </div>
</body>
</html>
JS代码:
window.onload = function(){
    var demo = document.getElementById("demo");
    var small_box = document.getElementById("small-box");
    var big_box = document.getElementById("big-box");
    var mark = document.getElementById("mark");
    var float_box = document.getElementById("float-box");
    var bigImg = big_box.getElementsByTagName("img")[0];
    console.log(bigImg);
    small_box.onmouseover = function(){
        big_box.style.display = "block";
        float_box.style.display = "block";
    }

    small_box.onmouseleave = function(){
        big_box.style.display = "none";
        float_box.style.display = "none";
    }

    small_box.onmousemove = function(ev){
        var _event  = ev || window.event;//兼容不同浏览器获取事件对象的方式
        var left = _event.clientX - demo.offsetLeft - small_box.offsetLeft - (float_box.offsetWidth)/2;
        console.log(left);
        var top = _event.clientY - demo.offsetTop - small_box.offsetTop - (float_box.offsetTop)/2;
        if(left < 0){
            left = 0;
        }else if(left > (mark.offsetWidth - float_box.offsetWidth)){
            left = (mark.offsetWidth - float_box.offsetWidth);
            console.log("max");
        };
        if(top < 0){
            top = 0;
        }else if(top > (mark.offsetHeight - float_box.offsetHeight)){
            top = mark.offsetHeight - float_box.offsetHeight;
            console.log("maxerr");
        };
        //开始设置float_box的位置变化
        float_box.style.left = left + "px";
        float_box.style.top = top + "px";

        var percentX = left / (mark.offsetWidth - float_box.offsetWidth);
        var percentY = top / (mark.offsetHeight - float_box.offsetHeight);
        bigImg.style.left = - percentX *(bigImg.offsetWidth - big_box.offsetWidth) + "px" ;
        bigImg.style.top = - percentY *(bigImg.offsetHeight - big_box.offsetHeight) + "px";

    }
}
注意一个要点:
浮动框的宽/小盒子的宽 = 大盒子的宽/图片的宽
以上是关于电商网站常用放大镜特效的主要内容,如果未能解决你的问题,请参考以下文章