python测试开发django-55.xadmin使用markdown文档编辑器(django-mdeditor)
Posted
tags:
篇首语:本文由小常识网(cha138.com)小编为大家整理,主要介绍了python测试开发django-55.xadmin使用markdown文档编辑器(django-mdeditor)相关的知识,希望对你有一定的参考价值。
前言
markdown是一个非常好的编辑器,用过的都说好,如果搭建一个博客平台的话,需要在后台做文章编辑,可以整合一个markdown的文本编辑器。
github上关于django的markdown插件很多的,看了半天也不知道选哪个好,本篇用django-mdeditor先试试
django-mdeditor
pip安装django-mdeditor
pip install django-mdeditor
在项目的settings.py的INSTALLED_APPS中添加’mdeditor’,
# Application definition

INSTALLED_APPS = [
    # ......
    'xadmin',            # 新添加
    'crispy_forms',      # 新添加
    'stdimage',          # 上传图片
    'mdeditor',       # markdown
]
然后设置图片等资源的存放media地址,之前配置过就不用重复配置了
MEDIA_URL = '/media/'

MEDIA_ROOT = os.path.join(BASE_DIR, 'media')
urls.py设置访问地址
from django.conf.urls import url
from django.urls import include


urlpatterns = [

    url(r'mdeditor/', include('mdeditor.urls')),
]
models模型
在models.py中添加
from django.db import models
from mdeditor.fields import MDTextField   # 必须导入


class Blog(models.Model):
    '''博客管理'''
    title = models.CharField(max_length=10)
    content = MDTextField()    # 注意为MDTextField()

    def __str__(self):
        return self.__doc__ + "title->" + self.title

    class Meta:
        verbose_name = "博客发布"
        verbose_name_plural = verbose_name
xadmin.py中注册
import xadmin
from . import models


class BlogAdmin(object):
    list_display = ['title',]

xadmin.site.register(models.Blog, BlogAdmin)
配置好之后,执行 makemigrations 和migrate,同步数据
python manage.py makemigrations
python manage.py migrate
实现效果
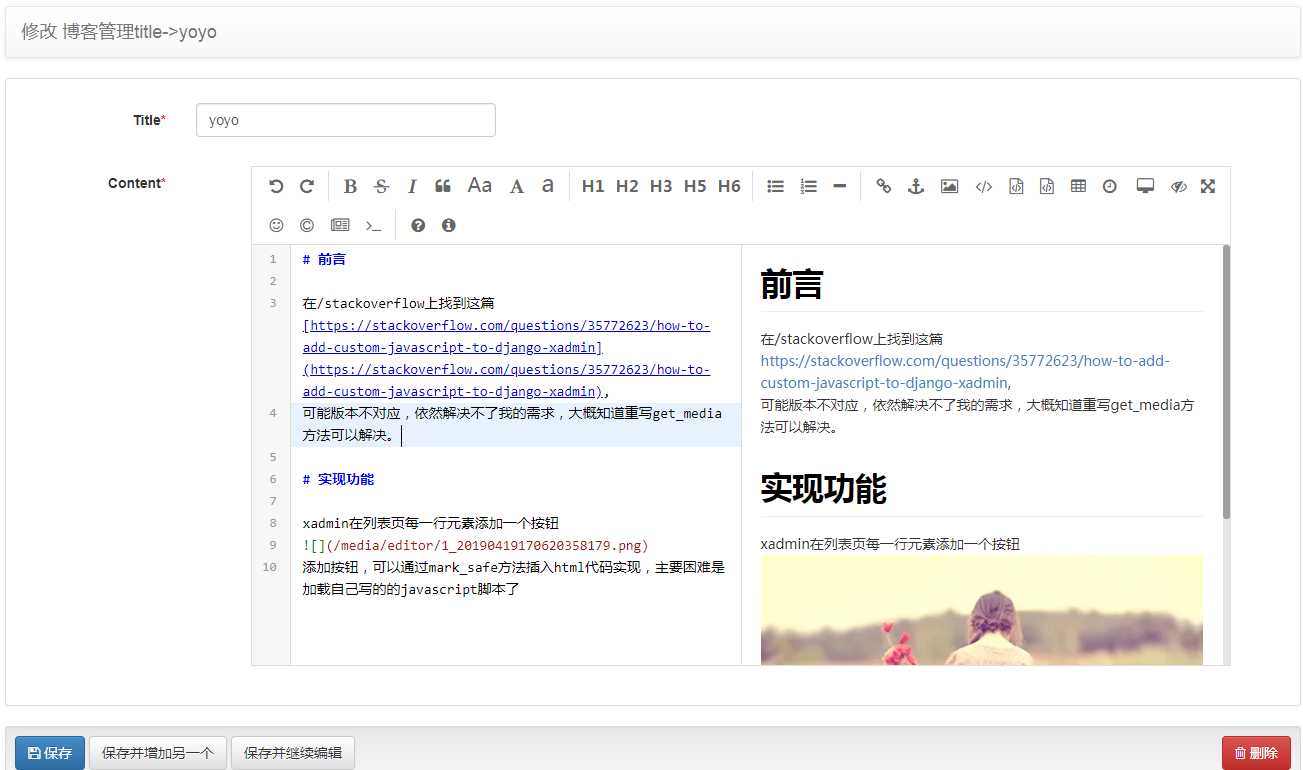
xadmin后台可以左侧输入,右边实时显示对应的效果

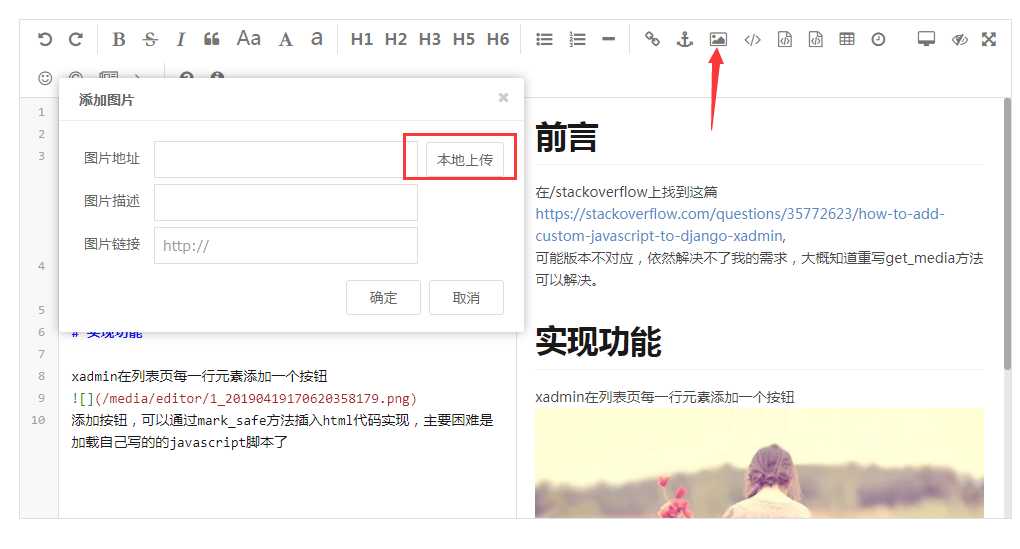
也可以支持本地图片上传

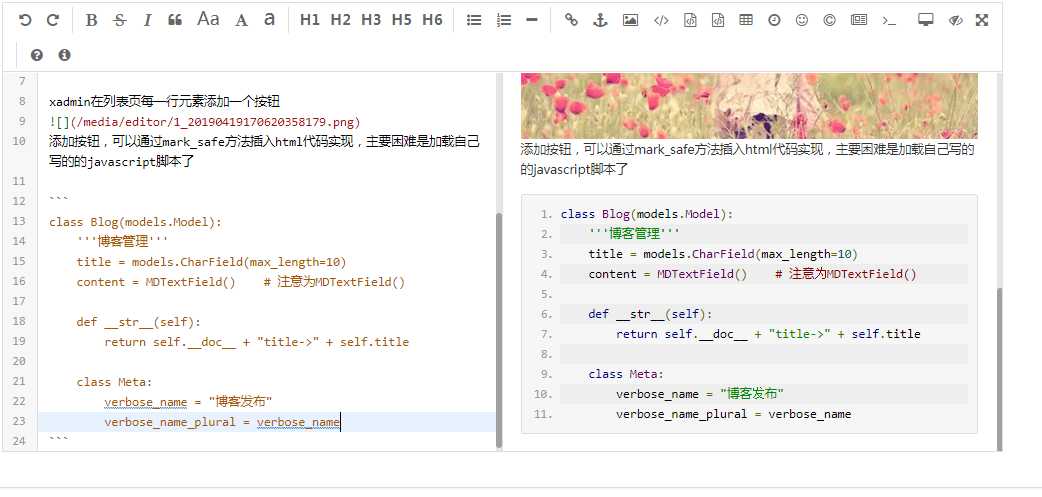
插入代码也可以支持

如果需要在前台显示的话,可以在views.py获取到数据库的数据后,使用markdown.markdown()修饰为html语句,然后传到前端显示
以上是关于python测试开发django-55.xadmin使用markdown文档编辑器(django-mdeditor)的主要内容,如果未能解决你的问题,请参考以下文章