SSH框架搭建
Posted 非非是
tags:
篇首语:本文由小常识网(cha138.com)小编为大家整理,主要介绍了SSH框架搭建相关的知识,希望对你有一定的参考价值。
1.建项目

2.添加Struts


3.添加String


注意:这里一共是五个包

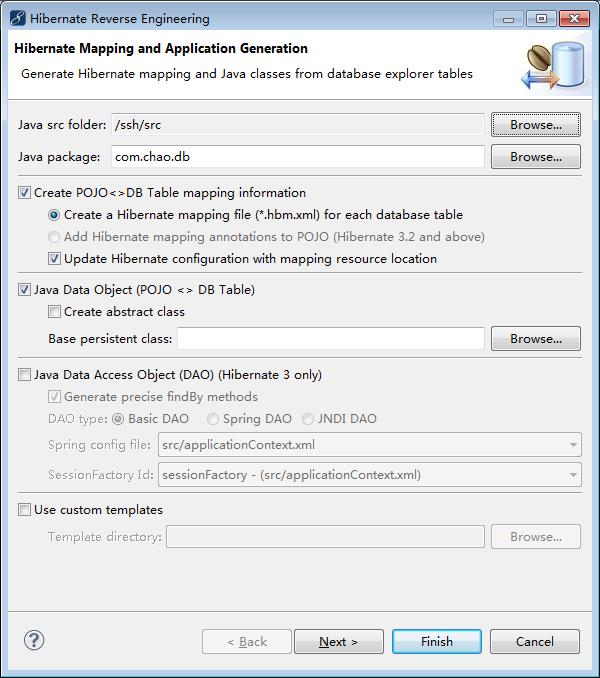
4.添加Hibernate


添加完成,然后导入数据库


这时候是这样的

把小绿叶放到WEB-INF

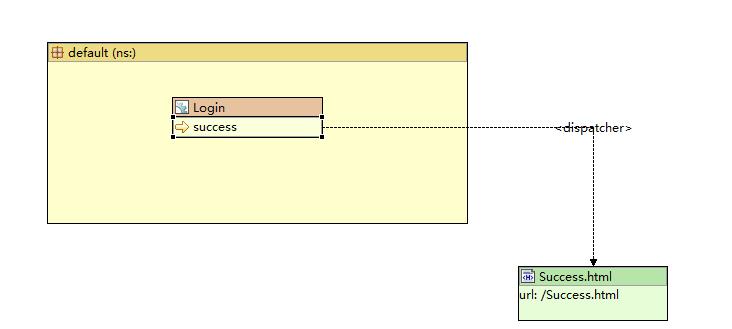
5.简单写struts


<?xml version="1.0" encoding="UTF-8" ?>
<!DOCTYPE struts PUBLIC "-//Apache Software Foundation//DTD Struts Configuration 2.1//EN" "http://struts.apache.org/dtds/struts-2.1.dtd">
<struts>

    <package name="default" extends="struts-default">
        <action name="Login" class="com.hao.action.login">
            <result name="success">/Success.html</result></action></package></struts>
6.web.xml添加监听
 <!-- Spring配置与Struts2的监听 -->
  <context-param>
      <param-name>contextConfigLocation</param-name>
      <param-value>/WEB-INF/applicationContext.xml</param-value>
  </context-param>
  <listener>
      <listener-class>org.springframework.web.context.ContextLoaderListener</listener-class>
  </listener>
完整代码:
<?xml version="1.0" encoding="UTF-8"?>
<web-app version="3.0"
    xmlns="http://java.sun.com/xml/ns/javaee"
    xmlns:xsi="http://www.w3.org/2001/XMLSchema-instance"
    xsi:schemaLocation="http://java.sun.com/xml/ns/javaee
    http://java.sun.com/xml/ns/javaee/web-app_3_0.xsd">
  <display-name></display-name>
  <welcome-file-list>
    <welcome-file>index.jsp</welcome-file>
  </welcome-file-list>
  <filter>
      <filter-name>struts2</filter-name>
      <filter-class>
          org.apache.struts2.dispatcher.ng.filter.StrutsPrepareAndExecuteFilter
      </filter-class>
  </filter>
  <filter-mapping>
      <filter-name>struts2</filter-name>
      <url-pattern>*.action</url-pattern>
  </filter-mapping>
   <!-- Spring配置与Struts2的监听 -->
  <context-param>
      <param-name>contextConfigLocation</param-name>
      <param-value>/WEB-INF/applicationContext.xml</param-value>
  </context-param>
  <listener>
      <listener-class>org.springframework.web.context.ContextLoaderListener</listener-class>
  </listener>
  </web-app>
7.小绿叶添加
<bean id="LoginAction" class="com.hao.action.login"></bean>
代码为:
<?xml version="1.0" encoding="UTF-8"?>
<beans
    xmlns="http://www.springframework.org/schema/beans"
    xmlns:xsi="http://www.w3.org/2001/XMLSchema-instance"
    xmlns:p="http://www.springframework.org/schema/p"
    xsi:schemaLocation="http://www.springframework.org/schema/beans http://www.springframework.org/schema/beans/spring-beans-3.0.xsd">


    <bean id="dataSource"
        class="org.apache.commons.dbcp.BasicDataSource">
        <property name="driverClassName"
            value="com.microsoft.sqlserver.jdbc.SQLServerDriver">
        </property>
        <property name="url" value="jdbc:sqlserver://127.0.0.1"></property>
        <property name="username" value="sa"></property>
        <property name="password" value="1"></property>
    </bean>
    <bean id="sessionFactory"
        class="org.springframework.orm.hibernate3.LocalSessionFactoryBean">
        <property name="dataSource">
            <ref bean="dataSource" />
        </property>
        <property name="hibernateProperties">
            <props>
                <prop key="hibernate.dialect">
                    org.hibernate.dialect.SQLServerDialect
                </prop>
            </props>
        </property>
        <property name="mappingResources">
            <list>
                <value>com/chao/db/UserInfo.hbm.xml</value></list>
        </property></bean>

        <bean id="LoginAction" class="com.hao.action.login"></bean>

        </beans>
8.修改strurs
<action name="Login" class="LoginAction">
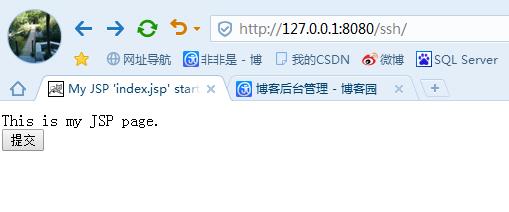
9.index.jsp提交
 <body>
    This is my JSP page. <br>
     <form action="Login.action">
    <input type="submit">
    </form>
  </body>
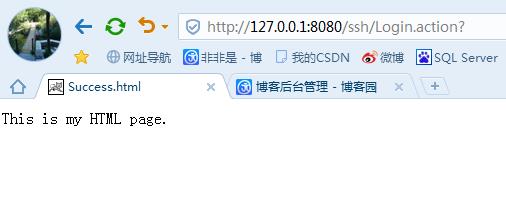
10.结果截图


成功跳转
以上是关于SSH框架搭建的主要内容,如果未能解决你的问题,请参考以下文章