Windows 下使用scoop安装allure2,以及与pytest生成报告
Posted felixqiang
tags:
篇首语:本文由小常识网(cha138.com)小编为大家整理,主要介绍了Windows 下使用scoop安装allure2,以及与pytest生成报告相关的知识,希望对你有一定的参考价值。
安装scoop
环境要求
- Windows 7 SP1 + / Windows Server 2008+
- PowerShell 5(或更高版本,包括PowerShell Core)和.NET Framework 4.5(或更高版本)
- 必须为您的用户帐户启用PowerShell
- 在PowerShell中输入
Set-ExecutionPolicy -ExecutionPolicy RemoteSigned -Scope CurrentUser选择Y或者A
- 在PowerShell中输入
安装
在PowerShell中输入以下命令将scoop安装在默认位置(C:Users
iwr -useb get.scoop.sh | iex
需要指定安装位置查看Scoop Github官网详细介绍
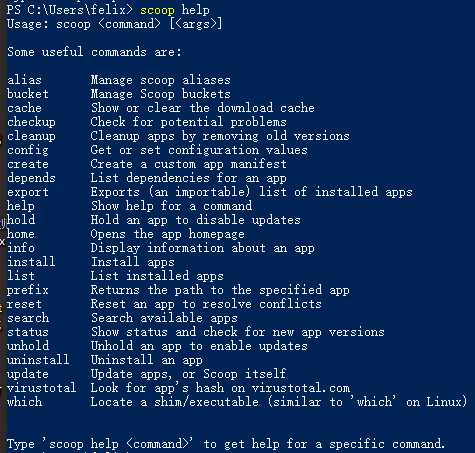
安装完成后运行scoop help获取帮助

安装allure2
在PowerShell中输入以下命令将allure2安装在scoop下(\\scoopappsallure2.13.3)
scoop install allure
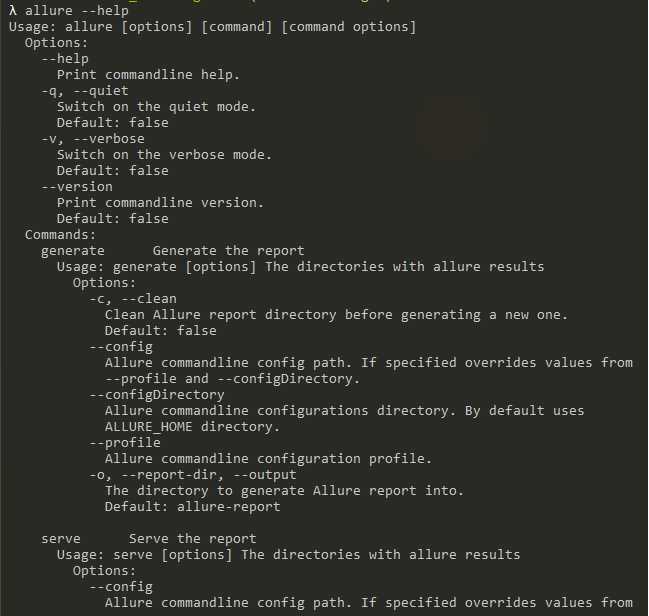
安装完成后运行allure help获取帮助

生成报告
安装allure-pytest
在命令行窗口输入以下命令安装allure-pytest
pip install allure-pytest
在pytest执行行收集测试结果(--alluredir选项指定生成报告的路径,这里指当前目录下report文件夹)
pytest --alluredir=./report
在执行完成后查看报告
allure serve ./report
默认在浏览器显示生成的报告
参考连接:
以上是关于Windows 下使用scoop安装allure2,以及与pytest生成报告的主要内容,如果未能解决你的问题,请参考以下文章