TensorFlow 可视化中间卷积层
Posted caiyi-xu
tags:
篇首语:本文由小常识网(cha138.com)小编为大家整理,主要介绍了TensorFlow 可视化中间卷积层相关的知识,希望对你有一定的参考价值。
TensorFlow 可视化中间卷积层图像方法
主要函数
tf.summary.image(name, tensor, max_outputs=3, collections=None, family=None)
参数解析
name:A name for the generated node. Will also serve as a series name in TensorBoard.
tensor:A 4-D uint8 or float32 Tensor of shape [batch_size, height, width, channels] where channels is 1, 3, or 4.
- 1: tensor is interpreted as Grayscale.
- 3: tensor is interpreted as RGB.
- 4: tensor is interpreted as RGBA.
图像具有与输入张量相同的通道数。对于浮点输入,将值一次标准化为一个在[0, 255], uint8值不变。op使用两种不同的规范化算法:
如果输入值都是正数,则重新调整它们,因此最大值为255。
如果任何输入值为负,则移动值,使输入值0.0为127.然后重新调整它们,使得最小值为0,或者最大值为255。
max_outputs: Max number of batch elements to generate images for.
核心思想
将特征图看作是多幅(通道)的图像。首先将当前特征图按照其通道数上的维度拆分,然后对拆分后的特征图逐个可视化。
代码样例
    with tf.variable_scope(‘layer1-conv1‘):
        conv1_weights=tf.get_variable(‘weights‘,[5,5,1,6],initializer=tf.truncated_normal_initializer(stddev=0.1))
        conv1_biases=tf.get_variable(‘biases‘,[6],initializer=tf.constant_initializer(0.1))
        conv1=tf.nn.conv2d(input_tensor,conv1_weights,strides=[1,1,1,1],padding=‘VALID‘)
        bias1=tf.nn.bias_add(conv1,conv1_biases)
        relu1=tf.nn.relu(bias1)

        split = tf.split(relu1, relu1.shape[-1], axis=3)
        for i in range(relu1.shape[-1]):
            tf.summary.image("layer1-conv1-channel_"+str(i),split[i],1)
实际操作
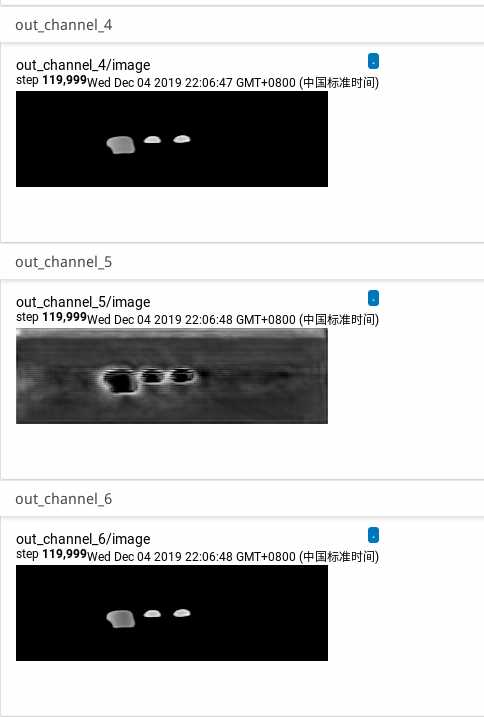
TensorBoard可视化最后inst_depth层(batch, height, width,(K+1))

附加:ubuntu无法访问局域网下win10共享文件解决
原因:win10默认不开启samba1.0 共享文件服务
方案:
1、进入“控制面板”,进入“程序和功能“
2、选择“启用或关闭Windows功能”
3、在功能列表中确保选中“SMB1.0/CIFS文件共享支持”,然后确定安装,重新启动电脑即可生效。
以上是关于TensorFlow 可视化中间卷积层的主要内容,如果未能解决你的问题,请参考以下文章