ELK学习实验009:安装kibana的仪表盘
Posted zyxnhr
tags:
篇首语:本文由小常识网(cha138.com)小编为大家整理,主要介绍了ELK学习实验009:安装kibana的仪表盘相关的知识,希望对你有一定的参考价值。
一 metricbeat仪表盘
1.1 安装metricbeat仪表盘
可以将metricbeat数据在kibana中展示
[root@node4 ~]# cd /usr/local/metricbeat/
[root@node4 metricbeat]# grep -Ev "^$|[#;]" metricbeat.yml
metricbeat.config.modules:
  path: ${path.config}/modules.d/*.yml
  reload.enabled: false
setup.template.settings:
  index.number_of_shards: 1
  index.codec: best_compression
setup.kibana:
  host: "192.168.132.131:5601"
output.elasticsearch:
  hosts: ["192.168.132.131:9200","192.168.132.132:9200","192.168.132.133:9200"]
processors:
  - add_host_metadata: ~
  - add_cloud_metadata: ~
1.2 安装仪表盘数据到kibana
[root@node4 metricbeat]# ./metricbeat setup --dashboards
Loading dashboards (Kibana must be running and reachable)
Loaded dashboards
1.3 启动metricbeat
[root@node4 metricbeat]# ./metricbeat -e
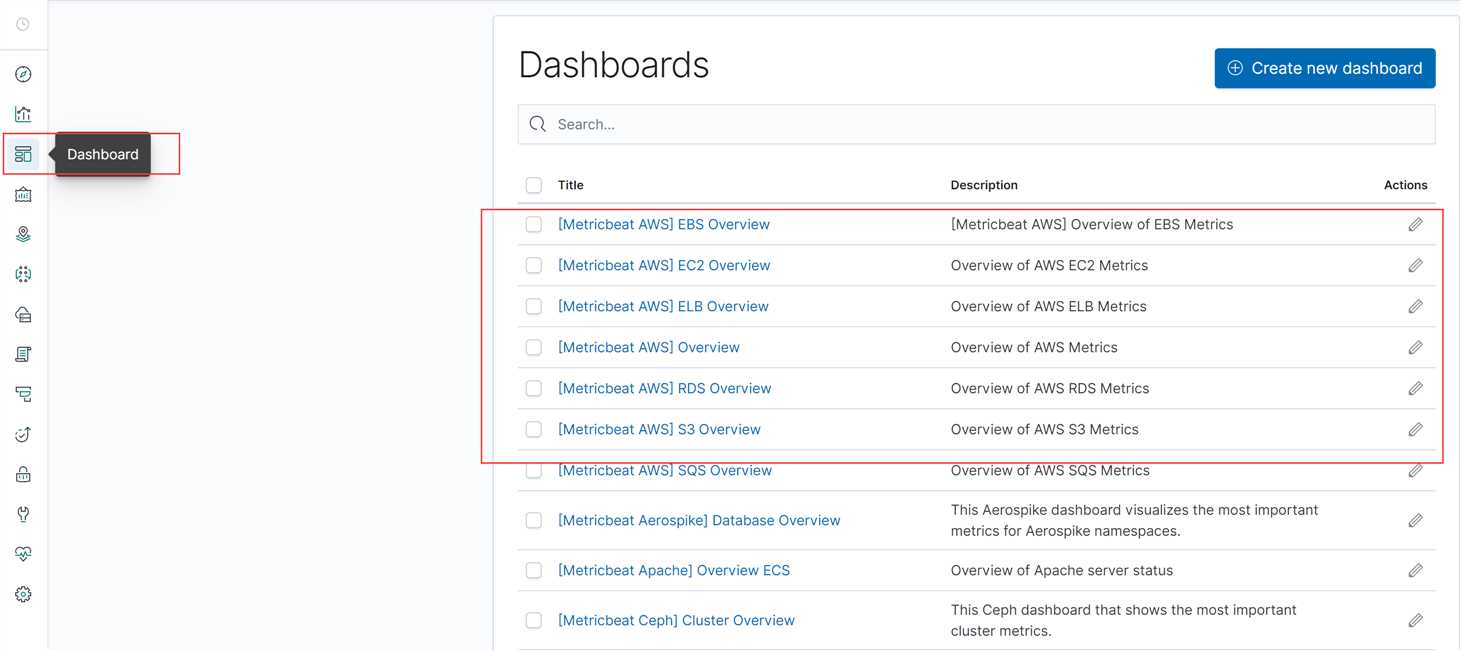
1.4 点击查看nginx

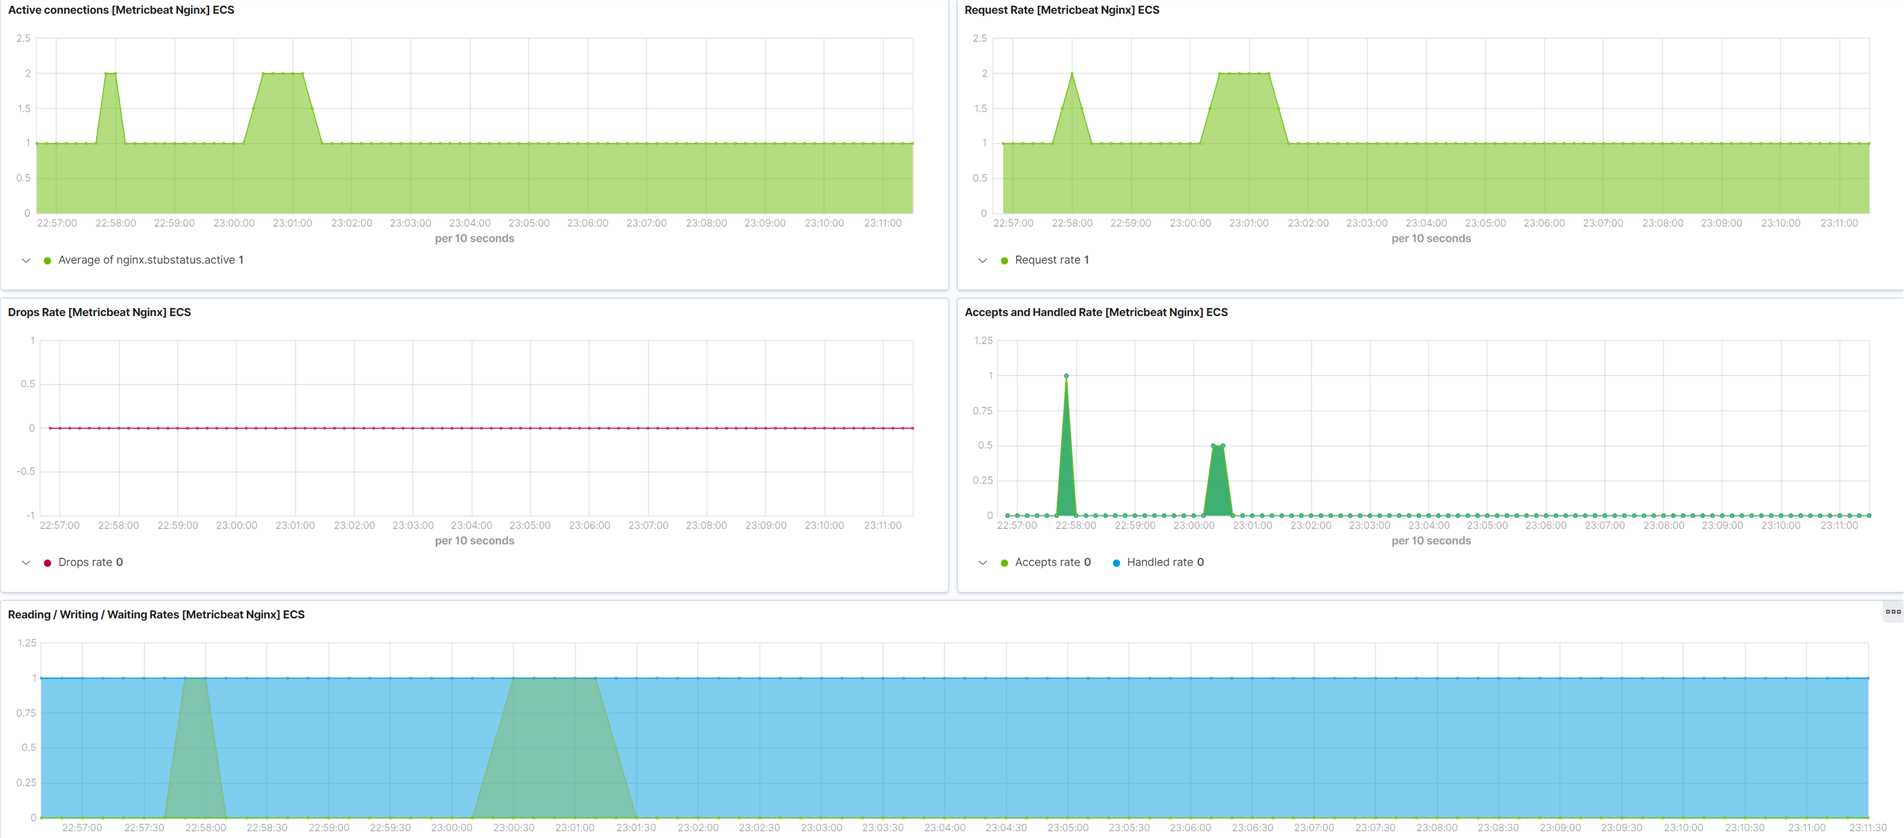
1.5 内容显示
二 使用ngixn的日志仪表盘
2.1 配置filebeat
[root@node4 ~]# cd /usr/local/filebeat/
[root@node4 filebeat]# vim nginx-log.yml
filebeat.inputs:
#- type: log
#  enabled: true
#  paths:
#    - /usr/local/nginx/logs/*.log
#  tags: ["nginx"]
setup.template.settings:
  index.number_of_shards: 3
output.elasticsearch:
  hosts: ["192.168.132.131","192.168.132.132","192.168.132.133"]
filebeat.config.modules:
  path: ${path.config}/modules.d/*.yml
  reload.enable: false
setup.kibana:
  host: "192.168.132.131:5601"
#output.console:
#  pretty: true
#  enable: true
2.2 安装仪表盘到kibana中
[root@node4 filebeat]# ./filebeat -c nginx-log.yml setup
Index setup finished.
Loading dashboards (Kibana must be running and reachable)
Loaded dashboards
Loaded machine learning job configurations
Loaded Ingest pipelines
安装成功
2.3 运行filebeat并查看
[root@node4 filebeat]# ./filebeat -e -c nginx-log.yml
查看仪表盘
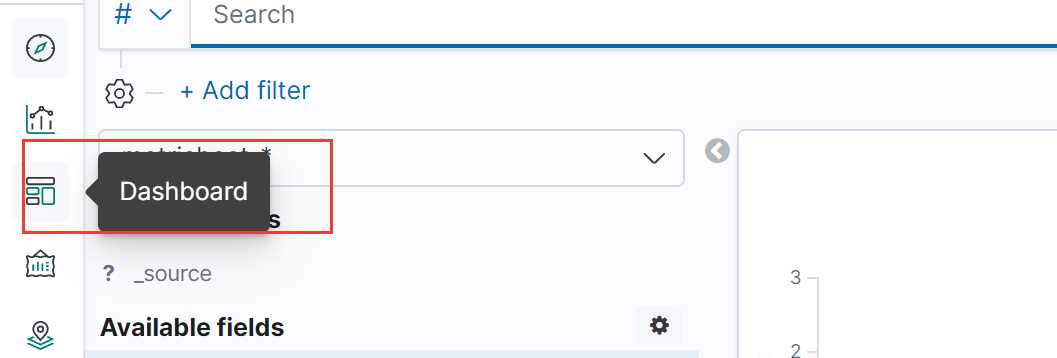
选择nginx
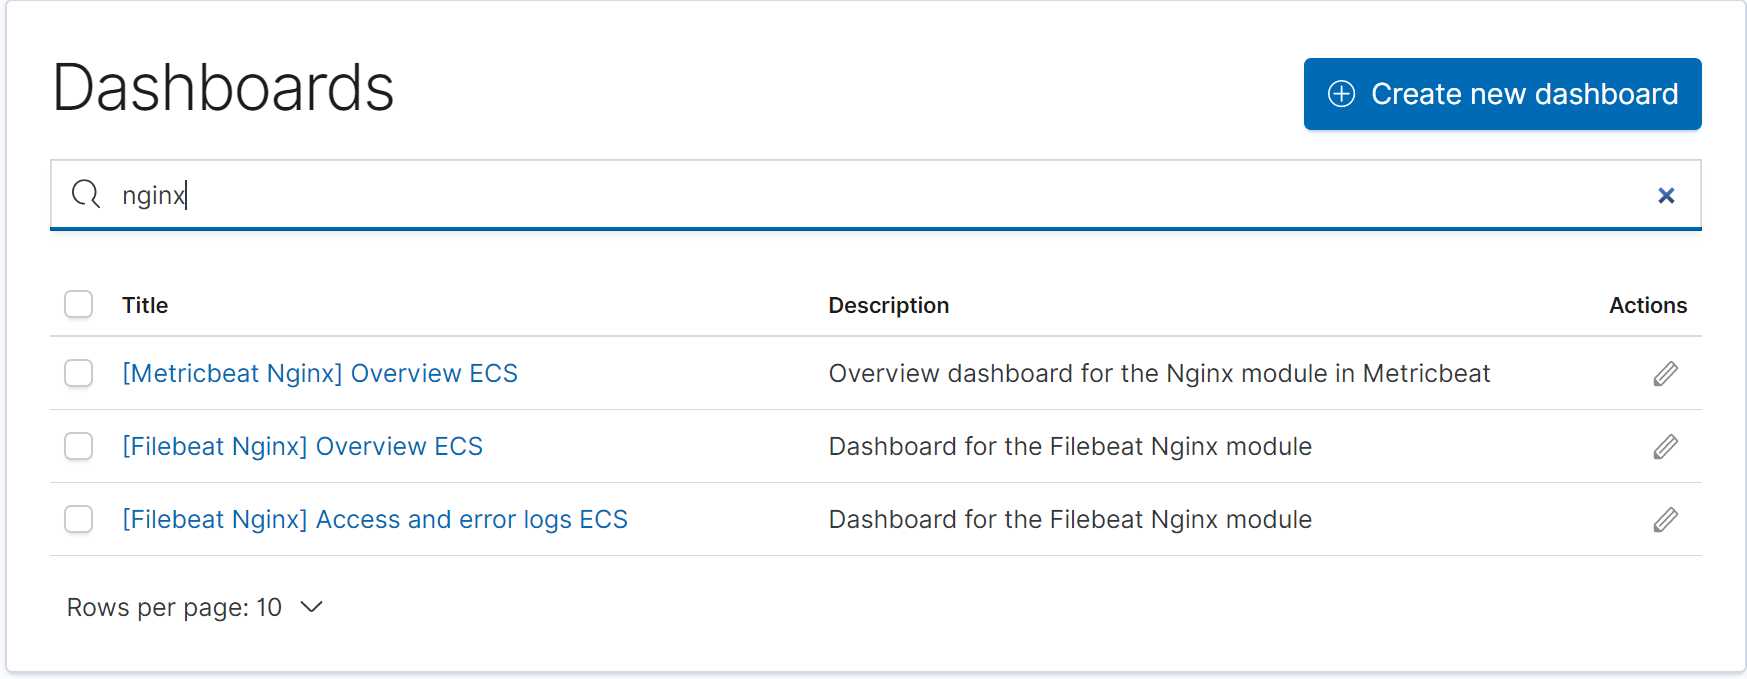
选择filebeat nginx
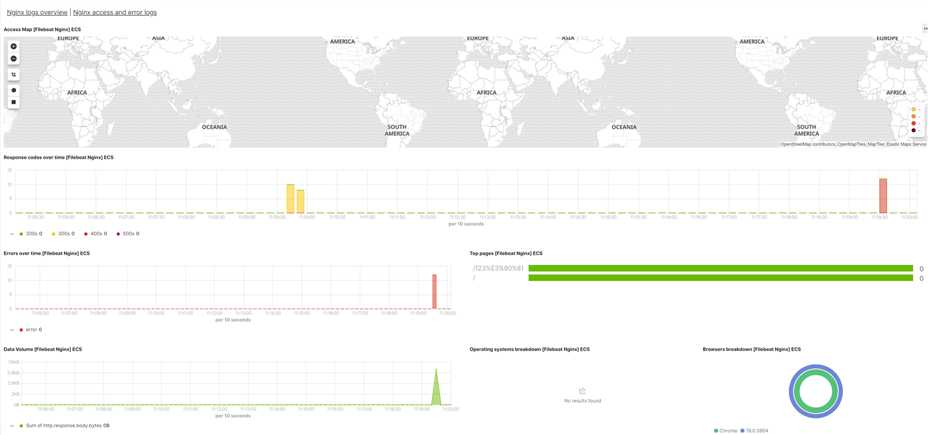
选择Nginx access and error logs,点击进入

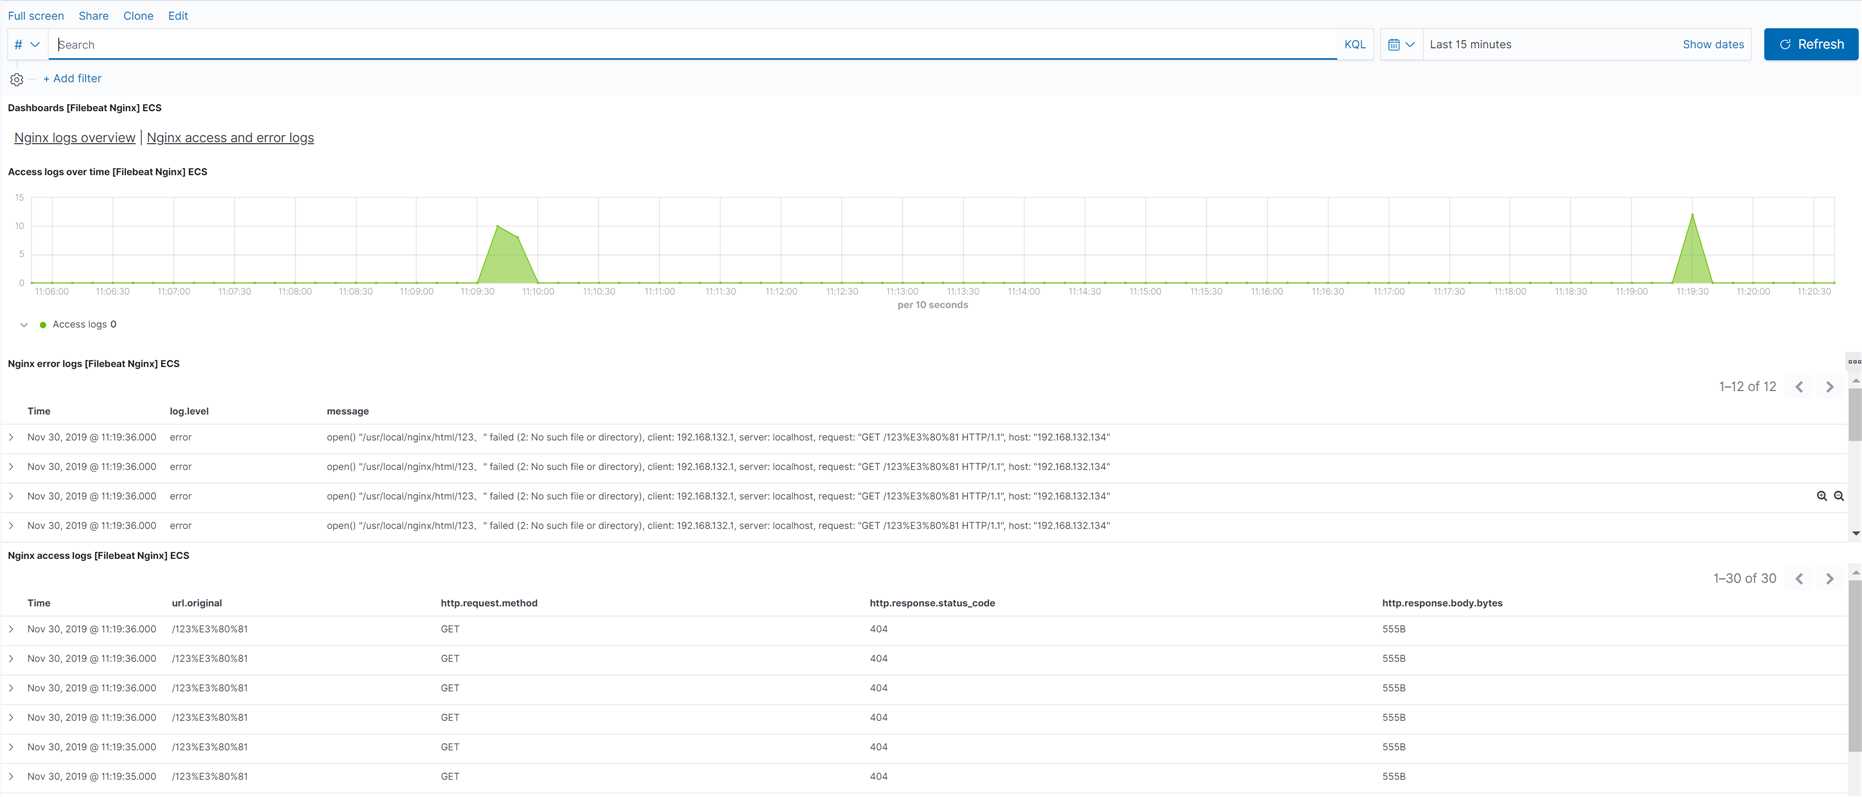
2.4 查看原始数据

{
  "_index": "filebeat-7.4.2-2019.11.24-000001",
  "_type": "_doc",
  "_id": "N4tXum4BNbSd3xvSPU1B",
  "_version": 1,
  "_score": null,
  "_source": {
    "agent": {
      "hostname": "node4",
      "id": "2832793b-3bb6-4081-b05f-1955815440d0",
      "type": "filebeat",
      "ephemeral_id": "8d8616e1-8958-449b-9ee5-94a6fdde155b",
      "version": "7.4.2"
    },
    "nginx": {
      "access": {
        "remote_ip_list": [
          "192.168.132.1"
        ]
      }
    },
    "log": {
      "file": {
        "path": "/usr/local/nginx/logs/access.log"
      },
      "offset": 29010
    },
    "source": {
      "address": "192.168.132.1",
      "ip": "192.168.132.1"
    },
    "fileset": {
      "name": "access"
    },
    "url": {
      "original": "/"
    },
    "input": {
      "type": "log"
    },
    "@timestamp": "2019-11-30T03:25:08.000Z",
    "ecs": {
      "version": "1.1.0"
    },
    "service": {
      "type": "nginx"
    },
    "host": {
      "name": "node4"
    },
    "http": {
      "request": {
        "referrer": "-",
        "method": "GET"
      },
      "response": {
        "status_code": 304,
        "body": {
          "bytes": 0
        }
      },
      "version": "1.1"
    },
    "event": {
      "timezone": "-05:00",
      "created": "2019-11-30T03:25:08.840Z",
      "module": "nginx",
      "dataset": "nginx.access"
    },
    "user": {
      "name": "-"
    },
    "user_agent": {
      "original": "Mozilla/5.0 (Windows NT 10.0; Win64; x64) AppleWebKit/537.36 (Khtml, like Gecko) Chrome/78.0.3904.108 Safari/537.36",
      "os": {
        "name": "Windows 10"
      },
      "name": "Chrome",
      "device": {
        "name": "Other"
      },
      "version": "78.0.3904"
    }
  },
  "fields": {
    "suricata.eve.timestamp": [
      "2019-11-30T03:25:08.000Z"
    ],
    "@timestamp": [
      "2019-11-30T03:25:08.000Z"
    ],
    "event.created": [
      "2019-11-30T03:25:08.840Z"
    ]
  },
  "highlight": {
    "event.module": [
      "@kibana-highlighted-field@nginx@/kibana-highlighted-field@"
    ]
  },
  "sort": [
    1575084308000
  ]
}
以上就是nginx的一个仪表盘,也可以自己定义仪表盘
三 自定义仪表盘
3.1 制作一个柱状图
进入格式化里

选择添加

选择制作柱状图
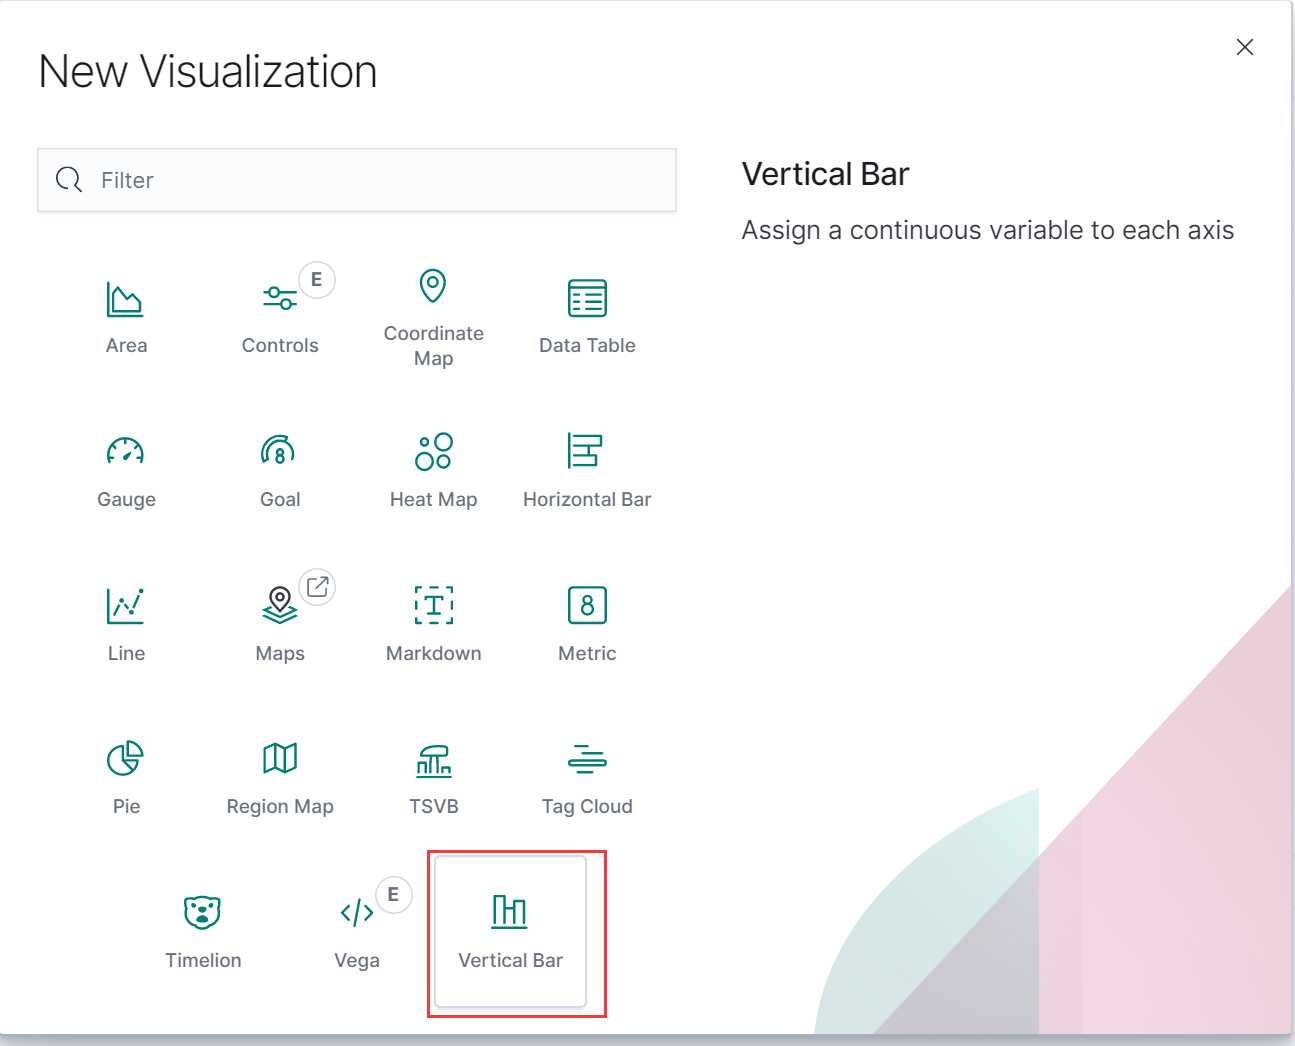
选择fielbeat
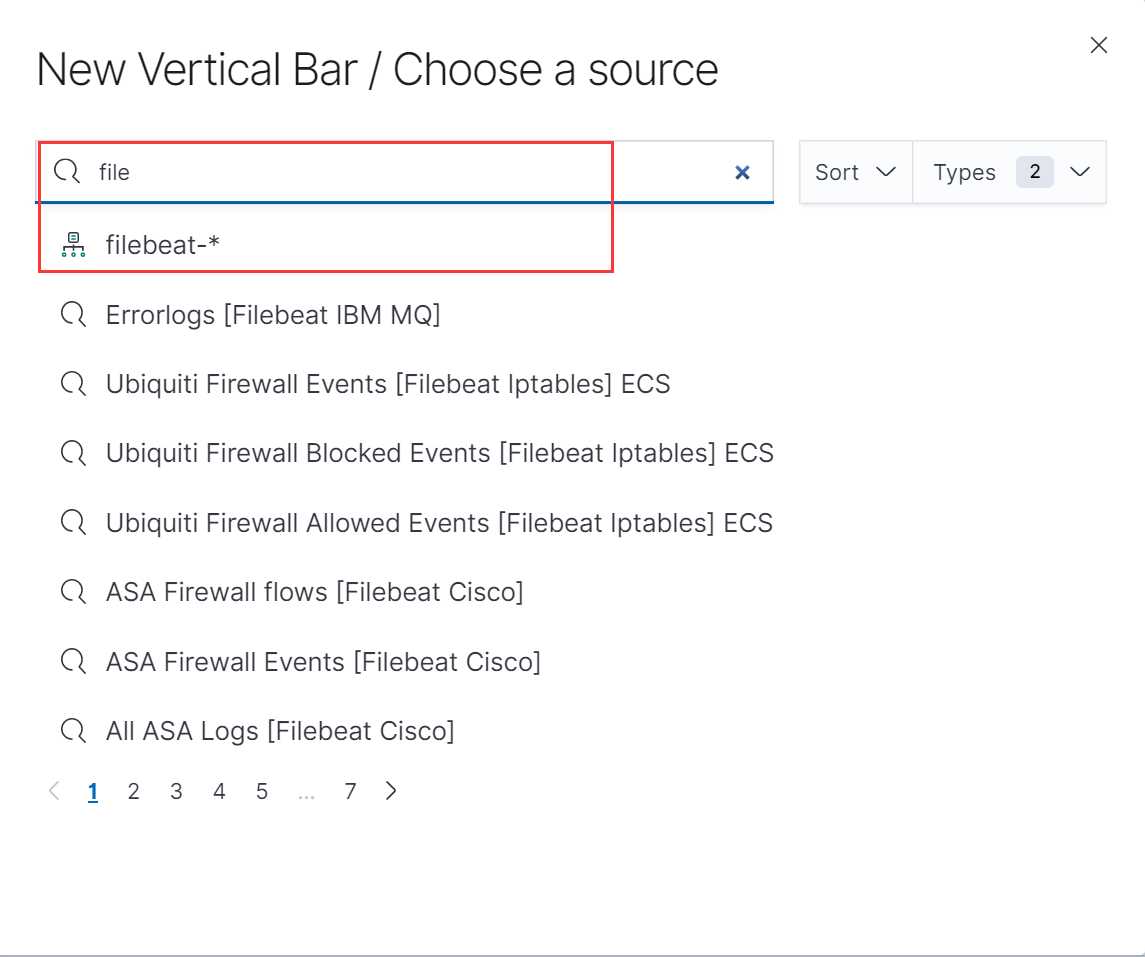
出现一下信息
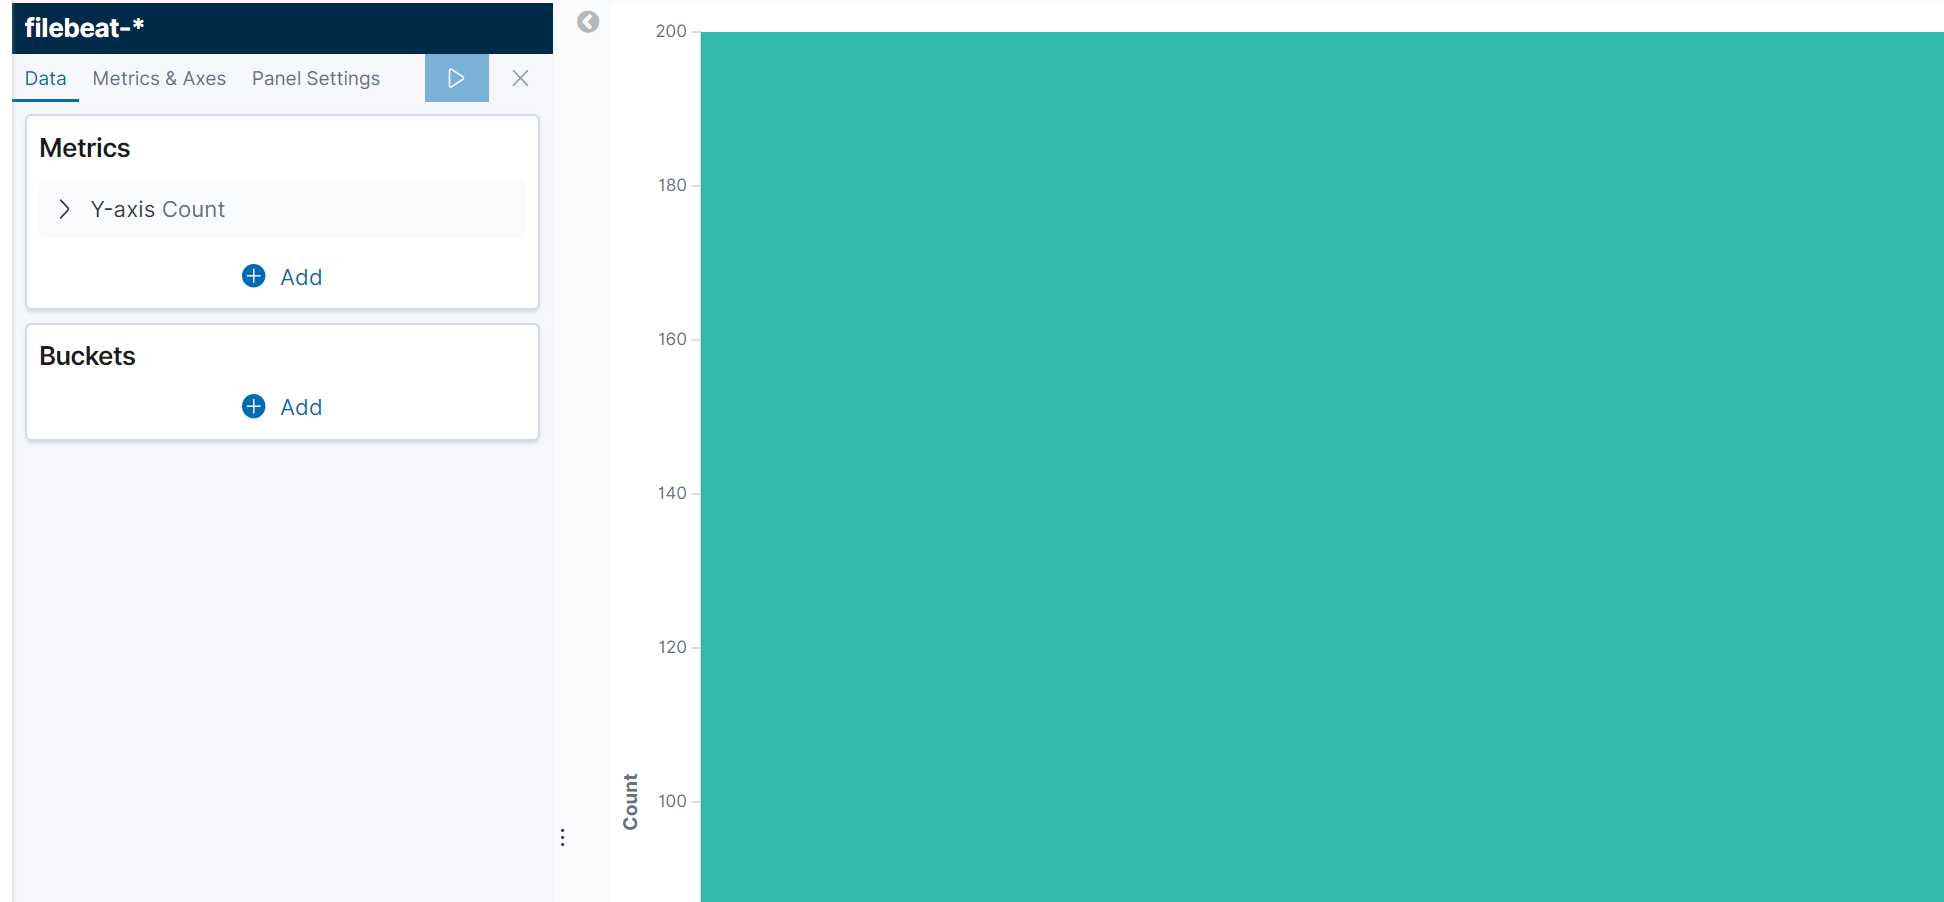
3.2 添加X轴,使用时间作为X轴
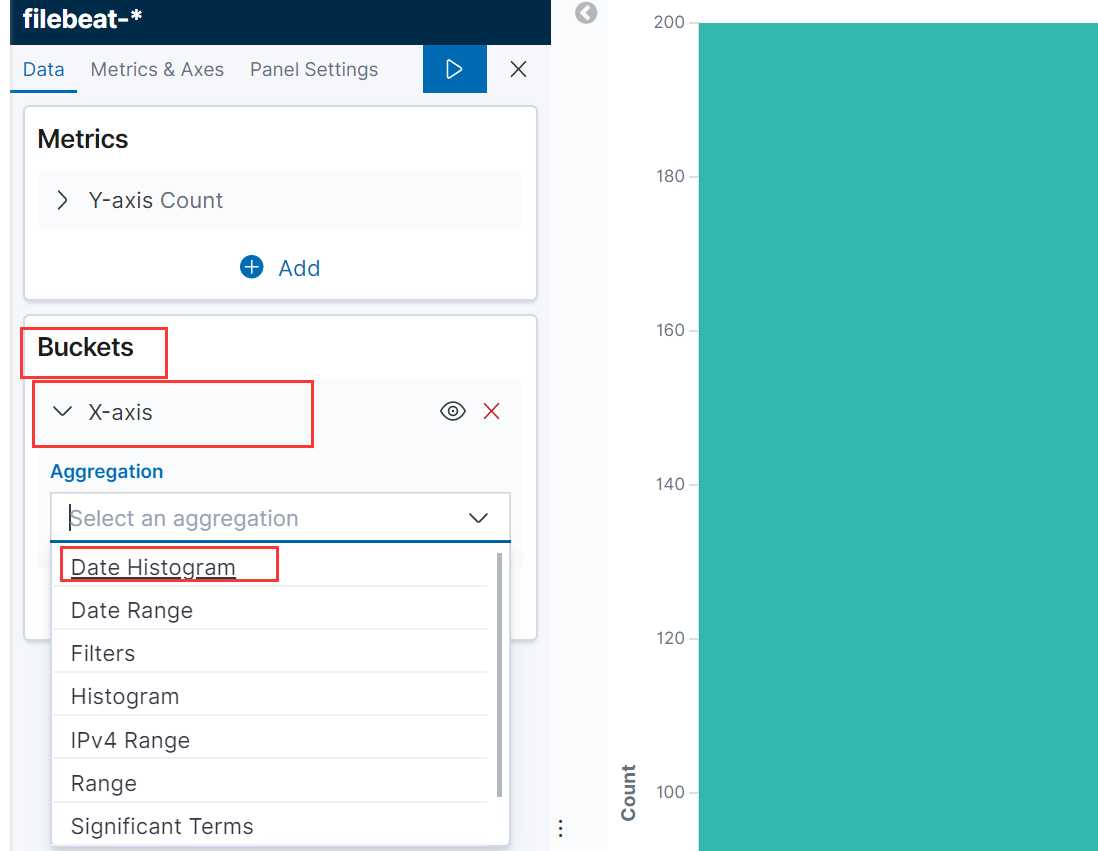
选择完后,简单调整
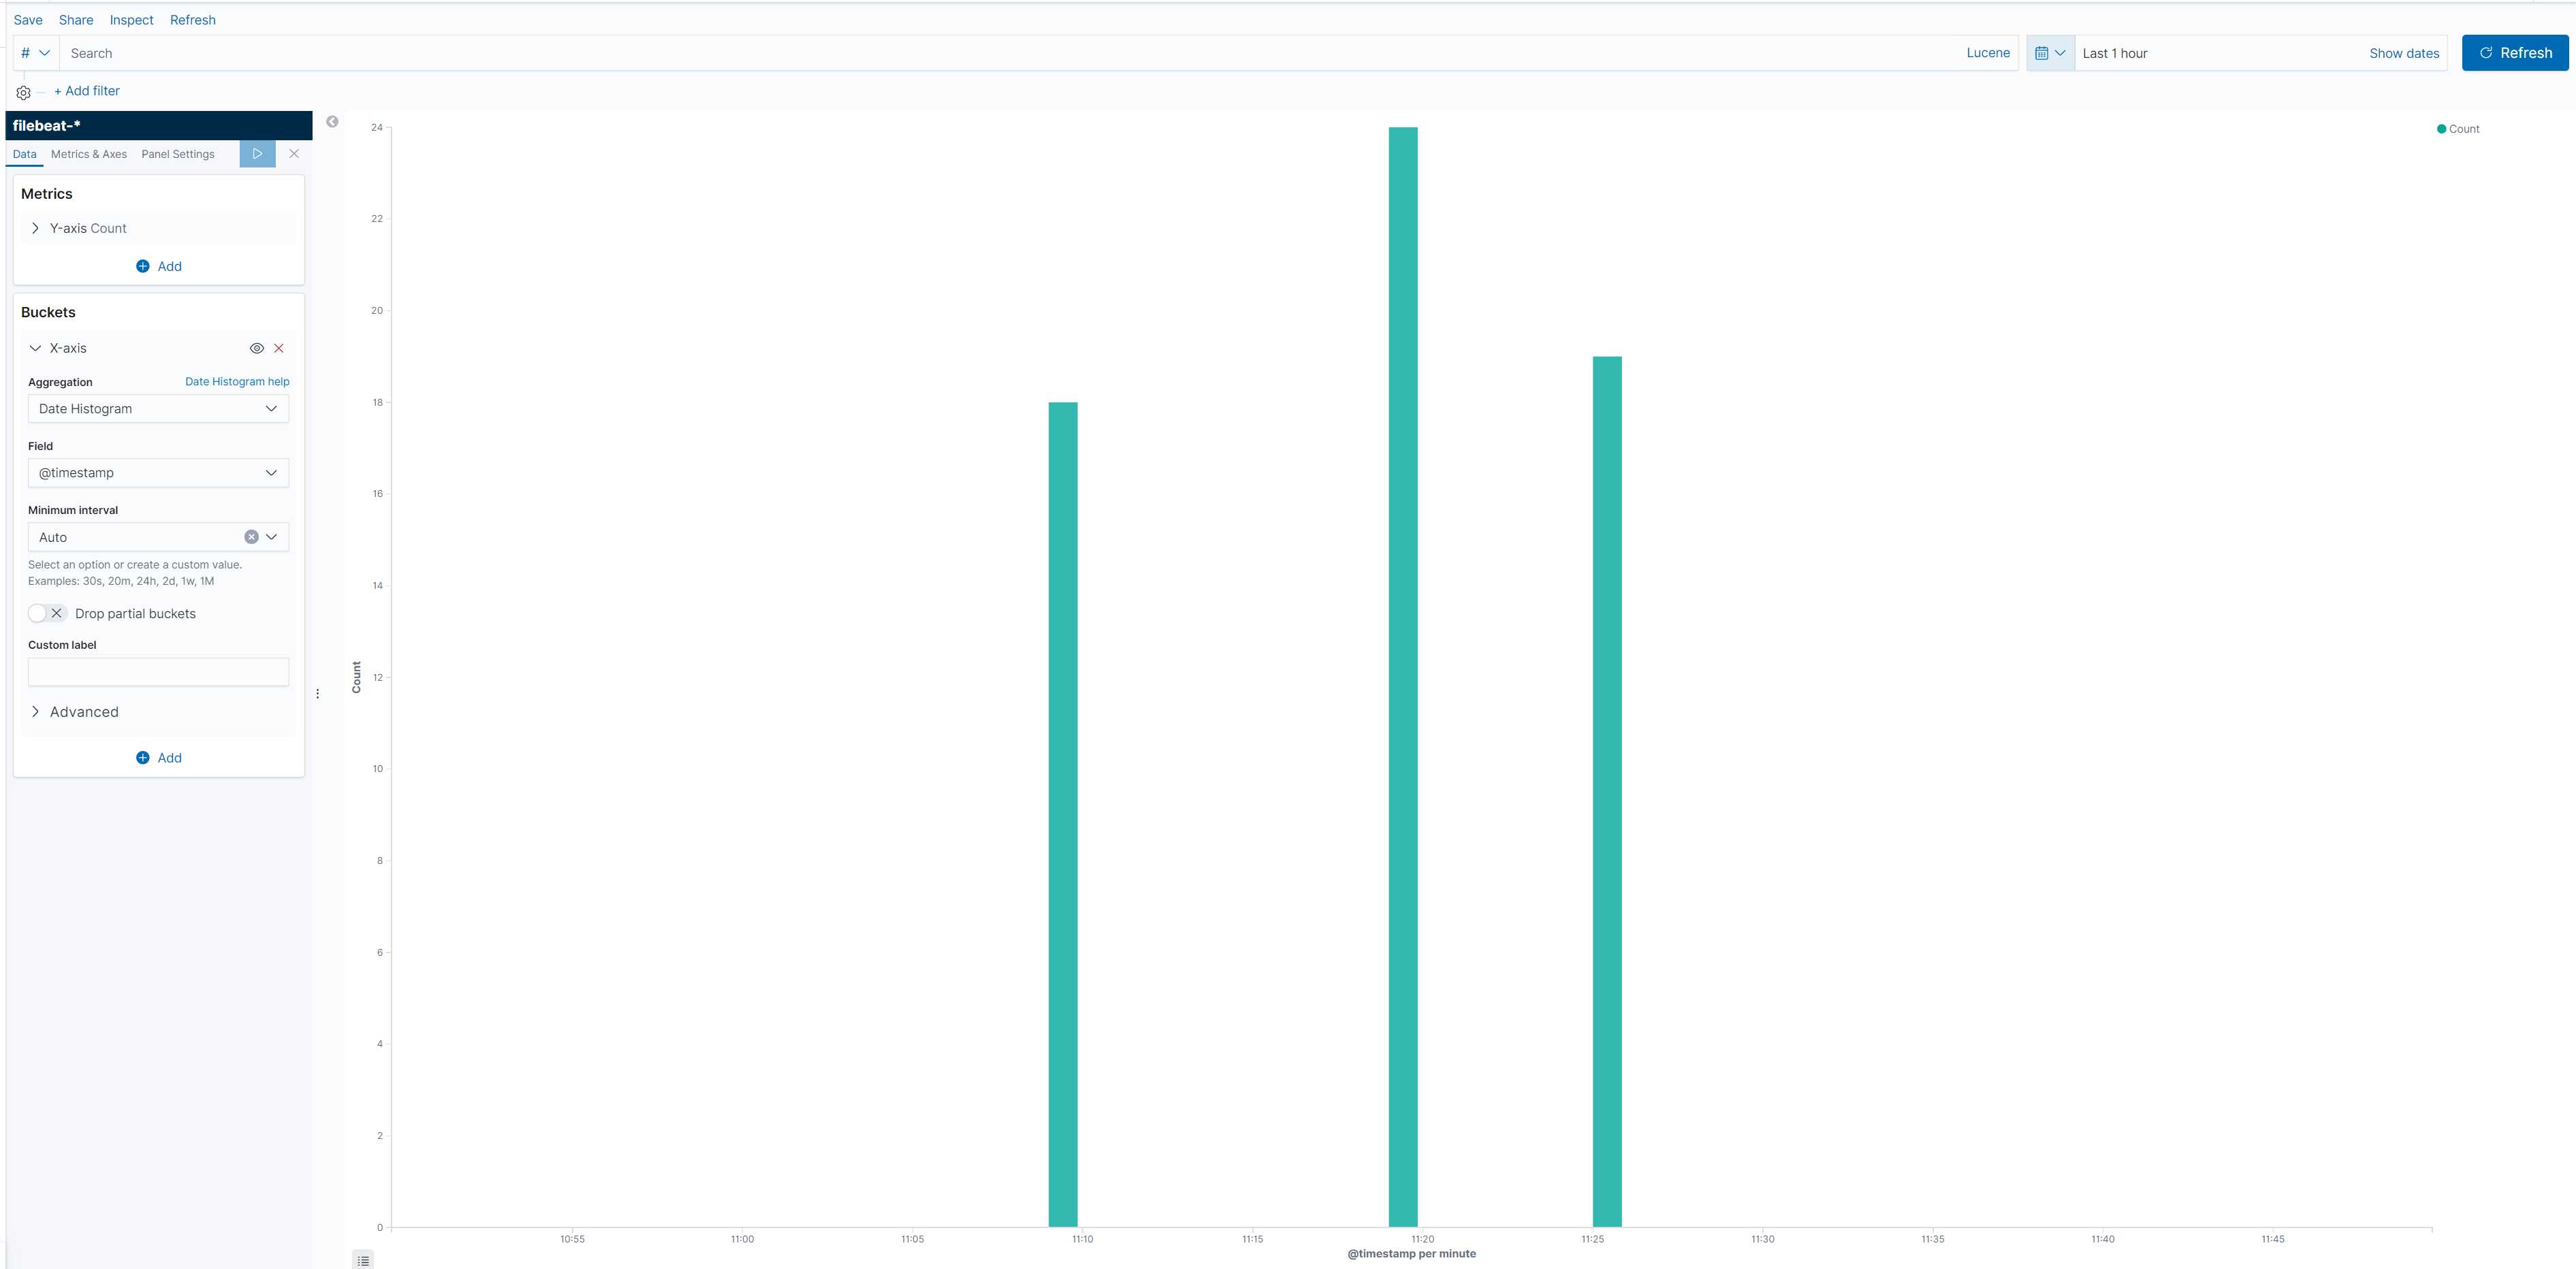
添加其他信息,丰富我们的界面
3.3 最终柱状图界面
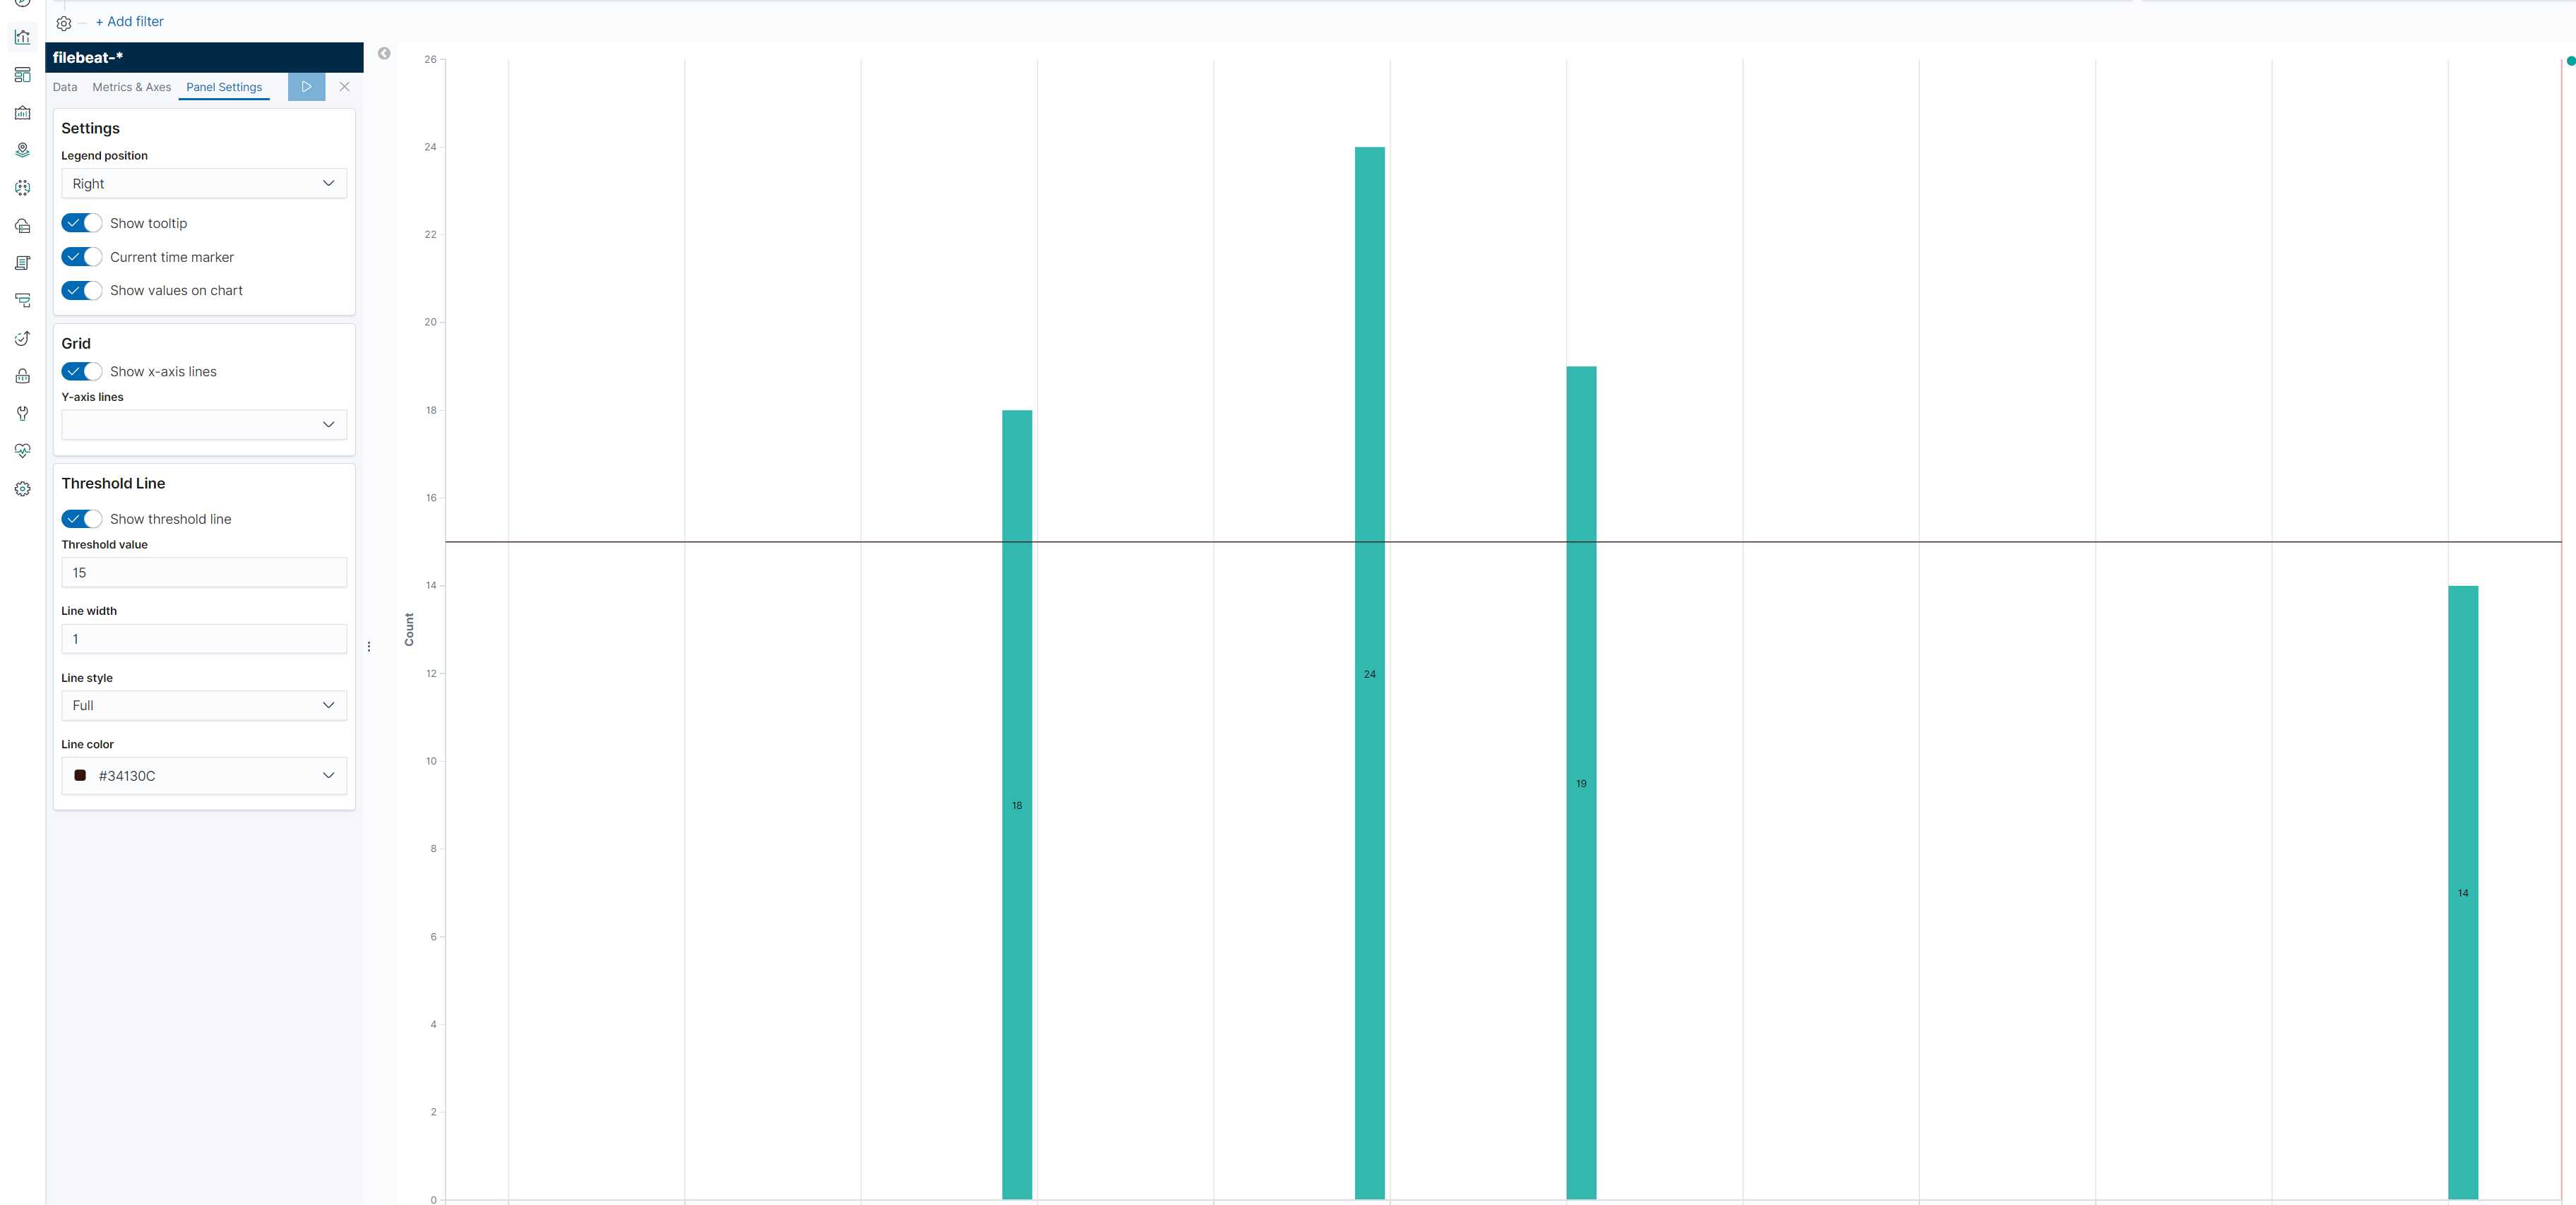
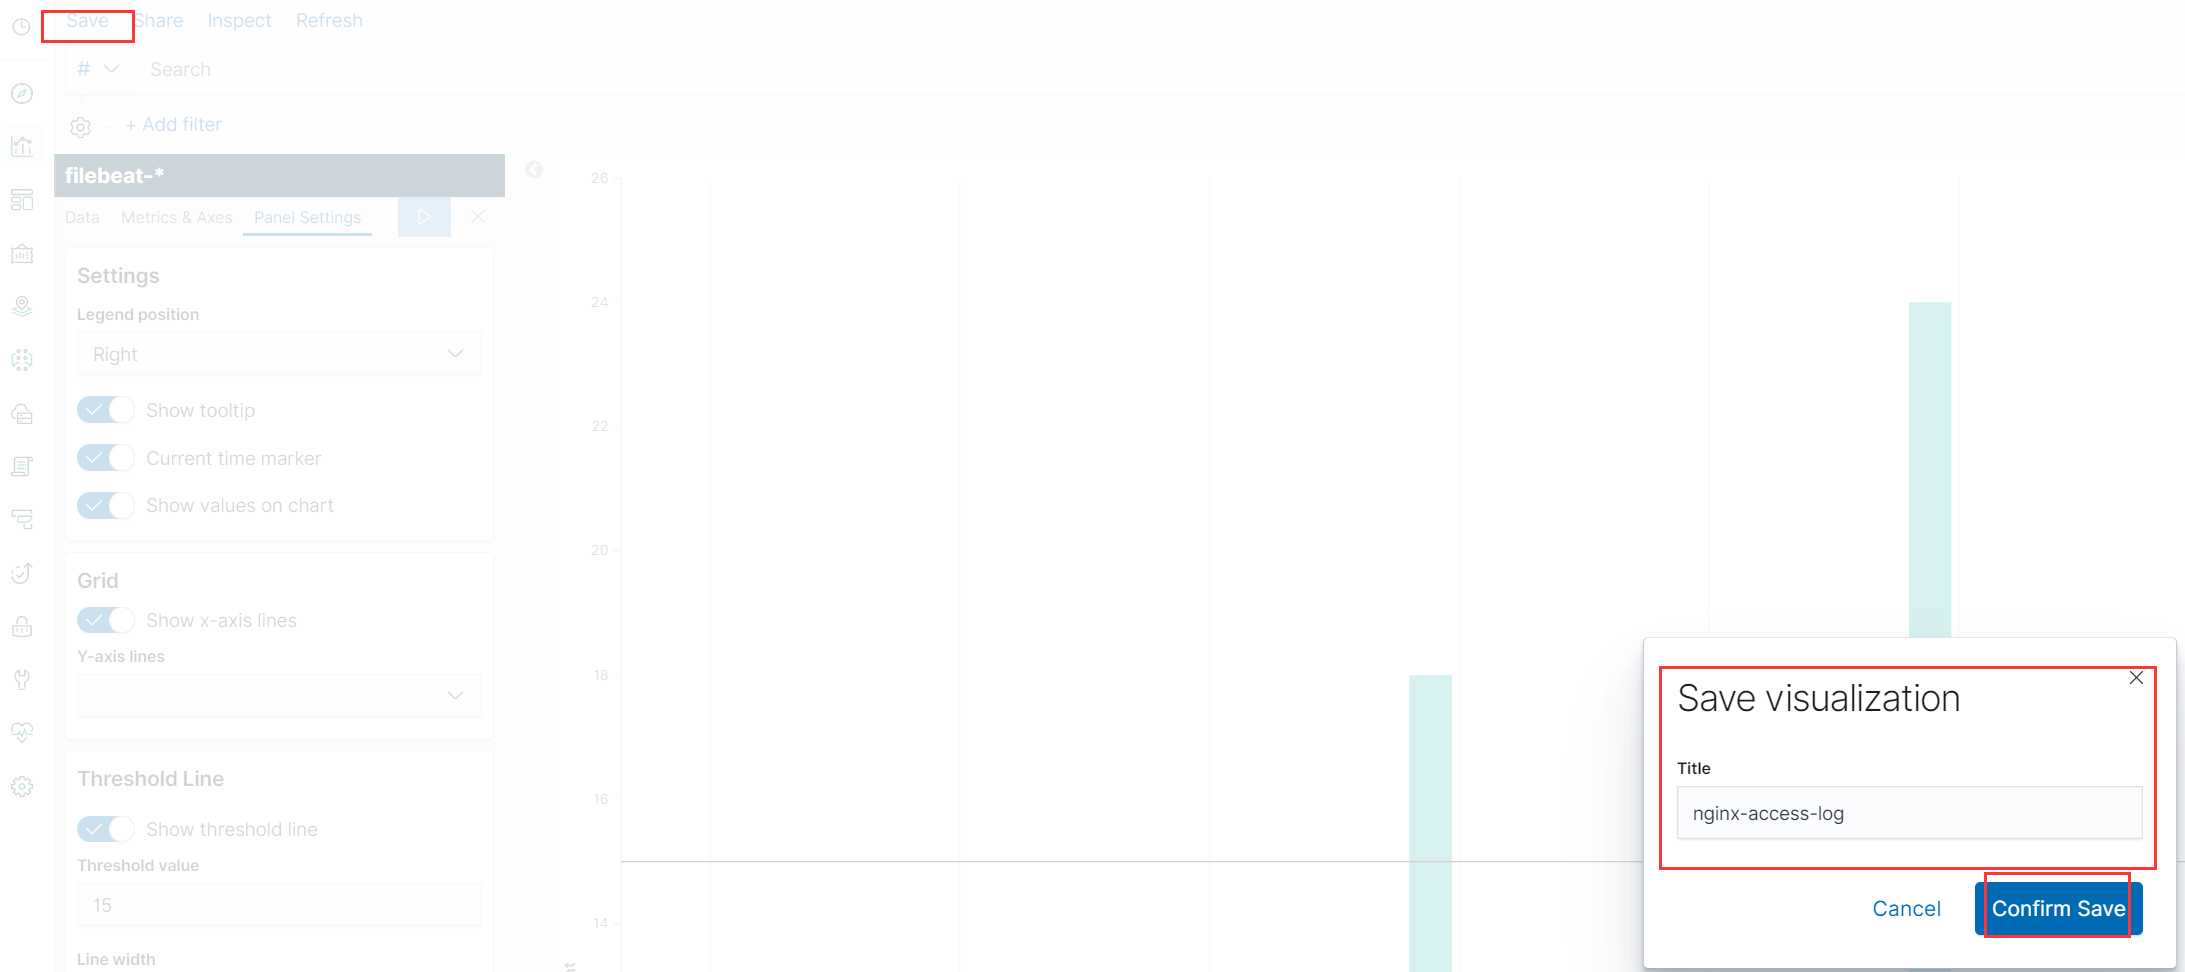
把这个柱形图做一个保存
3.4 保存柱状图
3.5 制作仪表盘
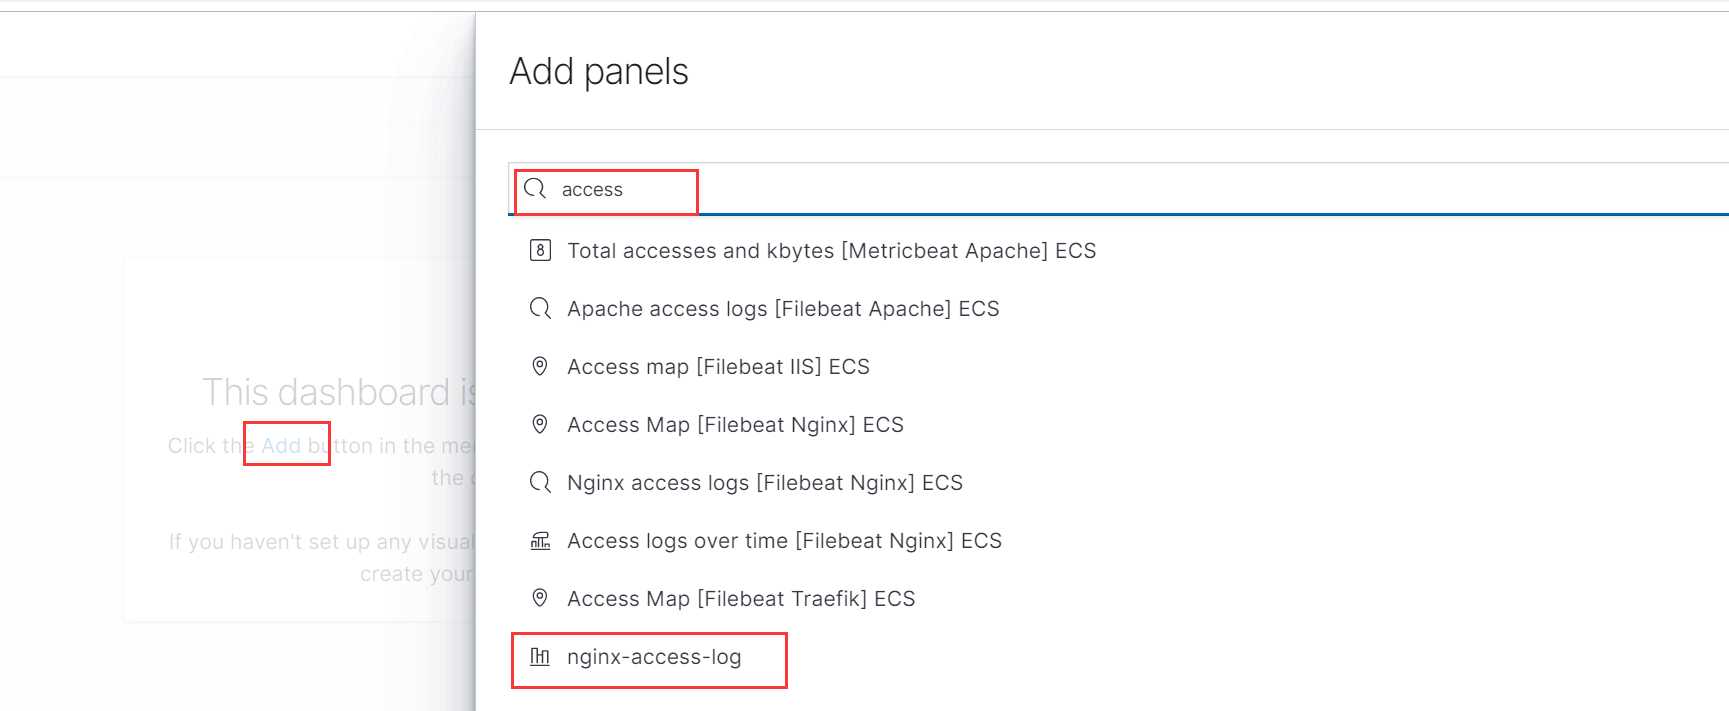
就可以根据取名搜到这个柱状图
也可以把这个柱状图放进我们的仪表盘里
点击仪表盘并创建新的仪表盘,点击add添加,搜索刚才取名的柱状图
则在界面出现我们创建的柱状图
3.6 最终仪表盘
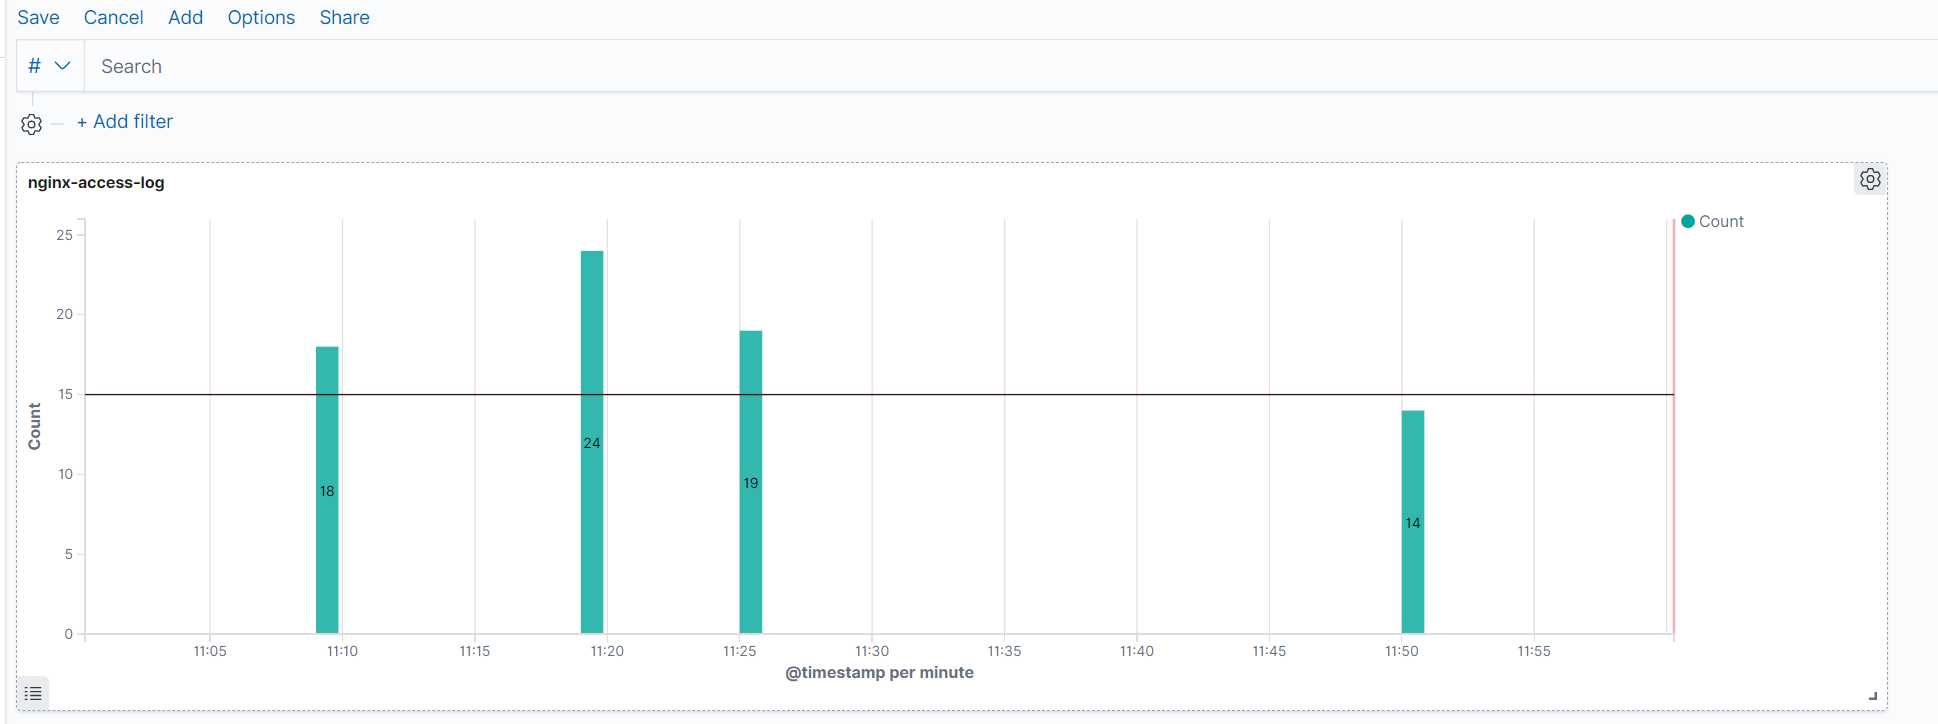
在这里也可以添加多个图标,获取我们需要的信息
以上就是关于仪表盘的一个介绍
以上是关于ELK学习实验009:安装kibana的仪表盘的主要内容,如果未能解决你的问题,请参考以下文章