Windows +TensorFlow+Faster Rcnn 详细安装步骤
Posted shellycn
tags:
篇首语:本文由小常识网(cha138.com)小编为大家整理,主要介绍了Windows +TensorFlow+Faster Rcnn 详细安装步骤相关的知识,希望对你有一定的参考价值。
经过多方参考,终于可以运行了,记录一下,以便查阅:
步骤一:参考:http://www.360doc.com/content/18/1219/15/17157244_802903673.shtml
1.安装Anaconda
2.新建tensorflow虚拟环境、
3.选择TensorFlow版本
4.安装GPU版本依赖
5.安装TensorFlow
我是安装的CPU 1.9.0版本:pip install --ignore-installed --upgrade tensorflow==1.9.0
步骤二:参考https://cloud.tencent.com/developer/news/303081
1. 下载 faster rcnn程序包
2.安装python依赖库
3.编译 在这个过程可能会出现问题error: Unable to find vcvarsall.bat,所以安装了VS2015,重新编译。参考:https://blog.csdn.net/chaofeili/article/details/90695280
4.下载VOC2007格式的数据集
5.下载预训练的VGG16网络模型
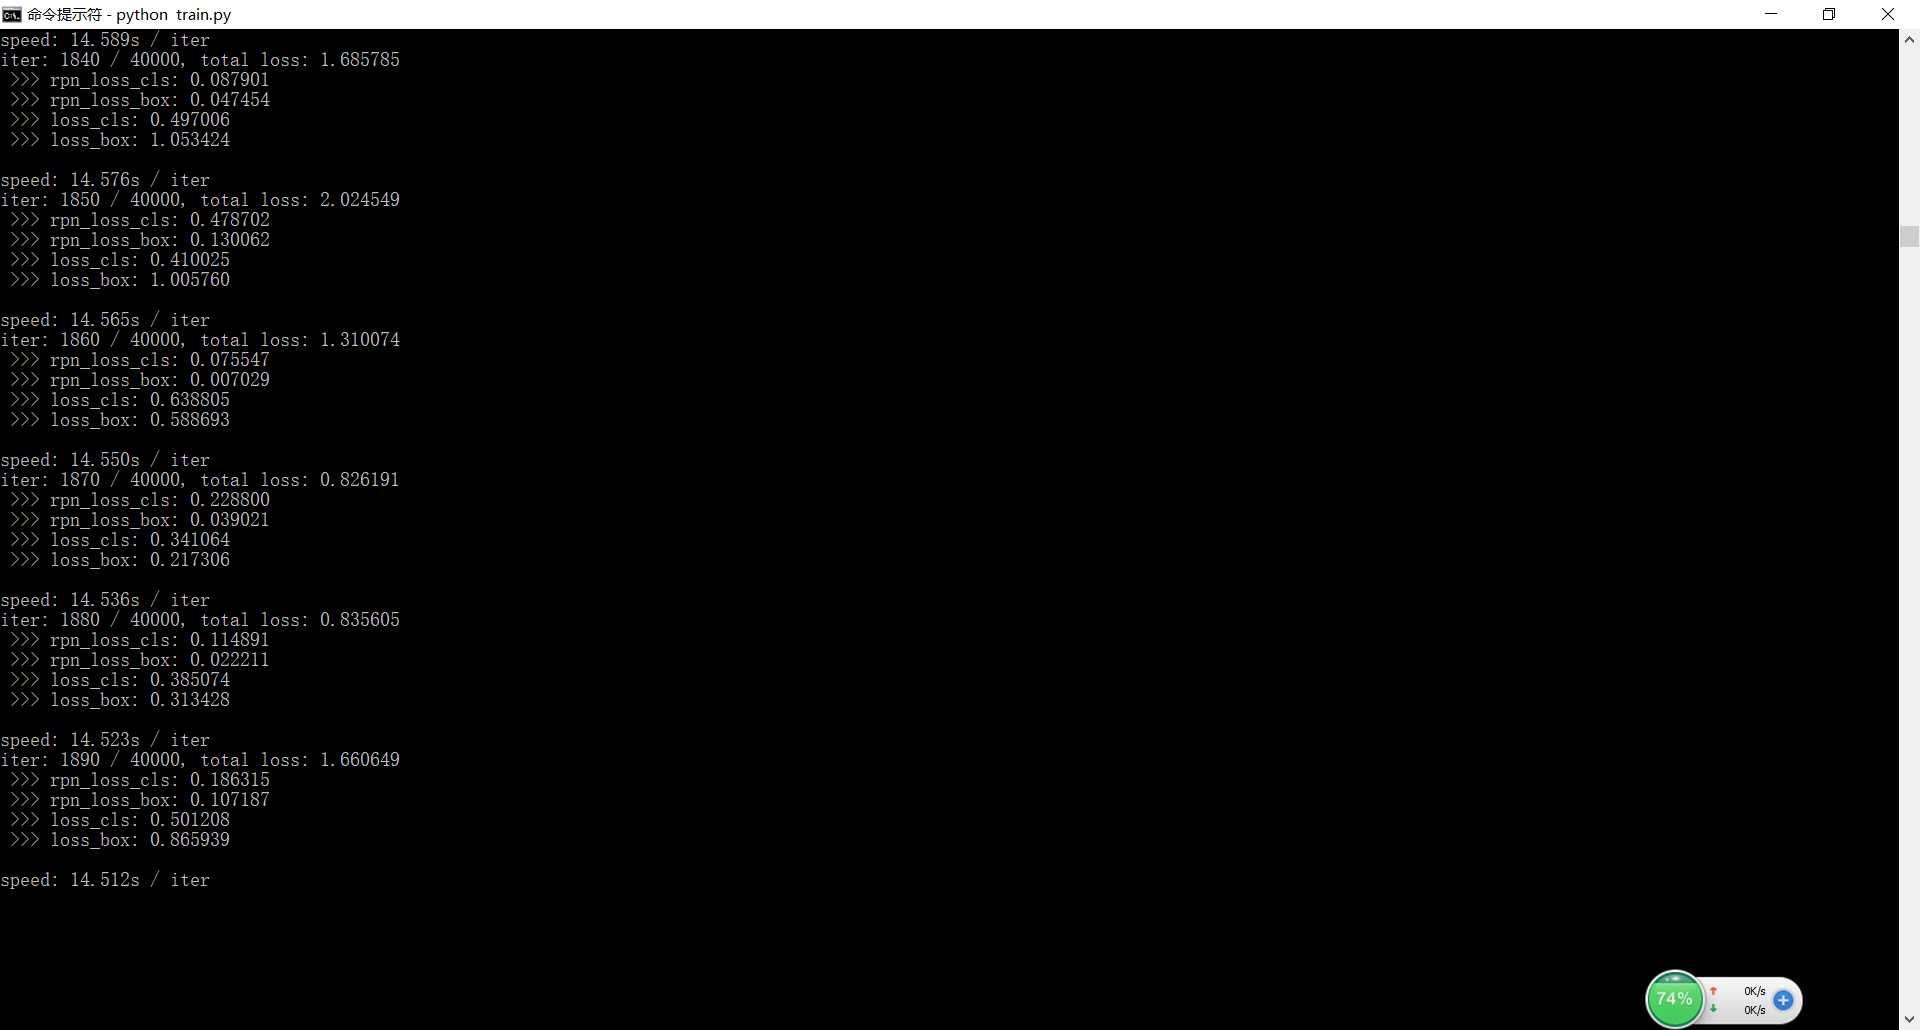
6.训练模型:第一次运行时可能会报错说找不到matplotlib,scipy,PIL(对应的是pillow库)等,安装这些库就好了.
如果是默认安装了python3.6,在训练的时候会出错,参考http://www.pianshen.com/article/132617857/这个生成cython_bbox.cp36-win_amd64.pyd

在此很感谢以上可参考内容!谢谢大家的分享!
以上是关于Windows +TensorFlow+Faster Rcnn 详细安装步骤的主要内容,如果未能解决你的问题,请参考以下文章
成为Master,TensorFlow新增对Windows的支持
如何部署Tensorflow训练模型以推断Windows独立应用程序