队列模式消息演示代码
Posted wangxiaochao
tags:
篇首语:本文由小常识网(cha138.com)小编为大家整理,主要介绍了队列模式消息演示代码相关的知识,希望对你有一定的参考价值。
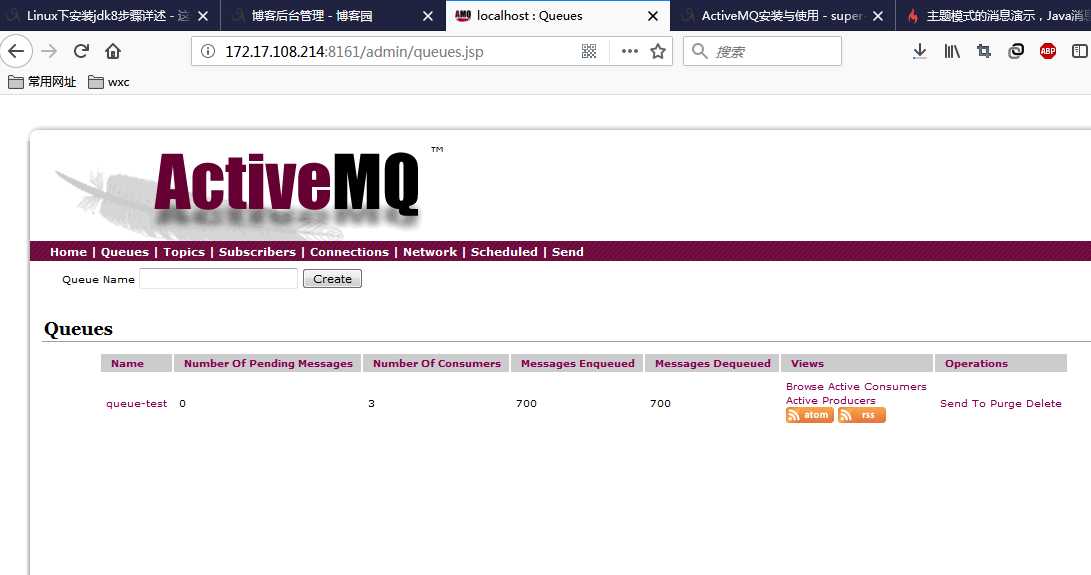
ActiveMQ默认采用61616端口提供JMS服务,使用8161端口提供管理控制台服务
Maven构建一个项目,引入
Maven构建一个项目,引入
<dependency>
    <groupId>org.apache.activemq</groupId>
    <artifactId>activemq-all</artifactId>
    <version>5.9.0</version>
</dependency>
生产者类发送消息,消费者通过监听器负责消费消息,可以开多个消费者消费消息。队列模式需要先有消息,才可以被消费;
主题模式类似于公众号,需要先订阅,才可以接收到消息,而且主题模式可以拿到所有的消息
1.生产者类
public class AppProducer {
    private static final String url = "tcp://172.17.108.214:61616";
    private static final String queueName = "queue-test";
  //private static final String topicName = "topic-test";主题模式
    public static void main(String[] args) throws JMSException {
        //1.创建ConnectionFactory
        ConnectionFactory connectionFactory = new ActiveMQConnectionFactory(url);
        //2.创建Connection
        Connection connection = connectionFactory.createConnection();
        //3.启动连接
        connection.start();
        //4.创建会话
        Session sesssion  = connection.createSession(false, Session.AUTO_ACKNOWLEDGE);

        //5.创建一个目标
        Destination destination = sesssion.createQueue(queueName);
    //Destination destination = sesssion.createTopic(topicName);主题模式
        //6.创建一个生产者
        MessageProducer producer = sesssion.createProducer(destination);
        for(int i=0;i<100;i++){
            //7.创建消息
            TextMessage textMessage = sesssion.createTextMessage("test"+i);
            //8.发布消息
            producer.send(textMessage);
            System.out.println("发送消息"+textMessage.getText());
        }
        //9.关闭连接
        connection.close();
    }
}
------------------------------------------------------------------------------------------------------------------------
1.消费者类
public class AppConsumer {
    private static final String url = "tcp://172.17.108.214:61616";
    private static final String queueName = "queue-test";
  //private static final String topicName = "topic-test";主题模式
    public static void main(String[] args) throws JMSException {
        //1.创建ConnectionFactory
        ConnectionFactory connectionFactory = new ActiveMQConnectionFactory(url);
        //2.创建Connection
        Connection connection = connectionFactory.createConnection();
        //3.启动连接
        connection.start();
        //4.创建会话
        Session sesssion  = connection.createSession(false, Session.AUTO_ACKNOWLEDGE);

        //5.创建一个目标
        Destination destination = sesssion.createQueue(queueName);
    //Destination destination = sesssion.createTopic(topicName);主题模式
        //6.创建一个消费者
        MessageConsumer consumer = sesssion.createConsumer(destination);
        //7.创建一个监听器
        consumer.setMessageListener(new MessageListener() {
            public void onMessage(Message message) {
                TextMessage textMessage = (TextMessage) message;
                try {
                    System.out.println("接收消息"+textMessage.getText());
                } catch (JMSException e) {
                    e.printStackTrace();
                }
            }
        });
        //8.关闭连接
        //connection.close();
    }
}
以上是关于队列模式消息演示代码的主要内容,如果未能解决你的问题,请参考以下文章
