Android入门第31天-Android里的ViewFlipper翻转视图的使用
Posted TGITCIC
tags:
篇首语:本文由小常识网(cha138.com)小编为大家整理,主要介绍了Android入门第31天-Android里的ViewFlipper翻转视图的使用相关的知识,希望对你有一定的参考价值。
介绍
本篇给大家带了的是ViewFlipper,它是android自带的一个多页面管理控件,且可以自动播放! 和ViewPager不同,ViewPager是一页页的,而ViewFlipper则是一层层的,和ViewPager一样,很多时候, 用来实现进入应用后的引导页,或者用于图片轮播,本篇我们我们会使用两个例子:一个自动播放首页轮播页一个手动可左右滑动道页的轮播页来说透这个组件的使用。
课程目标


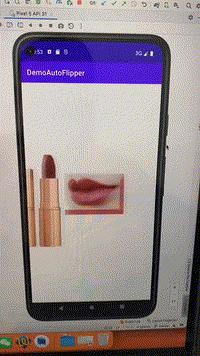
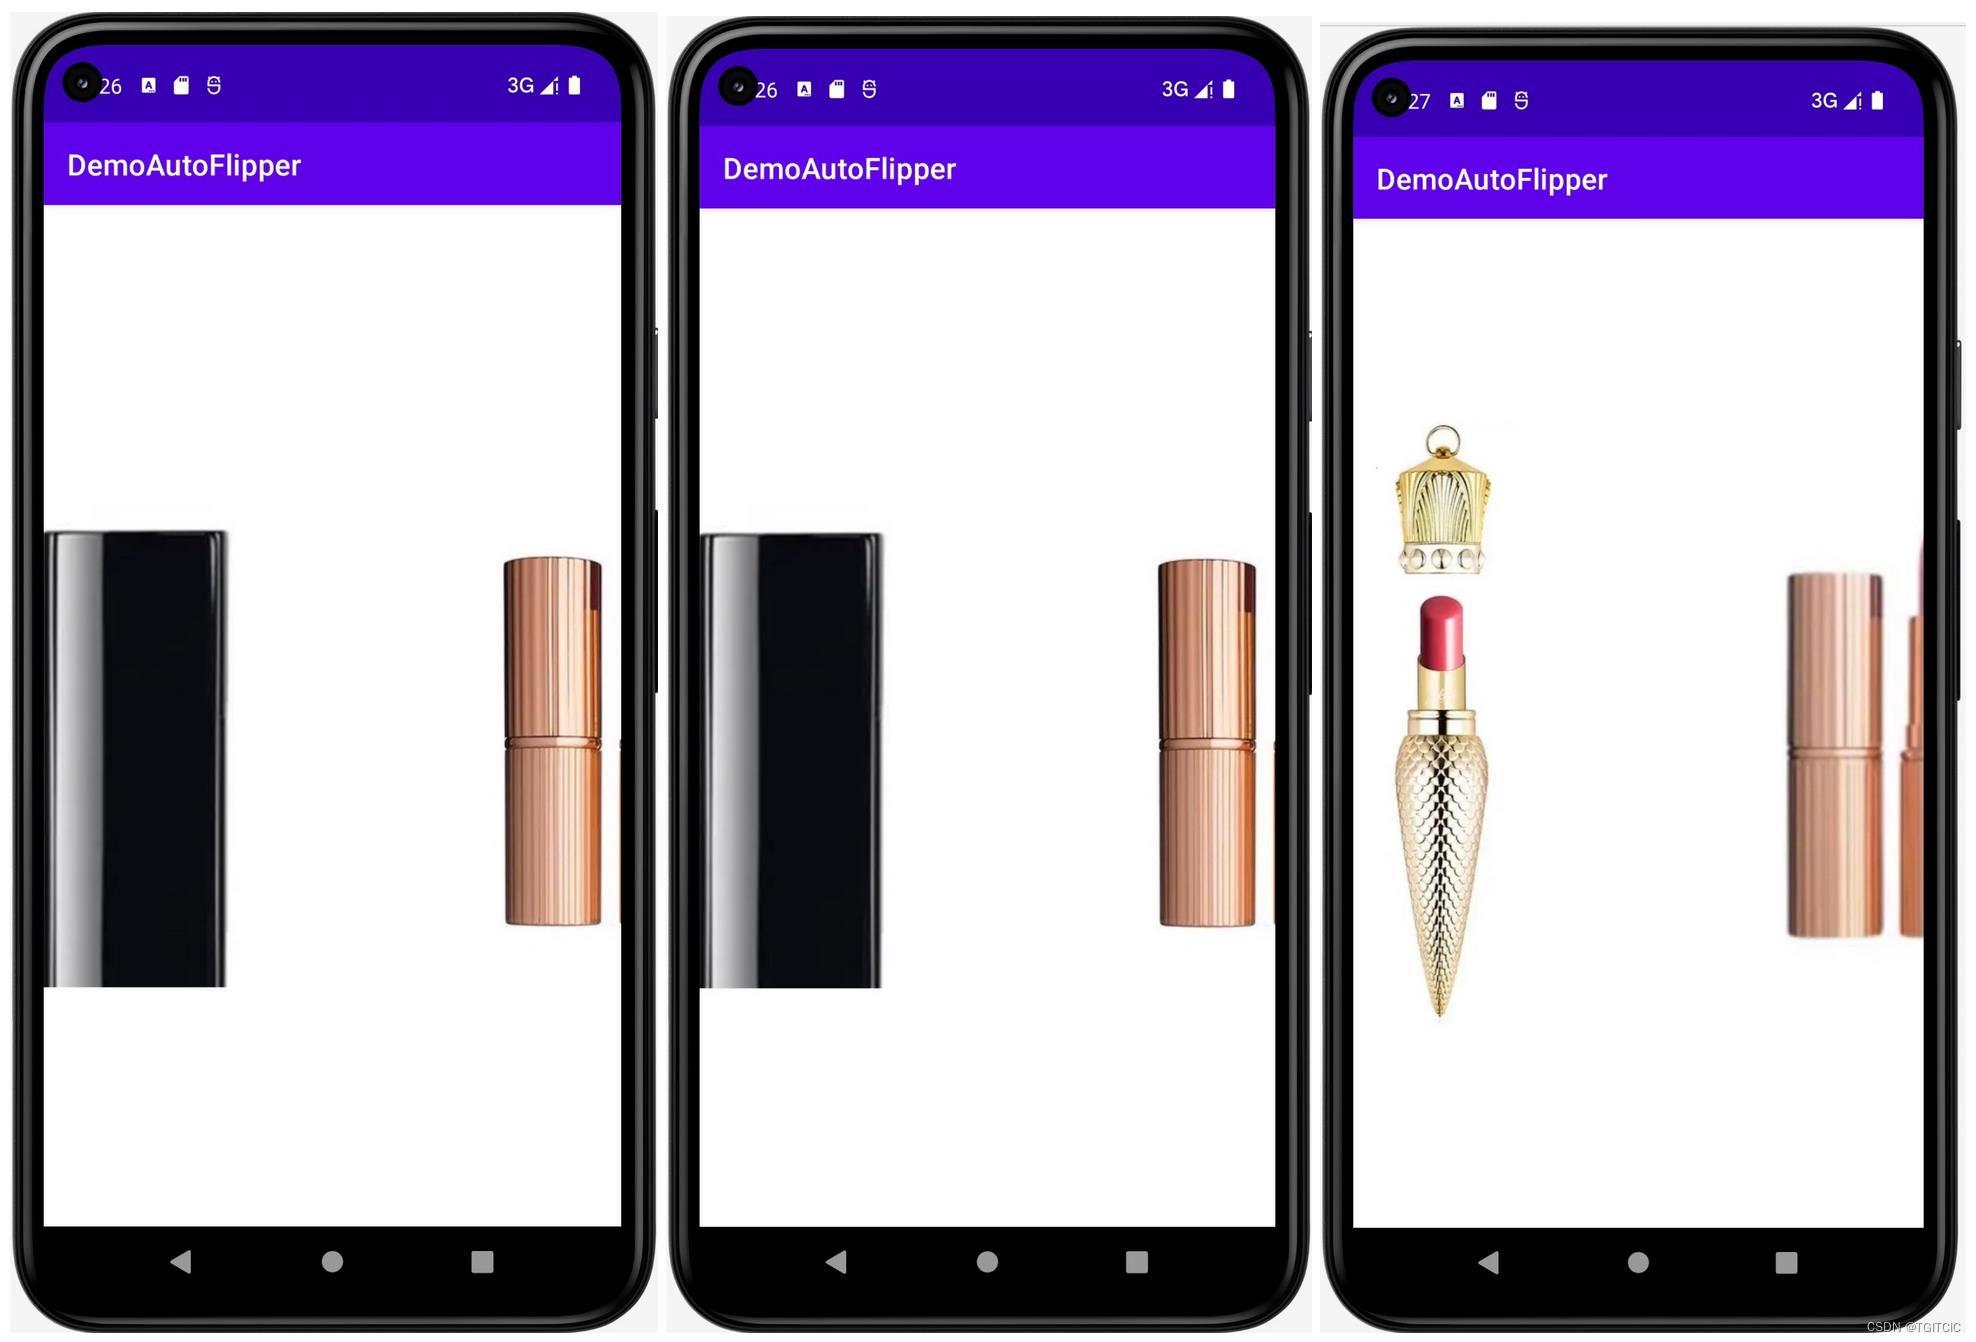
我们可以看到,这是一个化妆品的轮播图。它以每隔2秒的间隔,从右到左自动一个个轮播展现首页的广告图。
项目结构

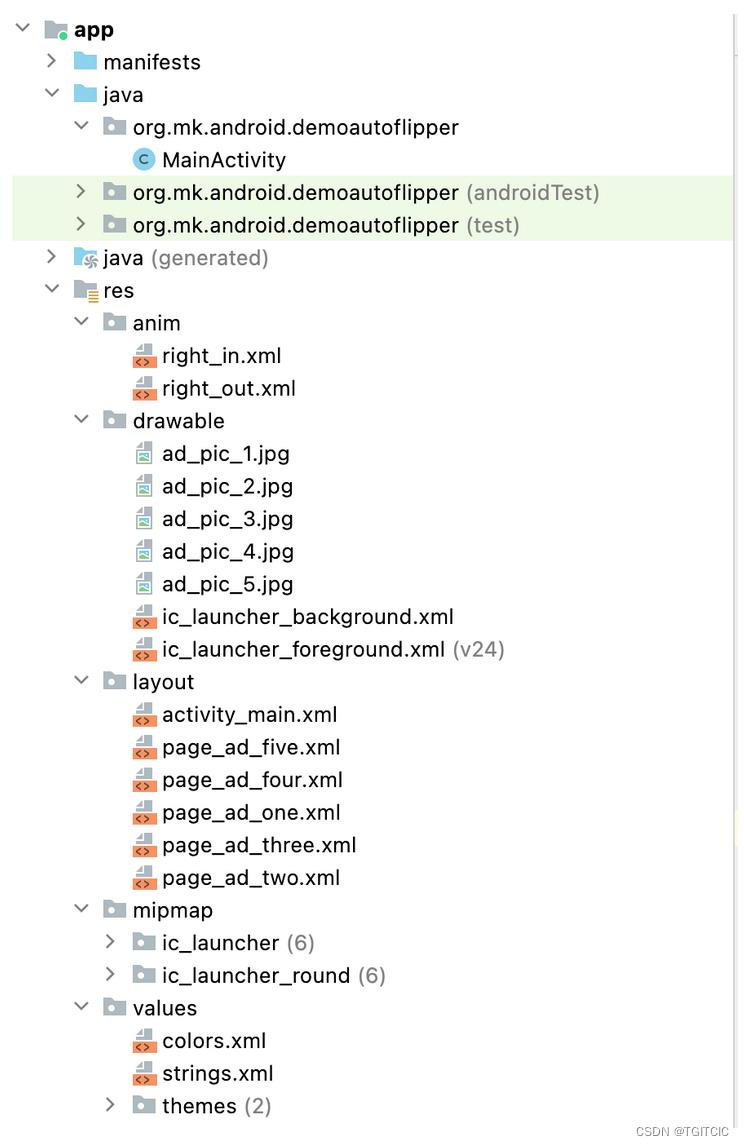
通过项目结构,我们可以知道我们的轮播页有5页,每一页内含一个图片。
然后我们做了一个平滑过渡的动画:
- right_in.xml,从右向左,每隔2秒,滑动展示一张;
- right_out.xml,当图片滑到最后一张,自动切换成第一张再继续从右到左每隔2秒,滑动展示一张
这么一个循环。
前端代码
right_in.xml
<?xml version="1.0" encoding="utf-8"?>
<set xmlns:android="http://schemas.android.com/apk/res/android">

    <translate
        android:duration="2000"
        android:fromXDelta="100%p"
        android:toXDelta="0" />

</set>
right_out.xml
<?xml version="1.0" encoding="utf-8"?>
<set xmlns:android="http://schemas.android.com/apk/res/android" >

    <translate
        android:duration="2000"
        android:fromXDelta="0"
        android:toXDelta="-100%p" />

</set>
page_ad_one.xml~page_ad_five.xml
内容都一样,只是内含的图片不一样
<?xml version="1.0" encoding="utf-8"?>
<LinearLayout xmlns:android="http://schemas.android.com/apk/res/android"
    android:layout_width="match_parent"
    android:layout_height="match_parent">
    <ImageView
        android:layout_width="wrap_content"
        android:layout_height="match_parent"
        android:src="@drawable/ad_pic_1"
        />
</LinearLayout>
activity_main.xml
<?xml version="1.0" encoding="utf-8"?>
<RelativeLayout xmlns:android="http://schemas.android.com/apk/res/android"
    xmlns:tools="http://schemas.android.com/tools"
    android:layout_width="match_parent"
    android:layout_height="match_parent"
    tools:context=".MainActivity">

    <ViewFlipper
        android:id="@+id/adFlipper"
        android:layout_width="match_parent"
        android:layout_height="match_parent"
        android:inAnimation="@anim/right_in"
        android:outAnimation="@anim/right_out"
        android:flipInterval="2000">

        <include layout="@layout/page_ad_one" />
        <include layout="@layout/page_ad_two" />
        <include layout="@layout/page_ad_three" />
        <include layout="@layout/page_ad_four" />
        <include layout="@layout/page_ad_five" />

    </ViewFlipper>

</RelativeLayout>
后端代码
MainActivity.java
package org.mk.android.demoautoflipper;

import androidx.appcompat.app.AppCompatActivity;

import android.os.Bundle;
import android.widget.ViewFlipper;

public class MainActivity extends AppCompatActivity

    private ViewFlipper adFlipper;
    @Override
    protected void onCreate(Bundle savedInstanceState)
        super.onCreate(savedInstanceState);
        setContentView(R.layout.activity_main);
        adFlipper=(ViewFlipper)findViewById(R.id.adFlipper);
        adFlipper.startFlipping();
非常简单。
接着我们来说手动滑动的例子
手动滑动代替了自动轮播,因此我们支持两种手势,往左滑和往右滑。因此我人把从右到左滑设成+向,从左到向设成-向。因此我们为了支持向右、向左的手势还需要设置一组left_in.xml和left_out.xml。
前端代码只增加了left_in.xml和left_out.xml
left_in.xml
<?xml version="1.0" encoding="utf-8"?>
<set xmlns:android="http://schemas.android.com/apk/res/android" >

    <translate
        android:duration="500"
        android:fromXDelta="-100%p"
        android:toXDelta="0" />

</set>
left_out.xml
<?xml version="1.0" encoding="utf-8"?>
<set xmlns:android="http://schemas.android.com/apk/res/android">

    <translate
        android:duration="500"
        android:fromXDelta="0"
        android:toXDelta="100%p" />

</set>
MainActivity.java
package org.mk.android.demomanualflipper;

import androidx.appcompat.app.AppCompatActivity;

import android.content.Context;
import android.os.Bundle;
import android.view.GestureDetector;
import android.view.MotionEvent;
import android.widget.ImageView;
import android.widget.ViewFlipper;

public class MainActivity extends AppCompatActivity


    private Context mContext;
    private ViewFlipper vflp_help;
    private int[] resId = R.drawable.ad_pic_1, R.drawable.ad_pic_2,
            R.drawable.ad_pic_3, R.drawable.ad_pic_4, R.drawable.ad_pic_5;

    private final static int DISTANCE = 200;   //最小距离
    private CustomerizedGestureListener cgListener;
    private GestureDetector gDetector;
    @Override
    protected void onCreate(Bundle savedInstanceState)
        super.onCreate(savedInstanceState);
        setContentView(R.layout.activity_main);
        mContext = MainActivity.this;
        //实例化SimpleOnGestureListener与GestureDetector对象
        cgListener = new CustomerizedGestureListener();
        gDetector = new GestureDetector(this, cgListener);
        vflp_help = (ViewFlipper) findViewById(R.id.adFlipper);
        //动态导入添加子View
        for(int i = 0;i < resId.length;i++)
            vflp_help.addView(getImageView(resId[i]));


    //重写onTouchEvent触发MyGestureListener里的方法
    @Override
    public boolean onTouchEvent(MotionEvent event)
        return gDetector.onTouchEvent(event);

    //自定义一个GestureListener,这个是View类下的
    private class CustomerizedGestureListener extends GestureDetector.SimpleOnGestureListener
        @Override
        public boolean onFling(MotionEvent e1, MotionEvent e2, float v, float v1)
            if(e1.getX() - e2.getX() > DISTANCE)
                vflp_help.setInAnimation(mContext,R.anim.right_in);
                vflp_help.setOutAnimation(mContext, R.anim.right_out);
                vflp_help.showNext();
            else if(e2.getX() - e1.getX() > DISTANCE)
                vflp_help.setInAnimation(mContext,R.anim.left_in);
                vflp_help.setOutAnimation(mContext, R.anim.left_out);
                vflp_help.showPrevious();

            return true;


    private ImageView getImageView(int resId)
        ImageView img = new ImageView(this);
        img.setBackgroundResource(resId);
        return img;
代码导读:
- 首先,在这个例子里我们使用了代码来添加一个个ViewFlipper;
- 其次我们定义了一个GestureDetector.SimpleOnGestureListener来支持向左滑屏或者向右滑屏。在这个事件里我们通过e1与e2的距离(DISTANCE)可判断出正负,然后以此来控制向左到头来换第一张,向右到头了换最后一张的效果;
以上是关于Android入门第31天-Android里的ViewFlipper翻转视图的使用的主要内容,如果未能解决你的问题,请参考以下文章