cypress初探
Posted twinkle||cll
tags:
篇首语:本文由小常识网(cha138.com)小编为大家整理,主要介绍了cypress初探相关的知识,希望对你有一定的参考价值。
cypress是啥,cypress的初衷是创造一个友好的体验,用于web端的e2e测试 。换一句话说就是,书写测试用例,然后ui自动化测试,详情请查看官网
项目搭建
使用vite来搭建一个vue的项目,在里面使用cypress来进行e2e测试和组件测试
pnpm create vite try-cypress-init --template vue  // 初始化项目
pnpm add cypress -D  // 安装依赖
配置打开cypress的脚本,在package.json中增加指令
"scripts":
    "cy:open": "cypress open"
启动命令后,就能看到下面的结果
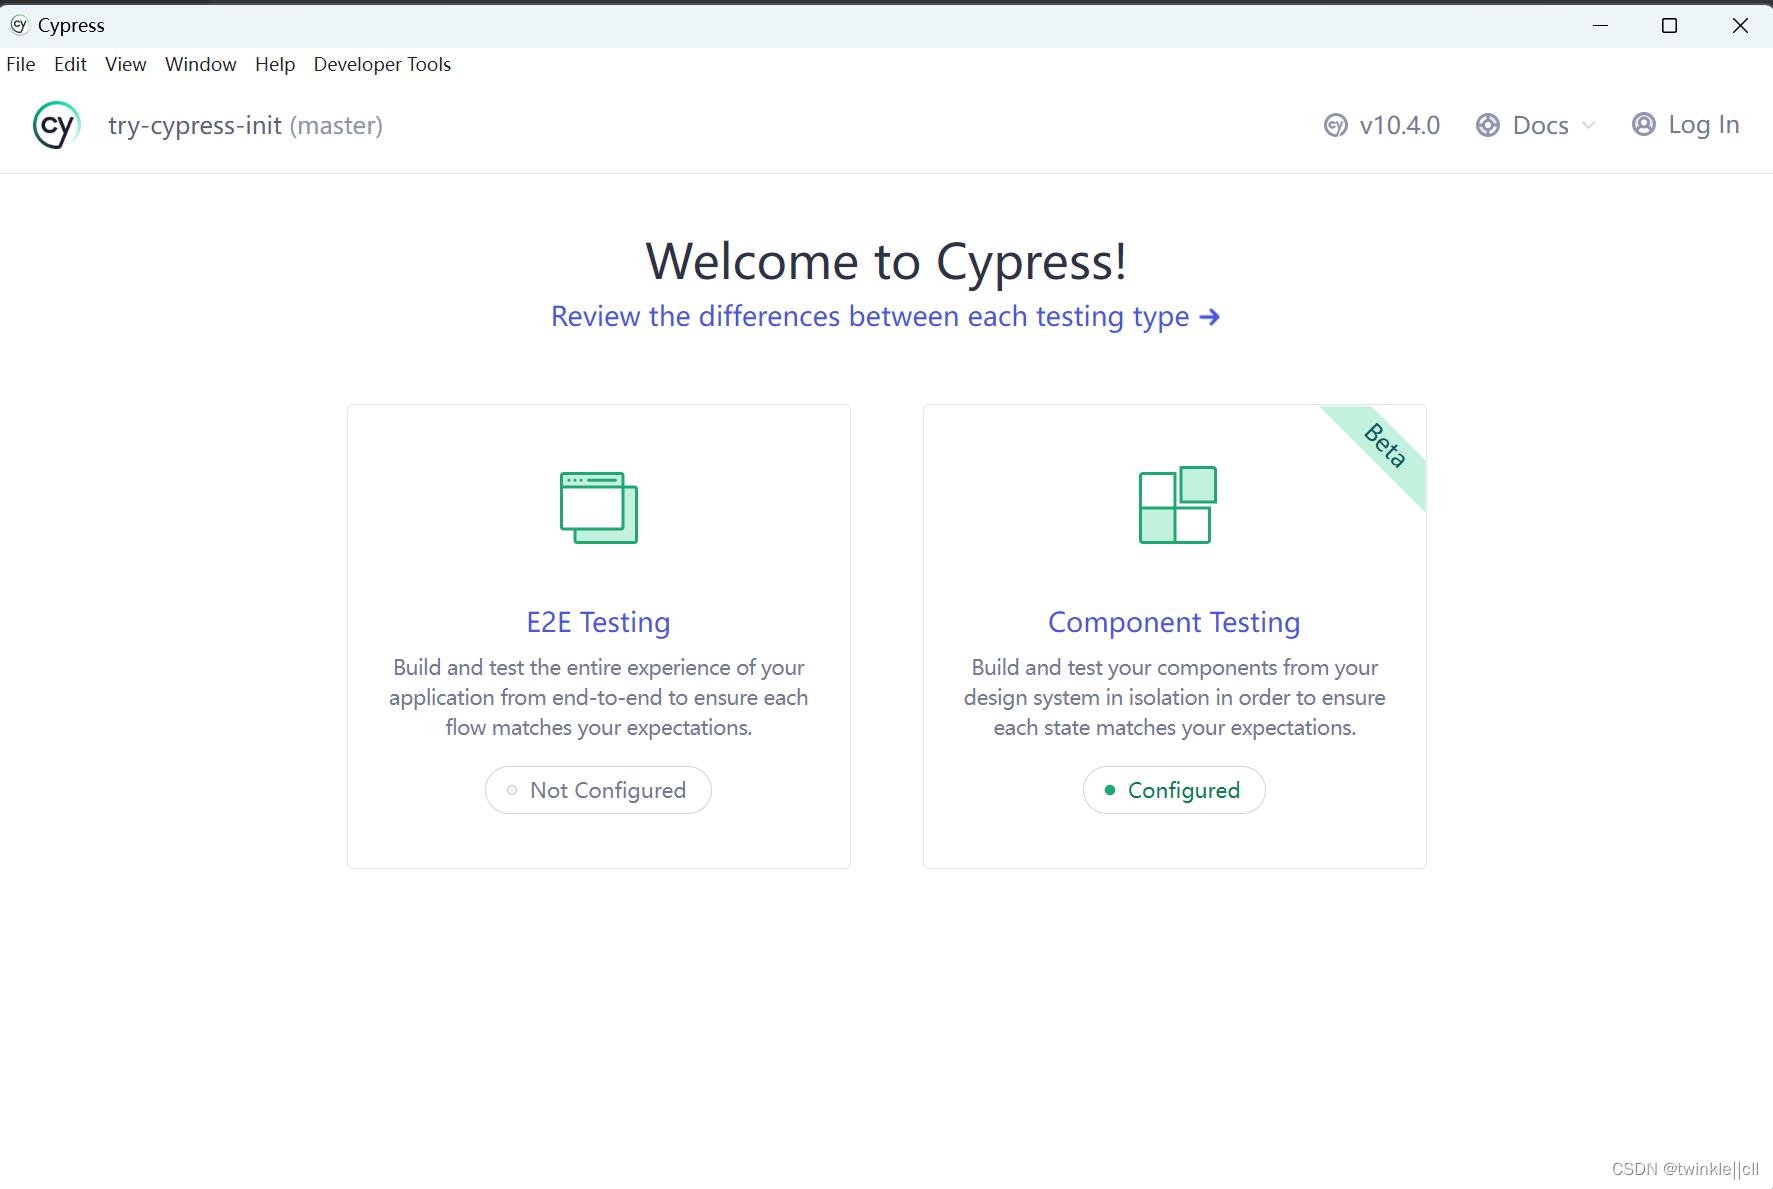
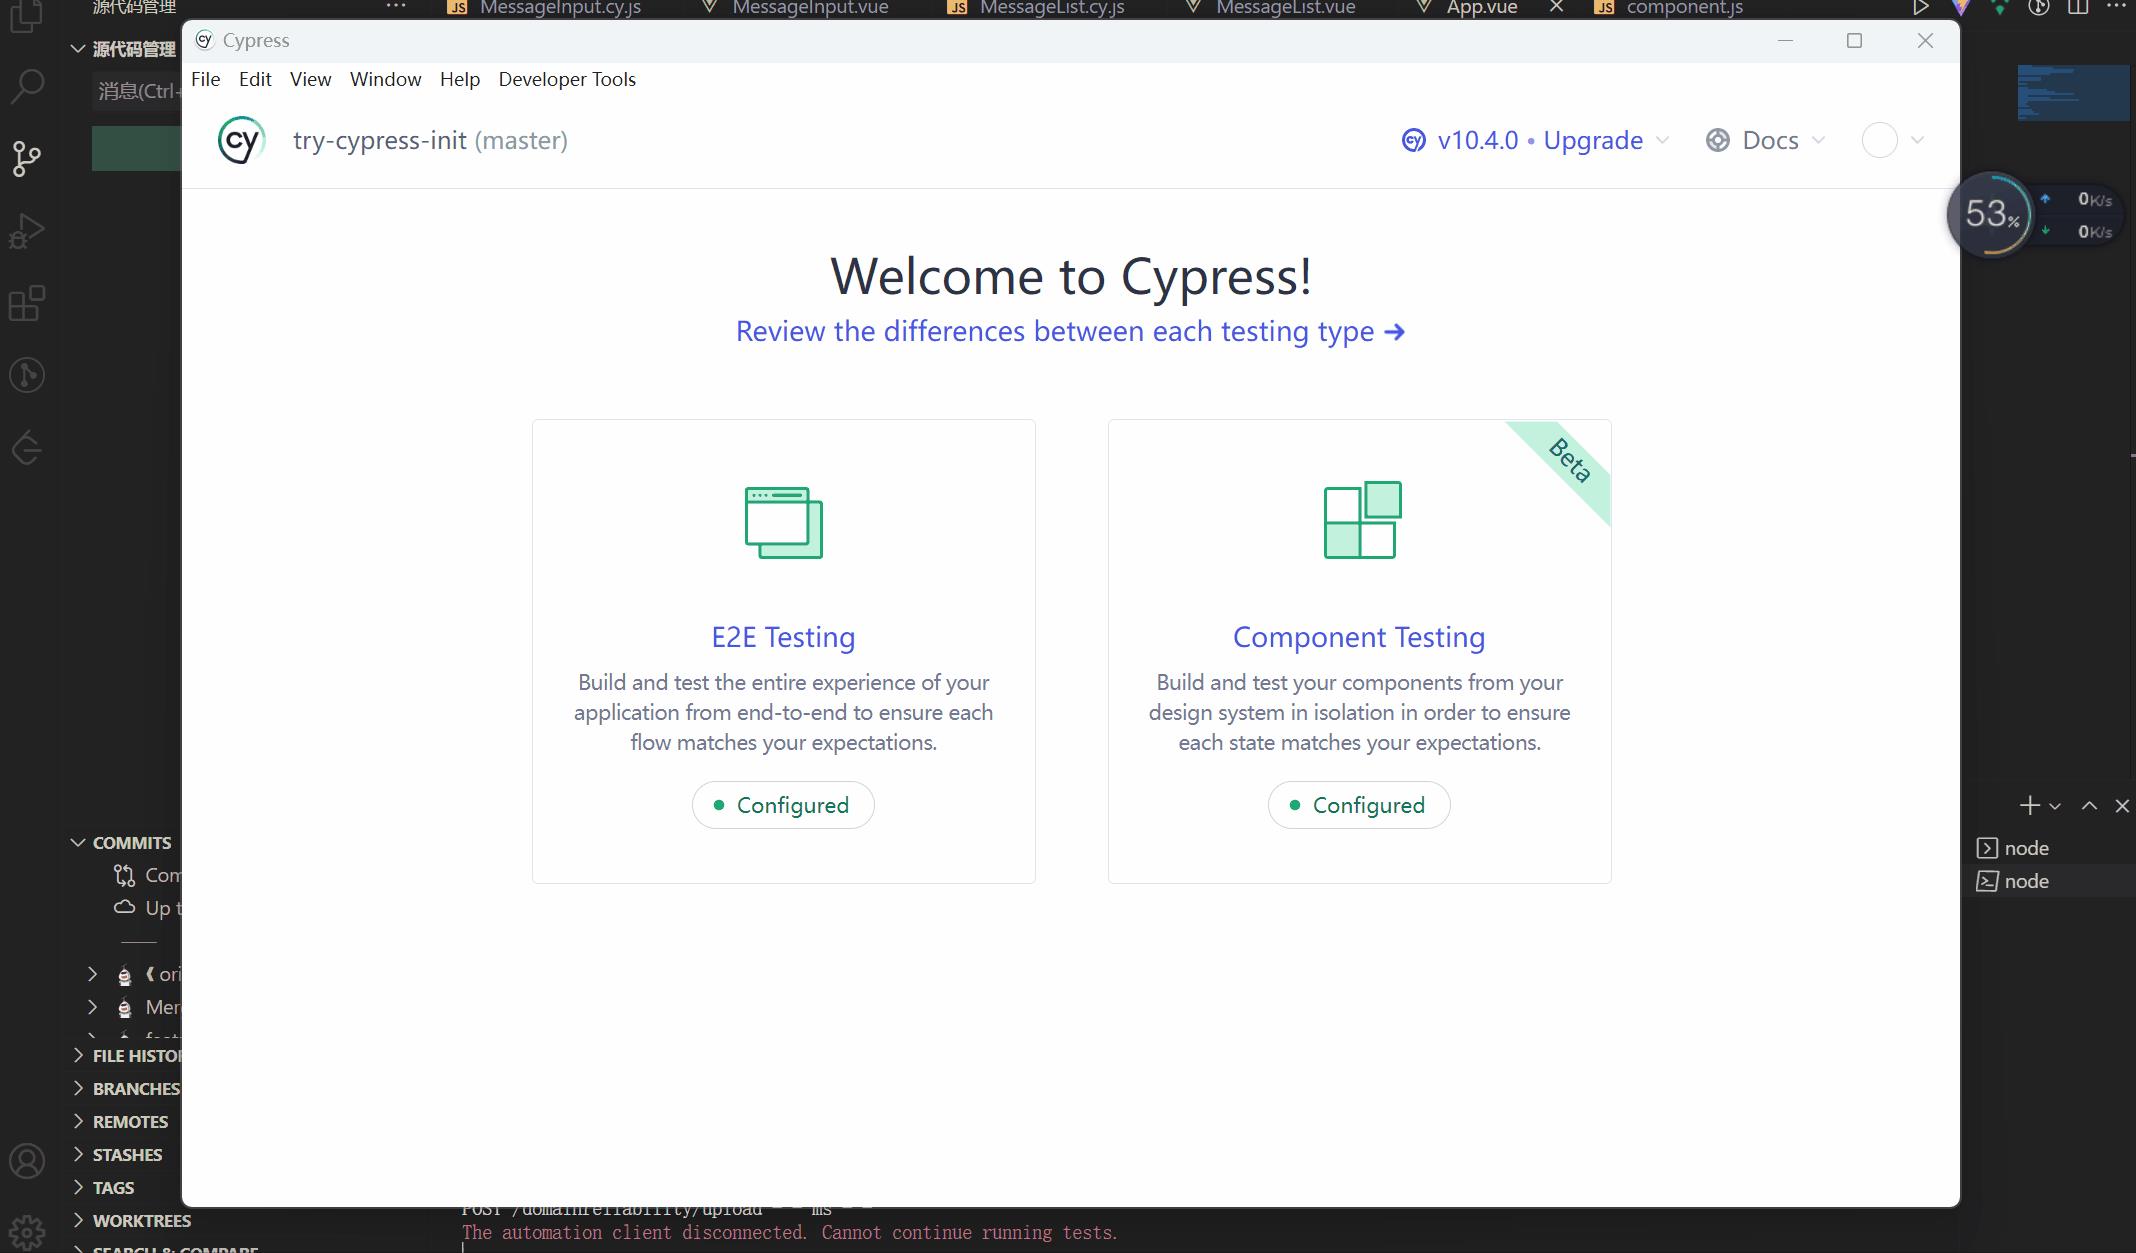
选择需要测试的类型
在这里可以选择E2E(端到端)的测试,然后点击确定,就会在项目里面生成配置文件,如下:
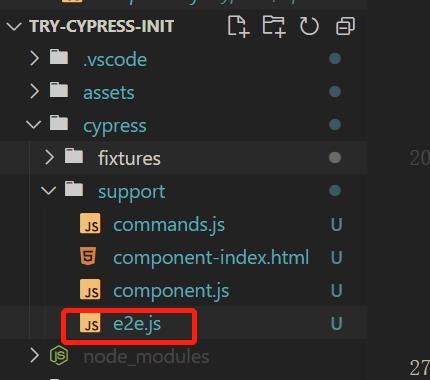
生成完成后,在控制台会出现配置完成,可以进行测试啦!
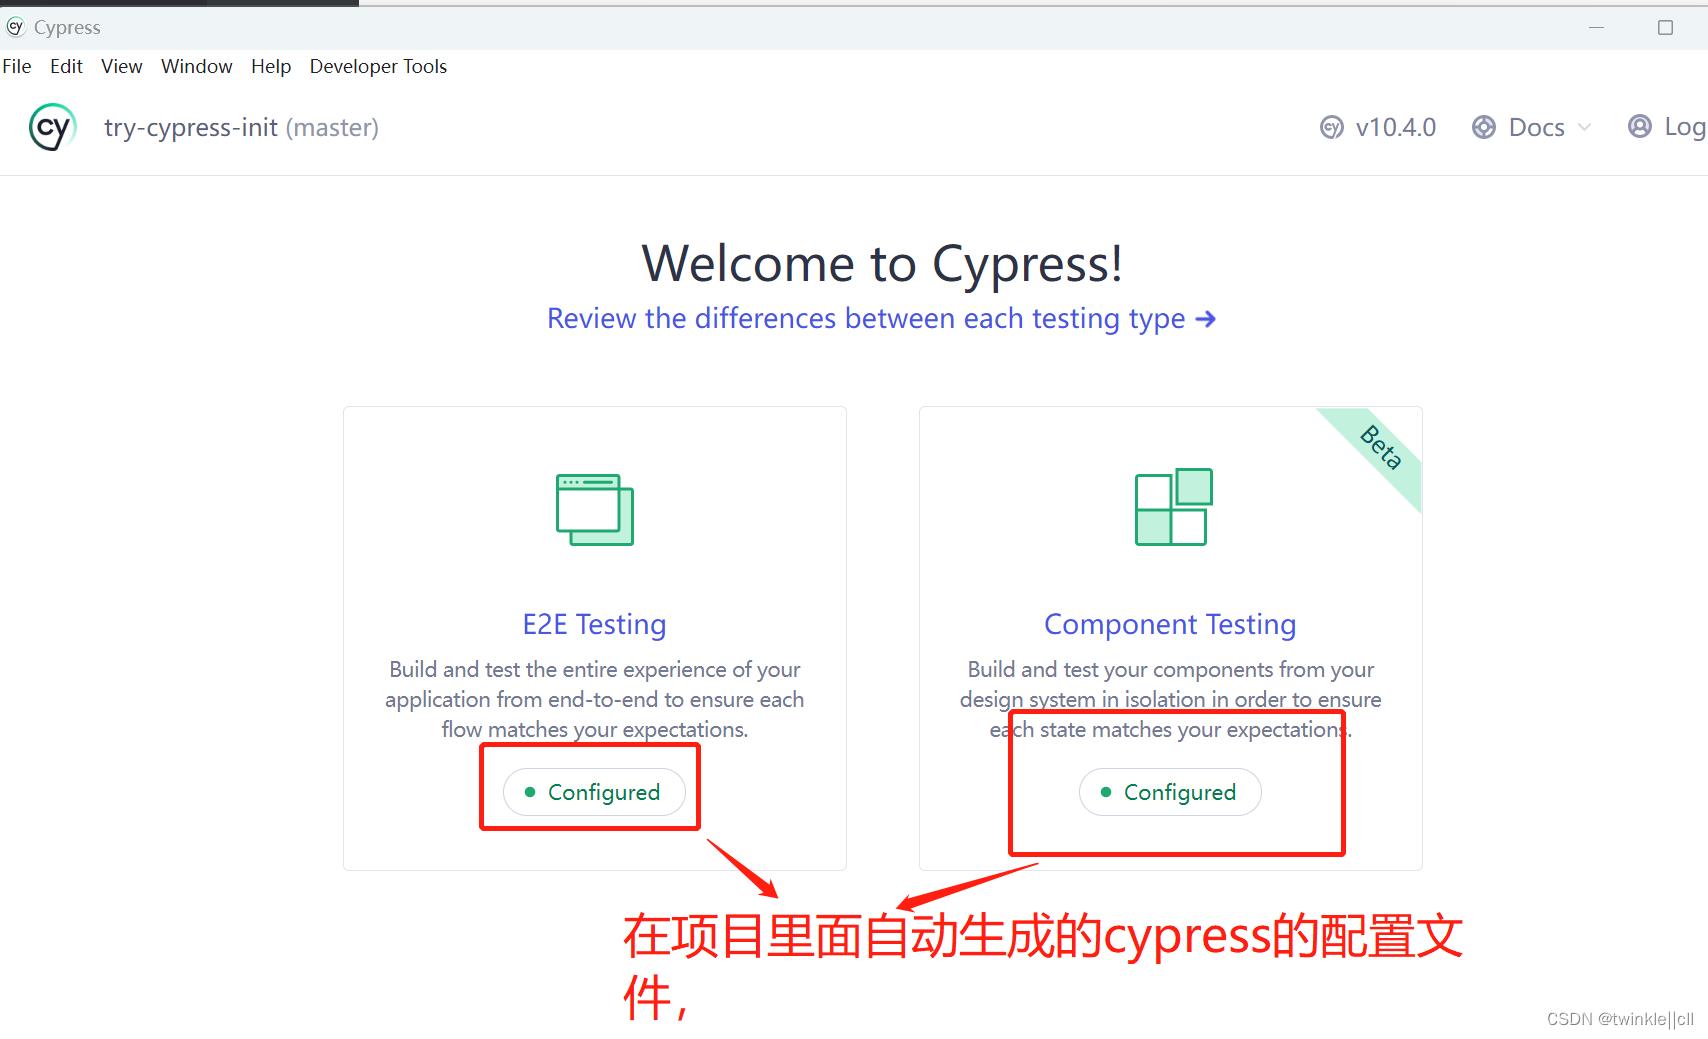
E2E 测试启动
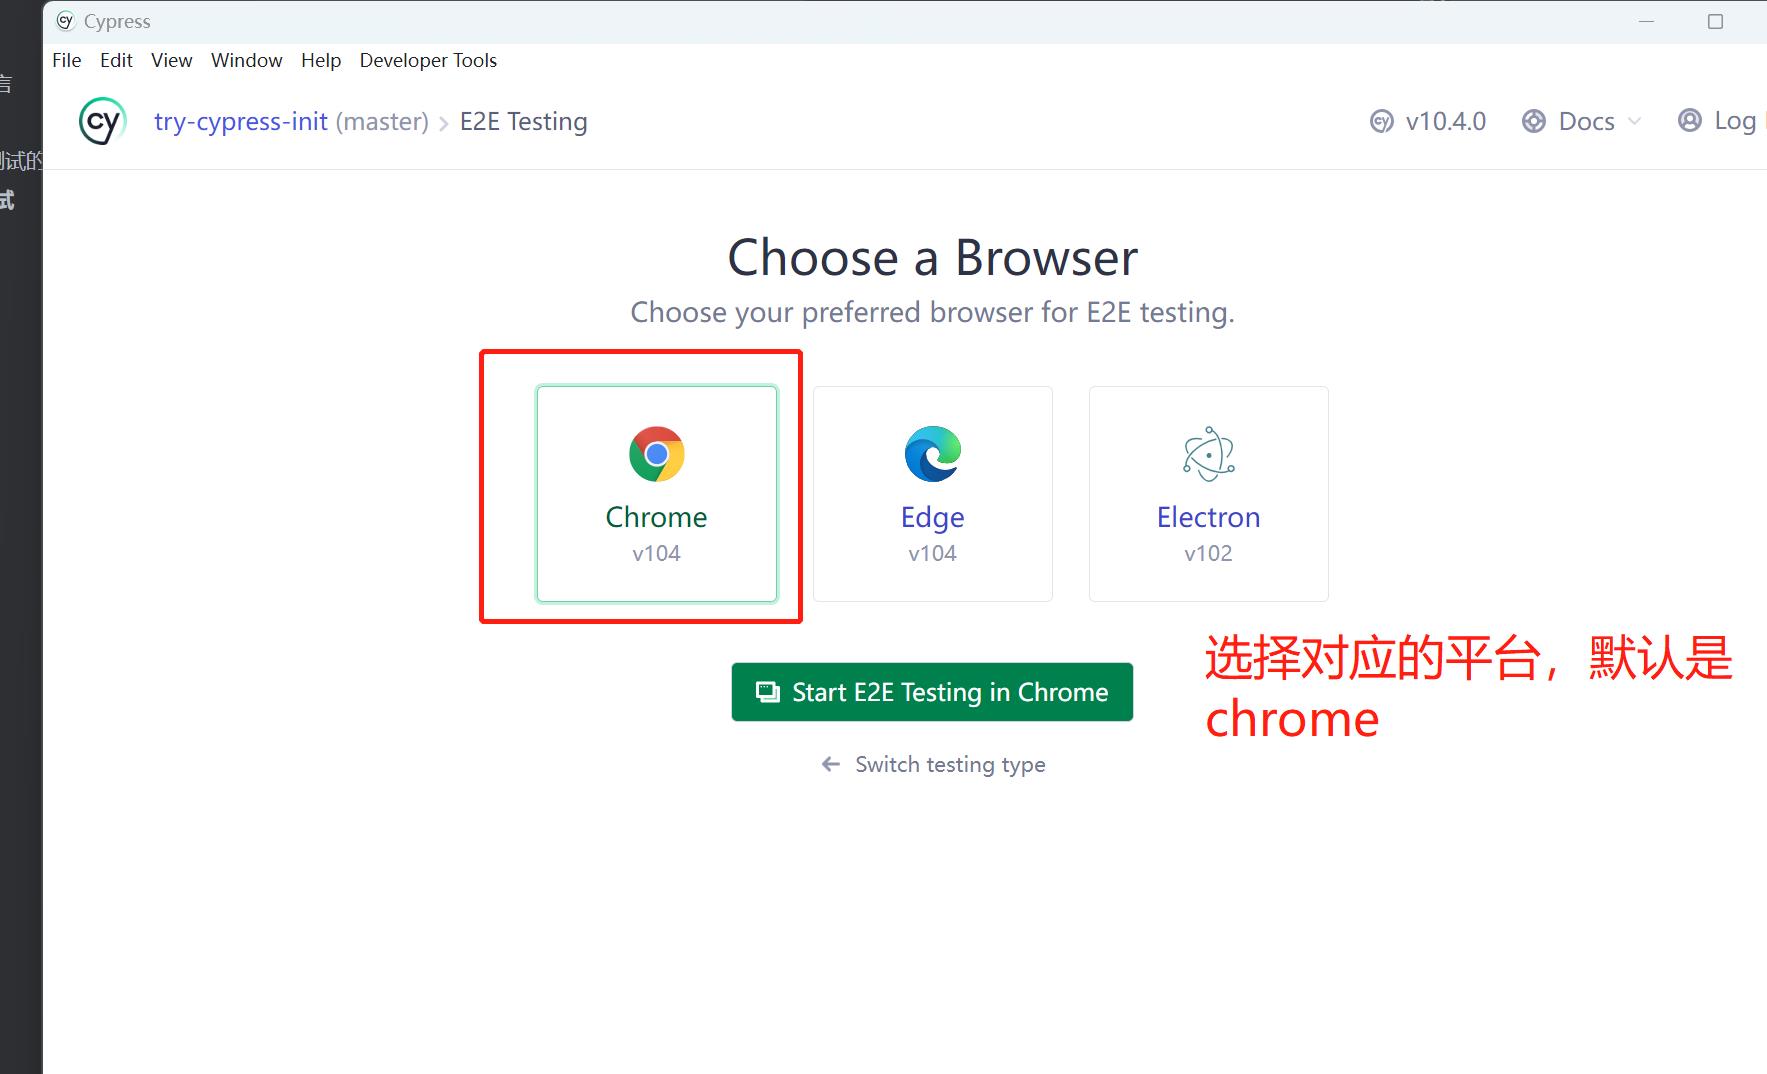
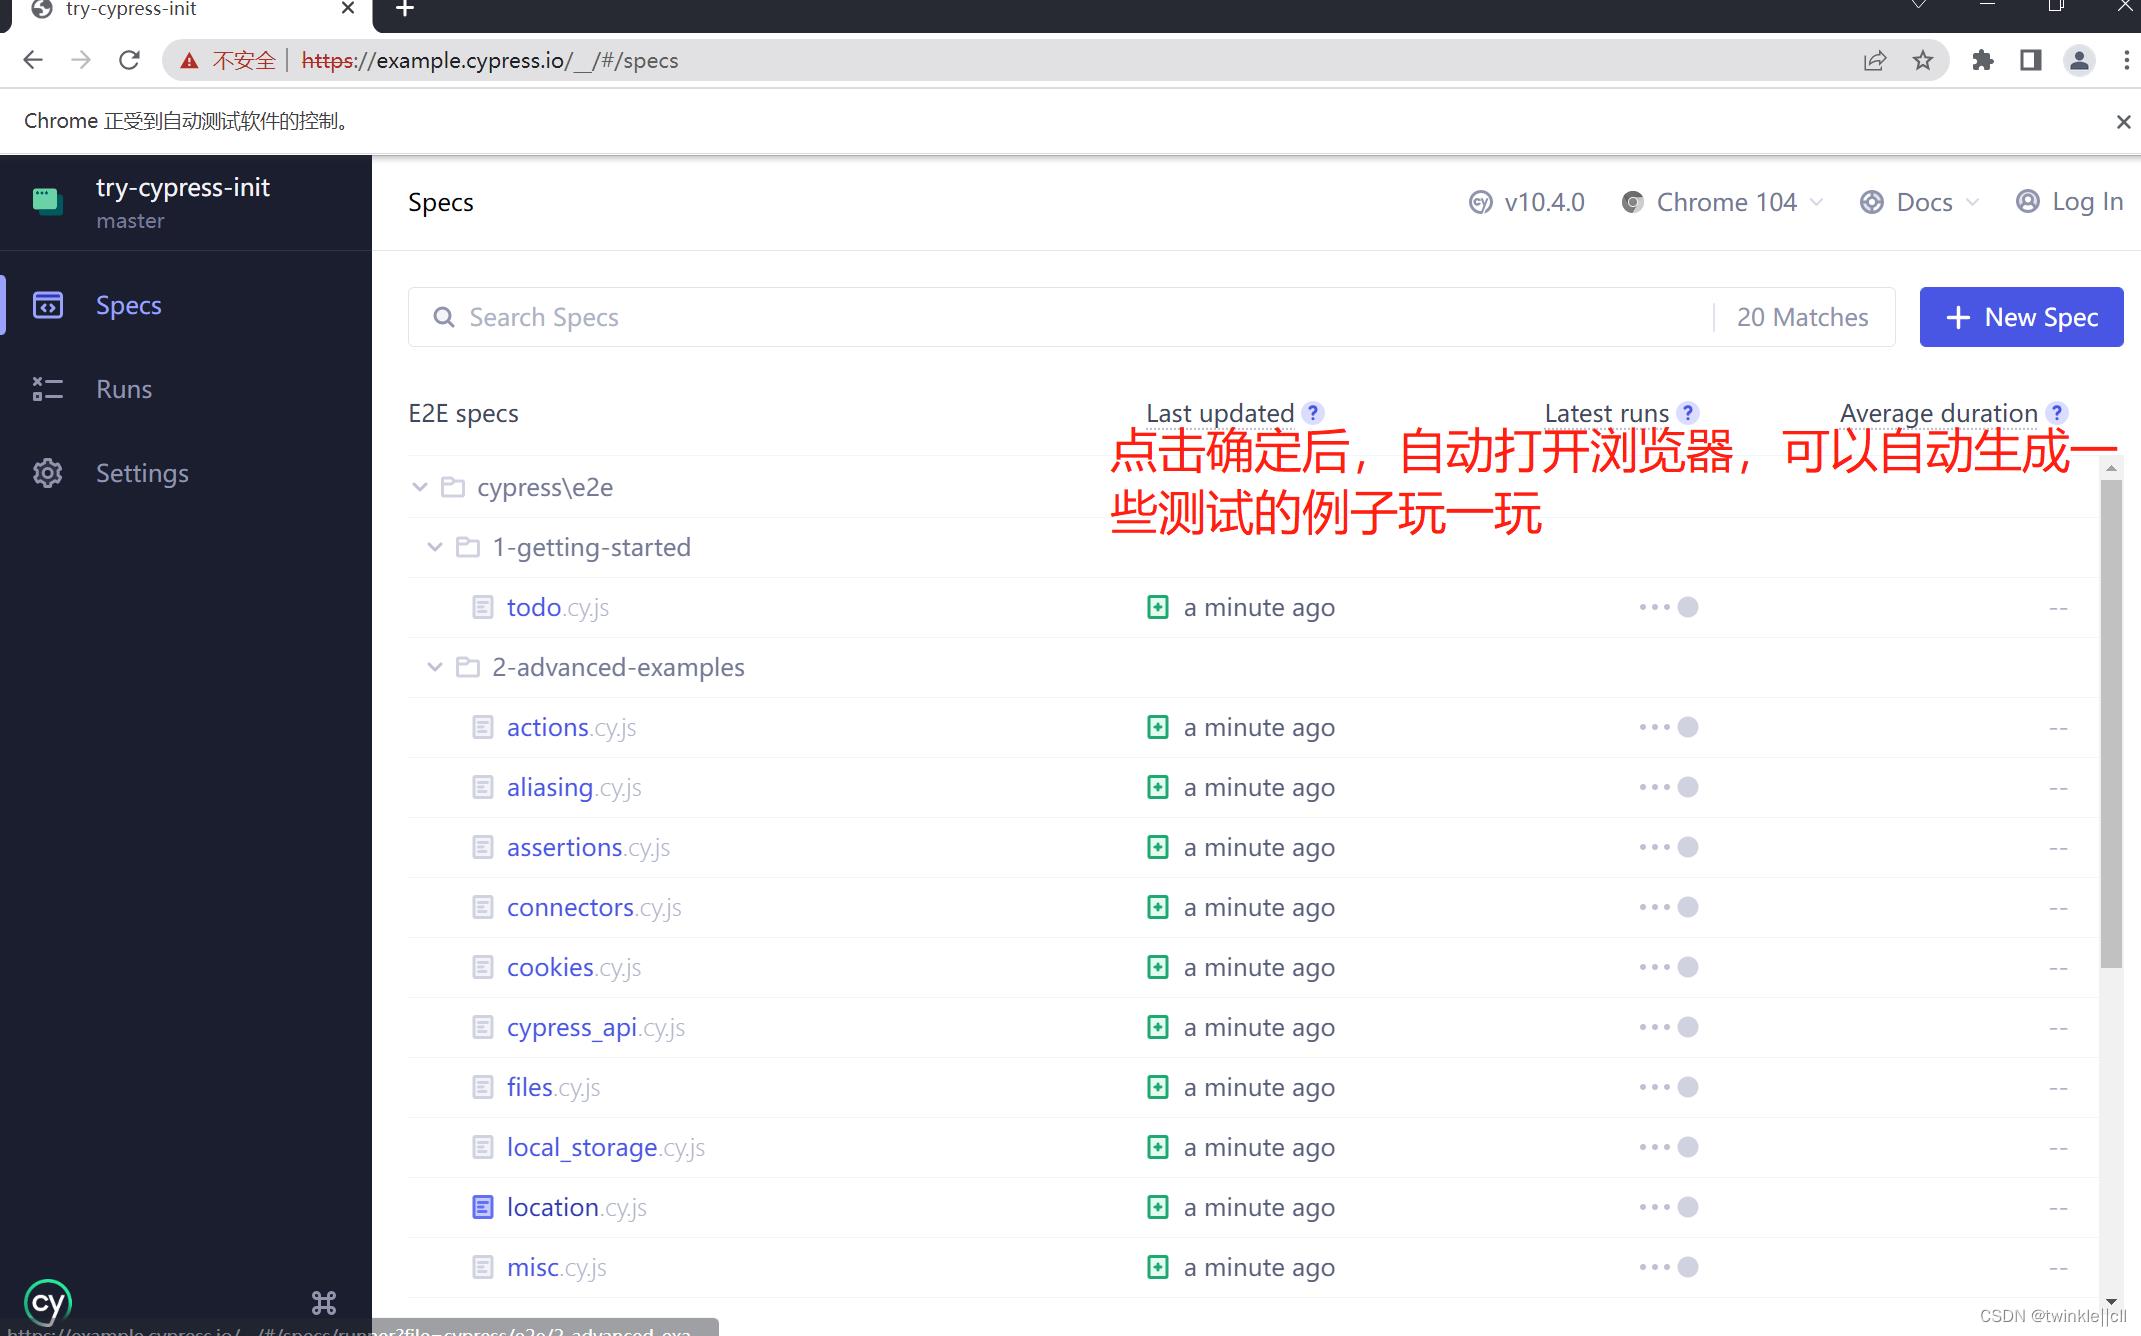
在上面的测试用例中,可以点击对应的测试用例,然后cypress会自动按照脚本的内容来跑起来。
E2E测试会发现启动的方式很简单,那么对应的组件测试,也是一样的简单。这样就不演示了,等一下来编写对应的组件,来看看效果
编写项目测试用例
在开发的过程中,有一种思想叫做TDD(测试驱动开发),接下来就使用改思想来开发一个页面。TDD的开发思想总共分为三个步骤:
- 编写测试用例
- 让测试用例通过
- 重构
编写测试用例
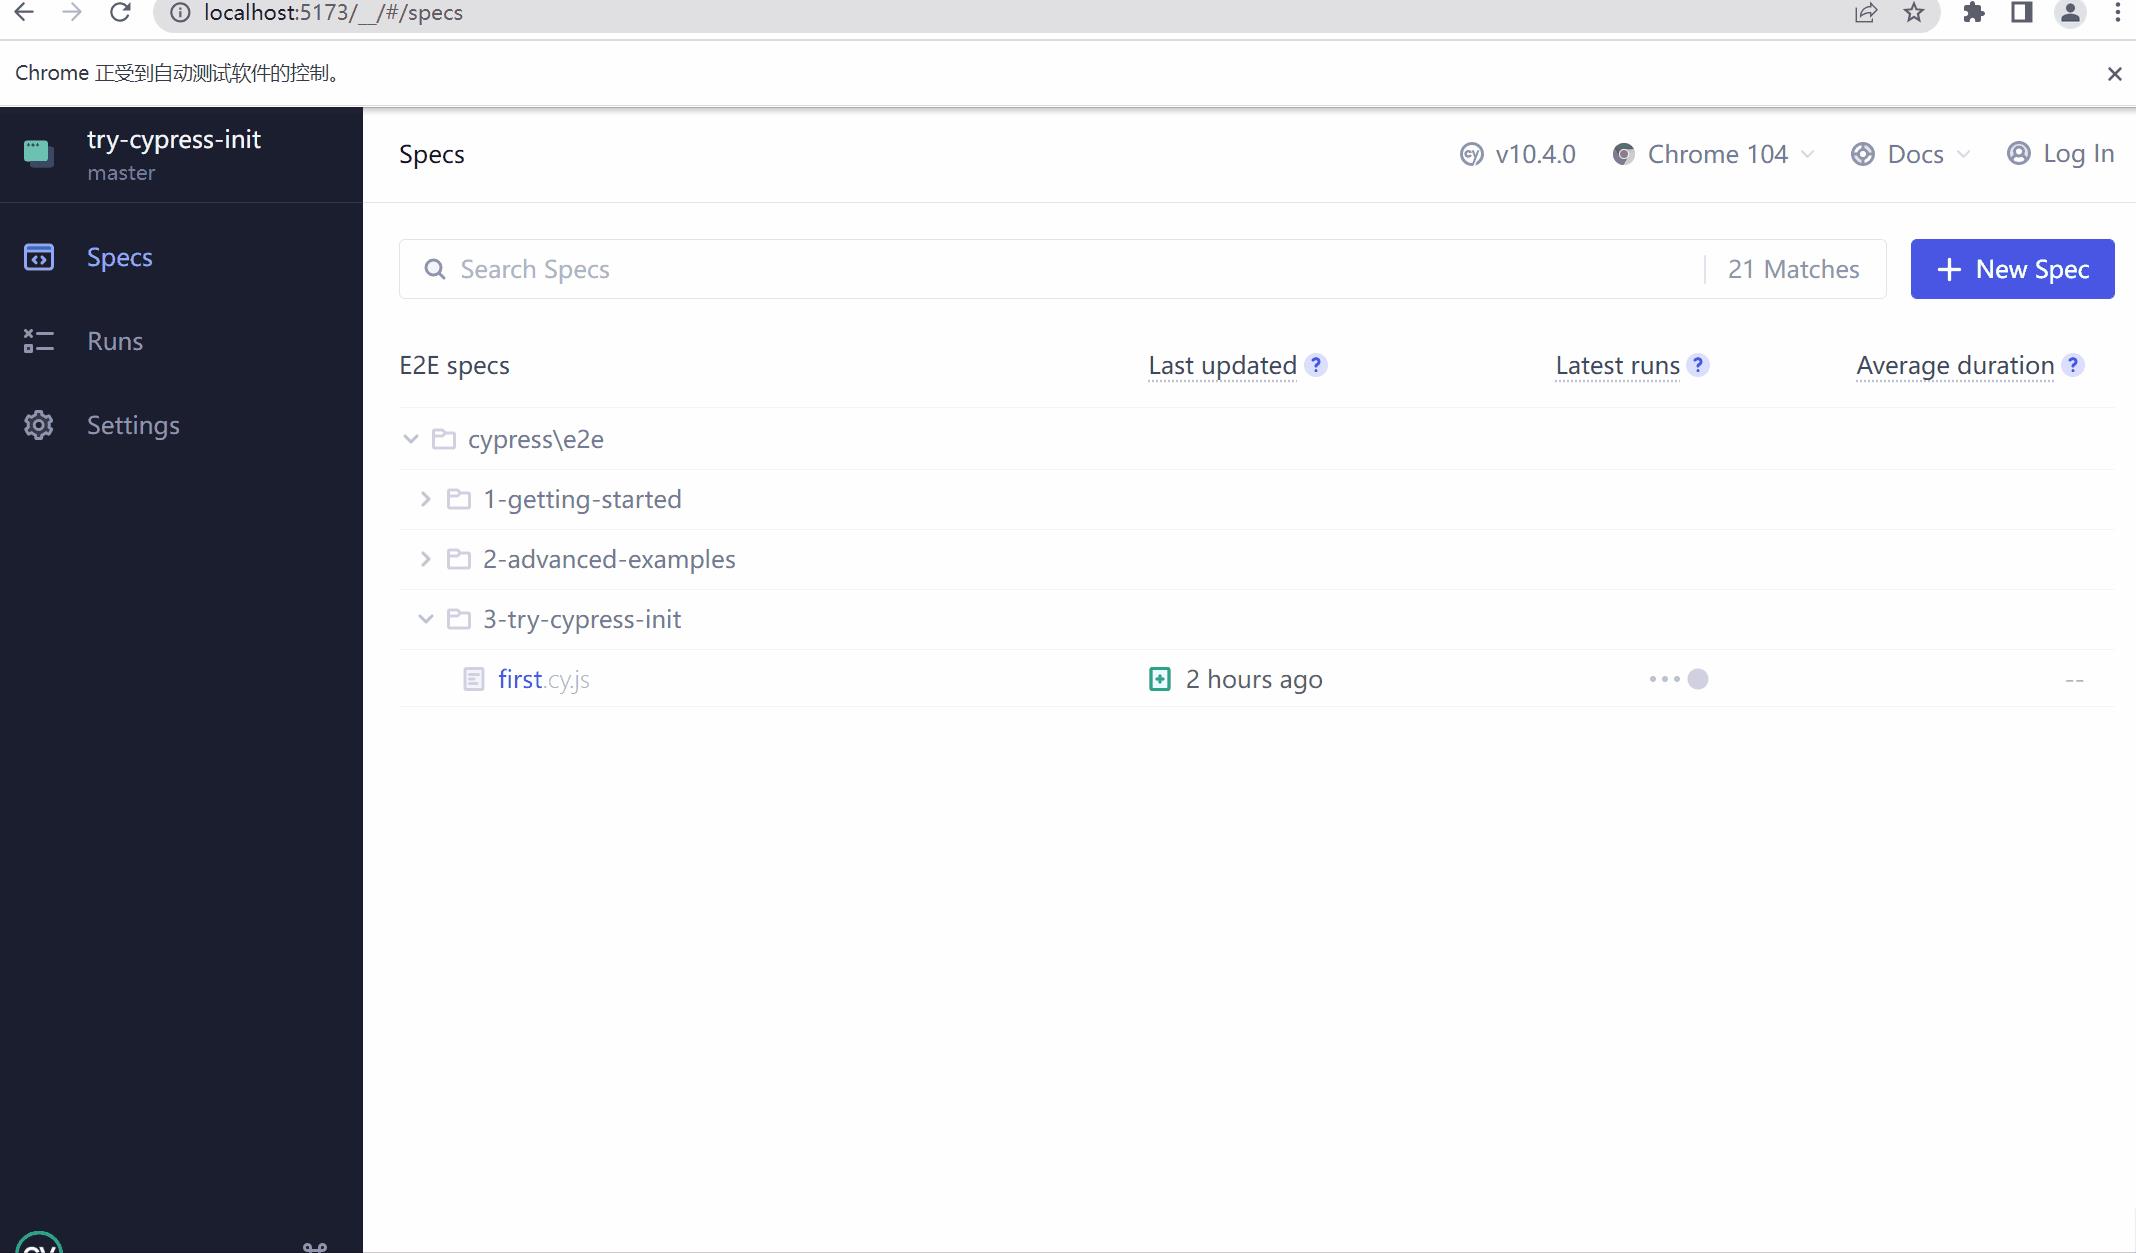
在src/cypress/e2e中添加一个文件夹try-cypress-init中增加咋们的测试用例,内容如下:
describe('尝试使用cypress来测试项目', () =>
  // 在窗口打开本地项目的连接
  beforeEach(() =>
    cy.visit('http://localhost:5173')
  )

  it('测试一个小demo', () =>
    // 做一个这样demo, 一个输入框,一个按钮,输入框输入数据后,点击按钮,输入框的内容消息,下面的数据列表展示对应的数据
    // 拿到输入框,输入对应的数据
    cy.get('[data-test=testMessage]').type('hello cypress');
    // 拿到按钮,并且点击按钮
    cy.get('[data-test=testButton]').click();
    // 输入框的值是空
    cy.get('[data-test=testMessage]').should('have.value', '');
    // 下面的数据列表展示对应的数据
    cy.get('[data-test=testList] li').should('have.length', 1);
    // ul li显示的数据
    cy.get('[data-test=testList] li').first().should('have.text', 'hello cypress');
  )
)
写完测试用例后,接下来写页面。
通过测试用例
为了快速通过代码,咋们就在app.vue中来进行书写对应的代码
<script setup>
import  reactive, ref  from 'vue'
const message = ref('')
const messageList = reactive([])
const send = () =>
  messageList.push(message.value)
  message.value = ''

</script>

<template>
  <div class="app-container">
    <div class="operation-container">
      <input type="text" data-test="testMessage" v-model="message" />
      <button data-test="testButton" @click="send">send</button>
    </div>
    <div class="show-container">
      <ul data-test="testList">
        <li v-for="msg in messageList" :key="msg"> msg </li>
      </ul>
    </div>
  </div>
</template>
<style scoped>
.app-container
  text-align: center;

</style>
接下来就是见证奇迹的时刻了🤔🤔🤔
点击测试用例,然后就自动测试了。是不是感觉很爽哇!
重构
目前是所有的代码都卸载了App.vue中,一般来说,可以把对应的功能封装成对应的组件。
封装对应的组件,然后可以使用cypress来测试组件哦!
在这个功能中,总共可以分为两个组件,一个用于输入的组件MessageInput,另一个用于展示的组件MessageList
编写组件测试
MessageInput
功能的话,很简单。只有输入框输入数据,点击按钮,把当前事件对外抛出,并且清空输入框的内容。
编码
测试用例的内容可以如下:
import MessageInput from './MessageInput.vue'
describe('<MessageInput>', () =>
  // 挂载组件
  it('mount component', () =>
    cy.mount(MessageInput)
  )

  it('MessageInput在数据输入,点击功能测试', () =>
    const onMessageInput = cy.spy().as('onMessageInputSpy')
    cy.mount(MessageInput,  props:  onSendMessage: onMessageInput  )
    // 找到input输入内容
    cy.get('[data-test=testMessage]').type('hello cypress');
    // 找到按钮并且点击
    cy.get('[data-test=testButton]').click();
    // 触发事件onSendMessage,并且值是hello cypress
    cy.get('@onMessageInputSpy').should('be.calledWith', 'hello cypress')
    // 验证输入框是否为空
    cy.get('[data-test=testMessage]').should('have.value', '')
  )
)
有了对应的测试用例,那来实现下组件的功能。
<script setup>
import  ref  from "vue"
const message = ref('')
const emits = defineEmits(['sendMessage'])
const send = () =>
  emits('sendMessage', message.value)
  message.value = ''

</script>
<template>
  <div class="operation-container">
    <input type="text" data-test="testMessage" v-model="message" />
    <button data-test="testButton" @click="send">send</button>
  </div>
</template>

<style scoped>
</style>
测试结果

attention!!!
在进行组件测试的时候,不能使用
node17版本,如果是17版本的请减低到16版本。17版本会导致组件测试一直处于loading状态,无法测试组件
有了第一个功能组件,接下来做一个展示的组件。
展示组件
展示组件需要做到的,传入一个list列表,我负责展示即可
编码
在测试用例中,只需要在挂载组件的时候传入数据,然后进行页面展示赋值即可
import MessageList from './MessageList.vue';
describe('<MessageList>', () =>
  it('mount component', () =>
    cy.mount(MessageList)
  )

  it('test show dataList', () =>
    // 传入数据
    cy.mount(MessageList,  props:  messageList: ['hello cypress']  )
    // ul元素下的li元素个数为1
    cy.get('[data-test=testList] li').should('have.length', 1);
    // ul li显示的数据
    cy.get('[data-test=testList] li').first().should('have.text', 'hello cypress');
  )
)
有了测试用例,那么来实现一下业务代码吧😉😉😉
<script setup>
import  ref  from "vue"
defineProps(
  messageList:
    type: Array,
    default: () => []

)
</script>
<template>
  <div>
    <ul data-test="testList">
      <li v-for="msg in messageList" :key="msg"> msg </li>
    </ul>
  </div>
</template>

<style lang="scss" scoped>
</style>
测试结果

整合归一
重构App.vue的代码
<script setup>
import  reactive, ref  from 'vue'
import MessageInput from './components/MessageInput.vue'
import MessageList from './components/MessageList.vue';
const messageList = reactive([])

const send = (val) =>
  messageList.push(val)

</script>

<template>
  <div class="app-container">
    <div class="operation-container">
      <MessageInput @send-message="send"></MessageInput>
    </div>
    <div class="show-container">
      <MessageList :message-list="messageList"></MessageList>
    </div>
  </div>
</template>

<style scoped>
.app-container
  text-align: center;

</style>
既然咋们有了测试用例,拿咋就都跑一下吧!来检测一下效果😀😀😀
总结
本期主要使用cypress 来测试ui界面
- 使用
cypress来编写e2e测试 - 使用
cypress来编写组件测试,但是在使用组件的时候,可千万要看自己的node环境的版本哦,不然测试组件一直处于loading
只写文章不放源码有点谈恋爱不结婚耍流氓的感觉😶🌫️😶🌫️😶🌫️
以上是关于cypress初探的主要内容,如果未能解决你的问题,请参考以下文章