MacOS:iTerm2+oh-my-zsh安装
Posted 陌生谁家年少
tags:
篇首语:本文由小常识网(cha138.com)小编为大家整理,主要介绍了MacOS:iTerm2+oh-my-zsh安装相关的知识,希望对你有一定的参考价值。
iTerm2+ohmyzsh安装
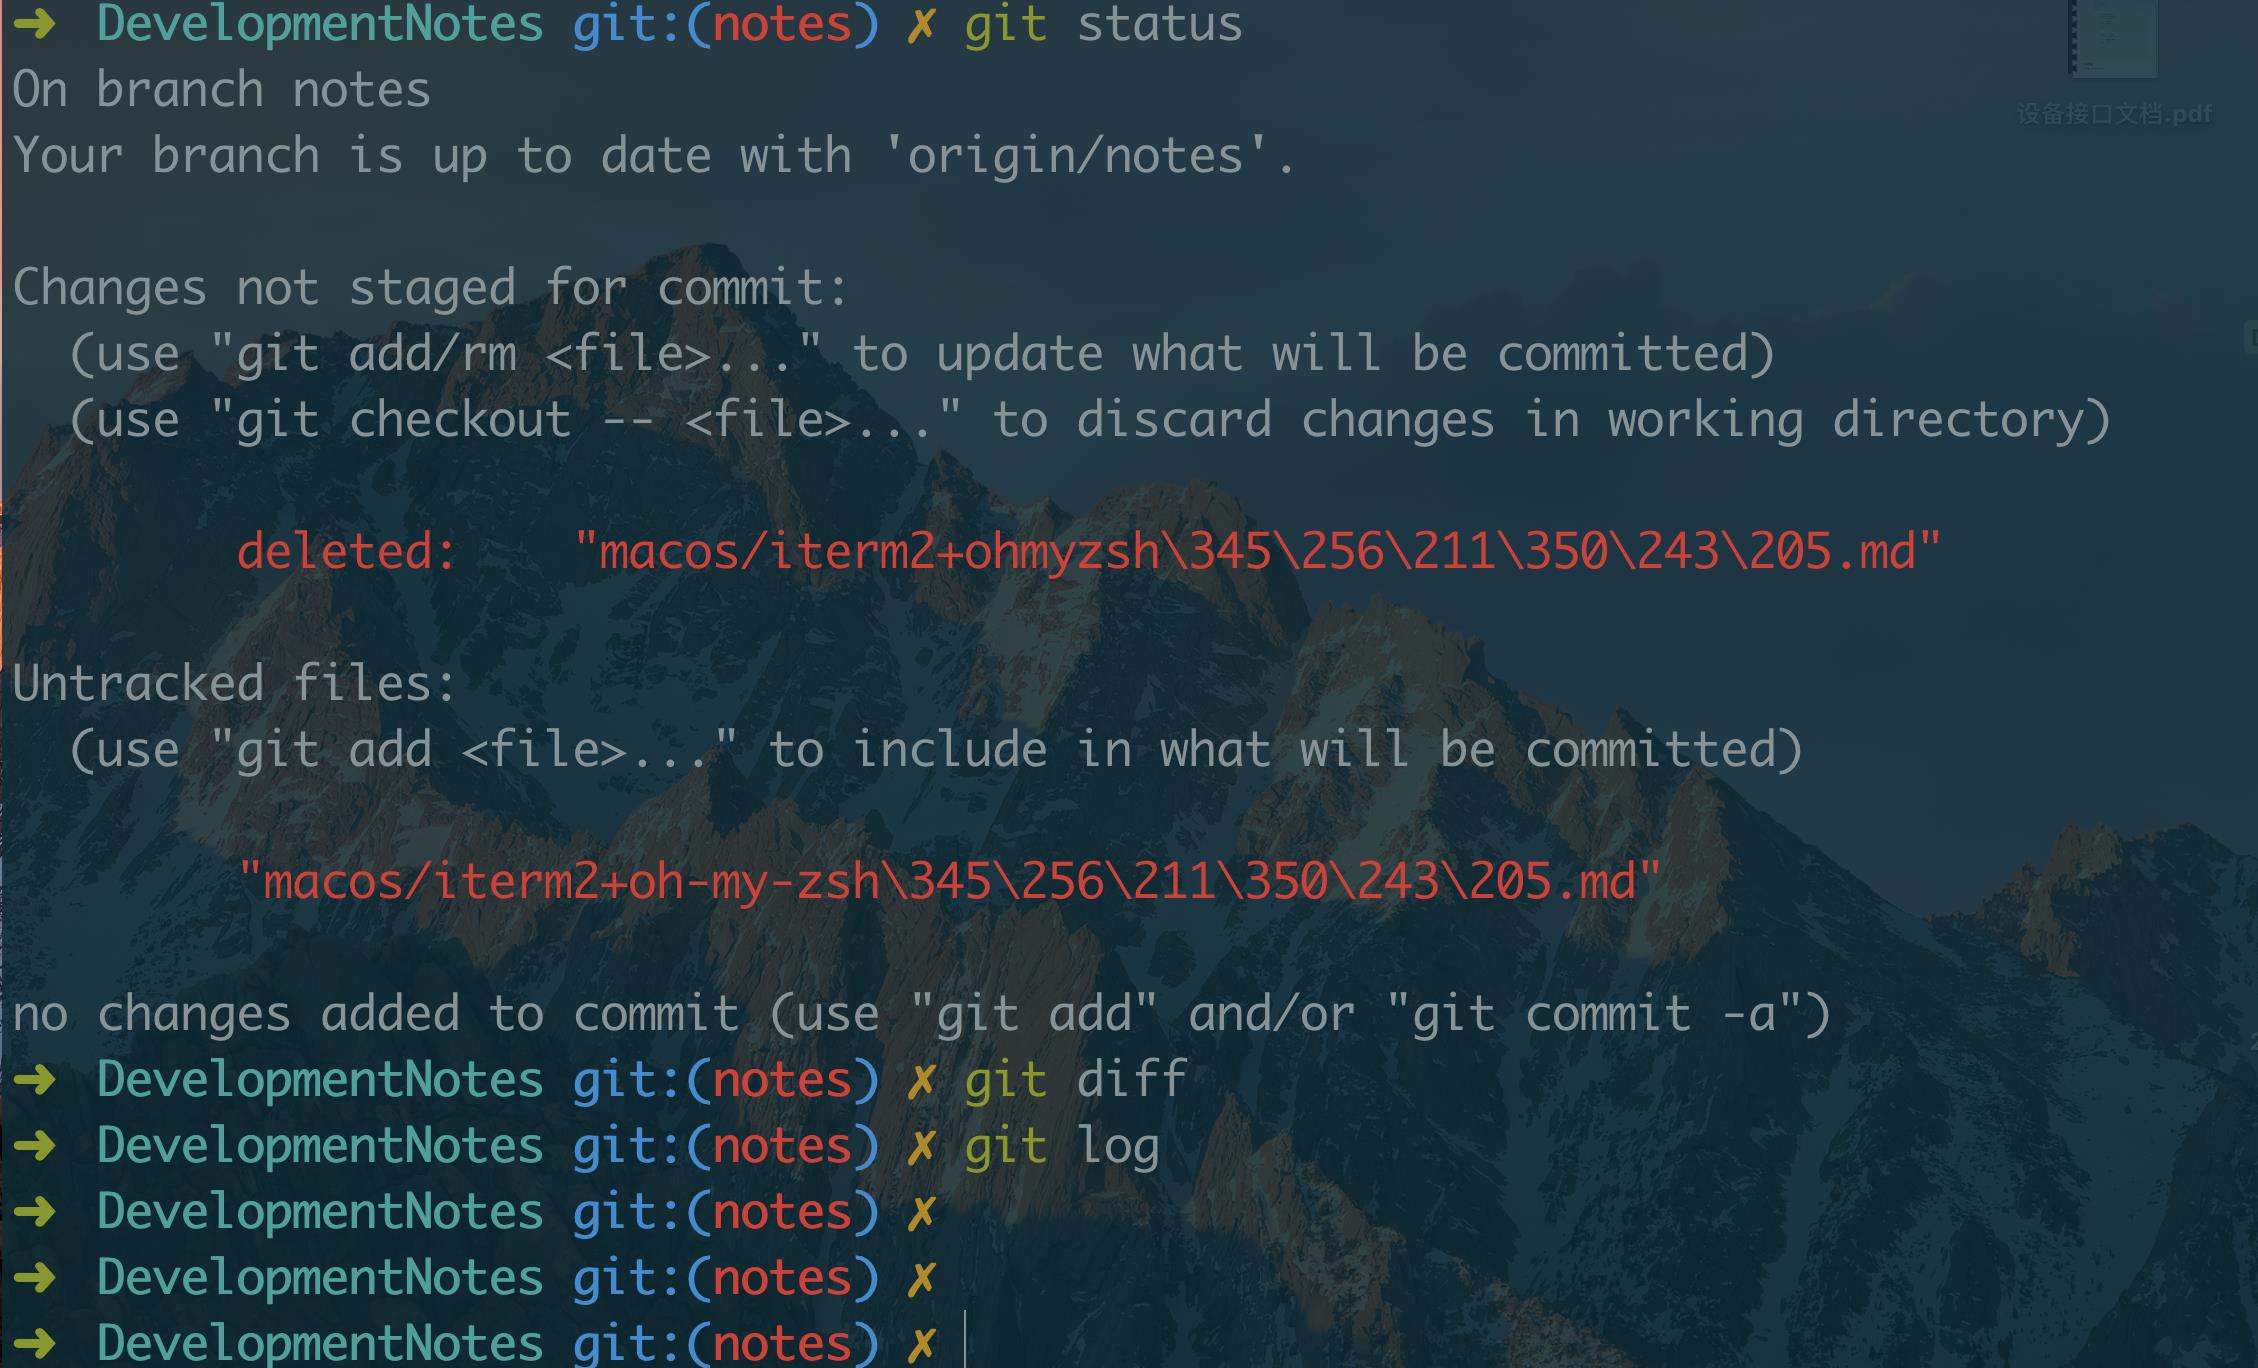
先看效果图:
用的主题
- 1.iterm2>Preferences>Profiles>Colors>Color Presets>Solarized Dark
- 2.oh-my-zsh默认 主题: ZSH_THEME=“robbyrussell”

一、安装iterm2
直接网上下载双击安装即可
二、安装oh my zsh
1.curl安装
sh -c "$(curl -fsSL https://raw.github.com/robbyrussell/oh-my-zsh/master/tools/install.sh)"
2.wget安装
sh -c "$(wget https://raw.githubusercontent.com/robbyrussell/oh-my-zsh/master/tools/install.sh -O -)"
3.配置文件
配置文件位置:~/.zshrc,可根据自己的需求自定义配置, 如主题(ZSH_THEME)、插件(plugins)等
三、oh-my-zsh插件安装
1.语法高亮插件:zsh-syntax-highlighting
- 进入插件目录、下载
cd ~/.oh-my-zsh/custom/plugins/
git clone https://github.com/zsh-users/zsh-syntax-highlighting.git
- 修改.zshrc配置文件
vim ~/.zshrc

# plugins中添加高亮插件
plugins=(
    git
    zsh-syntax-highlighting
)

# 在文件最后一行再加上

source ~/.oh-my-zsh/custom/plugins/zsh-syntax-highlighting/zsh-syntax-highlighting.zsh
- 配置生效
source ~/.zshrc
以上是关于MacOS:iTerm2+oh-my-zsh安装的主要内容,如果未能解决你的问题,请参考以下文章