3.LNPP源码搭建Zabbix5.0.3之CentOS7.6下源码安装nginx1.18
Posted 久违的太阳
tags:
篇首语:本文由小常识网(cha138.com)小编为大家整理,主要介绍了3.LNPP源码搭建Zabbix5.0.3之CentOS7.6下源码安装nginx1.18相关的知识,希望对你有一定的参考价值。
1.下载
下载地址为:
http://nginx.org/en/download.html
这里我们选择stable版本1.18
http://nginx.org/download/nginx-1.18.0.tar.gz
2.安装依赖包
yum install -y gcc gcc-c++ make pcre pcre-devel zlib zlib-devel openssl openssl-devel
3.编译安装
解压缩安装文件
1.编译
./configure --prefix=/usr/local/nginx --with-http_ssl_module --with-stream --with-stream_ssl_module
2.make
3.make install
4.安装测试
查看nginx版本
[root@zabbix-server nginx-1.18.0]# /usr/local/nginx/sbin/nginx -V
nginx version: nginx/1.18.0
built by gcc 4.8.5 20150623 (Red Hat 4.8.5-36) (GCC)
built with OpenSSL 1.0.2k-fips  26 Jan 2017
TLS SNI support enabled
configure arguments: --prefix=/usr/local/nginx --with-http_ssl_module --with-stream --with-stream_ssl_module
将nginx添加到只可执行文件:
ln -s /usr/local/nginx/sbin/nginx /usr/local/bin/
nginx常用管理命令
nginx -t    #检查配置

nginx    #启动nginx

nginx -s stop   #关闭nginx

nginx -s reload  #重载nginx配置
5.配置nginx
vi /usr/local/nginx/conf/nginx.conf
location /
root html;
index index.html index.htm index.php;
取消下面的注释,并修改:
location ~ \\.php$
root html;
fastcgi_pass 127.0.0.1:9000;
fastcgi_index index.php;
fastcgi_param SCRIPT_FILENAME $document_root$astcgi_script_name;
include fastcgi_params;
6.测试连接nginx
使用curl测试:
[root@zabbix-server nginx-1.18.0]# curl 127.0.0.1
<!DOCTYPE html>
<html>
<head>
<title>Welcome to nginx!</title>
<style>
    body
        width: 35em;
        margin: 0 auto;
        font-family: Tahoma, Verdana, Arial, sans-serif;

</style>
</head>
<body>
<h1>Welcome to nginx!</h1>
<p>If you see this page, the nginx web server is successfully installed and
working. Further configuration is required.</p>

<p>For online documentation and support please refer to
<a href="http://nginx.org/">nginx.org</a>.<br/>
Commercial support is available at
<a href="http://nginx.com/">nginx.com</a>.</p>

<p><em>Thank you for using nginx.</em></p>
</body>
</html>
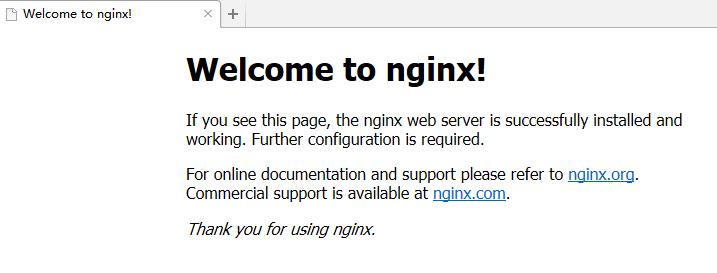
使用浏览器测试:
输入ip地址和端口号80:
7.测试LNNP连接
1.创建php测试文件
vi /usr/local/nginx/html/test_pg.php

<?php
$conn_string  =  "host=192.168.56.51 port=5432 dbname=postgres user=postgres password=postgres" ;
$dbconn = pg_connect($conn_string);
if (!$dbconn)
    echo "连接失败!!!!!/r/n";
else
    echo "连接成功!!!!!/r/n";
    pg_close($dbconn);
?>
使用web浏览器,进行查询:

显示连接成功说明整个lnnp搭建成功
8.nginx安全加固(可选)
1.限制ip访问
location /
deny 192.168.1.1; #拒绝IP
allow 192.168.1.0/24; #允许IP
allow 10.1.1.0/16; #允许IP
deny all; #拒绝其他所有IP
2.修改默认端口号,修改为18080
    server
        listen       18080;
        server_name  localhost;

        #charset koi8-r;

        #access_log  logs/host.access.log  main;

        location /
            root   html;
            index  index.html index.htm index.php;
以上是关于3.LNPP源码搭建Zabbix5.0.3之CentOS7.6下源码安装nginx1.18的主要内容,如果未能解决你的问题,请参考以下文章