SpringBoot 核心源码解读
Posted 踩踩踩从踩
tags:
篇首语:本文由小常识网(cha138.com)小编为大家整理,主要介绍了SpringBoot 核心源码解读相关的知识,希望对你有一定的参考价值。
Spring boot基本使用及 stater机制原理_踩踩踩从踩的博客-CSDN博客
前言
前面文章对于springboot得基本使用以及stater机制 以及autoconfig 做了一个解读,如何手写一个starter的包,对于 自动装配 解读,有了个大概的思维;这篇文章继续讲解SpringBoot的核心源码 ,然后深入的解析整个Springboot怎么快速的构建项目 并管理我们的依赖jar包等等。
源码解读
Application启动类
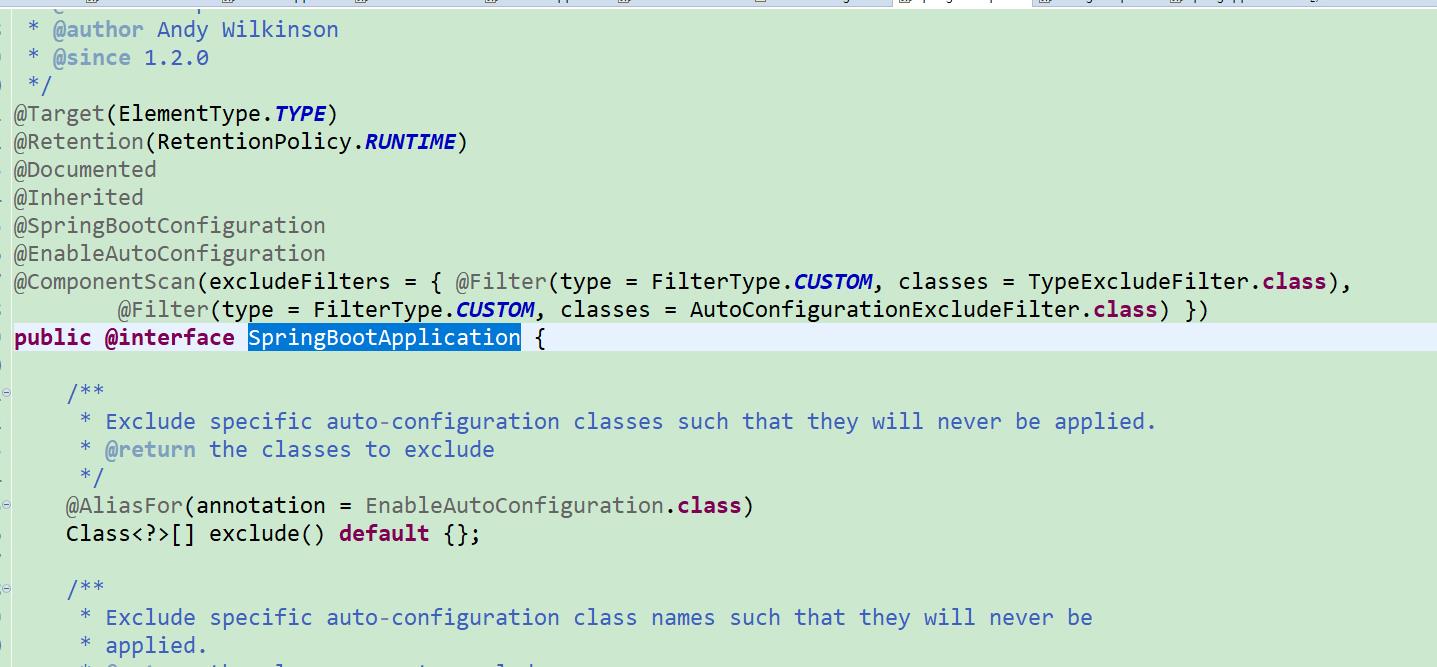
@SpringBootApplication
public class DeviceManagerApplication extends SpringBootServletInitializer

	public static void main(String[] args)
		SpringApplication.run(DeviceManagerApplication.class, args);


	@Override
	protected SpringApplicationBuilder configure(SpringApplicationBuilder builder)
		return builder.sources(DeviceManagerApplication.class);

入口方法SpringApplication.run
对于springboot 只需要运行run方法就可以将我们的程序给运行起来。
/**
	 * Static helper that can be used to run a @link SpringApplication from the
	 * specified source using default settings.
	 * @param primarySource the primary source to load
	 * @param args the application arguments (usually passed from a Java main method)
	 * @return the running @link ApplicationContext
	 */
	public static ConfigurableApplicationContext run(Class<?> primarySource, String... args)
		return run(new Class<?>[]  primarySource , args);
 对于
SpringApplication 方法上的注释
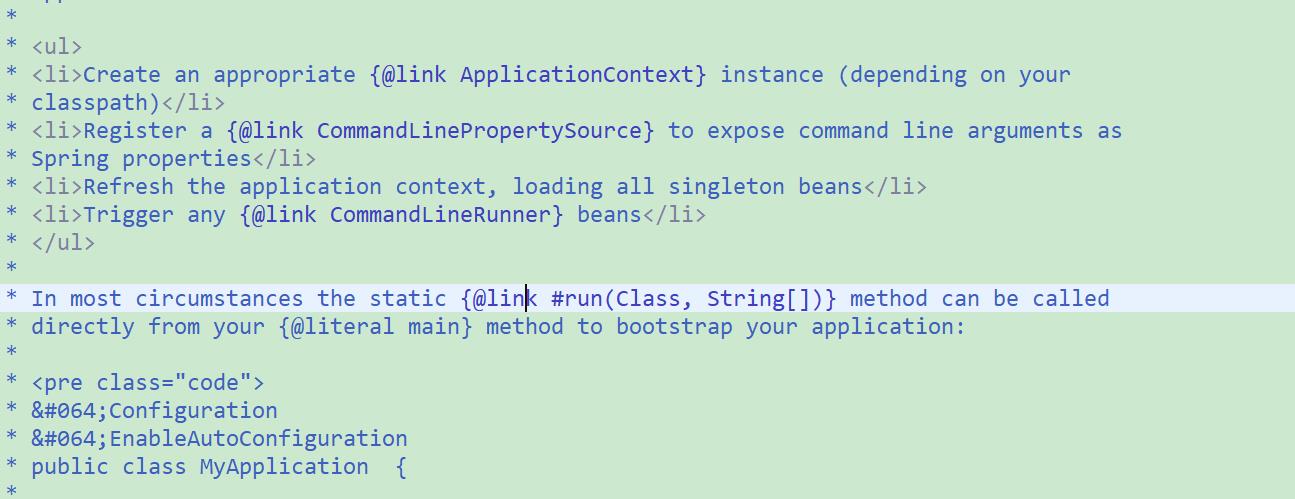
该类,该类可用于从Java main引导和启动Spring应用程序方法。默认情况下,类将执行以下步骤来引导申请:
下面的步骤 核心逻辑 就是 创建 applicationcontext 实例、
并且 注册 CommandLinePropertySource
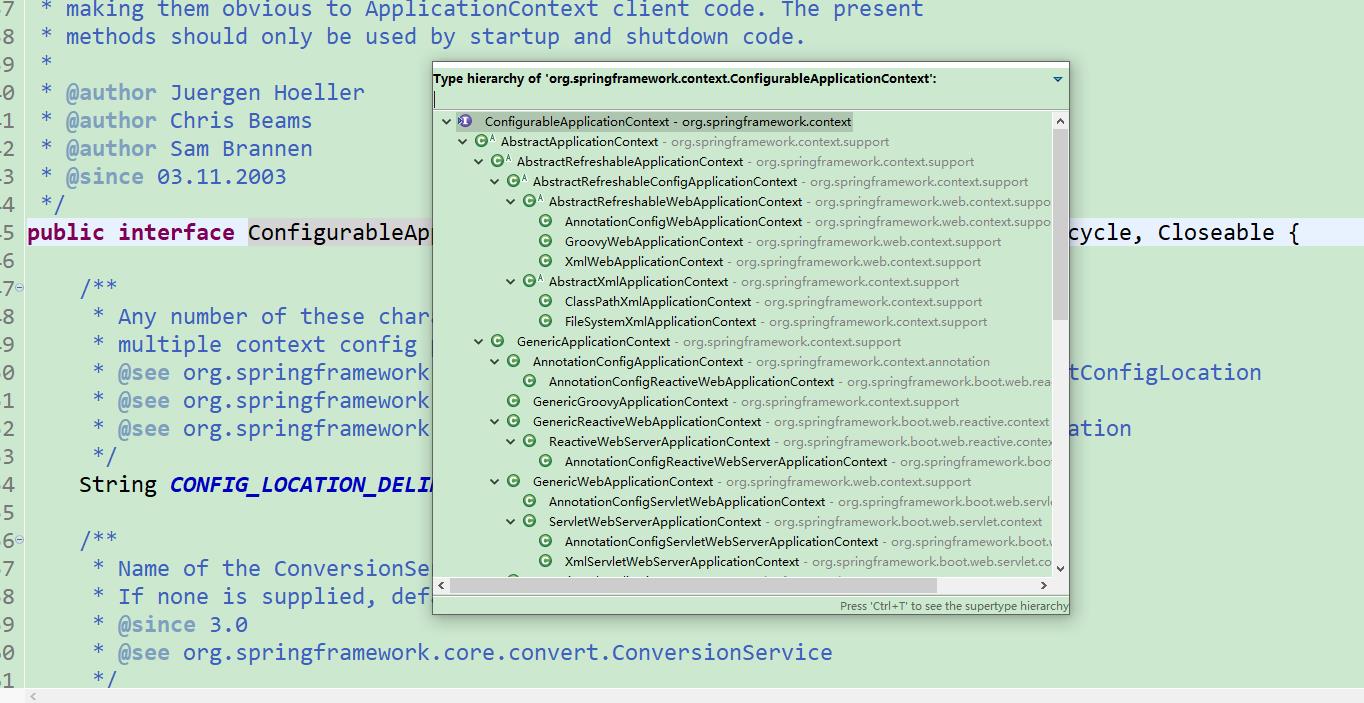
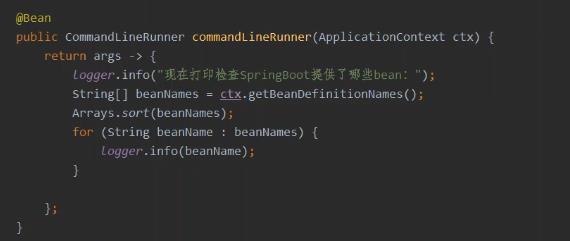
激活 CommandLineRunner 这个接口 用于指示当bean包含在 一个@link SpringApplication。可以定义多个@link CommandLineRunnerbean 在同一个应用程序上下文中,可以使用@link ordered 接口或@link Order@Order注释。 也就是说可以 查看当前springapplication创建了那些bean.
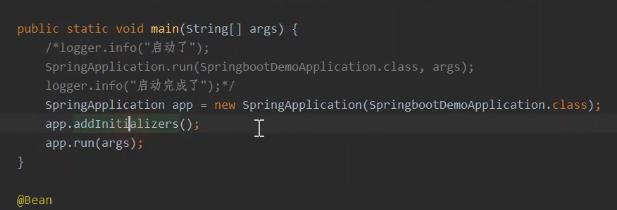

/**一:注释上的重要信息: 1、primary sources:application context从primarySource加载beans
	2、创建的SpringApplication实例在调用它的run(String...)方法前,可对其进行定制化设置 可以进行哪些设置?看类中提供的public方法。
	* Create a new @link SpringApplication instance. The application context will load * beans from the specified primary sources (see @link SpringApplication class- level
	* documentation for details. The instance can be customized before calling * @link #run(String...).
	* @param resourceLoader the resource loader to use
	* @param primarySources the primary bean sources
	* @see #run(Class, String[])
	* @see #setSources(Set)
	*/@SuppressWarnings( "unchecked", "rawtypes" )
	public SpringApplication(ResourceLoader resourceLoader, Class<?>... primarySources)
		//二、构造方法中的逻辑:
		this.resourceLoader = resourceLoader;
		// 1、一定要指定primarySources
		Assert.notNull(primarySources, "PrimarySources must not be null");
		this.primarySources = new LinkedHashSet<>(Arrays.asList(primarySources));
		// 2、deduce(推断)web类型(servlet、reactive、NoWeb)
		this.webApplicationType = WebApplicationType.deduceFromClasspath();
		// 3、从META-INF/spring.factories中获取
		ApplicationContextInitializer setInitializers((Collection)
		getSpringFactoriesInstances( ApplicationContextInitializer.class));
		// 4、从META-INF/spring.factories中获取
		ApplicationListener setListeners((Collection) getSpringFactoriesInstances(ApplicationListener.class));
		// 5、推断执行的main方法的定义类 this.mainApplicationClass = deduceMainApplicationClass();
webApplicationType 探测分配 是什么类型的 项目 ,其实是很简单的。 主要是判断 是否存在 父类


创建获取实例, 将监听器都放进去就可以了。
对于 ApplicationContextInitializer
在初始化的时候会去调用

以及ApplicationListener 是作为监听器存在的。
SpringApplication.run()实例方法解读
相当于 ApplicationContext.refresh 一样重要/** 一:注释上的重要信息: 运行Spring application,创建并刷新一个 ApplicationContext
* Run the Spring application, creating and refreshing a new
* @link ApplicationContext.
* @param args the application arguments (usually passed from a Java main method)
* @return a running @link ApplicationContext
*/
public ConfigurableApplicationContext run(String... args)
// 二、方法中的逻辑:
// 1 StopWatch开启计时
StopWatch stopWatch = new StopWatch();
stopWatch.start();
ConfigurableApplicationContext context = null;
Collection<SpringBootExceptionReporter> exceptionReporters = new ArrayList<> ();
// 这是设置系统属性java.awt.headless,请百度了解 java.awt.headless的用途。
configureHeadlessProperty();
// 2、获取到 META-INF/spring.factories中配置的SpringApplicationRunListener
// 疑问:又出一个Listener,这个SpringApplicationRunListener是监听什么的?
// 通过它的接口定义、注释了解它的用途
SpringApplicationRunListeners listeners = getRunListeners(args);
// 这里就调用它的starting()
listeners.starting();
try
// 命令行参数包装为了ApplicationArguments
ApplicationArguments applicationArguments = new DefaultApplicationArguments( args);
// 3、准备好了Environment,此刻Environment中都有哪些配置参数了?
ConfigurableEnvironment environment = prepareEnvironment(listeners, applicationArguments);
configureIgnoreBeanInfo(environment);
// 4、打印springboot LOGo图标
Banner printedBanner = printBanner(environment);
// 5、创建ApplicationContext context = createApplicationContext();
// 6、获取到 META-INF/spring.factories中配置的SpringBootExceptionReporter
exceptionReporters = getSpringFactoriesInstances( SpringBootExceptionReporter.class, new Class[]
ConfigurableApplicationContext.class , context);
// 7、准备ApplicationContext
prepareContext(context, environment, listeners, applicationArguments, printedBanner);
// 8、刷新ApplicationContext
refreshContext(context);
afterRefresh(context, applicationArguments);
stopWatch.stop();
if (this.logStartupInfo)
new StartupInfoLogger(this.mainApplicationClass) .logStarted(getApplicationLog(), stopWatch);
//
9、发布started事件 listeners.started(context);
// 10、执行所有的Runners
callRunners(context, applicationArguments);
catch (Throwable ex)
handleRunFailure(context, ex, exceptionReporters, listeners);
throw new IllegalStateException(ex);
try
// 11、发布running中事件
listeners.running(context);
catch (Throwable ex)
handleRunFailure(context, ex, exceptionReporters, null);
throw new IllegalStateException(ex);
// 12、返回ok的ConfigurableApplicationContext return context;
configureHeadlessProperty 方法 该方法只做了一件事:设置了一个名为java.awt.headless的系统属性
	private void configureHeadlessProperty()
		System.setProperty(SYSTEM_PROPERTY_JAVA_AWT_HEADLESS,
				System.getProperty(SYSTEM_PROPERTY_JAVA_AWT_HEADLESS, Boolean.toString(this.headless)));
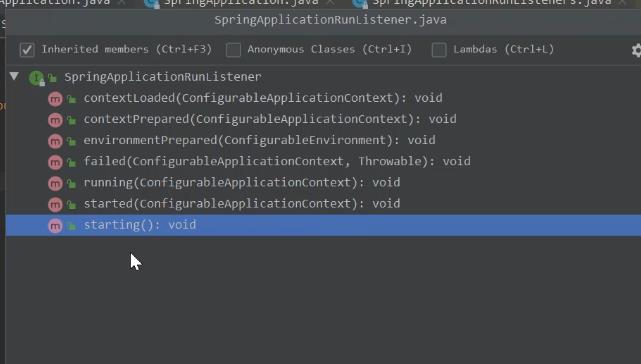
SpringApplicationRunListeners 返回的所有 SpringApplicationRunListener 监听器 , 这里面就是 监听 它失败 等等状态。
	private SpringApplicationRunListeners getRunListeners(String[] args)
		Class<?>[] types = new Class<?>[]  SpringApplication.class, String[].class ;
		return new SpringApplicationRunListeners(logger,
				getSpringFactoriesInstances(SpringApplicationRunListener.class, types, this, args),
				this.applicationStartup);
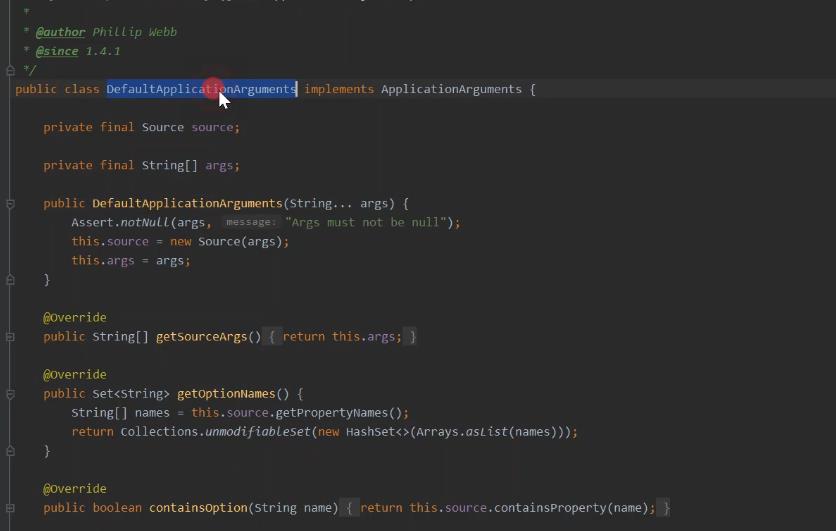
准备参数 DefaultApplicationArguments 本身需要处理
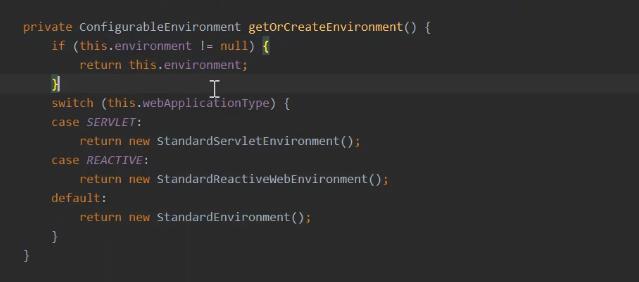
其中比较重要的prepareEnvironment Environment中都有哪些配置参数
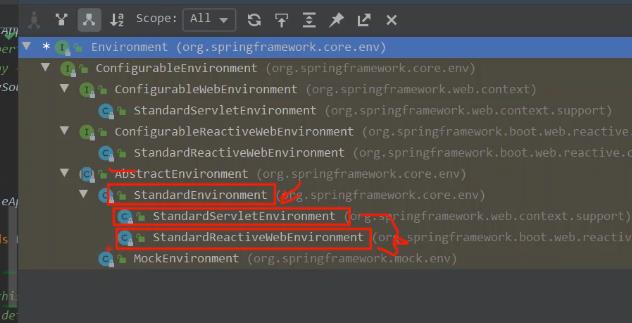
根据应用类型,创建对应的Environment对象,会装载环境变量、系统参数、具体应用类型配置参 数 配置环境:加入命令行参数PropertySource,配置启用的profiles触发RunListener环境准备完成回调
将environment绑定到SpringApplication
根据类型加载 不同的参数。
ConfigurationPropertySources

包括各种 的配置启用的profiles 也可以指定 profiles 所以可以取出来做处理。
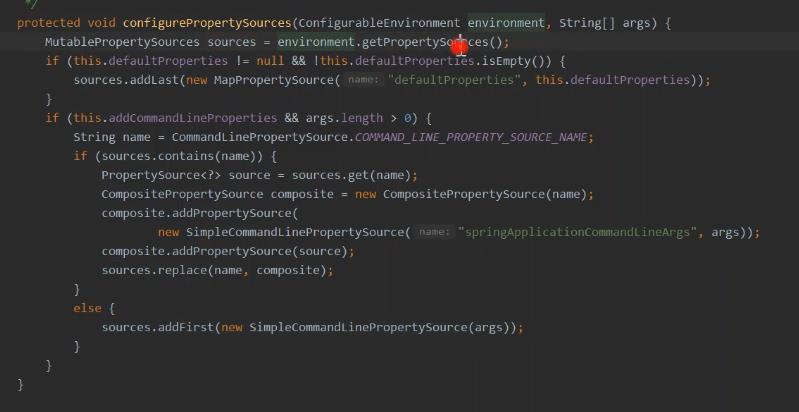

环境上准备 就有的这个。 参数配置
ConfigFileApplicationListener 这里是所有的配置 包括配置的名称 和 路径。 名字 以及加载 主要在 starter包 中
这里面就是 加载的配置参数。
实现的 ApplicationListener 方法
会将事件给发布出来。
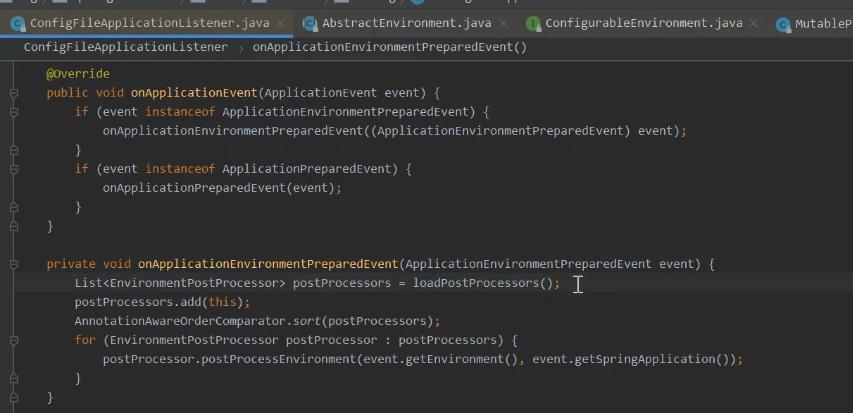

完整的加载过程。
createApplicationContext

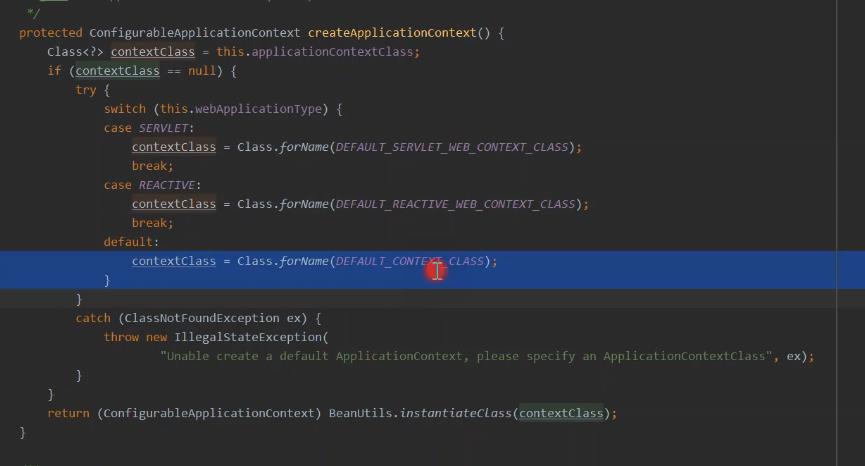
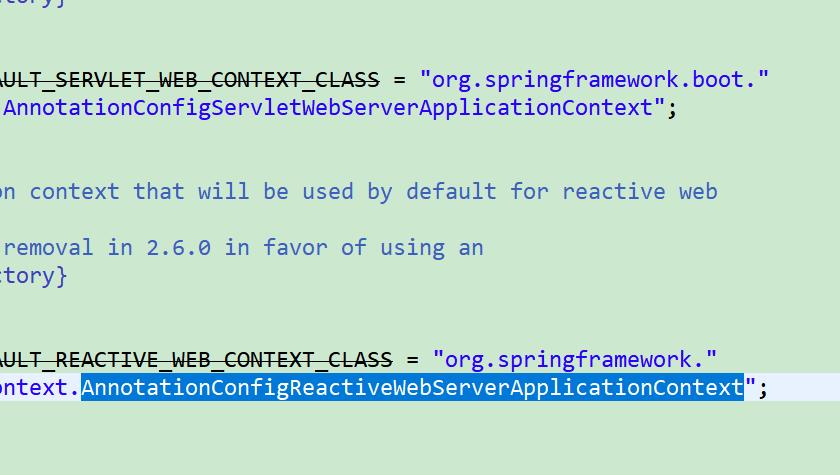
在新版本中是添加
默认的三个常量类名 是采用的 工厂方法去创建的,但是道理是一样的。
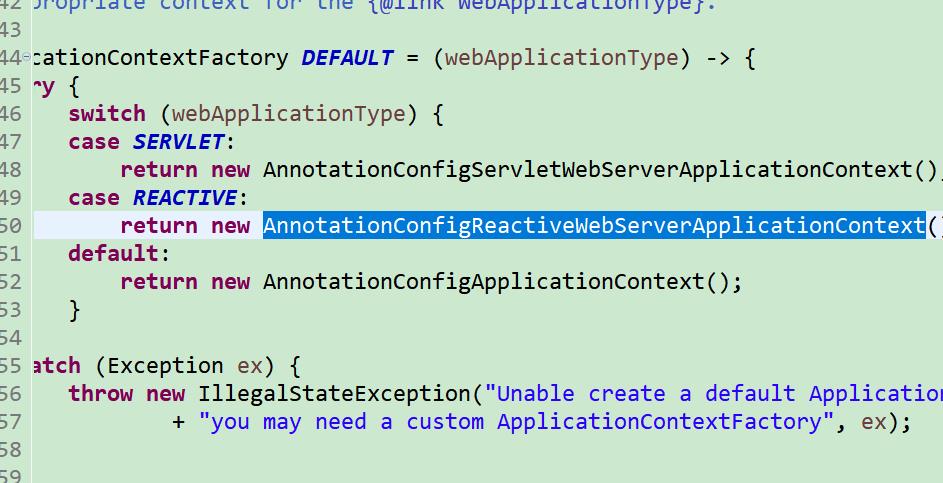
准备过程
prepareContext 1、设置环境对象 2、设置ApplicationContext的beanNameGenerator、resourceLoader、 3、应用初始化器对ApplicationContext进行初始化处理(Initializers在构造SpringApplication时就从spring.factories中加载到了) 4、发布ApplicationContext准备妥当事件 5、打印startup日志信息 6 、添加例 bean 到 beanFactory中
对应的资源进行加载创建 解读resource 懒加载load
refreshcontext 刷新

这里最终调用 的applicationcontext. refresh方法。

auto configuration的bean定义加载
这个加载是整个 创建基础。
1. META-INF/spring.factories 中指定的 auto configuration Bean 定义在哪里完成的加载? 而对于 从 META-INF/spring.factories 中加载其他的:// 3、从META-INF/spring.factories中获取ApplicationContextInitializer
setInitializers((Collection) getSpringFactoriesInstances( ApplicationContextInitializer.class));这个方法 是可以加载 spring.factories
但是对于 EnableAutoconfiguration 的加载 是在那里去加载的,暂时不知道。
那就从这个 getSpringFactoriesInstances ( ... )方法调用中找到一个合适的点, 看到,它是调用的SpringFactoriesLoader.loadFactoryNames(type, classLoader)); 去加载 的 auto configuration 的 spring.factories 中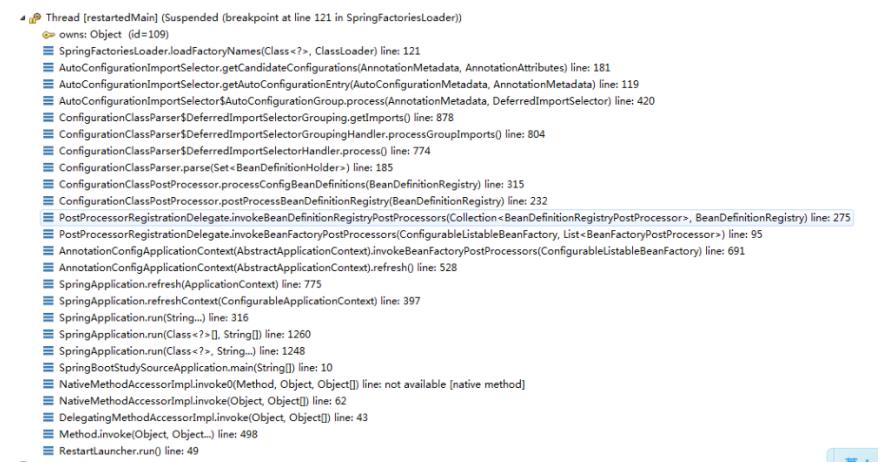
从调用栈看到是在进行 ConfigurationClassPostProcessor 处理阶段
 其实最后就是
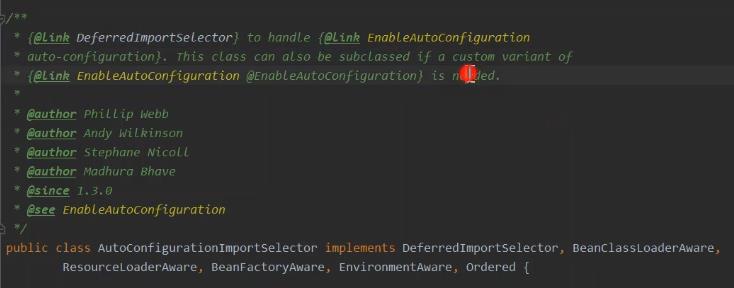
AutoConfigurationImportSelector
干的这个事
public class AutoConfigurationImportSelector implements DeferredImportSelector, BeanClassLoaderAware, ResourceLoaderAware, BeanFactoryAware, EnvironmentAware, Ordered 
 AutoConfigurationImportSelector
实现了
DeferredImportSelector
DeferredImportSelector
是延迟导入选择器。所谓延迟:在所有指定的、包扫描到的
@Configuration
类中的
bean
定义注册后,才会来处理延迟导入的
@Configuration
类
所谓延迟:在所有指定的、包扫描到的@Configuration类中的bean定义注册后,才会来处理延迟导入 的

callRunners(context, applicationArguments)
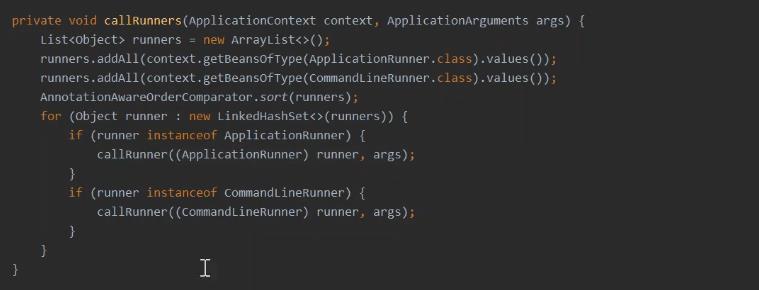
public class AnnotationConfigServletWebServerApplicationContext extends ServletWebServerApplicationContext implements AnnotationConfigRegistry类 ServletWebServerApplicationContext 这个context会通过从自身查找一个ServletWebServerFactory单例bean来创建、初始化、运行一个 WebServer

@Override
	public WebServer getWebServer(ServletContextInitializer... initializers)
		if (this.disableMBeanRegistry)
			Registry.disableRegistry();

		Tomcat tomcat = new Tomcat();
		File baseDir = (this.baseDirectory != null) ? this.baseDirectory : createTempDir("tomcat");
		tomcat.setBaseDir(baseDir.getAbsolutePath());
		Connector connector = new Connector(this.protocol);
		connector.setThrowOnFailure(true);
		tomcat.getService().addConnector(connector);
		customizeConnector(connector);
		tomcat.setConnector(connector);
		tomcat.getHost().setAutoDeploy(false);
		configureEngine(tomcat.getEngine());
		for (Connector additionalConnector : this.additionalTomcatConnectors)
			tomcat.getService().addConnector(additionalConnector);

		prepareContext(tomcat.getHost(), initializers);
		return getTomcatWebServer(tomcat);
以上是关于SpringBoot 核心源码解读的主要内容,如果未能解决你的问题,请参考以下文章
