原生HTML+CSS+JS制作自己的导航主页(源码+步骤详解)
Posted 小丫么小牛马
tags:
篇首语:本文由小常识网(cha138.com)小编为大家整理,主要介绍了原生HTML+CSS+JS制作自己的导航主页(源码+步骤详解)相关的知识,希望对你有一定的参考价值。
文章目录
前言
咕咕了好久啦,今天使用原生html+CSS+JS做一个很简单的个人定制的导航主页吧!
先看下完整的效果图吧!
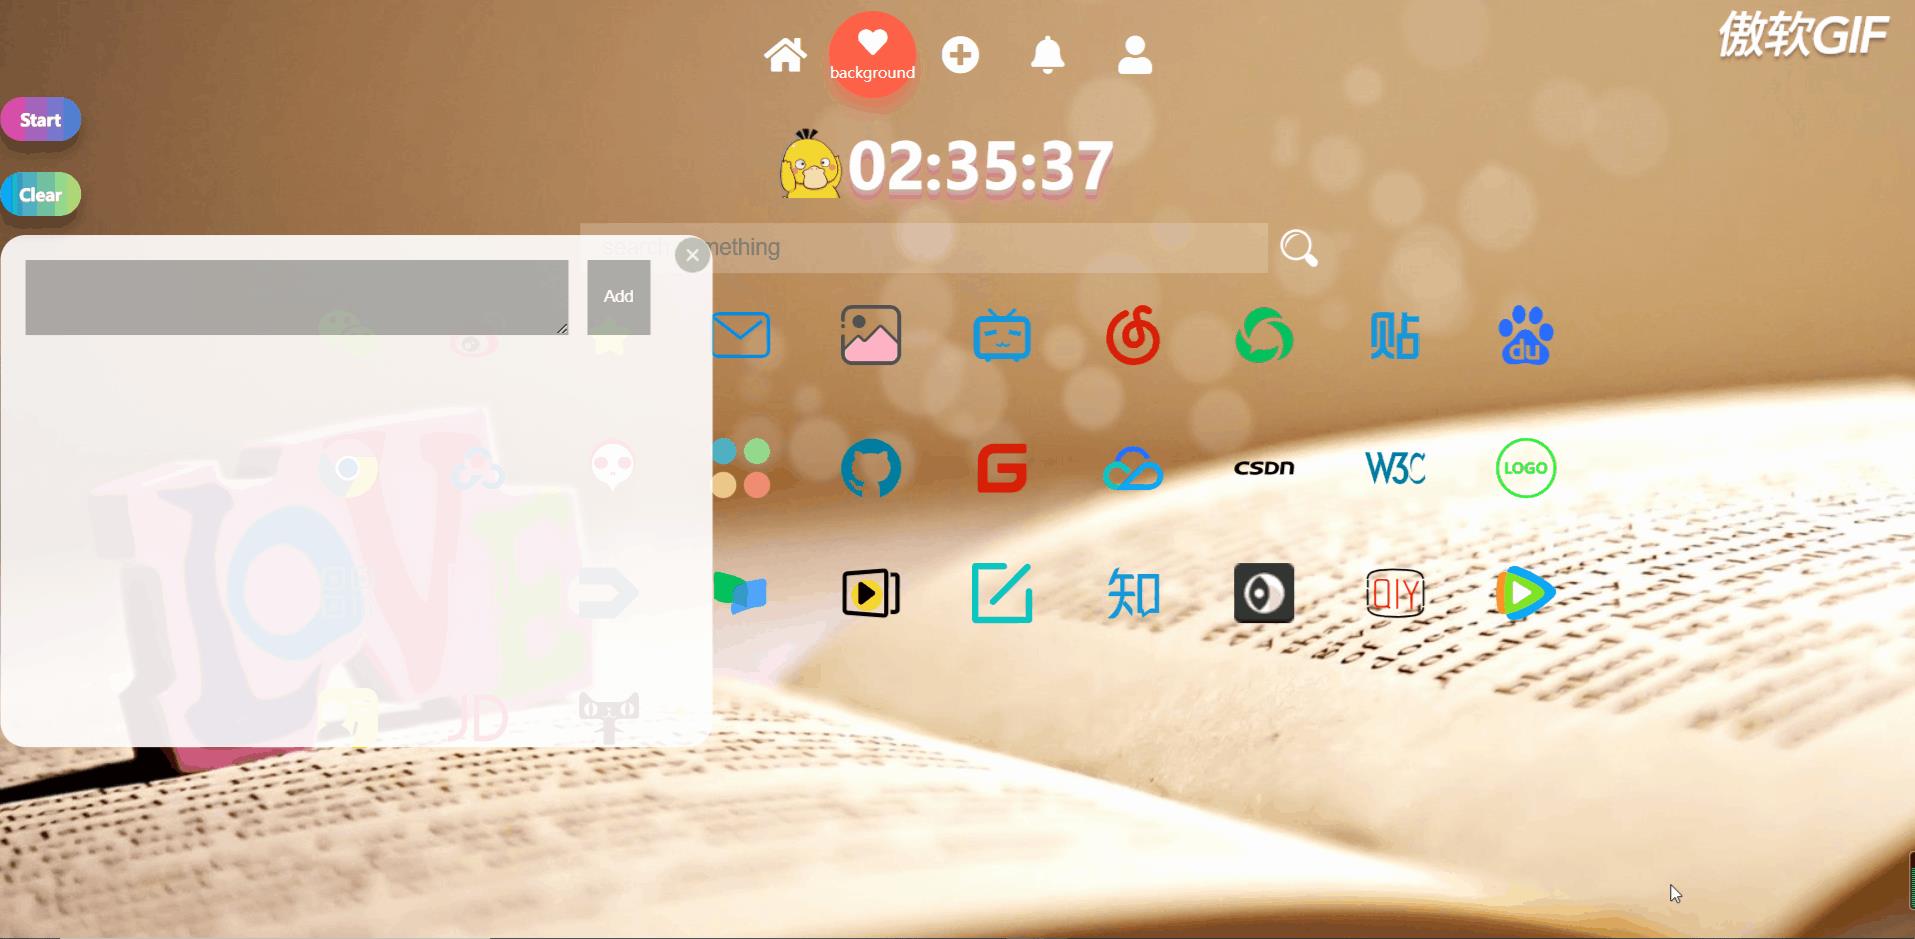
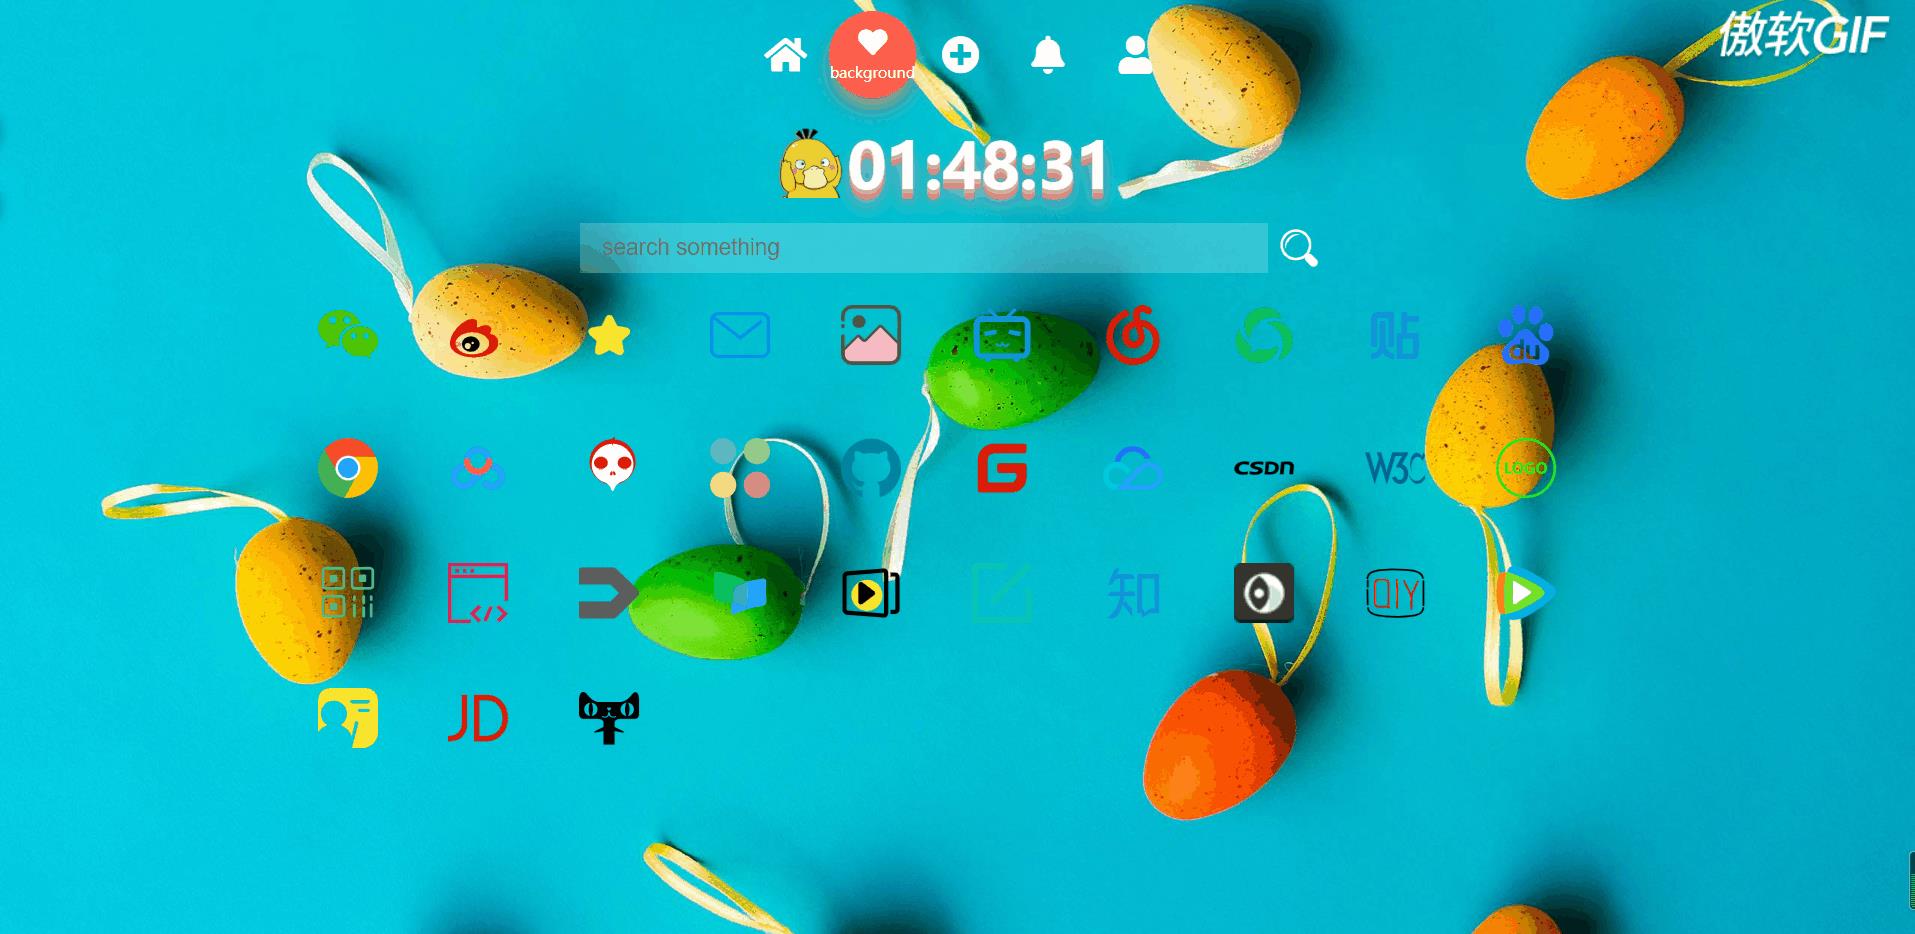
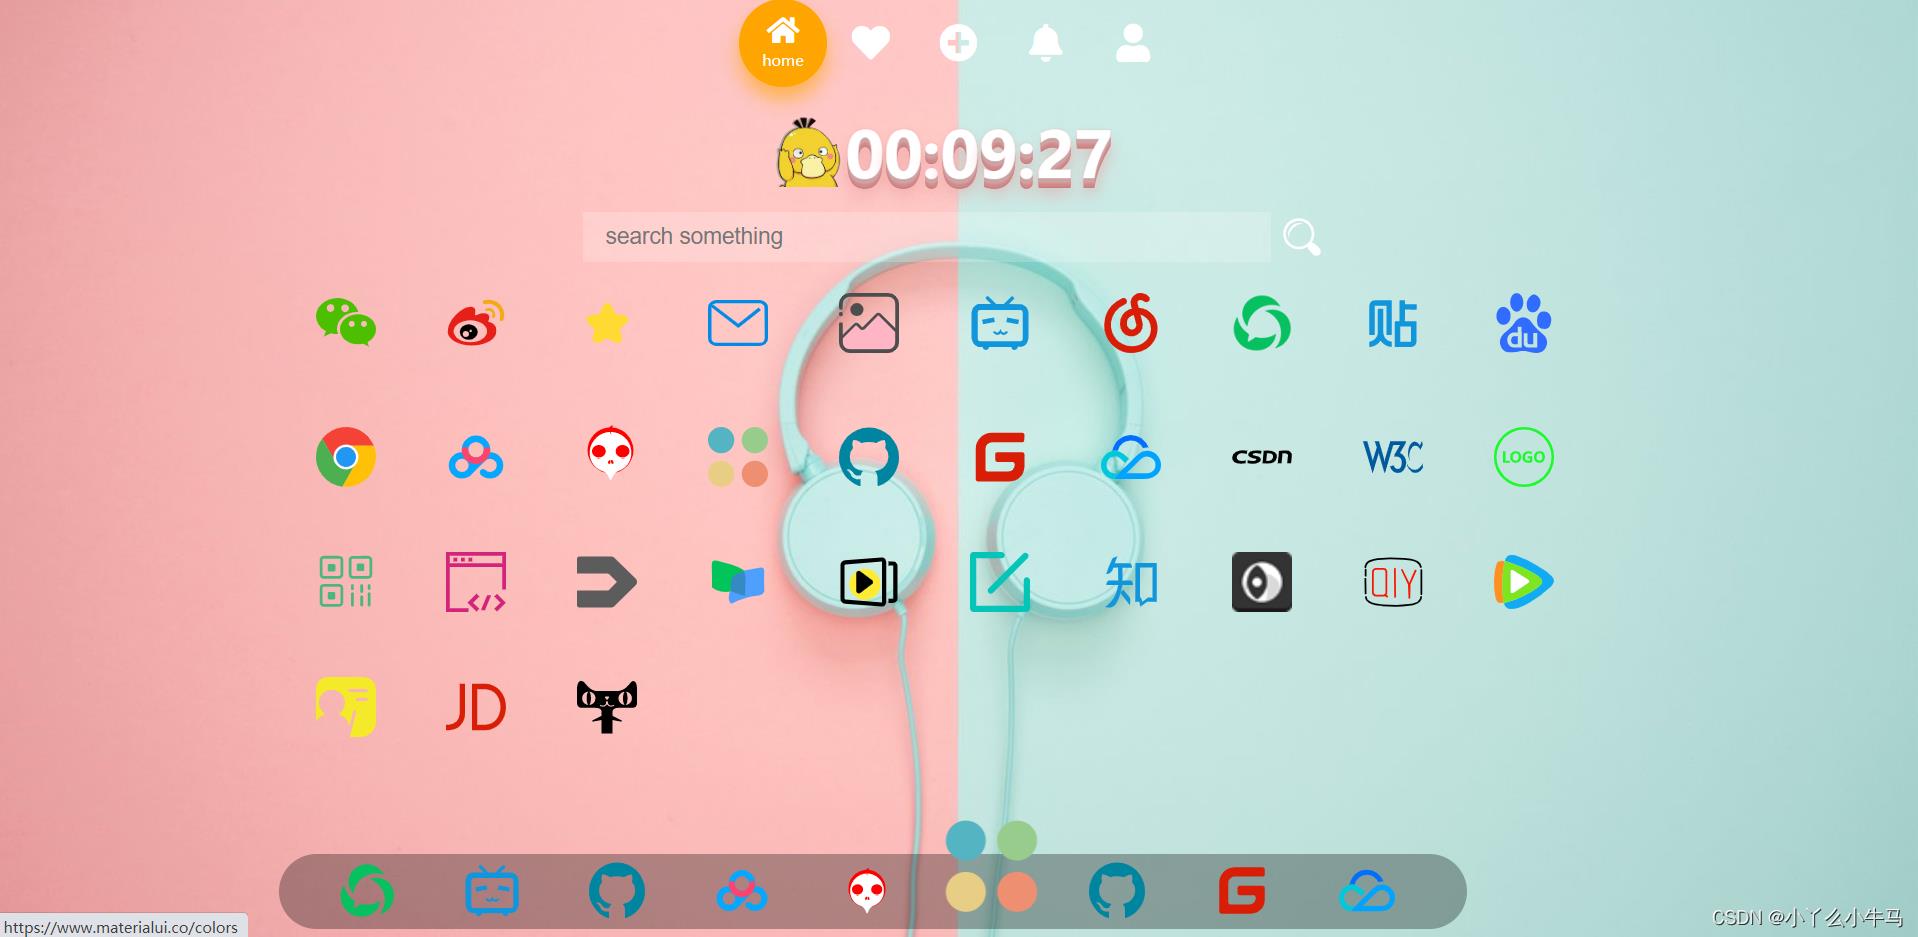
接下来的文章将逐步带领大家制作,现在太晚了,就精简了下,删除了部分动画效果,项目整体非常简单!
项目地址:
链接:https://pan.baidu.com/s/1Cue-H_7zufiBryD-FaKxzA
提取码:LDL6
2022/5/13
今天把动画以及小便签功能也加上了,本文第五,第六节,谢谢支持!
一、插入背景
首先设置我们的背景。
在body中插入背景即可。
- index.html
<!doctype html>
<html lang="en">
<head>
    <meta charset="UTF-8">
    <meta name="Designer" content="LiSuyan">
    <meta name="Description" content="HomePage">
    <link rel="stylesheet" href="css/style.css" type="text/css">
    <link rel="stylesheet" href="https://cdnjs.cloudflare.com/ajax/libs/font-awesome/5.15.4/css/all.min.css">
    <title>HomePage</title>
</head>
<body id="bgid" onload="changeBg()">
<script src="js/index.js"></script>
</body>
</html>
- style.css
/*重置浏览器样式*/
*
    margin: 0;
    padding: 0;


html, body
    height:100%;
    overflow:auto; /*使内容如果溢出,浏览器会显示滚动条以便查看其余的内容。*/


body
    /*no-repeat:不平铺 center:使图片居中于body的中心部分 fixed:设置背景图像为固定(不滚动)*/
    background: no-repeat center fixed;
    /*保持图像的纵横比并将图像缩放成将完全覆盖背景定位区域的最小大小。*/
    -webkit-background-size:cover;
    background-size:cover;
    /*1s完成更换背景图片效果*/
    transition:background-image 1s;
    font-family: Sans-serif;
- index.js
//创建数组存放背景url
var bgs = new Array('url("images/bg01.jpg")','url("images/bg02.jpg")','url("images/bg04.jpg")','url("images/bg05.jpg")','url("images/bg08.jpg")','url("images/bg25.jpg")','url("images/bg09.jpg")','url("images/bg10.jpg")','url("images/bg12.jpg")','url("images/bg13.jpg")','url("images/bg25.jpg")','url("images/bg15.jpg")','url("images/bg17.jpg")','url("images/bg19.jpg")','url("images/bg20.jpg")','url("images/bg21.jpg")','url("images/bg22.jpg")','url("images/bg23.jpg")','url("images/bg25.jpg")');
界面主要由三部分组成:
-
头部:导航栏,时间,搜索框

-
主体:各站图标
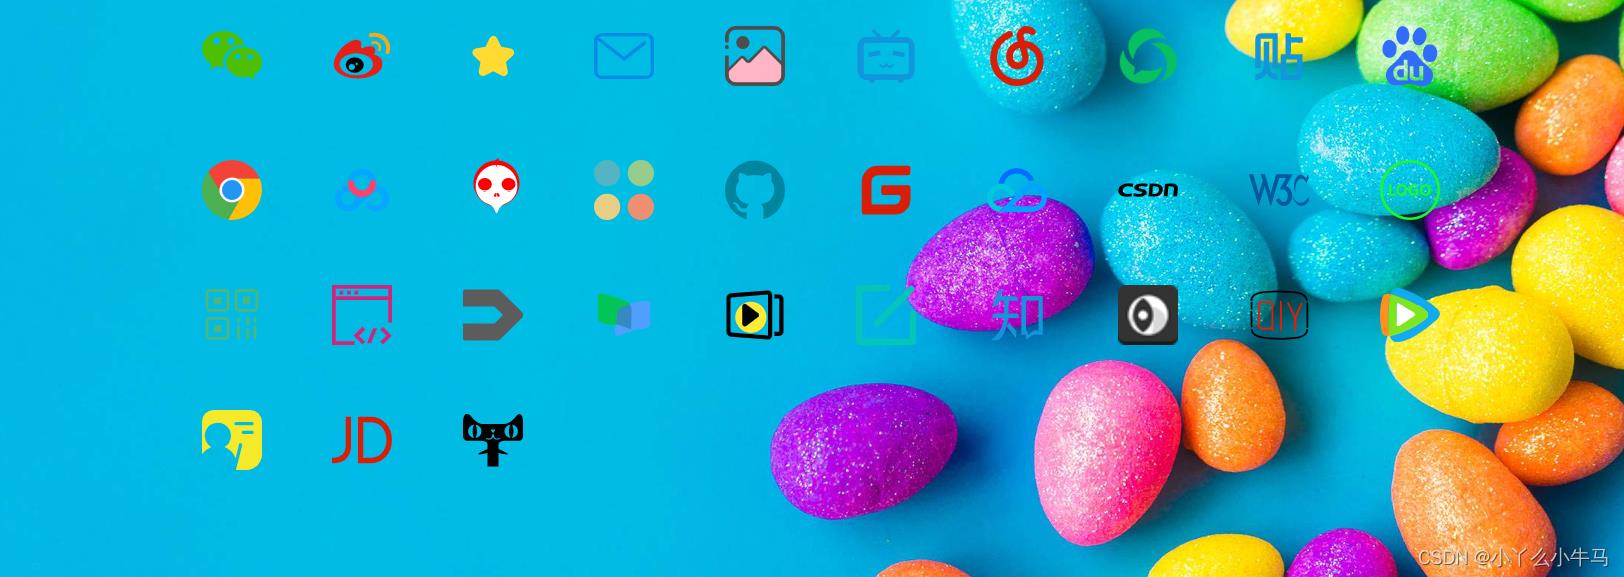
-
底部:鼠标悬浮时出现的图标

二、头部
Header部分由导航栏,时间,以及搜索框组成。
图标使用的是font-awesome库里的图。
1.导航栏
首先添加导航栏中的元素
index.html:
<header>
<div class="tabbar">
 <ul>
    <li class="item active">
       <a href="#">
                   <span class="icon">
                       <i class="fas fa-home" aria-hidden="true"></i>
                   </span>
          <span class="text">home</span>
       </a>
    </li>
    <li class="item">
       <a onclick="changeBg()" >
                   <span class="icon">
                       <i class="fas fa-heart" aria-hidden="true"></i>
                   </span>
          <span class="text">background</span>
       </a>
    </li>
    <li class="item">
       <a onclick="addFocus()">
                   <span class="icon">
                       <i class="fas fa-plus-circle" aria-hidden="true"></i>
                   </span>
          <span class="text">note</span>
       </a>
    </li>
    <li class="item">
       <a onclick="ballBtn()">

                   <span class="icon">
                       <i class="fas fa-bell" aria-hidden="true"></i>
                   </span>
          <span class="text">ball</span>
       </a>
    </li>
    <li class="item">
       <a href="#">
                   <span class="icon">
                       <i class="fas fa-user" aria-hidden="true"></i>
                   </span>
          <span class="text">about</span>
       </a>
    </li>
 </ul>
</div>
给当导航栏图标设置样式
style.css:
/*导航栏样式*/
.tabbar
    height: 100vh;
    /* 弹性布局 水平+垂直居中 */
    display: flex;
    justify-content: center;
    align-items: center;
    /* 相对定位 */
    position: relative;
    width: 350px;
    height: 70px;
    margin: 0 auto;


.tabbar ul
    /* 让li横向排列 */
    display: flex;

.tabbar ul li
    list-style: none;
    width: 70px;
    height: 70px;
    position: relative;
    z-index: 1;

.tabbar ul li a
    /* 弹性布局 居中 */
    display: flex;
    justify-content: center;
    align-items: center;
    /* 垂直排列 */
    flex-direction: column;
    color: #fff;
    text-align: center;

.tabbar ul li a .icon
    line-height: 70px;
    font-size: 30px;
    /* 设置过渡 */
    transition: 0.5s;

.tabbar ul li a .text
    /* 绝对定位 */
    position: absolute;
    font-size: 12px;
    bottom: 13px;
    /* 设置过渡 */
    transition: 0.5s;
    /* 默认隐藏 */
    transform: scale(0);

.tabbar ul li.active a .icon
    font-size: 23px;
    /* 图标上移 */
    transform: translateY(-10px);

.tabbar ul li.active a .text
    /* 选中,文字显示 */
    transform: scale(1);
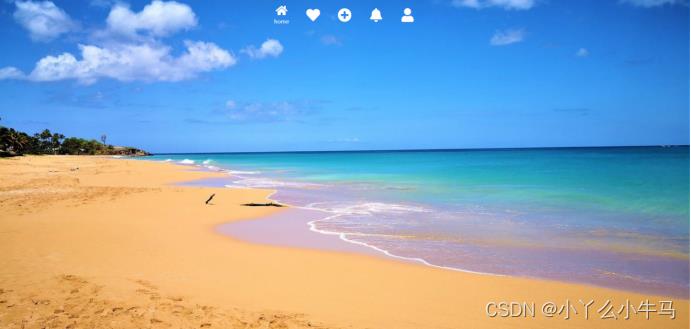
设置导航栏图标的点击事件
当鼠标点击元素时,添加或移除active样式即可。
index.js:
//设置导航栏图标的点击时间
//点击更改背景
function changeBg()
    document.getElementById('bgid').style.backgroundImage = bgs[Math.round(Math.random()* (bgs.length-1))];


// 获取所有.item元素
let items=document.querySelectorAll(".item");
// 设置当前选中项样式的方法
function setActive()
    // 遍历所有.item元素,移除active样式
    items.forEach((item)=>
        item.classList.remove("active");
    )
    // 为当前选中项添加active样式
    this.classList.add("active");

// 遍历所有.item元素,分别为其设置点击事件
items.forEach((item)=>
    item.addEventListener("click",setActive);
)
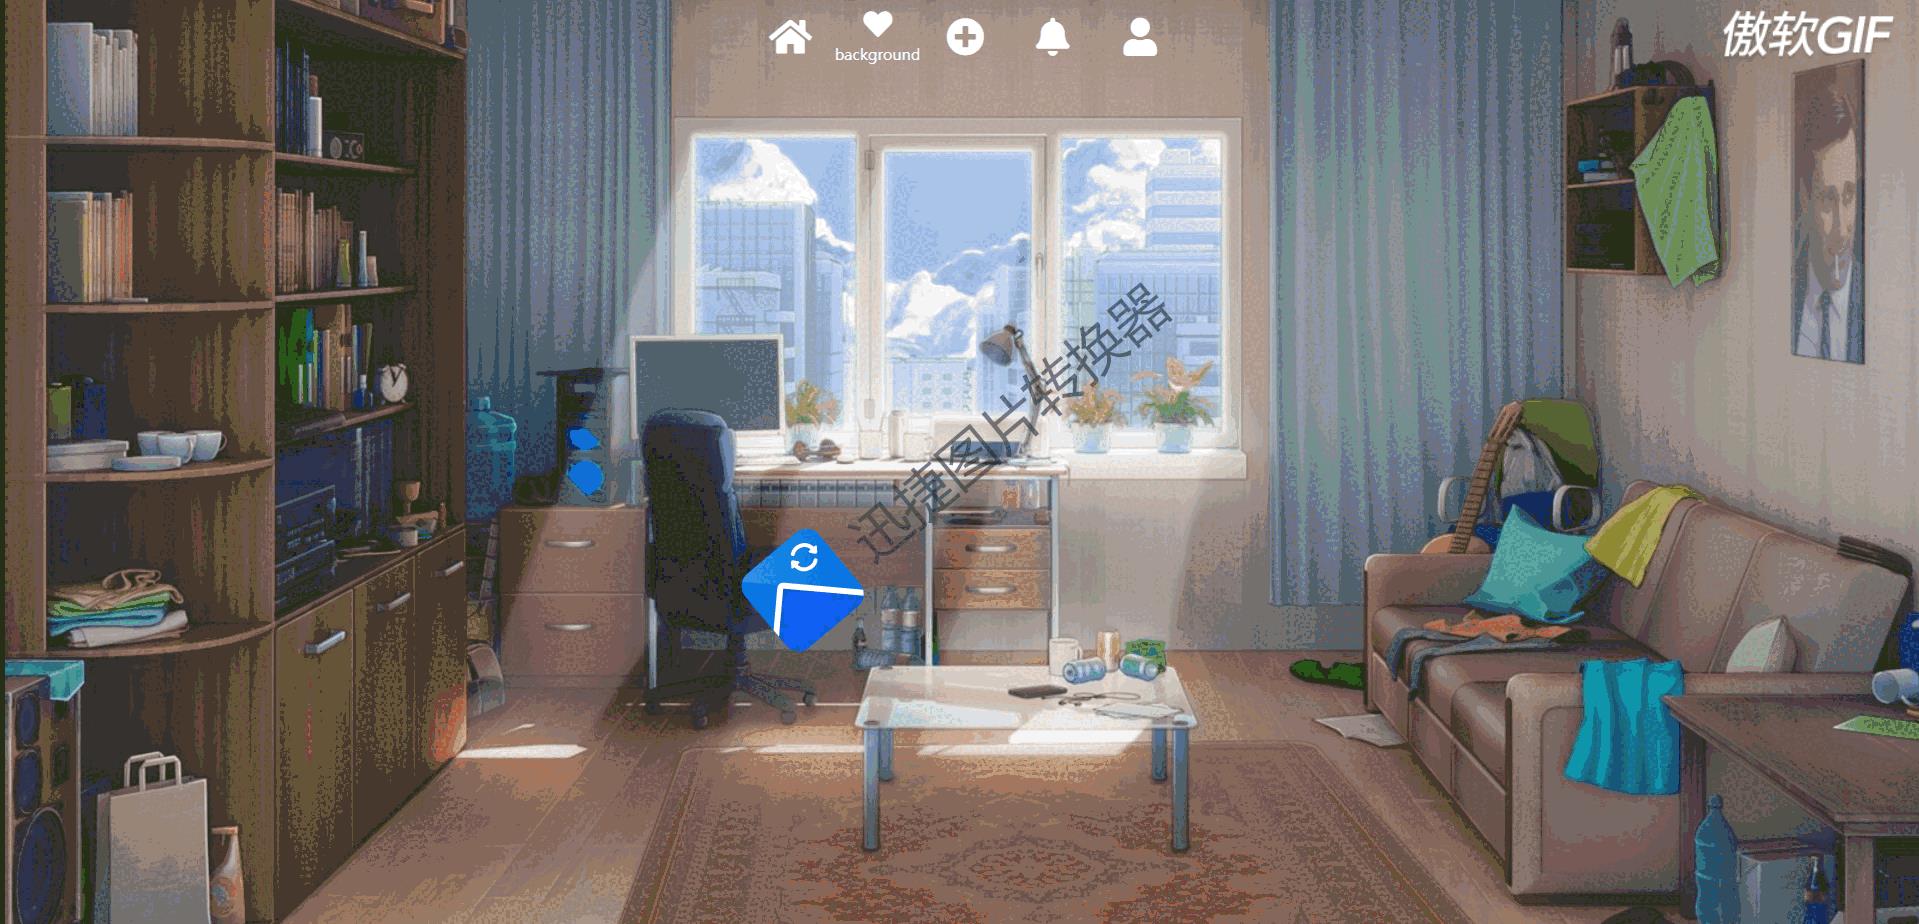
现在打开浏览器页面就可以看到下图中的效果啦!(有免费的制作图片的软件嘛QAQ)
2. 优化导航栏
接下来给导航栏再添加一个点击时的背景,显得更好看一些
我们在header部分中的<ul>列表内添加一个<div>用于存放该背景
<div class="active-bg"></div>
完整代码如下,index.html:
<header>
<div class="tabbar">
 <ul>
    <li class="item active">
       <a href="#">
                   <span class="icon">
                       <i class="fas fa-home" aria-hidden="true"></i>
                   </span>
          <span class="text">home</span>
       </a>
    </li>
    <li class="item">
       <a onclick="changeBg()" >
                   <span class="icon">
                       <i class="fas fa-heart" aria-hidden="true"></i>
                   </span>
          <span class="text">background</span>
       </a>
    </li>
    <li class="item">
       <a onclick="addFocus()">
                   <span class="icon">
                       <i class="fas fa-plus-circle" aria-hidden="true"></i>
                   </span>
          <span class="text">note</span>
       </a>
    </li>
    <li class="item">
       <a onclick="ballBtn()">

                   <span class="icon">
                       <i class="fas fa-bell" aria-hidden="true"></i>
                   </span>
          <span class="text">ball</span>
       </a>
    </li>
    <li class="item">
       <a href="#">
                   <span class="icon">
                       <i class="fas fa-user" aria-hidden="true"></i>
                   </span>
          <span class="text">about</span>
       </a>
    </li>
 </ul>
    <div class="active-bg"></div>

</div>
设置添加的导航栏背景样式。
.active-bg
    position: absolute;
    left: 0;
    top: 0;
    width: 70px;
    height: 70px;
    border-radius: 50%;
    /* --c,--cc为CSS中的自定义属性,通过var函数可对其调用 */
    background-color: var(--c);
    box-shadow: 0 10px 15px var(--cc);
    transition: 0.5s;

/* 分别为每一个.active-bg设置颜色,阴影,位移 */
.tabbar ul li:nth-child(1).active ~ .active-bg
    --c:#ffa502;
    --cc:#ffa50299;
    left: 0;

.tabbar ul li:nth-child(2).active ~ .active-bg
    --c:#ff6348;
    --cc:#ff634899;
    left: calc(1 * 70px);

.tabbar ul li:nth-child(3).active ~ .active-bg
    --c:#2ed573;
    --cc:#2ed57399;
    left: calc(2 * 70px);

.tabbar ul li:nth-child(4).active ~ .active-bg
    --c:#1e90ff;
    --cc:#1e90ff99;
    left: calc(3 * 70px);

.tabbar ul li:nth-child(5).active ~ .active-bg
    --c:#ff6b81;
    --cc:#ff6b8199;
    left: calc(4 * 70px);
现在打开浏览器,就可以看到下图中的效果啦!

3 时间
接下来 添加时间以及小鸭鸭(也可以添加自己喜欢的图片或者不添加)
首先添加元素
index.html:
<div class="img">
    <img src="images/头像.png" >
    <div class="clock">
        <p id="1">0</p>
        <p id="2">0</p>
        <p id="3">:</p>
        <p id="4">0</p>
        <p id="5">0</p>
        <p id="6">:</p>
        <p id="7">0</p>
        <p id="8">0</p>
    </div>
</div>
运行效果:

设置图片的样式
style.css:
.img
    width:1200px;
    height:100px;
    position: relative;
    margin: 0 auto;


.img  img
    width:60px;
    height:60px;
    position: absolute;
    top:50%;
    left:40%;
    margin-top:-30px ;
    margin-left:-30px ;
设置时间的样式
style.css:
.img .clock
    width:60px;
    height:60px;
    position: absolute;
    top:50%;
    left:45%;
    margin-top:-30px ;
    margin-left:-30px ;


.clock
    display: flex;

.clock p
    /*width: 1000px;*/
    font-size: 50px;
    color: #fff;
    text-align: center;
    /* 设置字体 */
    font-family: "Kanit";
    font-weight: 900;
    /* 文字阴影 实现3D效果 */
    text-shadow: 0 1px 0 #deafaf,
    0 2px 0 #bda8a8,
    0 3px 0 #d8a1a1,
    0 4px 0 #d59999,
    0 5px 0 #d29292,
    0 6px 0 #cf8b8b,
    0 7px 0 #cc8484,
    0 8px 0 #c97d7d,
    0 0 5px rgba(231,156,156,0.05),
    0 -1px 3px rgba(231,156,156,0.2),
    0 9px 9px rgba(231,156,156,0.3),
    0 12px 12px rgba(231,156,156,0.3),
    0 15px 15px rgba(231,156,156,0.3);
运行效果: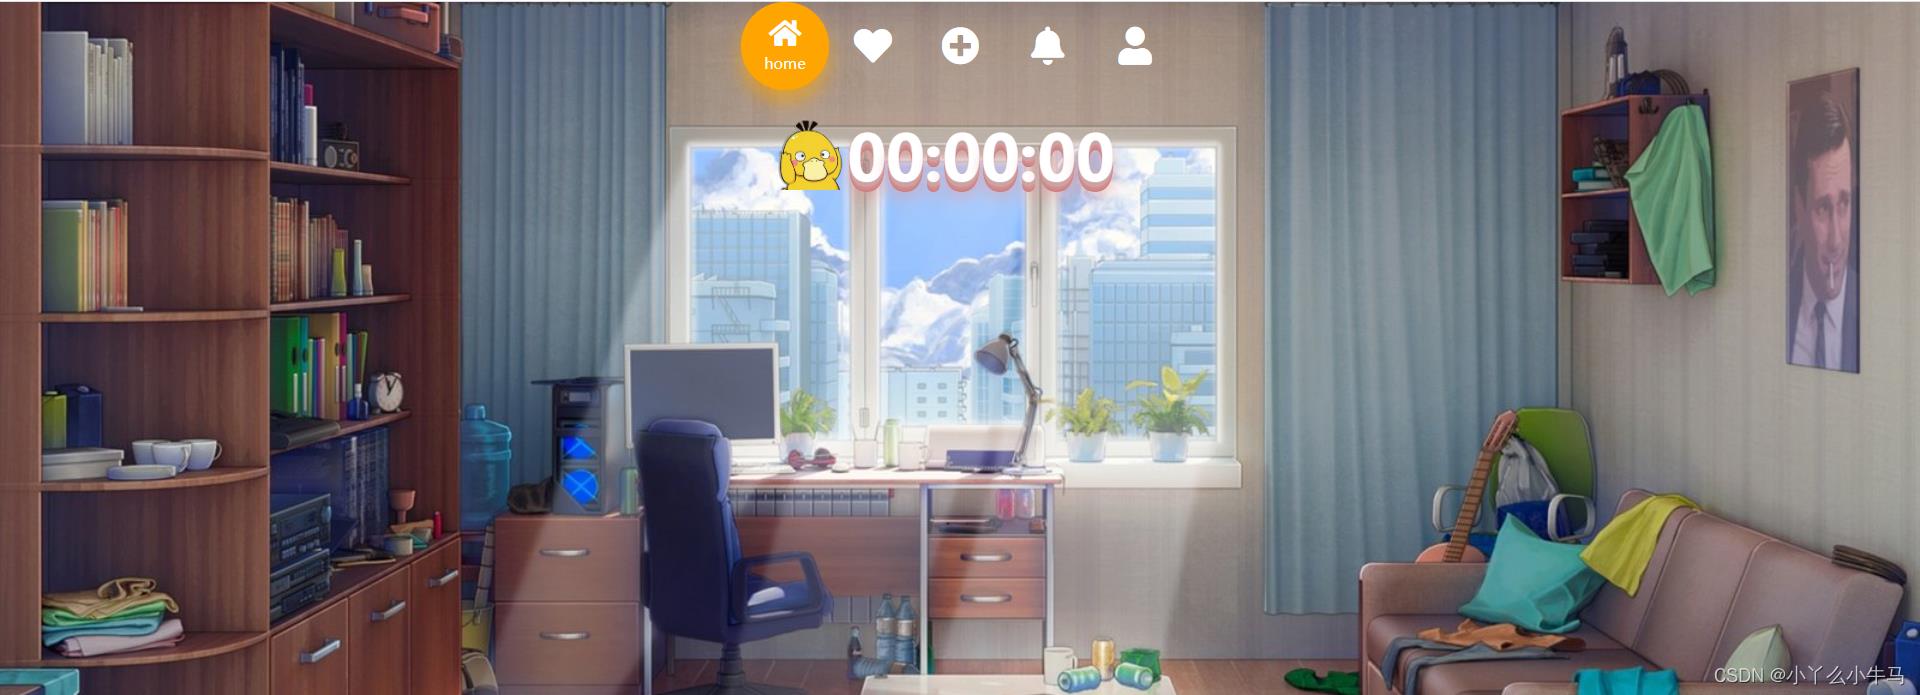
获取当前时间
index.js:
function myTime()
    let time=new Date();
    let hh=time.getHours();  //时
    let mm=time.getMinutes();  //分
    let ss=time.getSeconds();  //秒
    // Math.floor() 向下取整
    document.getElementById("1").innerText=Math.floor(hh/10);
    document.getElementById("2").innerText=hh%10;
    document.getElementById("4").innerText=Math.floor(mm/10);
    document.getElementById("5").innerText=mm%10;
    document.getElementById("7").innerText=Math.floor(ss/10);
    document.getElementById("8").innerText=ss%10;

// 一秒执行一次
setInterval(myTime,1000);
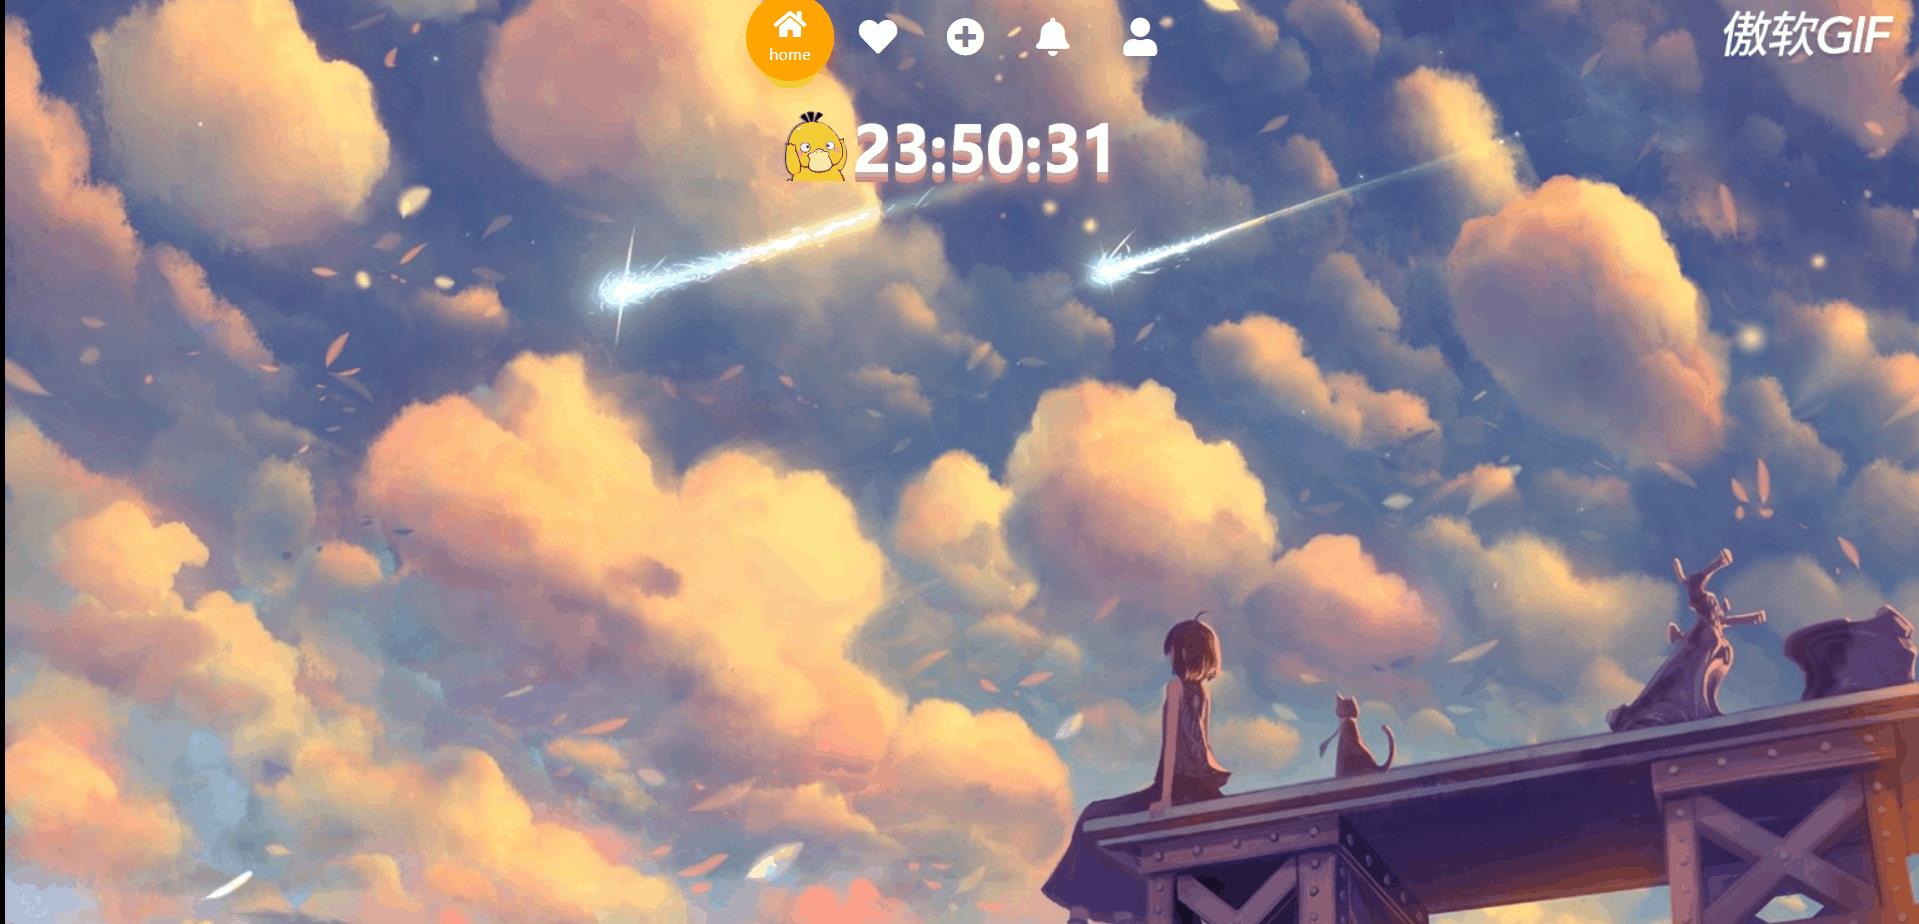
运行效果:
4. 搜索框
接下来加入我们的搜索框
<div class="midbox">
   <form action="http://www.baidu.com/s"  method="get" target="_blank">
      <input type="search" name="wd" id="seaid" placeholder="search something" autofocus="autofocus" autocomplete="off">
      <input type="submit" id="subid" value="">
   </form>
</div>
设置搜索框样式
.midbox
    float: left;
    display: inline-block;
    background:transparent;
    width: 100%;
    height: 40px;

.midbox form
    width: 600px;
    height:40px;
    margin:0 auto;

#seaid
    float:left;
    width: 550px;
    height: 40px;
    outline: none;
    border:none;
    font-size: 18px;
    text-indent: 1em;
    background:rgba(255,255,255,.2);

#subid
    float:left;
    width: 50px;
    height: 36px;
    outline: none;
    background:transparent;
    border:0;
    font-size: 18px;
    background: url("../images/search.svg") no-repeat center;
    background-position-y: 4px;
    cursor:pointer;
运行效果:
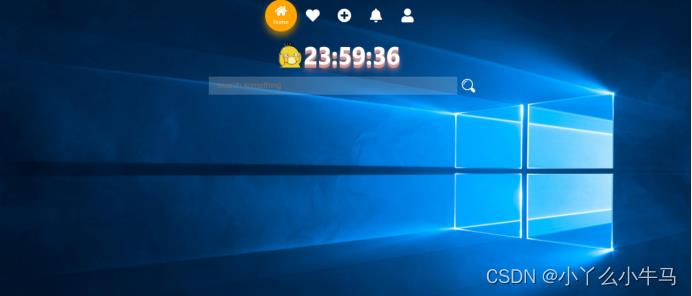
至此我们的头部就完成啦!
三、主体
主体和footer也都很简单,基本上都是一些图标和样式设置。
添加元素
index.html:
<div class="container">
    <ul>
        <li><a href="https://wx.qq.com/" target="_blank"><img src="images/微信.svg" alt=""></a></li>
        <li><a href="https://s.weibo.com/top/summary?Refer=top_hot&topnav=1&wvr=6" target="_blank"><img src="images/微博.svg" alt=""></a></li>
        <li><a href="#" target="_blank"><img src="images/collect.svg" alt=""></a></li>
        <li><a href="https://email.163.com/" target="_blank"><img src="images/邮箱.svg" alt=""></a></li>
        <li><a href="#" target="_blank"><img src="images/相册.svg" alt=""></a></li>
        <li><a href="https://www.bilibili.com/" target="_blank"><img src="images/哔哩哔哩.svg" alt=""></a></li>
        <li><a href="https://music.163.com/" target="_blank"><img src&#以上是关于原生HTML+CSS+JS制作自己的导航主页(源码+步骤详解)的主要内容,如果未能解决你的问题,请参考以下文章