64行代码实现简单人脸识别
Posted Mae_strive
tags:
篇首语:本文由小常识网(cha138.com)小编为大家整理,主要介绍了64行代码实现简单人脸识别相关的知识,希望对你有一定的参考价值。
文章目录
一、技术栈
1、首先,最重要的一点!!! 你的设备要有摄像头!!!
2、Python库:
Dlib库: 机器学习开源库,有很多机器学习算法。
openCV库: 最常用的图像处理工具
scikit-image: 图像处理库
face_recognition: 人脸识别开源库
3、数据集:
可以使用目前人脸识别最常用的LFW数据集。
下载地址
我用的是自己准备的几张照片。
二、准备数据集(图片)
数据集中准备了三种不同人的图片。

三、测试
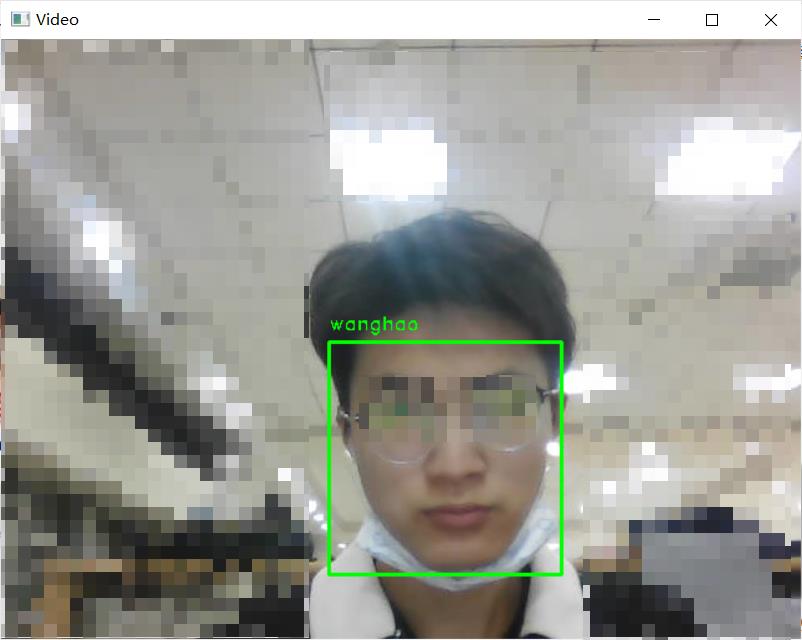
1、用wanghao.jpg测试

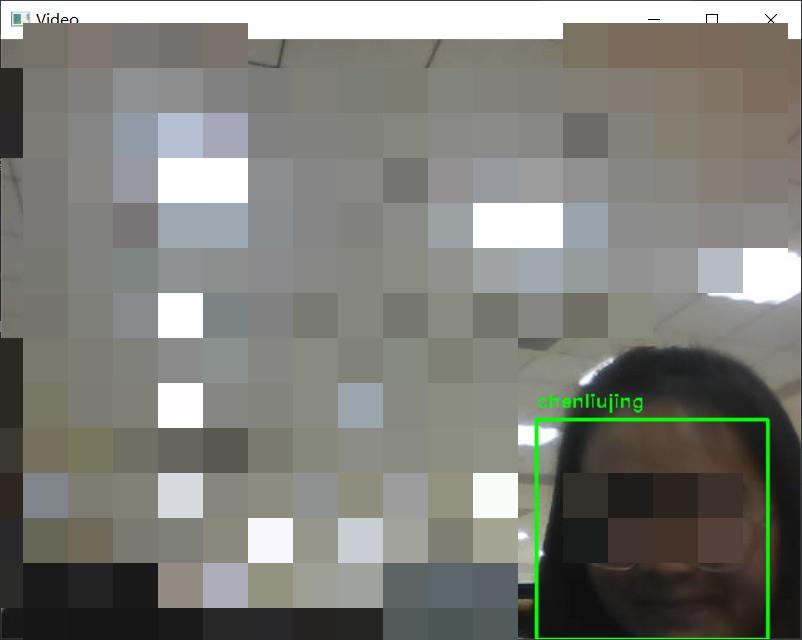
2、chenliujing.jpg测试

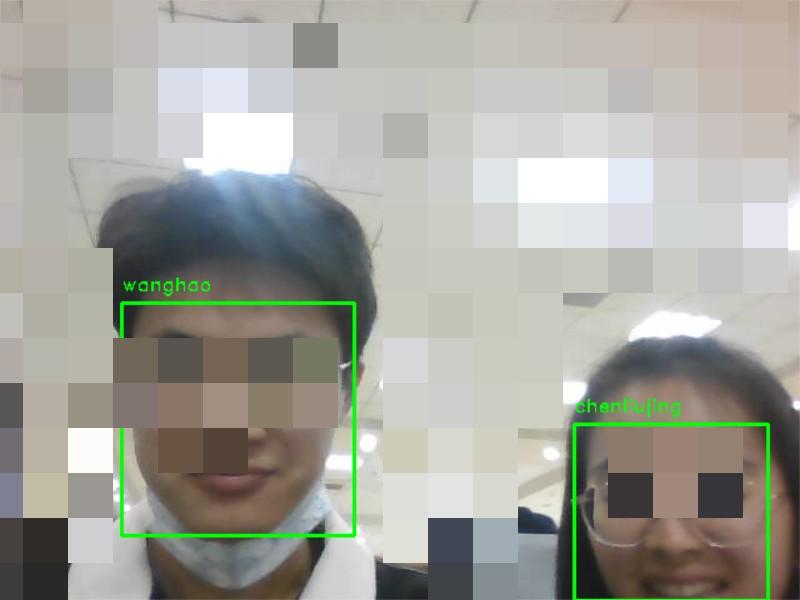
3、wanghao+chenliujing测试

4、未知人测试

三、代码实现
import os
import face_recognition
import cv2

# 读取到数据库中的人名和面部特征
face_databases_dir = 'face_databases'
user_names = []
user_faces_encodings = []
# 得到face_databases中所有文件
files = os.listdir('face_databases')
# 循环读取
for image_shot_name in files:
    # 截取文件名作为用户名 存入user_names列表中
    user_name, _ = os.path.splitext(image_shot_name)
    user_names.append(user_name)
    # 读取图片文件中的面部特征信息存入user_faces_encodings列表中
    image_file_name = os.path.join(face_databases_dir, image_shot_name)
    # 加载图片
    image_file = face_recognition.load_image_file(image_file_name)
    # 读取图片信息
    face_encoding = face_recognition.face_encodings(image_file)[0]
    user_faces_encodings.append(face_encoding)
print("数据库加载完毕!")
# 打开摄像头,读取摄像头拍摄到的画面
# 定位到画面中人的脸部,并用绿色的框框把人脸框住
# 用拍摄到人的脸部特征和数据库中的面部特征去匹配
# 并在用户头像的绿框上方用用户的姓名做标识,未知用户统一用Unknown
# 1、打开摄像头 获取摄像头对象
video_capture = cv2.VideoCapture(0)
# 2、循环不停的获取摄像头拍摄的画面,并做进一步处理
while True:
    # 2.1获取摄像头拍摄的画面
    ret, frame = video_capture.read()
    # 2.2从拍摄到的画面中提取出人的脸部所在区域
    face_locations = face_recognition.face_locations(frame)
    # 2.2.1从所有人的头像所在区域提取出脸部特征
    face_encodings = face_recognition.face_encodings(frame, face_locations)
    names = []
    # 2.2.2 匹配 遍历face_encodings和数据库中的去比对
    for face_encoding in face_encodings:
        matchers = face_recognition.compare_faces(user_faces_encodings, face_encoding)
        name = "Unknown"
        for index, is_match in enumerate(matchers):
            if is_match:
                name = user_names[index]
                break
        names.append(name)
    # 2.3循环遍历人到额脸部所在区域 并画框 在框框上标识姓名
    for (top, right, bottom, left), name in zip(face_locations, names):
        # 2.3.1画框
        # BGR
        cv2.rectangle(frame, (left, top), (right, bottom), (0, 255, 0), 2)
        font = cv2.FONT_HERSHEY_DUPLEX
        cv2.putText(frame, name, (left, top - 10), font, 0.5, (0, 255, 0), 1)
    # 2.4通过opencv把画面展示出来
    cv2.imshow("Video", frame)
    # 2.5按q循环退出(关闭摄像头)
    if cv2.waitKey(1) & 0xFF == ord('q'):
        break

# 3、释放摄像头资源
video_capture.release()
cv2.destroyAllWindows()
四、总结
准确率其实也不太高。未知人有时也会识别成数据集中的人
以上是关于64行代码实现简单人脸识别的主要内容,如果未能解决你的问题,请参考以下文章