window10创建系统服务
Posted luyang08
tags:
篇首语:本文由小常识网(cha138.com)小编为大家整理,主要介绍了window10创建系统服务相关的知识,希望对你有一定的参考价值。
前后端分离,不想启动vscode ,每次启动nginx很麻烦,于是乎想到window内置服务
先上工具winsw :https://github.com/kohsuke/winsw/releases
用法(细节参考git)
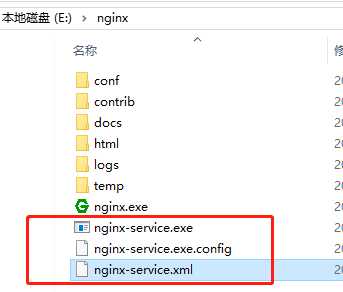
1.下载 WinSW.NET4.exe ,放到nginx根目录,重命名为nginx-service.exe (名称随意),新建nginx-service.exe.config 和nginx-service.xml

nginx-service.xml 内容如下,路径请根据自己环境调整
 1 <service>
 2     <id>nginx</id>
 3     <name>Nginx Service</name>
 4     <description>High Performance Nginx Service</description>
 5     <logpath>E:
ginxlogs</logpath>
 6     <log mode="roll-by-size">
 7         <sizeThreshold>10240</sizeThreshold>
 8         <keepFiles>8</keepFiles>
 9     </log>
10     <executable>E:
ginx
ginx.exe</executable>
11     <startarguments>-p E:
ginx</startarguments>
12     <stopexecutable>E:
ginx
ginx.exe</stopexecutable>
13     <stoparguments>-p E:
ginx -s stop</stoparguments>
14 </service>
nginx-service.exe.config 内容如下,
<configuration>
    <startup>
        <supportedRuntime version="v4.0" />
    </startup>
    <runtime>
        <generatePublisherEvidence enabled="false" />
    </runtime>
</configuration>
最后cmd到此目录,执行:nginx-service.exe install
E:
ginx>nginx-service.exe install
2019-10-23 11:02:45,158 INFO  - Installing the service with id ‘nginx‘
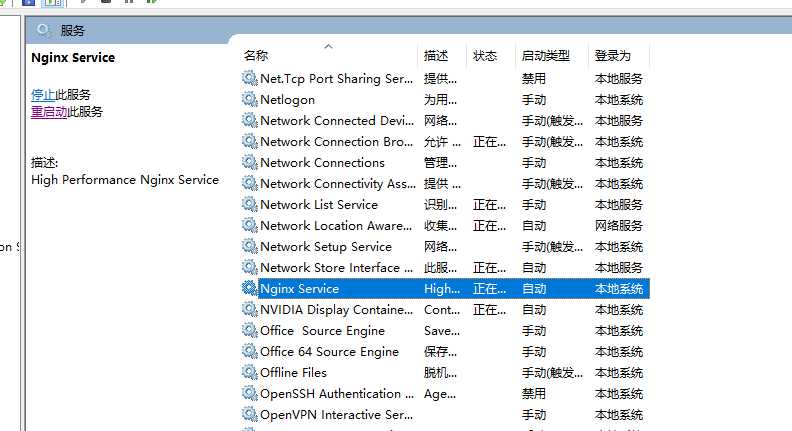
自己启动一下就完成了

追加一个删除服务的命令:
sc delete 服务名
E:apache-activemqin> sc delete nginx
[SC] DeleteService 成功
以上是关于window10创建系统服务的主要内容,如果未能解决你的问题,请参考以下文章