Docker之二----镜像制作
Posted struggle-1216
tags:
篇首语:本文由小常识网(cha138.com)小编为大家整理,主要介绍了Docker之二----镜像制作相关的知识,希望对你有一定的参考价值。
Docker镜像制作
1、Docker镜像有没有内核?
从镜像大小上面来说,一个比较小的镜像只有十几MB ,而内核文件需要一百多兆, 因此镜像里面是没有内核的,镜像在被启动为容器后将直接使用宿主机
的内核,而镜像本身则只提供相应的rootfs,即系统正常运行所必须的用户空间的文件系统,比如 /dev,/,/proc,/bin /etc等目录,所以容器当中基本是没有/boot目录的,
而/boot当中保存的就是与内核相关的文件和目录 。
2、为什么没有内核?
由于容器启动和运行过程中是直接使用宿主机的内核,所以没有直接调用过物理硬件所以也不会涉及到硬件驱动, 因此也用不上内核和驱动,另外有内核的那是虚拟机。
1、DockerFile制作yum版nginx镜像
DockerFile可以 说是 一种 可以 被 Docker 程序解释的脚本, DockerFile 是由一条条的命令组成的,每条命令对应 linux下面的一条命令, Docker 程序将这些DockerFile指令再翻译成真正的指令再翻译成真正的linuxlinux命令,
Docker 程序读取DockerFile并根据指令生成 Docker 镜像,相比手动制作镜像的方式, DockerFile更能直观的展示镜像是怎么产生的,有了DockerFile,当后期有额外的需求时,只要在之前的 DockerFile添加或者修改响应的命令即可
重新生成新的 Docke 镜像,避免了重复手动制作镜像的麻烦,具体如下:
实战一:Dockerfile制作nginx镜像
1、Dockerfile制作yum版nginx镜像
1、先经过docker下载centos镜像
[root@centos-7 ~]# yum install docker-ce  -y #安装官网docker-ce,默认安装最新版
[root@centos-7 ~]# systemctl start docker  #启动docker
[root@centos-7 ~]# docker pull centos  #下载centos镜像
2、切换到一个新建的nginx目录下,进行实验测试
[root@centos-7 ~]# mkdir /data/nginx
[root@centos-7 ~]# cd /data/nginx
3、创建一个nginx测试页,然后访问网页测试
[root@centos-7 nginx]# cd  /data/nginx
[root@centos-7 nginx]# cat index.html  #修改一个测试页面
nginx web test
[root@centos-7 nginx]# cat index1.html  #修改一个测试页面
nginx web index1 test
[root@centos-7 nginx]# tar zcvf  code.tar.gz index1.html index.html
4、开始在nginx目录下创建一个Dockerfile文件,创建的nginx镜像,不能在镜像内改配置文件,只能将配置文件传出来,在宿主机内修改,然后再传到配置文件中,测试的代码也是如此。
FROM centos

MAINTAINER liu 958421213@@qq.com

RUN yum install epel-release  -y &&  yum install nginx -y   && rm -rf /usr/share/nginx/html/index.html  #如果加入后面的rm -rf 命令后,就会重新执行前面的安装

ENV MY_HOST 192.168.7.101

ADD code.tar.gz /usr/share/nginx/html/   # 直接导入压缩的包,ADD选项是解压包,用COPY就是不解压

EXPOSE 80 443

CMD ["nginx"]
5、制作镜像脚本
[root@centos-7 nginx]# cat build-command.sh
#!/bin/bash

TAG=$1
docker build  -t nginx:$1 .
6、执行制作镜像脚本
[root@centos-7 nginx]# bash build-command.sh make
7、运行docker容器并启动nginx
[root@centos-7 nginx]# docker images  # 查看docker镜像
REPOSITORY          TAG                 IMAGE ID            CREATED             SIZE
nginx               make                eca08b87df7f        5 minutes ago       511MB
nginx               2020                ed020900aa3c        20 minutes ago      317MB
centos              latest              0f3e07c0138f        3 months ago        220MB
[root@centos-7 nginx]# docker run -it --rm -p 80:80 nginx:make bash  # 启动nginx:make镜像,--rm测试完就会删除此镜像
[root@da4569e4a5e3 /]# nginx #启动nginx
Cannot parse dst/src address.
[root@da4569e4a5e3 /]# ss -anlt
State             Recv-Q             Send-Q                           Local Address:Port                           Peer Address:Port
LISTEN            0                  128                                    0.0.0.0:80                                  0.0.0.0:*
LISTEN            0                  128                                       [::]:80                                     [::]:*
8、网页测试:
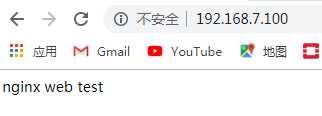
两个不同的html访问都已成功:


9、如果需要修改配置文件,不能在镜像里边进行修改,需要将配置文件传出来修改,然后再传回去再次创建镜像。
[root@aef982ee5d27 /]# sz /etc/nginx/nginx.conf
10、修改后的Dockerfile文件
FROM centos

MAINTAINER liu 958421213@@qq.com

RUN yum install epel-release  -y &&  yum install nginx -y   && rm -rf /usr/share/nginx/html/index.html  #如果加入后面的rm -rf 命令后,就会重新执行前面的安装

ENV MY_HOST 192.168.7.101

ADD nginx.conf  /etc/nginx/  # 修改后的配置文件加上此选项即可
ADD code.tar.gz /usr/share/nginx/html/   # 直接导入压缩的包,ADD选项是解压包,用COPY就是不解压

EXPOSE 80 443

CMD ["nginx"]
2、Dockerfile编译nginx镜像
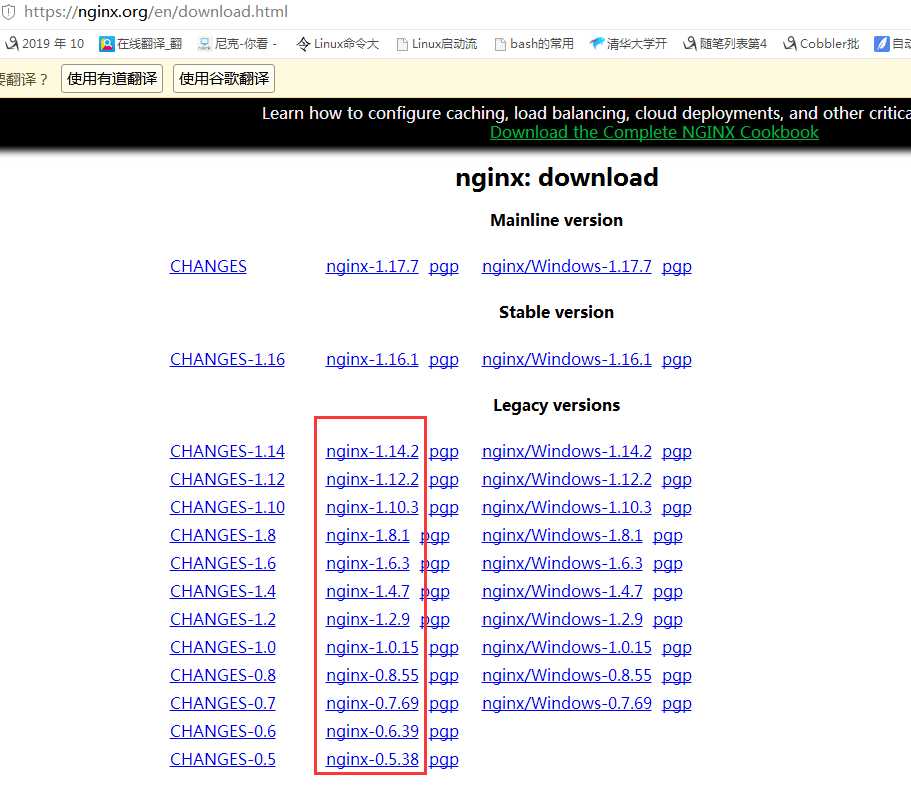
nginx源码包下载官网:https://nginx.org/en/download.html

1、创建一个nginx测试页,然后访问网页测试
[root@centos-7 nginx]# cd  /data/nginx
[root@centos-7 nginx]# cat index.html  #修改一个测试页面
nginx web test
[root@centos-7 nginx]# cat index1.html  #修改一个测试页面
nginx web index1 test
[root@centos-7 nginx]# tar zcvf  code.tar.gz index1.html index.html
2、在上面的基础修改Dockerfile配置文件
[root@centos-7 nginx]# cat Dockerfile
FROM centos

MAINTAINER  liu 29737xxxx0@qq.com

RUN yum install epel-release -y && yum install  vim iotop bc gcc gcc-c++ glibc glibc-devel pcre pcre-devel openssl  openssl-devel zip unzip zlib-
devel  net-tools lrzsz tree  telnet lsof tcpdump wget libevent libevent-devel bc  systemd-devel bash-completion traceroute -y

RUN  yum groupinstall "development tools" -y  #添加一个开发包组,为了编译安装
ADD nginx-1.14.2.tar.gz /usr/local/src
RUN cd /usr/local/src/nginx-1.14.2 && ./configure --prefix=/apps/nginx && make && make install && ln -sv /apps/nginx/sbin/nginx /usr/sbin/nginx
#COPY nginx.conf /apps/nginx/conf
#ENV MY_HOST 192.168.7.101
#ADD nginx.conf /etc/nginx/
ADD code.tar.gz  /apps/nginx/html/

EXPOSE 80 443
CMD ["nginx"]
3、制作镜像脚本
[root@centos-7 nginx]# cat build-command.sh
#!/bin/bash

TAG=$1
docker build  -t nginx:$1 .
4、执行制作镜像脚本
[root@centos-7 nginx]# bash build-command.sh make
5、执行创建镜像脚本
[root@centos-7 nginx]# bash build-command.sh make
6、运行镜像,并启动nginx服务
[root@centos-7 nginx]# docker run -it --rm -p 80:80 nginx:make bash
[root@ae4b6e0b4d0b /]# ss -ltnp
State            Recv-Q             Send-Q                            Local Address:Port                           Peer Address:Port
[root@ae4b6e0b4d0b /]# nginx
[root@ae4b6e0b4d0b /]# ll
bash: ll: command not found
[root@ae4b6e0b4d0b /]# ss -nltp
State             Recv-Q             Send-Q                           Local Address:Port                           Peer Address:Port
LISTEN            0                  128                                    0.0.0.0:80                                  0.0.0.0:*                 users:(("nginx",pid=18,fd=6))
[root@ae4b6e0b4d0b /]# exit
7、网页测试:
两个不同的html访问都已成功:


3、docker下载mysql镜像
1、直接pull下载mysql镜像
[root@centos7 ]# docker pull mysql:5.6.44
2、运行此镜像,需要指定密码
[root@centos-7 nginx]# docker run -it --rm -p 3306:3306 -e MYSQL_ROOT_PASSWORD=123456 mysql:5.6.44 # 做一个端口映射
3、在另一台mysql客户端进行测试连接
[root@centos-7 ~]# mysql -p123456 -h192.168.7.100
Welcome to the MariaDB monitor.  Commands end with ; or g.
Your MySQL connection id is 1
Server version: 5.6.44 MySQL Community Server (GPL)

Copyright (c) 2000, 2018, Oracle, MariaDB Corporation Ab and others.

Type ‘help;‘ or ‘h‘ for help. Type ‘c‘ to clear the current input statement.

MySQL [(none)]>
注意:将数据库的数据最好能存在宿主机的/var/lib/mysql目录下,避免容器删除后,数据库还能在下一个容器上继续运行。
以上是关于Docker之二----镜像制作的主要内容,如果未能解决你的问题,请参考以下文章