Win10系统下安装tensorflow(cpu)+keras+jupyter notebook运行环境
Posted tianyadream
tags:
篇首语:本文由小常识网(cha138.com)小编为大家整理,主要介绍了Win10系统下安装tensorflow(cpu)+keras+jupyter notebook运行环境相关的知识,希望对你有一定的参考价值。
记录,自用
1、安装Anaconda(这里安装的是python3.6版本)
2、创建tensorflow的conda环境
1 conda create -n tensorflow python=3.6
3、切换到上一步创建的名为“tensorflow”的python解释器环境
1 activate tensorflow
4、分别安装tensorflow和keras
版本兼容性参考:https://docs.floydhub.com/guides/environments/
这里选择TensorFlow 1.4.0 + Keras 2.0.8 on Python 3.6.
1 pip install tensorflow==1.4.0
2 pip install keras==2.0.8
5、遇到问题1
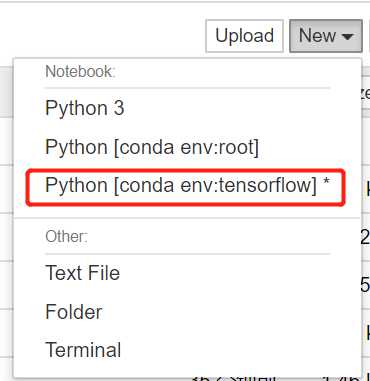
在该环境使用python解释器,可以正常使用tensorflow
当在该环境下打开jupyter notebook,运行import tensorflow as tf,报错
“ImportError: No module named tensorflow"
解决方案:
1 conda install nb_conda

6、遇到问题2
执行“import tensorflow as tf”后遇到
FutureWarning: Passing (type, 1) or ‘1type‘ as a synonym of type is deprecated; in a future version of numpy, it will be understood as (type, (1,)) / ‘(1,)type‘._np_quint8 = np.dtype([("quint8", np.uint8, 1)])的错误
解决方案:降低numpy版本
1 pip install numpy==1.16.0
7、成功
以上是关于Win10系统下安装tensorflow(cpu)+keras+jupyter notebook运行环境的主要内容,如果未能解决你的问题,请参考以下文章
Win10下TensorFlow安装错误解决:Your CPU supports instructions that this TensorFlow binary was not compiled t
吴恩达课程使用keras cpu版安装接- anaconda (python 3.7) win10安装 tensorflow 1.8 cpu版