PythonWeb-Django框架学习-Demo3-使用ORM
Posted bigbosscyb
tags:
篇首语:本文由小常识网(cha138.com)小编为大家整理,主要介绍了PythonWeb-Django框架学习-Demo3-使用ORM相关的知识,希望对你有一定的参考价值。
拿一个简单的例子来学习一下Django中的ORM:让用户输入个人信息,点击提交后以列表形式显示到下方。
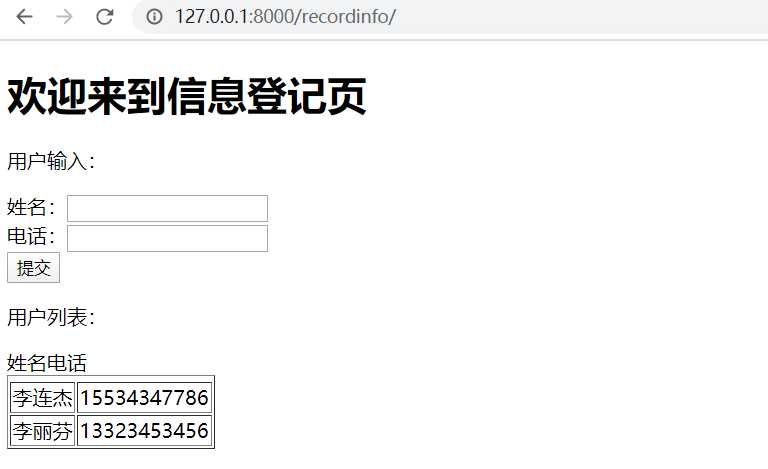
方法一:不使用数据库
在视图处理函数中定义list对象,将从Request中接收到的信息,以字典形式添加到列表中,最后将list作为参数传递给render()函数。模板接收到数据后,遍历显示。
视图处理:
# recordinfo models.py
from django.shortcuts import render, HttpResponse

user_list = []


# Create your views here.
def index(myrequest):
    # return HttpResponse(‘我是首页,欢迎你。‘)
    # pamdict={‘name‘:‘博哥‘}
    # return render(myrequest,‘recordinfo/myindex.html‘,pamdict)
    if myrequest.method == ‘POST‘:
        username = myrequest.POST.get(‘uname‘)
        userphone = myrequest.POST.get(‘uphone‘)
        print(username, userphone)
        temp = {‘username‘: username, ‘userphone‘: userphone}
        user_list.append(temp)
    return render(myrequest, ‘recordinfo/myindex.html‘, {‘datalist‘: user_list})
模板文件:
<!DOCTYPE html>
<html>
<head>
    <title>首页</title>
</head>
<body>
<h1>欢迎来到信息登记页</h1>
<p>用户输入:</p>
<form action="{% url ‘recordinfo:index‘ %}" method="post">
    {% csrf_token %}
    姓名:<input type="text" name="uname"><br/>
    电话:<input type="password" name="uphone"><br>
    <input type="submit" value="提交">
</form>
<p>用户列表:</p>
<table border="1">
    <thead>
    <tr>姓名</tr>
    <tr>电话</tr>
    </thead>
    <tbody>
    {% for item in datalist %}
        <tr>
            <td>{{ item.username }}</td>
            <td>{{ item.userphone }}</td>
        </tr>
    {% endfor %}
    </tbody>
</table>
</body>
</html>
说明:{% csrf_token %} 是为了解决 Forbidden(403) CSRF verification failed.Request aborted。 这是一个因为跨域请求保护机制而报的错。只要我们在form标签中加上这行就行。
静态文件:
模板有了 但是我们要让模板变好看,有一些特效,得需要css、js这样的文件。
1、在Django中,静态文件放在static文件夹中。
static文件夹建在app下面,再在static下面建一个与app同名的文件夹,在上一步建好的文件夹下创建css文件。
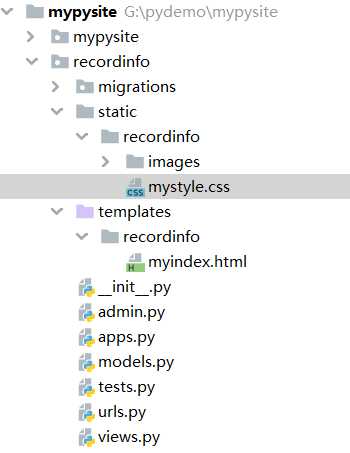
代码:
p {
    color: green;
}

body {
    background: blueviolet url("images/bg.png");
}
说明:为了让页面更好看一些,还加了一个背景图。
2、使用静态文件
在myindex.html首部head标签内应用css文件。
<!DOCTYPE html>
<html>
<head>
    <title>首页</title>
    {% load static %}
    <link rel="stylesheet" href="{% static ‘recordinfo/mystyle.css‘ %}" type="text/css">
</head>
<body>
<h1>欢迎来到信息登记页</h1>
<p>用户输入:</p>
<form action="{% url ‘recordinfo:index‘ %}" method="post">
    {% csrf_token %}
    姓名:<input type="text" name="uname"><br/>
    电话:<input type="password" name="uphone"><br>
    <input type="submit" value="提交">
</form>
<p>用户列表:</p>
<table border="1">
    <thead>
    <tr>姓名</tr>
    <tr>电话</tr>
    </thead>
    <tbody>
    {% for item in datalist %}
        <tr>
            <td>{{ item.username }}</td>
            <td>{{ item.userphone }}</td>
        </tr>
    {% endfor %}
    </tbody>
</table>
</body>
</html>
3、运行效果:

项目目录:
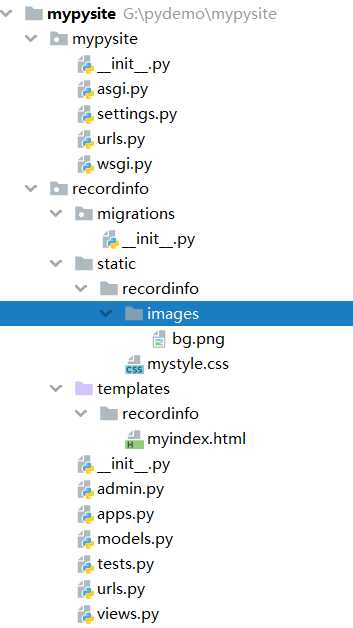
以上是没有使用数据库的情况,当我们服务器重启,这些输入数据就直接消失了,所以我们得想办法把这些数据保存到数据库中,专业名词叫:持久化。
方法二:使用数据库
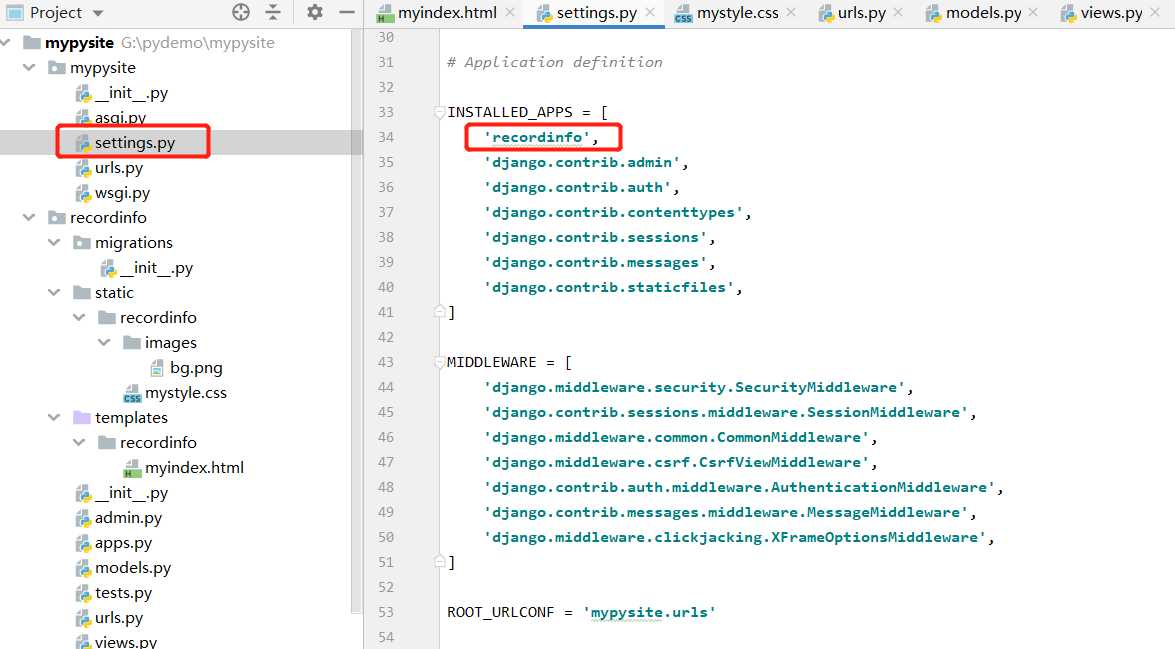
1、注册应用
在开始之前我们应该确认我们是否在settings.py注册了我们的app:告诉django,将来要给哪个app创建数据库表。
2、配置数据库
Django默认给我们设置的数据库类型是Sqlite:Sqlite数据库轻,免密码。减轻一下学习成本,暂且不去修改数据库配置项。
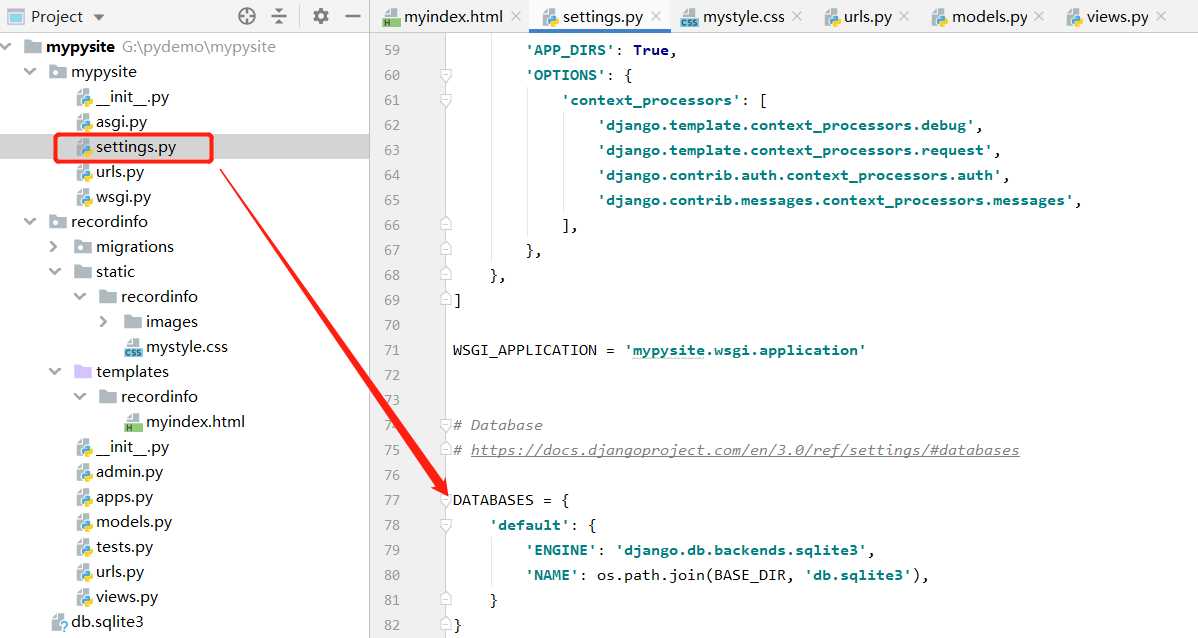
3、编写模型
Django将继承自models的类,与数据库中的表进行映射。Django自动会为我们创建表和字段。我们在应用(recordeinfo)的models.py中写入模型类
from django.db import models

# Create your models here.
class User(models.Model):
    username = models.CharField(max_length=50)
    userphone = models.CharField(max_length=11)
4、记录模型变更、根据模型创建数据库表
I:记录模型变动
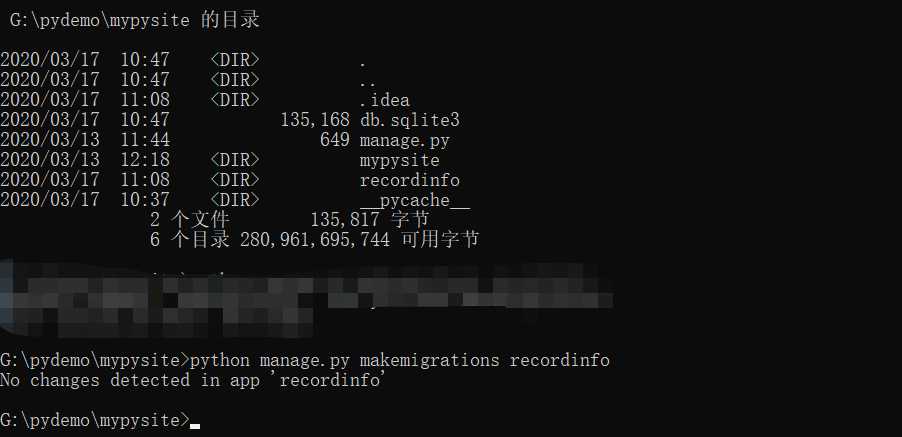
使用 python manage.py makemigrations recordinfo 会在recordinfo应用的migrations目录中 生成一个0001_initial.py 迁移记录文件
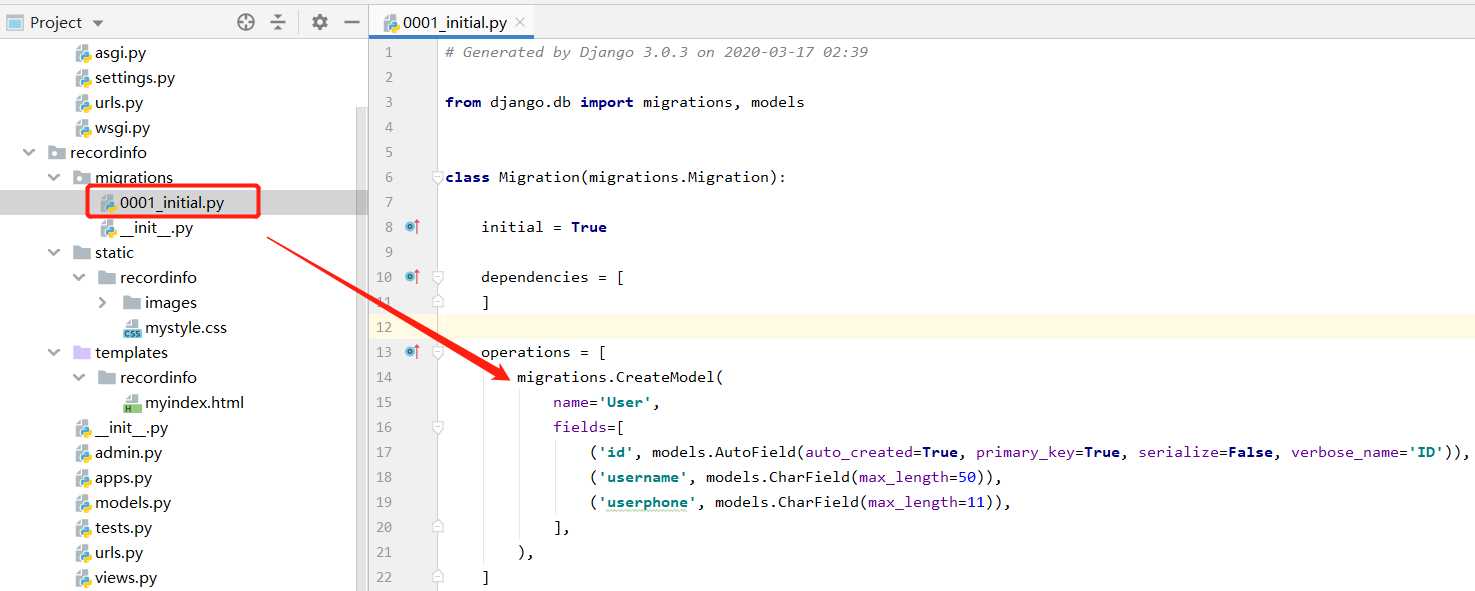
说明:打开迁移记录文件 可以看到 django为我们生成了一个建表操作。
II:操作数据库
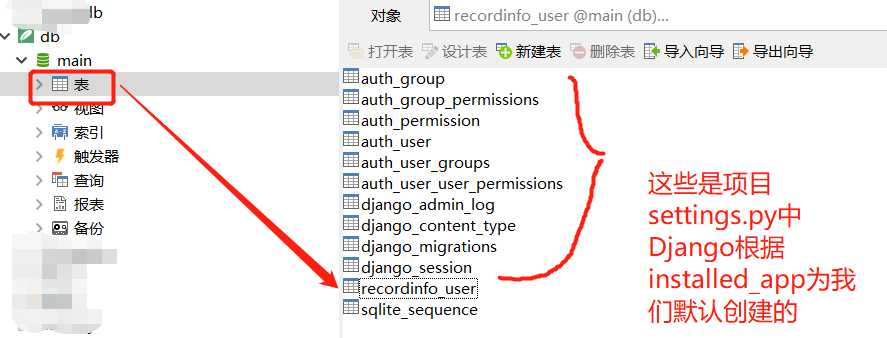
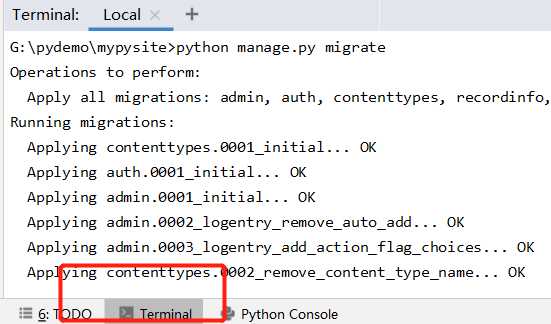
执行真正的数据库表操作:python manage.py migrate
III:重新编辑views.py 将逻辑改为与数据库进行交互
from django.shortcuts import render, HttpResponse
from recordinfo.models import User

user_list = []


def index(myrequest):
    if myrequest.method == ‘POST‘:
        user_name = myrequest.POST.get(‘uname‘)
        user_phone = myrequest.POST.get(‘uphone‘)
        print(user_name, user_phone)
        # 保存到数据库中 create相当于SQL里面的insert语句
        User.objects.create(username=user_name, userphone=user_phone)
    user_list = User.objects.all()  # 从数据库中查出所有数据
    return render(myrequest, ‘recordinfo/myindex.html‘, {‘datalist‘: user_list})
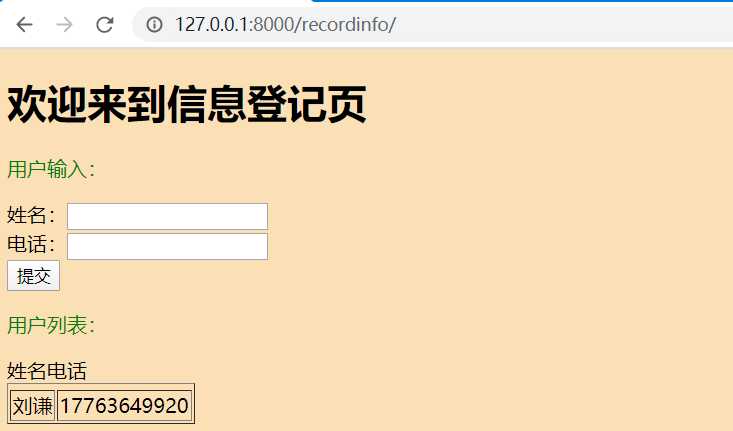
IV:运行
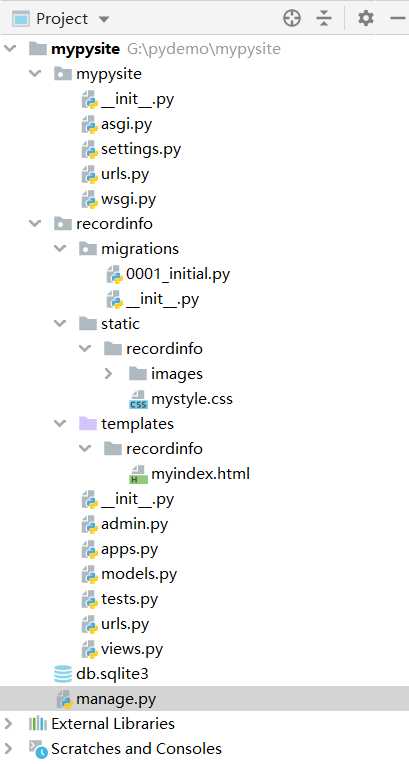
V:项目目录
VI:关于python manage.py makegrations recordinfo和python manage.py migrate 这两个命令
I:如果使用 cmd 命令 需要进入到项目的根目录下
II:如果你像我一样使用的是pycharm 这款编辑器 那么选择下方的Terminal即可
以上是关于PythonWeb-Django框架学习-Demo3-使用ORM的主要内容,如果未能解决你的问题,请参考以下文章