横冲直撞vue(第四篇):v-model指令系统总结指令系统示例轮播图实现指令系统示例跑马灯效果实现在vue中使用样式的方式
Posted nicholas0707
tags:
篇首语:本文由小常识网(cha138.com)小编为大家整理,主要介绍了横冲直撞vue(第四篇):v-model指令系统总结指令系统示例轮播图实现指令系统示例跑马灯效果实现在vue中使用样式的方式相关的知识,希望对你有一定的参考价值。
v-model 指令在表单 <input>、<textarea> 及 <select> 元素上创建双向数据绑定。它会根据控件类型自动选取正确的方法来更新元素。
尽管有些神奇,但v-model本质上不过是语法糖。它负责监听用户的输入事件以更新数据,并对一些极端场景进行一些特殊处理。
v-model在内部为不同的输入元素使用不同的属性并抛出不同的事件:
-
text 和 textarea 元素使用
value属性和input事件; -
checkbox 和 radio 使用
checked属性和change事件; -
select 字段将
value作为 prop 并将change作为事件。
vue的核心:声明式的指令和数据的双向绑定。
什么是数据的双向绑定?另外,大家一定要知道vue的设计模式:MVVM
M是Model的简写,V是View的简写,VM就是ViewModel。
单向绑定和双向绑定的区别?
单向绑定非常简单,就是把Model绑定到View,当我们用javascript代码更新Model时,View就会自动更新。
有单向绑定,就有双向绑定。
如果用户更新了View,Model的数据也自动被更新了,这种情况就是双向绑定。
什么情况下用户可以更新View呢?填写表单就是一个最直接的例子。当用户填写表单时,View的状态就被更新了,如果此时MVVM框架可以自动更新Model的状态,那就相当于我们把Model和View做了双向绑定。
其实单项数据也有双向绑定的意思,不过页面变动后数据的变化不会发生自动更新。
可以这样认为:双向数据绑定=单向数据绑定+UI事件监听。
先看个vue中双向数据绑定的例子:
<body>
  <div id="app">
    <input type="text" v-model="msg">
    <p>{{msg}}</p>
  </div>
?
?
?
  <script src="./lib/vue.js"></script>
  <script>
    var app = new Vue({
      el:‘#app‘,
      data :{
        msg:‘‘
      }

    })
  </script>
</body>
页面效果如下


效果显示,当我们在input输入框中输入内容的时候,下面p标签同步显示内容。这就是最典型的双向数据绑定的例子。vue里使用v-model实现此想法。
浅析理解v-model实现过程
<body>
    <div id="app">
        <!-- v-model这个指令很好理解,其实它就是一个语法糖 (甜甜的) 它是oninput事件和绑定value的实现 -->
        <input type="text"  :value = ‘text‘ @input = ‘valueChange‘>
        <h3>{{ text }}</h3>
?
    </div>
    <script type="text/javascript" src="./node_modules/vue/dist/vue.js"></script>
?
    <script type="text/javascript">

        new Vue({
            el:"#app",
            template:``,
            data(){
                return {
                    text:‘hello‘
                }
            },
            methods:{
                valueChange(event){
                    console.log(event.target.value);
                    this.text = event.target.value
                }
            }
        });
    </script>

</body>
分析:v-mode指令是v-bind:vlaue 和v-on:input的结合体。针对input标签使用v-bind绑定value属性,使得input标签实时接收data的数据驱动,h3标签直接采用模板插值法,由data直接驱动,这是model对view
的单向绑定。
针对input标签绑定valuechange,数值变动事件,当input的数值发生变动时,由valueChange函数针对this.text的数值进行处理,这是view对model的单向绑定。由此构成了双向绑定。
用v-model实现简易计算器
<body>
  <div id="app">
    <input type="text"  v-model=‘num1‘>
    <select v-model=‘opt‘>
        <option value="+">+</option>
        <option value="-">-</option>
        <option value="*">*</option>
        <option value="/">/</option>
    </select>
?
    <input type="text"  v-model=‘num2‘>
    <button value=‘=‘ @click=‘calc‘>=</button>
    <input type="text"  v-model=‘res‘>
?
  </div>
?
  <script src="./lib/vue.js"></script>
  <script>
    var app = new Vue({
      el:‘#app‘,
      data :{
        num1:0,
        num2:0,
        res:0,
        opt:‘+‘
      },
      methods: {
?
            calc(){
?
                var calcStr = ‘parseInt(this.num1)‘+ this.opt + ‘parseInt(this.num2)‘;
                this.res = eval(calcStr);
            }
            }

    })
  </script>
</body>
?
二、指令系统总结
1、注意v-bind和v-on的简写
v-bind的简便写法,可以直接用 : 替代:
<img :src="imgSrc" :title="time">    <==对应==>
<img v-bind:src="imgSrc" v-bind:title="time">
v-on的简便写法,可以直接用 @ 替代:
<button @click = "clickHandler">切换</button>  <==对应==>
<button v-on:click="clickHandler">切换</button>
2、对页面的dom进行赋值的运算
v-test、v-html、{{}}都是对页面的dom进行赋值,相当于js中的 innnerText 和 innerHTML。
3、对页面的dom进行条件渲染
(1)v-if的内在过程
v-if = ‘true‘:
<!--创建-->
var oP = document.createElement(‘p‘);
oDiv.appendChild(op);
v-if= ‘false‘:
<!--销毁-->
oDiv.removeChild(op);`
(2)v-show的内在过程
v-show = ‘true‘:
oDiv.style.display = ‘block‘;
?
v-show = ‘false‘:
oDiv.style.display = ‘none‘
(3)v-bind内在过程
v-bind:class:
oDiv.className += ‘ active‘
4、v-if与v-show的区别
实现方式区别:v-if是根据后面数据的真假值判断直接从Dom树上删除或重建元素节点;v-show只是在修改元素的css样式,也就是display的属性值,元素始终在Dom树上。
编译过程区别:v-if切换有一个局部编译/卸载的过程,切换过程中合适地销毁和重建内部的事件监听和子组件; v-show只是简单的基于css切换。
编译条件区别:v-if是惰性的,如果初始条件为假,则什么也不做,只有在条件第一次变为真时才开始局部编译; v-show是在任何条件下(首次条件是否为真)都被编译,然后被缓存,而且DOM元素始终被保留。
性能消耗区别:v-if有更高的切换消耗,不适合做频繁的切换; v-show有更高的初始渲染消耗,适合做频繁的额切换。
5、vue的思想
vue是渐进式的JavaScript框架。大多数人觉得做加法比做减法简单。
vue这个框架将做减法的事情(困难的部分)都帮忙做了,人们只需要简单的部分就能实现复杂的dom操作。
三、指令系统之轮播图实现
1、轮播图简单示例
	<style type="text/css">
		ul{
			list-style: none;
			overflow: hidden;
			width: 400px;
		}
		ul li{
			float: left;
			width: 100px;
			height: 40px;
			line-height: 40px;
			background-color: purple;
			color: #fff;
			text-align: center;
		}
		ul li.active{
			background-color: green;
		}
	</style>
</head>
<body>
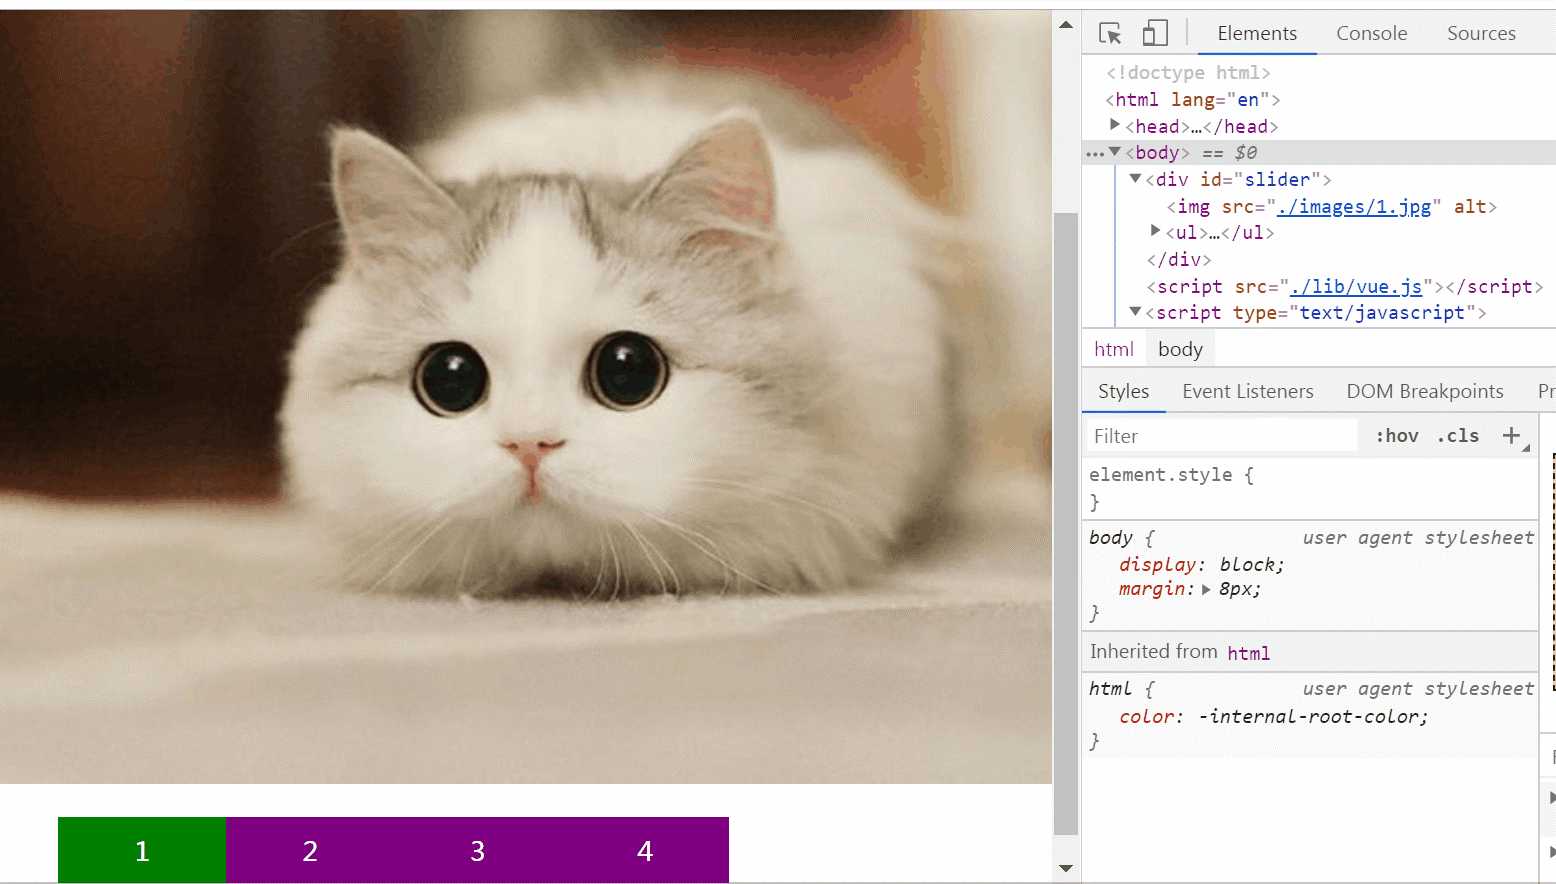
	<div id="slider">

		<img :src=‘currentImgSrc‘ >
		<ul>
			<li v-for = ‘(item,index) in imgArr‘ :class="{active:currentIndex==index}" @click=‘clickHandler(index)‘>
				{{ index +1 }}
			</li>
		</ul>
	</div>
	<script src="./lib/vue.js"></script>
	<script type="text/javascript">
		// 数据驱动视图

		var imgArr = [
			{id:1,imgSrc:‘./images/1.jpg‘},
			{id:2,imgSrc:‘./images/2.jpg‘},
			{id:3,imgSrc:‘./images/3.jpg‘},
			{id:4,imgSrc:‘./images/4.jpg‘}

		];
		new Vue({
			el:‘#slider‘,
			template:``,
			data(){
				return{
					imgArr:imgArr,
					currentIndex:0,
					currentImgSrc:‘./images/1.jpg‘
				}
			},
			methods:{
				clickHandler(index){
					this.currentIndex = index;
					this.currentImgSrc = this.imgArr[index].imgSrc;
				}
			}
		});
	</script>

</body>
页面效果如下


2、轮播图进阶
(1)增加点击下一张
	<style type="text/css">
		ul{
			list-style: none;
			overflow: hidden;
			width: 400px;
		}
		ul li{
			float: left;
			width: 100px;
			height: 40px;
			line-height: 40px;
			background-color: purple;
			color: #fff;
			text-align: center;
		}
		ul li.active{
			background-color: green;
		}
	</style>
</head>
<body>
	<div id="slider">

			<img :src=‘currentImgSrc‘ >
			<ul>
				<li v-for = ‘(item,index) in imgArr‘ :class="{active:currentIndex==index}" @click=‘clickHandler(index)‘>
					{{ index +1 }}
				</li>
			</ul>
			<button class="btn" @click=‘nextImg‘>下一张</button>


	</div>
	<script src="./lib/vue.js"></script>
	<script type="text/javascript">
		// 数据驱动视图

		var imgArr = [
			{id:1,imgSrc:‘./images/1.jpg‘},
			{id:2,imgSrc:‘./images/2.jpg‘},
			{id:3,imgSrc:‘./images/3.jpg‘},
			{id:4,imgSrc:‘./images/4.jpg‘}

		];
		new Vue({
			el:‘#slider‘,
			template:``,
			data(){
				return{
					imgArr:imgArr,
					currentIndex:0,
					currentImgSrc:‘./images/1.jpg‘
				}
			},
			methods:{
				clickHandler(index){
					this.currentIndex = index;
					this.currentImgSrc = this.imgArr[index].imgSrc;
				},
				nextImg(){
					if(this.currentIndex==this.imgArr.length-1){
						this.currentIndex = -1;
					}

					this.currentIndex++;
					this.currentImgSrc =  this.imgArr[this.currentIndex].imgSrc;
				}

			}
		});
	</script>

</body>
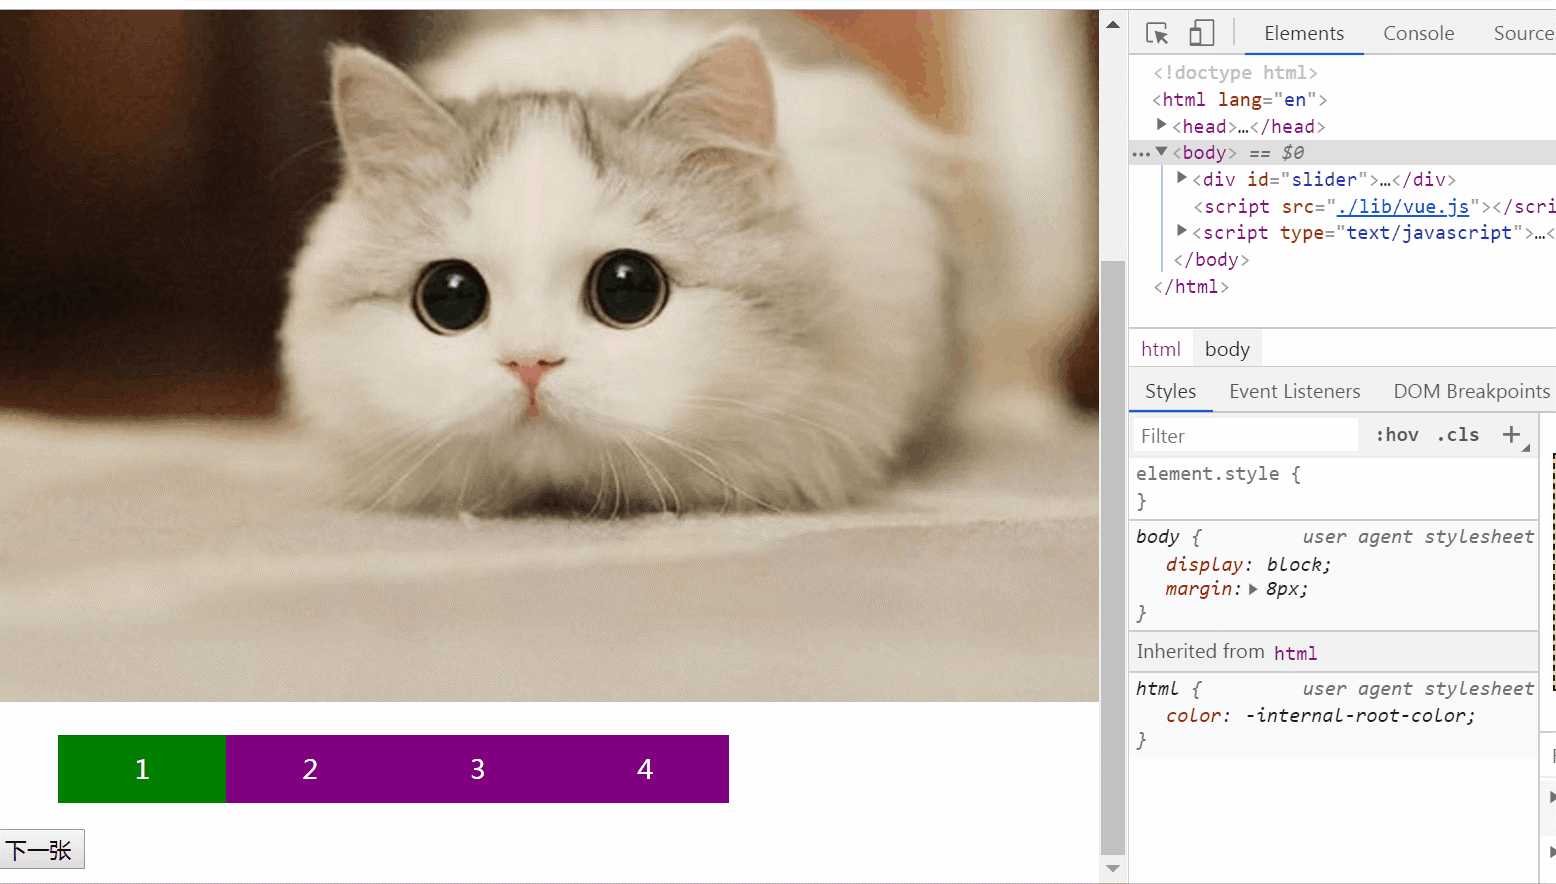
页面显示效果


(2)实例生命周期钩子
每个 Vue 实例在被创建时都要经过一系列的初始化过程——例如,需要设置数据监听、编译模板、将实例挂载到 DOM 并在数据变化时更新 DOM 等。同时在这个过程中也会运行一些叫做生命周期钩子的函数,这给了用户在不同阶段添加自己的代码的机会。
比如 created 钩子可以用来在一个实例被创建之后执行代码:
	<style type="text/css">
		ul{
			list-style: none;
			overflow: hidden;
			width: 400px;
		}
		ul li{
			float: left;
			width: 100px;
			height: 40px;
			line-height: 40px;
			background-color: purple;
			color: #fff;
			text-align: center;
		}
		ul li.active{
			background-color: green;
		}
	</style>
</head>
<body>
	<div id="slider">

			<img :src=‘currentImgSrc‘ >
			<ul>
				<li v-for = ‘(item,index) in imgArr‘ :class="{active:currentIndex==index}" @click=‘clickHandler(index)‘>
					{{ index +1 }}
				</li>
			</ul>
			<button class="btn" @click=‘nextImg‘>下一张</button>


	</div>
	<script src="./lib/vue.js"></script>
	<script type="text/javascript">
		// 数据驱动视图

		var imgArr = [
			{id:1,imgSrc:‘./images/1.jpg‘},
			{id:2,imgSrc:‘./images/2.jpg‘},
			{id:3,imgSrc:‘./images/3.jpg‘},
			{id:4,imgSrc:‘./images/4.jpg‘}

		];
		new Vue({
			el:‘#slider‘,
			template:``,
			data(){
				return{
					imgArr:imgArr,
					currentIndex:0,
					currentImgSrc:‘./images/1.jpg‘
				}
			},
			created(){
				 // 生命周期方法
            setInterval(this.nextImg, 2000)
            // setInterval()方法可按照指定的周期(以毫秒计)来调用函数或计算表达
			},

			methods:{
				clickHandler(index){
					this.currentIndex = index;
					this.currentImgSrc = this.imgArr[index].imgSrc;
				},
				nextImg(){
					if(this.currentIndex==this.imgArr.length-1){
						this.currentIndex = -1;
					}

					this.currentIndex++;
					this.currentImgSrc =  this.imgArr[this.currentIndex].imgSrc;
				}

			}
		});
	</script>

</body>
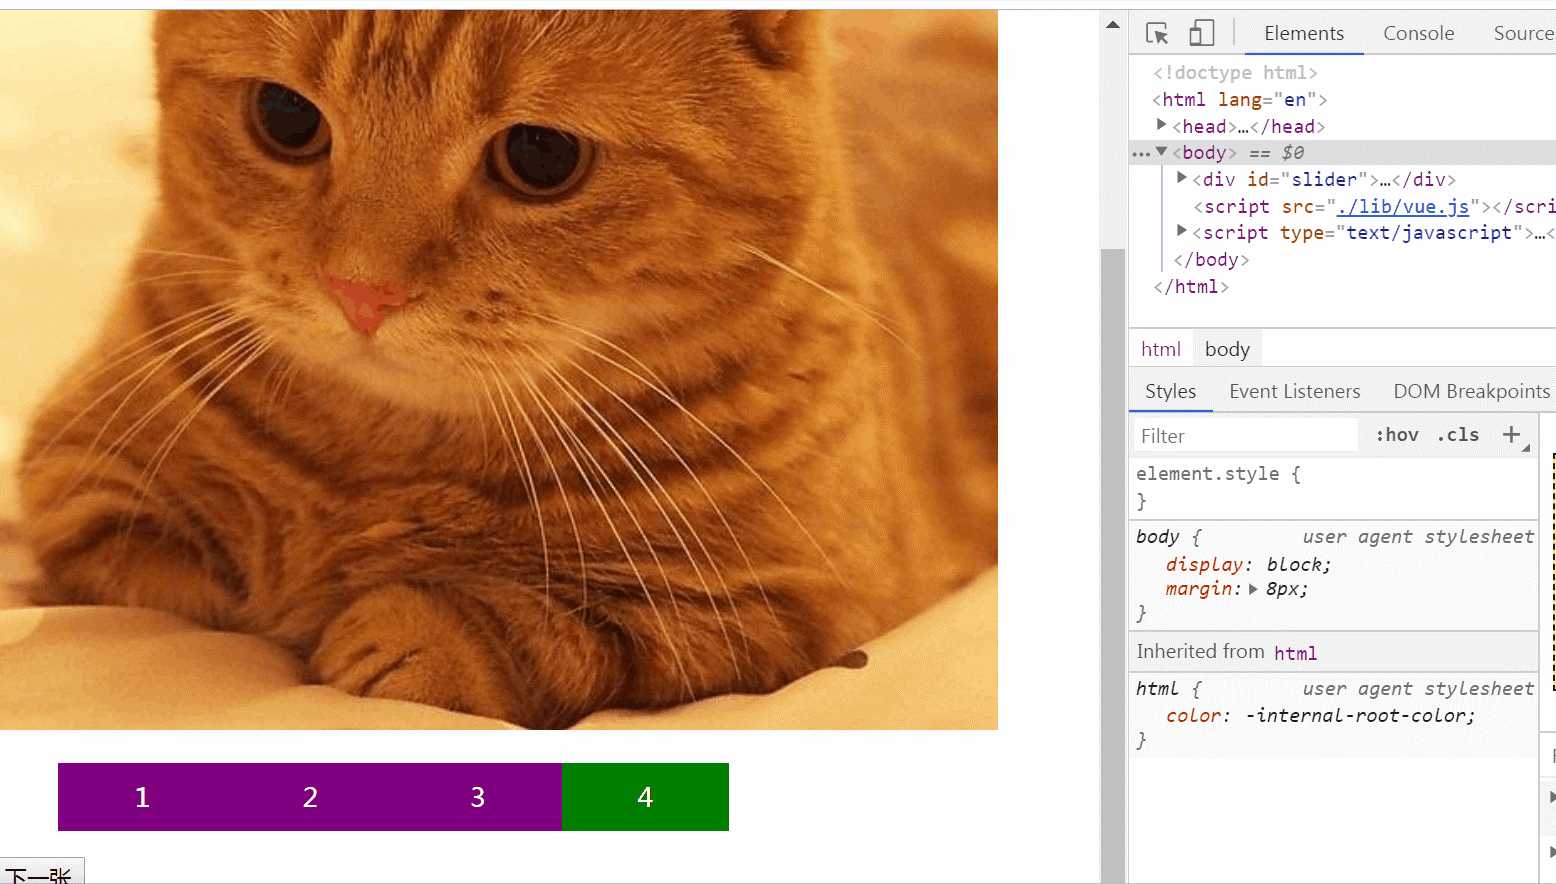
设置created生命周期方法后,页面上自动轮播图片


也有一些其它的钩子,在实例生命周期的不同阶段被调用,如 mounted、updated 和 destroyed。生命周期钩子的 this 上下文指向调用它的 Vue 实例。
created方法还可以用来获取cookie和session。
(3)鼠标 移入/移出 时 停止/开启 定时器
	<style type="text/css">
		ul{
			list-style: none;
			overflow: hidden;
			width: 400px;
		}
		ul li{
			float: left;
			width: 100px;
			height: 40px;
			line-height: 40px;
			background-color: purple;
			color: #fff;
			text-align: center;
		}
		ul li.active{
			background-color: green;
		}
	</style>
</head>
<body>
	<div id="slider">

			<img :src=‘currentImgSrc‘  @mouseover=‘stoptimer‘ @mouseleave=‘opentimer‘>
			<ul>
				<li v-for = ‘(item,index) in imgArr‘ :class="{active:currentIndex==index}" @click=‘clickHandler(index)‘>
					{{ index +1 }}
				</li>
			</ul>
			<button class="btn" @click=‘nextImg‘>下一张</button>


	</div>
	<script src="./lib/vue.js"></script>
	<script type="text/javascript">
		// 数据驱动视图

		var imgArr = [
			{id:1,imgSrc:‘./images/1.jpg‘},
			{id:2,imgSrc:‘./images/2.jpg‘},
			{id:3,imgSrc:‘./images/3.jpg‘},
			{id:4,imgSrc:‘./images/4.jpg‘}

		];
		new Vue({
			el:‘#slider‘,
			template:``,
			data(){
				return{
					imgArr:imgArr,
					currentIndex:0,
					currentImgSrc:‘./images/1.jpg‘,
					timer:null
				}
			},
			created(){
				 // 生命周期方法
            this.timer = setInterval(this.nextImg, 500)
            // setInterval()方法可按照指定的周期(以毫秒计)来调用函数或计算表达
			},

			methods:{
				clickHandler(index){
					this.currentIndex = index;
					this.currentImgSrc = this.imgArr[index].imgSrc;
				},
				nextImg(){
					if(this.currentIndex==this.imgArr.length-1){
						this.currentIndex = -1;
					}

					this.currentIndex++;
					this.currentImgSrc =  this.imgArr[this.currentIndex].imgSrc;
				},
				stoptimer(){
					clearInterval(this.timer); //停止定时器
				},
				opentimer(){
					 this.timer = setInterval(this.nextImg, 500)
					 //开启定时器
				}


			}
		});
	</script>

</body>
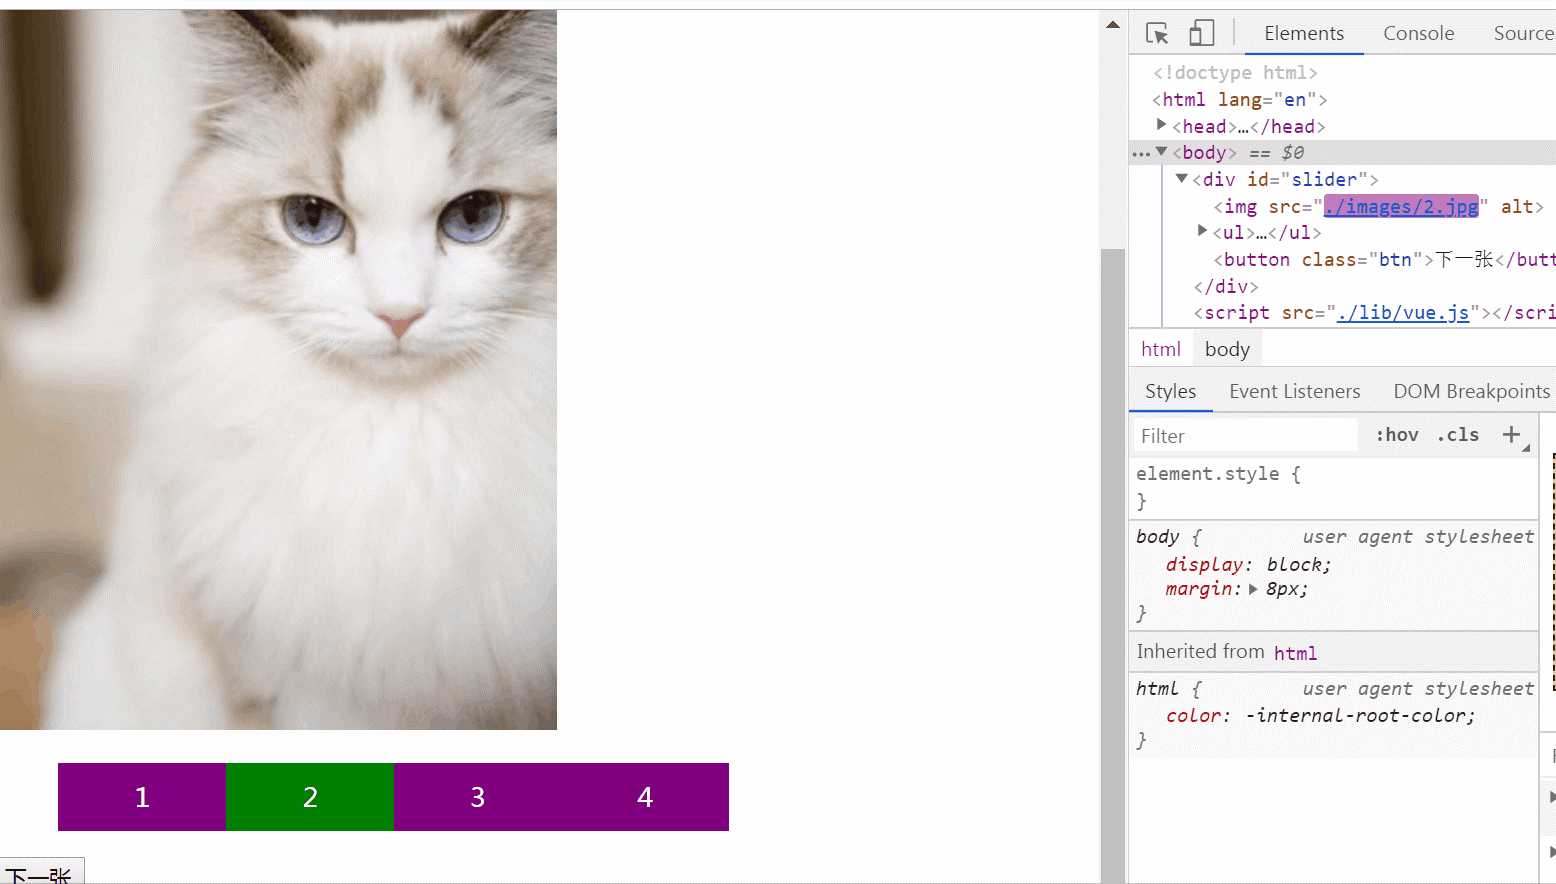
页面显示效果

注意开启定时器时不能直接调用this.created生命周期方法,必须直接开启定时器。
四、指令系统之跑马灯效果实现
<body>
  <!-- 2. 创建一个要控制的区域 -->
  <div id="app">
    <input type="button" value="浪起来" @click="lang">
    <input type="button" value="低调" @click="stop">

    <h4>{{ msg }}</h4>

  </div>

  <script>
    // 注意:在 VM实例中,如果想要获取 data 上的数据,或者 想要调用 methods 中的 方法,必须通过 this.数据属性名  或  this.方法名 来进行访问,这里的this,就表示 我们 new 出来的  VM 实例对象
    var vm = new Vue({
      el: ‘#app‘,
      data: {
        msg: ‘猥琐发育,别浪~~!‘,
        intervalId: null // 在data上定义 定时器Id
      },
      methods: {
        lang() {
          // console.log(this.msg)
          // 获取到头的第一个字符
          // this

          if (this.intervalId != null) return;

          this.intervalId = setInterval(() => {
            var start = this.msg.substring(0, 1)
            // 获取到 后面的所有字符
            var end = this.msg.substring(1)
            // 重新拼接得到新的字符串,并赋值给 this.msg
            this.msg = end + start
          }, 400)

          // 注意: VM实例,会监听自己身上 data 中所有数据的改变,只要数据一发生变化,就会自动把 最新的数据,从data 上同步到页面中去;【好处:程序员只需要关心数据,不需要考虑如何重新渲染DOM页面】
        },
        stop() { // 停止定时器
          clearInterval(this.intervalId)
          // 每当清除了定时器之后,需要重新把 intervalId 置为 null
          this.intervalId = null;
        }
      }
    })


    // 分析:
    // 1. 给 【浪起来】 按钮,绑定一个点击事件   v-on   @
    // 2. 在按钮的事件处理函数中,写相关的业务逻辑代码:拿到 msg 字符串,然后 调用 字符串的 substring 来进行字符串的截取操作,把 第一个字符截取出来,放到最后一个位置即可;
    // 3. 为了实现点击下按钮,自动截取的功能,需要把 2 步骤中的代码,放到一个定时器中去;
  </script>
</body>
页面显示效果


五、在Vue中使用样式(v-bind补充)
使用class样式
-
数组
<h1 :class="[‘red‘, ‘thin‘]">这是一个邪恶的H1</h1>
-
数组中使用三元表达式
<h1 :class="[‘red‘, ‘thin‘, isactive?‘active‘:‘‘]">这是一个邪恶的H1</h1>
-
数组中嵌套对象
<h1 :class="[‘red‘, ‘thin‘, {‘active‘: isactive}]">这是一个邪恶的H1</h1>
-
直接使用对象
<h1 :class="{red:true, italic:true, active:true, thin:true}">这是一个邪恶的H1</h1>
使用内联样式
-
直接在元素上通过
:style的形式,书写样式对象
<h1 :style="{color: ‘red‘, ‘font-size‘: ‘40px‘}">这是一个善良的H1</h1>
-
将样式对象,定义到
data中,并直接引用到:style中
-
在data上定义样式:
data: {
        h1StyleObj: { color: ‘red‘, ‘font-size‘: ‘40px‘, ‘font-weight‘: ‘200‘ }
}
-
在元素中,通过属性绑定的形式,将样式对象应用到元素中:
<h1 :style="h1StyleObj">这是一个善良的H1</h1>
-
在
:style中通过数组,引用多个data上的样式对象
-
在data上定义样式:
data: {
        h1StyleObj: { color: ‘red‘, ‘font-size‘: ‘40px‘, ‘font-weight‘: ‘200‘ },
        h1StyleObj2: { fontStyle: ‘italic‘ }
}
-
在元素中,通过属性绑定的形式,将样式对象应用到元素中:
<h1 :style="[h1StyleObj, h1StyleObj2]">这是一个善良的H1</h1>
参考资料
[1]https://www.cnblogs.com/crazymagic/p/9726673.html
[2]
以上是关于横冲直撞vue(第四篇):v-model指令系统总结指令系统示例轮播图实现指令系统示例跑马灯效果实现在vue中使用样式的方式的主要内容,如果未能解决你的问题,请参考以下文章