DJANGO-天天生鲜项目从0到1-009-搜索功能实现(django-haystack+whoosh+jieba)
Posted gcxblogs
tags:
篇首语:本文由小常识网(cha138.com)小编为大家整理,主要介绍了DJANGO-天天生鲜项目从0到1-009-搜索功能实现(django-haystack+whoosh+jieba)相关的知识,希望对你有一定的参考价值。
一般搜索功能架构为:搜索框架+搜索引擎(包括分词方式)
这里搜索框架选择:
django-haystack:是django的开源搜索框架,该框架支持Solr,Elasticsearch,Whoosh, *Xapian*搜索引擎,不用更改代码,直接切换引擎,减少代码量。
搜索引擎使用:
Whoosh:这是一个由纯Python实现的全文搜索引擎,没有二进制文件等,比较小巧,配置比较简单,性能相对低一些,不过用于小网站足矣。
分词方式使用:
Jieba:由于Whoosh自带的是英文分词,对中文的分词支持不是太好,故用jieba替换whoosh的分词组件。
系统环境信息为:Centos7,Python 3.8.2,Django 3.0.3
djang-haystack
安装
pip install django-haystack
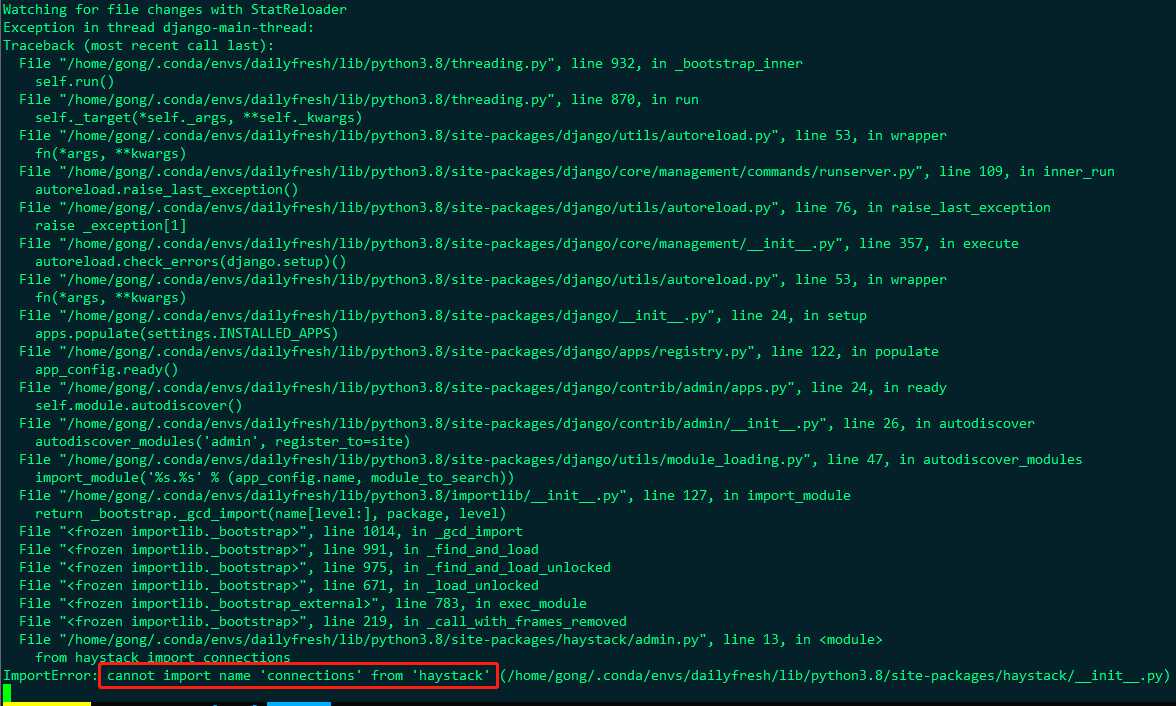
注意这里安装的是djang-haystack,而不是pip install haystack,我第一次安装时安装成了haystack,然后又再运行了 pip install django-haystack,这样启动项目后可能会导致冲突而报错"cannot import name ‘connections‘ from ‘haystack‘ ",解决方式就是,将haystack和django-haystack都卸载掉,然后重新安装django-haystack即可

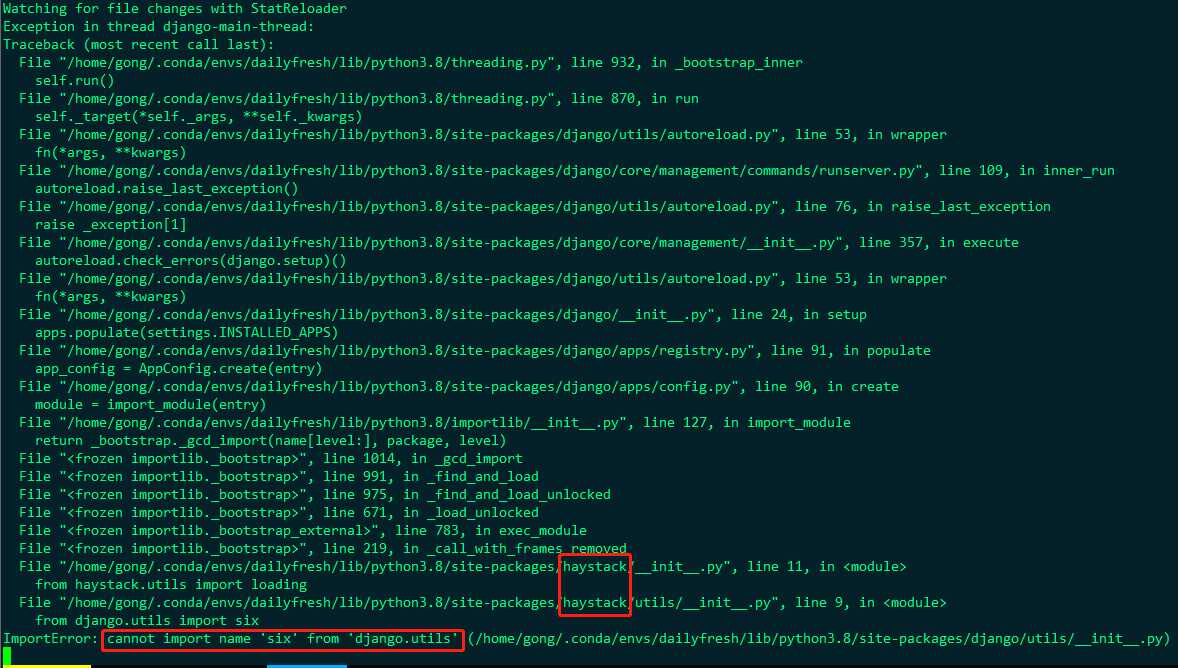
安装完djang-haystack之后,启动项目又报了另外一个错:"cannot import name ‘six‘ from ‘django.utils",原因是django 3.x 系列删除了six.

解决方式是:
1. 安装six
pip install six
2. 进入报错的虚拟环境目录
cd /home/gong/.conda/envs/dailyfresh/lib/python3.8/site-packages/
将该目录下的six.py文件拷贝一份到该目录下的django/utils目录下
cp six.py django/utils
3. 修改虚拟环境的haystack目录下的inputs.py文件
vim /home/gong/.conda/envs/dailyfresh/lib/python3.8/site-packages/haystack/inputs.py
# 将
# from django.utils.encoding import force_text, python_2_unicode_compatible
# 改为
from django.utils.encoding import force_text
from django.utils.six import python_2_unicode_compatible
配置haystack
1. 修改setting.py
添加haystack应用
INSTALLED_APPS = [
    ...
    ‘haystack‘,# 全文搜索框架
    ...
]
配置搜索引擎和索引文件
import os
HAYSTACK_CONNECTIONS = {
    ‘default‘: {
        ‘ENGINE‘: ‘haystack.backends.whoosh_backend.WhooshEngine‘,
        ‘PATH‘: os.path.join(BASE_DIR), ‘whoosh_index‘),
    },
}
‘ENGINE‘:搜索引擎使用的是虚拟环境中的haystack路径下的whoosh_backend.py文件中的WhooshEngine
‘PATH‘:指的是生成的索引文件所在路径,即项目根目录下的whoosh_index文件夹路径,这个路径不需要手动创建,当运行生成索引文件命令时会自动创建
![]()
设置搜索结果页面每页显示的数量,默认为20个
HAYSTACK_SEARCH_RESULTS_PER_PAGE = 10
2. 索引文件的生成
注意下述路径和文件名都是固定的,其中其他都可以不用动,替换一下model的名字即可
在goods应用目录下新建一个search_indexes.py文件,在其中定义一个商品索引类。
from haystack import indexes
from goods.models import Goods

class GoodsIndex(indexes.SearchIndex, indexes.Indexable):
    text = indexes.CharField(document=True, use_template=True)

    def get_model(self):
        return Goods

    def index_queryset(self, using=None):
        """Used when the entire index for model is updated."""
        return self.get_model().objects.all()
在templates下面创建文件templates/search/indexes/goods/good_text.txt
{{ object.name }}
{{ object.brief }}
{{ object.goodsspu.detail }}
生成索引文件:
python manage.py rebuild_index
3. 配置查询框和url
编辑查询框,注意method必须为get,action可以自定义表单提交路径,输入框的name必须为"q"
<div class="search_con fl">
    <form method="get" action="{% url ‘goods:search‘ %}">
        <input type="text" class="input_text fl" name="q" placeholder="搜索商品">
        <input type="submit" class="input_btn fr" name="" value="搜索">
    </form>
</div>
编辑url,根据上面的action地址编辑对应的url,这里是编辑goods应用下的urls.py。
from django.urls import path
from .views import GoodsSearchView

urlpatterns = [
    ...
    # path(‘search/‘, include(‘haystack.urls‘)),
    path(‘search/‘, GoodsSearchView.as_view(), name=‘search‘),
    ...
]
注意这里有两种写法:
第一种为include(‘haystack.urls‘),不自定义处理视图,直接使用haystack默认的context返回给模板文件,content内容为:
context = {
            ‘query‘: self.query, # 搜索关键字
            ‘form‘: self.form,
            ‘page‘: page, # 当前页的page对象,遍历page对象,获取到的是SearchResult类的实例对象,对象的属性object才是模型类的对象。
            ‘paginator‘: paginator, # 分页paginator对象
            ‘suggestion‘: None,
        }
第二种为自定义处理视图,GoodsSearchView.as_view(),可以新增自定义需要的数据信息给模板文件
class GoodsSearchView(SearchView):
    ‘‘‘商品搜索视图‘‘‘
    def get_context_data(self, *args, **kwargs):
        # 继承获取预定义的内容
        context = super(GoodsSearchView, self).get_context_data(*args, **kwargs)
        # 获取想要的数据库信息
        # 获取全部商品种类
        all_type = GoodsType.objects.all()
        # 获取购物车数量
        cart_count = get_cart_count(self.request)
        # 添加上下文
        context[‘all_type‘] = all_type
        context[‘cart_count‘] = cart_count
        context[‘page‘] = context[‘page_obj‘]
        print(context)
        return context
这里注意新增了一个key为‘page’的属性,其值为预定义的key为‘page_obj’的值,原因是当我们使用上述第一种默认返回值时,page对象的key为‘page’,而第二种自定义视图中page对象的key为‘page_obj’

为了保持一致且一般情况我们都使用的key为‘page’代表page对象。
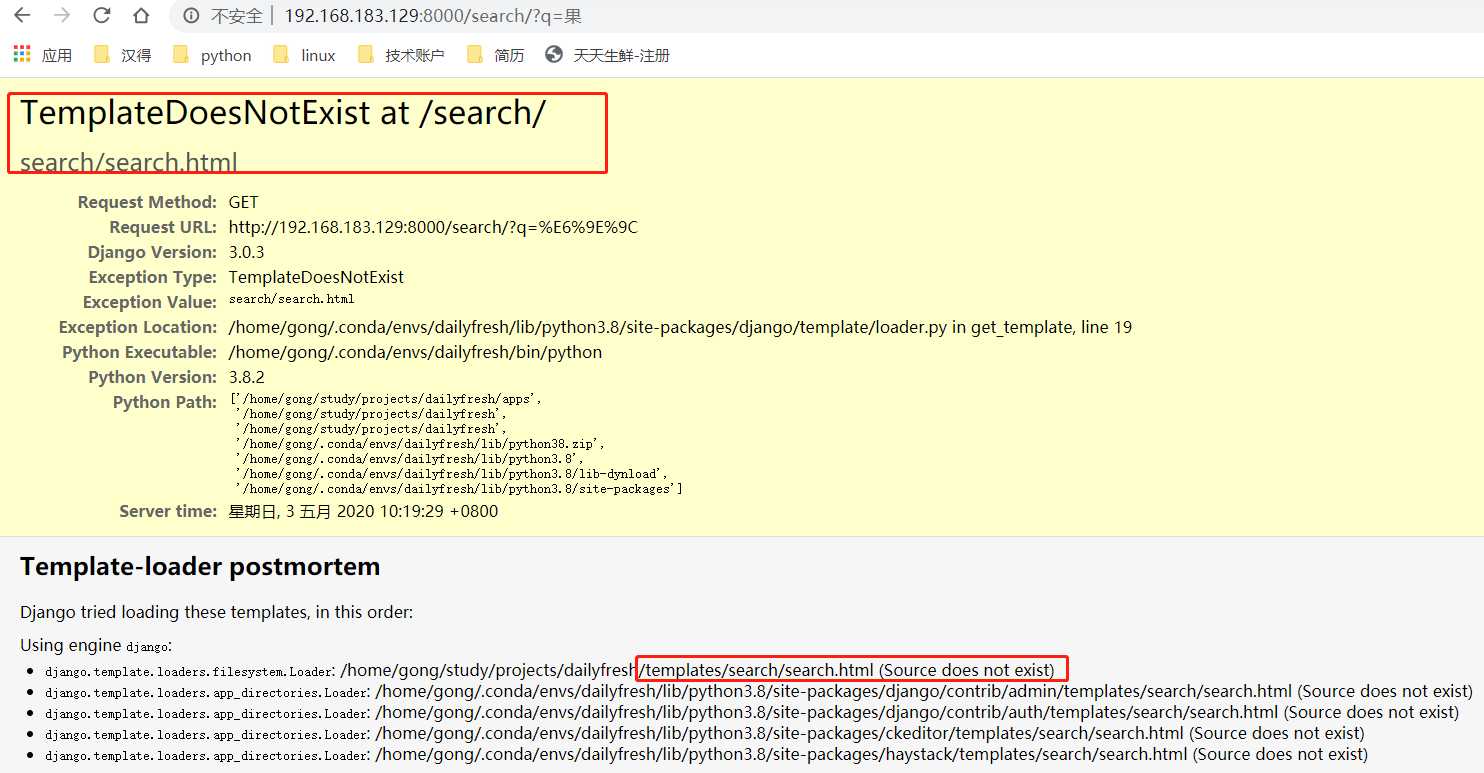
启动项目进行查询,发现页面报错:TemplateDoesNotExist,原因是haystack将查询结果展示在templates/search/search.html中,因此需要创建并编辑该文件

4. 编辑search.html
{{ query }}为查询条件,{{ page }}和{{ paginator }}对象与django的分页器对象一致,所有的属性和方法也一样。
注意这里的分页页码指向的地址,需要拼上?q={{查询关键字}}&page={{页码}}
{% extends ‘base_list.html‘%}
{% block title %}天天生鲜-搜索结果{% endblock title%}
{% block detail%}
<div class="breadcrumb">
<a href="#">{{ query }}</a>
<span>></span>
<a href="#">搜索结果</a>
</div>
搜索字段:{{ query }}</br>
page对象:{{ page }}</br>
paginator对象:{{ paginator }}</br>
<div class="main_wrap clearfix">
<ul class="goods_type_list clearfix">
{% for result in page %}
<li>
result
<a href="{% url ‘goods:detail‘ result.object.id %}"><img src="{{ result.object.image.url }}"></a>
<h4><a href="{% url ‘goods:detail‘ result.object.id %}">{{ result.object.name }}</a></h4>
<div class="operate">
<span class="prize">¥{{ result.object.price }}</span>
<span class="unit">{{ result.object.price }}/{{ result.object.uom }}</span>
<a href="#" class="add_goods" title="加入购物车"></a>
</div>
</li>
{% empty %}
未搜索到结果
{% endfor %}
</ul>
<div class="pagenation">
{% if page.has_previous %}
<a href="{% url ‘goods:search‘ %}?q={{ query }}&page={{ page.previous_page_number }}"><上一页</a>
{% endif %}
{% for num in paginator.page_range %}
<a href="{% url ‘goods:search‘ %}?q={{ query }}&page={{ num }}" {% if num == page.number %}class="active"{% endif %}>{{ num }}</a>
{% endfor %}
{% if page.has_next %}
<a href="{% url ‘goods:search‘ %}?q={{ query }}&page={{ page.next_page_number }}">下一页></a>
{% endif %}
</div>
</div>
{% endblock detail %}
jieba分词模块
由于原whoosh自带的分词方式对中文支持不是很好,于是使用对中文分词更好的jieba模块
安装jieba
pip install jieba
修改引擎文件
进入虚拟环境下的haystack/backends目录
cd /home/gong/.conda/envs/dailyfresh/lib/python3.8/site-packages/haystack/backends/
创建ChineseAnalyzer.py文件
import jieba
from whoosh.analysis import Tokenizer, Token

class ChineseTokenizer(Tokenizer):
    def __call__(self, value, positions=False, chars=False,
                 keeporiginal=False, removestops=True,
                 start_pos=0, start_char=0, mode=‘‘, **kwargs):
        t = Token(positions, chars, removestops=removestops, mode=mode, **kwargs)
        seglist = jieba.cut(value, cut_all=True)
        for w in seglist:
            t.original = t.text = w
            t.boost = 1.0
            if positions:
                t.pos = start_pos + value.find(w)
            if chars:
                t.startchar = start_char + value.find(w)
                t.endchar = start_char + value.find(w) + len(w)
            yield t

def ChineseAnalyzer():
    return ChineseTokenizer()
新建复制whoosh_backend.py,命名为whoosh_cn_backend.py,编辑whoosh_cn_backend.py,引入中文分析类,内部采用jieba分词
cp whoosh_backend.py whoosh_cn_backend.py
from .ChineseAnalyzer import ChineseAnalyzer

...
# 查找
# analyzer=StemmingAnalyzer()
# 改为
analyzer=ChineseAnalyzer()
修改settings.py文件
将原whoosh_backend改成whoosh_cn_backend
# haystack+whoosh配置,全文检索框架
HAYSTACK_CONNECTIONS = {
    ‘default‘: {
        #  ‘ENGINE‘: ‘haystack.backends.whoosh_backend.WhooshEngine‘,
        ‘ENGINE‘: ‘haystack.backends.whoosh_cn_backend.WhooshEngine‘,
        ‘PATH‘: os.path.join(BASE_DIR, ‘whoosh_index‘),
    },
}
# 设置搜索结果每页显示多少条数据
HAYSTACK_SEARCH_RESULTS_PER_PAGE = 10
重新创建索引数据
python manage.py rebuild_index
以上是关于DJANGO-天天生鲜项目从0到1-009-搜索功能实现(django-haystack+whoosh+jieba)的主要内容,如果未能解决你的问题,请参考以下文章