Yum安装Zabbix4.2.0
Posted liuhedong
tags:
篇首语:本文由小常识网(cha138.com)小编为大家整理,主要介绍了Yum安装Zabbix4.2.0相关的知识,希望对你有一定的参考价值。
1. 下载所需的存储库
# 下载zabbix存储库
[[email protected] ~]# rpm -Uvh https://repo.zabbix.com/zabbix/4.2/rhel/7/x86_64/zabbix-release-4.2-1.el7.noarch.rpm
# 下载阿里存储库
[[email protected] ~]# wget -O /etc/yum.repos.d/CentOS-Base.repo http://mirrors.aliyun.com/repo/Centos-7.repo
# 安装fedora存储库
[[email protected] ~]# yum install -y epel-release
2. 安装zabbix
# 安装zabbix时它会帮你安装lamp
[[email protected] ~]# yum -y install zabbix-server-mysql zabbix-web-mysql zabbix-agent zabbix-get
3. 安装mysql
# 安装依赖包
[[email protected] ~]# yum -y install gcc gcc-c++ ncurses bison libgcrypt perl cmake ncurses-devel
# 下载整合包,大概500Mb左右(你可以yum安装mysql)
wget https://dev.mysql.com/get/Downloads/MySQL-5.7/mysql-5.7.24-1.el7.x86_64.rpm-bundle.tar
# 解压并安装依赖
[[email protected] ~]# tar -xvf mysql-5.7.24-1.el7.x86_64.rpm-bundle.tar
[[email protected] ~]# yum install mysql-community-{client,common,libs}-*
# 安装mysql的server端
[[email protected] ~]# rpm -ivh mysql-community-server-5.7.24-1.el7.x86_64.rpm
# 启动mysql
[[email protected] ~]# systemctl start mysqld
[[email protected] ~]# systemctl enable mysqld
# 获取生成的密码
[[email protected] ~] grep 'temporary password' /var/log/mysqld.log | awk '{print $NF}'
# 进入数据库并修改密码
[[email protected] ~] mysql -uroot -p'uWAhEJj+f7l6'
# mysql5.7的密码复杂性要高,否则修改失败。
mysql> ALTER USER 'root'@'localhost' IDENTIFIED BY 'newpassword';
mysql> flush privileges;
4. 配置数据库
mysql> create database zabbix character set utf8 collate utf8_bin;
Query OK, 1 row affected (0.00 sec)

mysql> grant all privileges on zabbix.* to [email protected] identified by 'yourpassword';
Query OK, 0 rows affected, 1 warning (0.00 sec)

mysql> flush privileges;
Query OK, 0 rows affected (0.00 sec)

mysql> quit;
Bye
# 将数据导入zabbix库
[[email protected] ~]# zcat /usr/share/doc/zabbix-server-mysql-4.2.0/create.sql.gz | mysql -uzabbix -pyourpassword --database zabbix
5. 基本配置
# 修改主机名
[[email protected] ~]# nmcli g h server.zabbix.com
# 添加域名解析
[[email protected] ~]# echo "192.168.100.101 server.zabbix.com" >> /etc/hosts
6. zabbix配置文件
# 修改时区
[[email protected] ~]# vim /etc/httpd/conf.d/zabbix.conf
# 修改如下内容,并删除注释
php_value date.timezone Asia/Shanghai

# 养成备份的好习惯
[[email protected] zabbix]# cd /etc/zabbix
[[email protected] zabbix]# cp zabbix_agentd.conf zabbix_agentd.conf.back
[[email protected] zabbix]# cp zabbix_server.conf zabbix_server.conf.back
[[email protected] zabbix]# cd

# 数据库密码
[[email protected] ~]# echo "DBPassword=yourpassword" >> /etc/zabbix/zabbix_server.conf

# 修改agent
[[email protected] ~]# vim /etc/zabbix/zabbix_agentd.conf
# 修改如下内容
Hostname=server.zabbix.com
Server=192.168.100.101
#ServerActive=127.0.0.1    # 将这一行注释掉

# 重启服务
[[email protected] ~]# systemctl restart zabbix-server zabbix-agent httpd
[[email protected] ~]# systemctl enable zabbix-server zabbix-agent httpd

[[email protected] ~]# netstat -anput | grep 1005
tcp        0      0 0.0.0.0:10050           0.0.0.0:*               LISTEN      1718/zabbix_agentd
tcp        0      0 0.0.0.0:10051           0.0.0.0:*               LISTEN      1729/zabbix_server
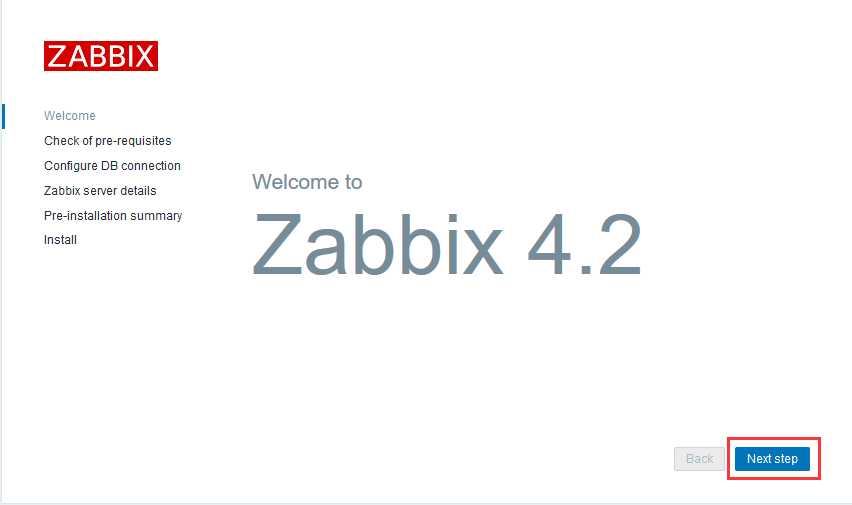
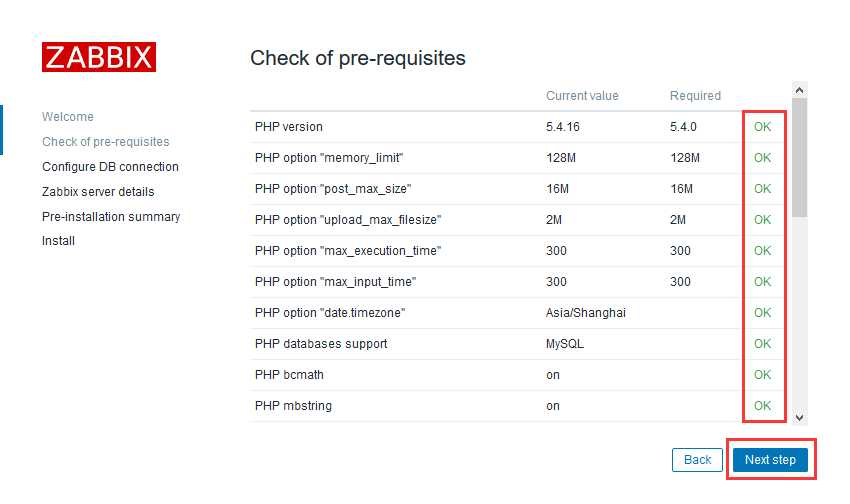
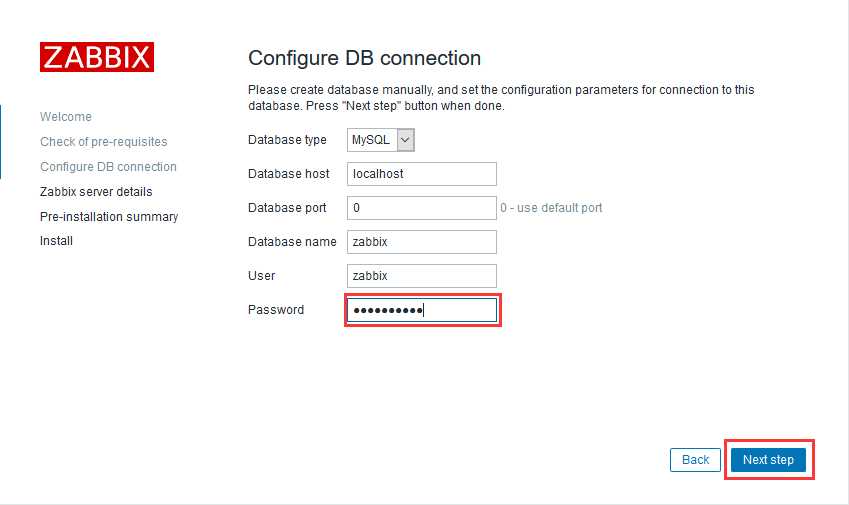
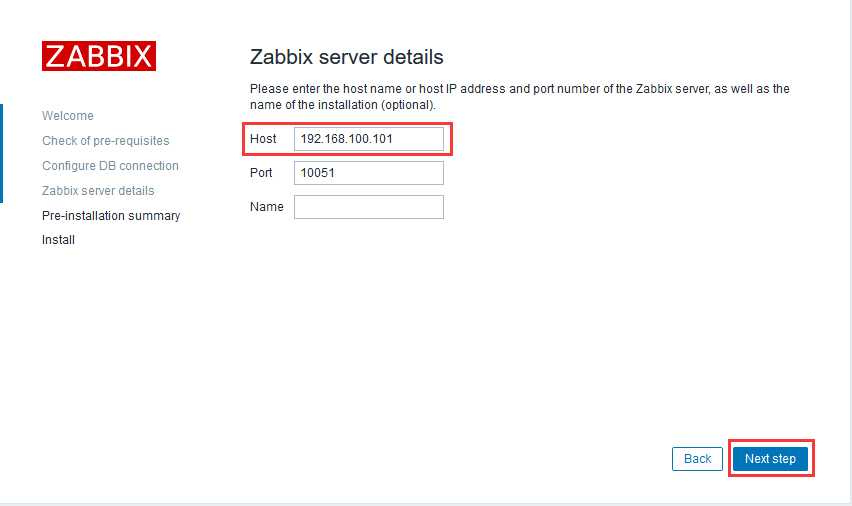
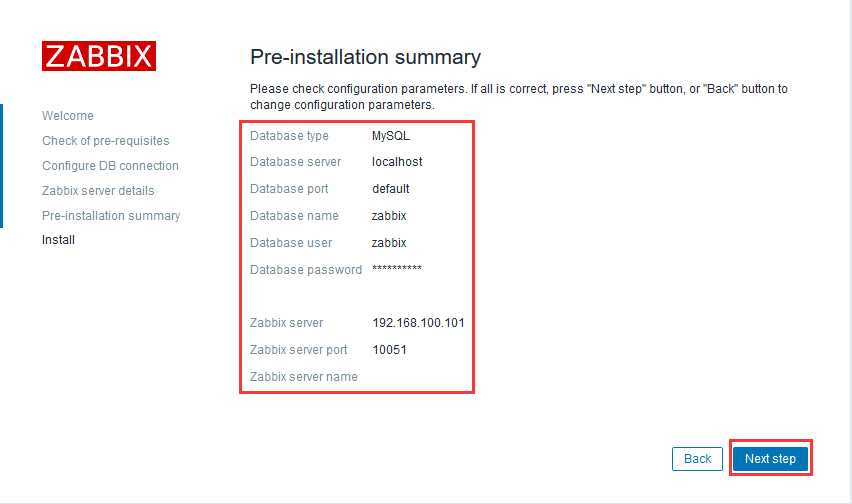
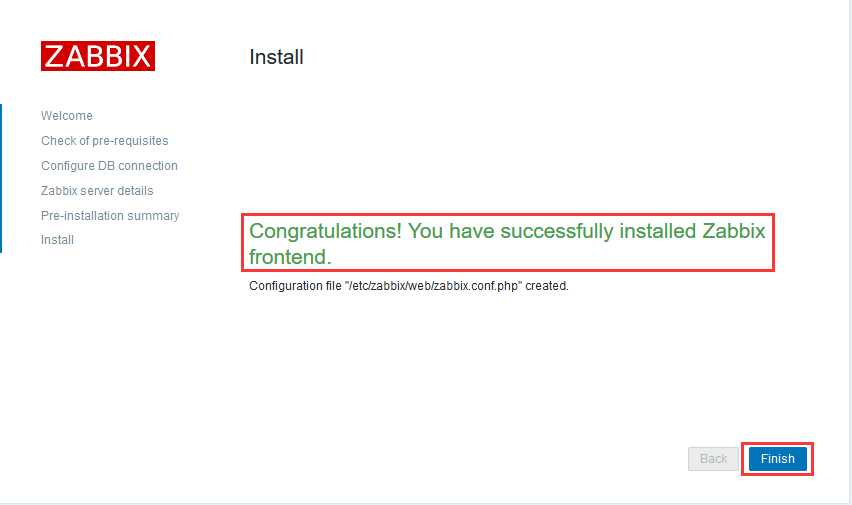
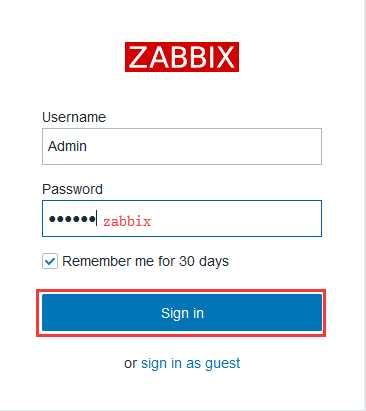
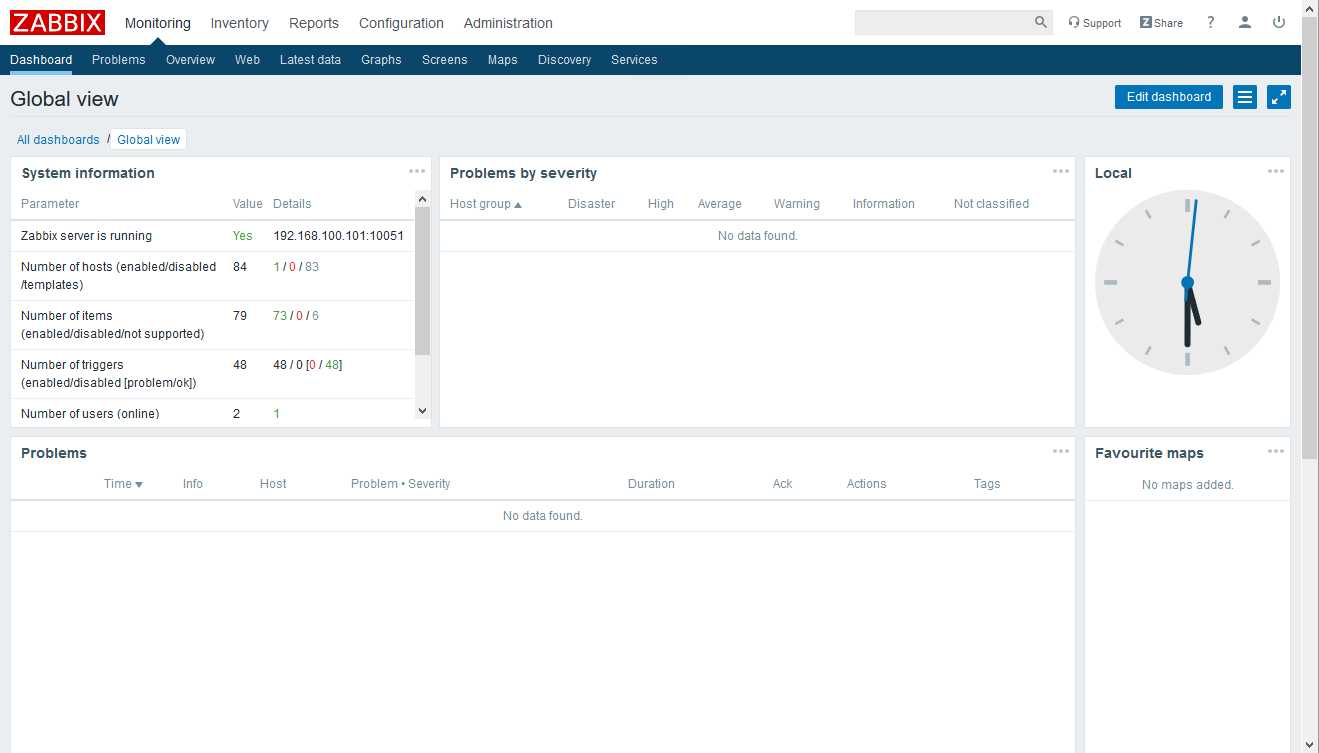
7. 进入web安装zabbix
访问:http://192.168.100.101/zabbix
以上是关于Yum安装Zabbix4.2.0的主要内容,如果未能解决你的问题,请参考以下文章