CentOS 7 系统下 GitLab 搭建
Posted keeptesting
tags:
篇首语:本文由小常识网(cha138.com)小编为大家整理,主要介绍了CentOS 7 系统下 GitLab 搭建相关的知识,希望对你有一定的参考价值。
参考地址:https://blog.csdn.net/t748588330/article/details/79915003
1. 安装:使用 GitLab 提供仓库在线安装
curl -sS http://packages.gitlab.cc/install/gitlab-ce/script.rpm.sh | sudo bash

yum install gitlab-ce
2. 启动 GitLab
安装完成之后,打开配置文件 /etc/gitlab/gitlab.rb 将 external_url = ‘http://git.example.com‘ 修改为自己的 IP 地址:external_url ‘http://ip_address‘ ,然后执行下面的命令,对 GitLab 进行编译:
gitlab-ctl reconfigure
完成后,使用浏览器访问:http://ip_address 可进入 GitLab 登录页面,首次访问系统会让你重新设置管理员的密码,默认的管理员账号是 root,如果你想更改默认管理员账号,登录系统后可以修改帐号名。
3. GitLab 基本配置
GitLab 的相关参数配置都存在 /etc/gitlab/gitlab.rb 文件里。自 GitLab 7.6 开始的新安装包, 已经默认将所有的参数写入到 /etc/gitlab/gitlab.rb 配置文件中。
3.1 配置端口
GitLab 默认使用 80 端口对外提供服务,因为 80 端口被其他服务占用,所以需要更改。打开 /etc/gitlab/gitlab.rb 配置文件,修改 external_url ‘http://ip_address‘ 为 external_url ‘http://ip_address:new-port‘
gitlab-ctl reconfigure
这时候就可以通更改后的 IP + 端口号码进行访问了。
-------------------------------------------------------------------------------------
根据以上步骤,我将gitlab服务安装在内网192.168.1.30服务器上, /etc/gitlab/gitlab.rb 里设置了 external_url ‘http://192.168.1.30:8090‘
浏览器打开网页 http://192.168.1.30:8090 默认需要设置新密码,
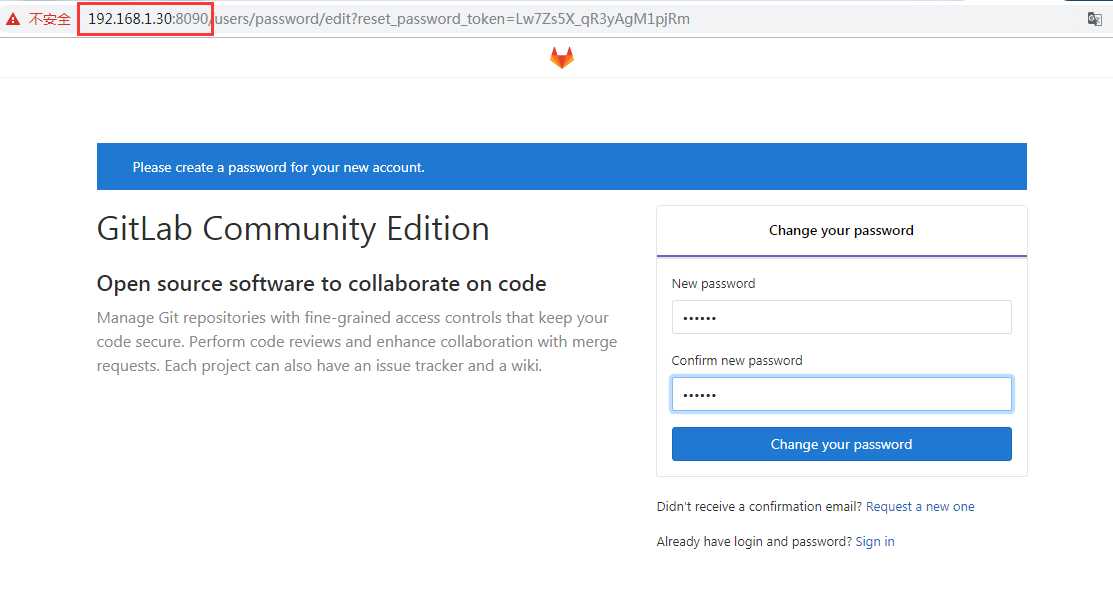
然后通过用户名: root 密码: 新密码 登陆
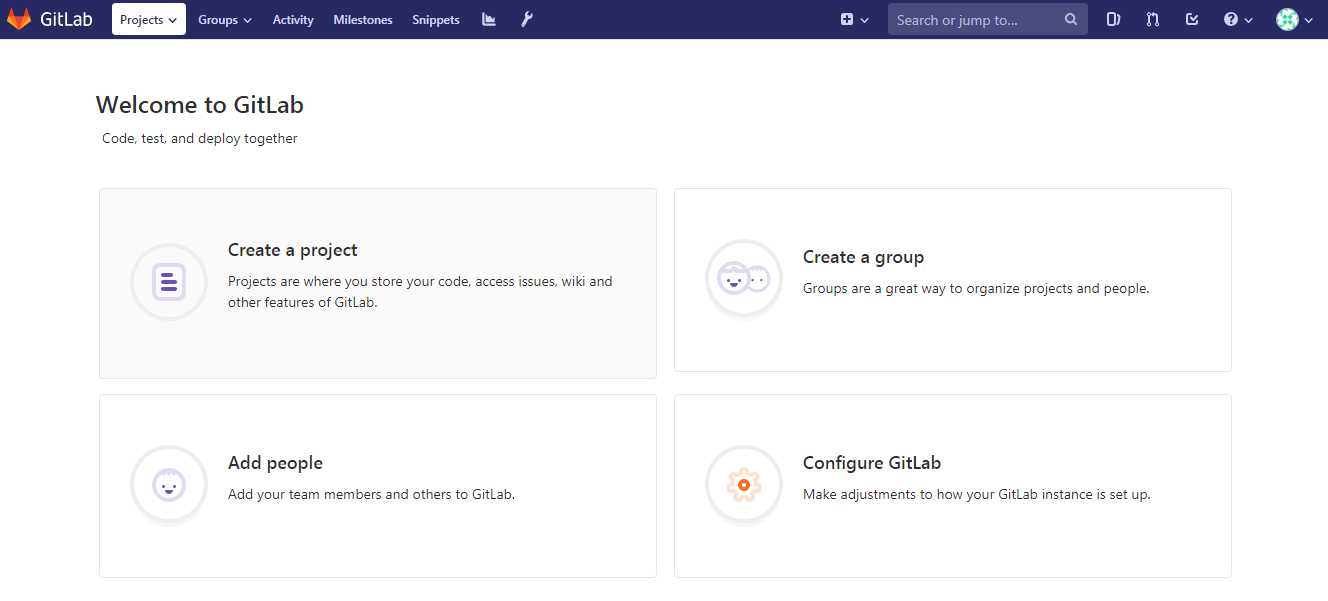
到此,gitlab已经搭建起来了。
3.2 常用命令
GitLab 服务启动、停止、状态查询、修改配置生效等命令:
gitlab-ctl start/stop/status/reconfigure # 服务启动、停止、状态查询、修改配置生效
以上是关于CentOS 7 系统下 GitLab 搭建的主要内容,如果未能解决你的问题,请参考以下文章