MQTT 学习记录
Posted helloworldtoyou
tags:
篇首语:本文由小常识网(cha138.com)小编为大家整理,主要介绍了MQTT 学习记录相关的知识,希望对你有一定的参考价值。
学习mqtt协议,从网上找demo验证一下。
参考链接
https://www.jianshu.com/p/ebbe25d1c4b2
https://blog.csdn.net/xxmonstor/article/details/80479851
https://www.jianshu.com/p/b76dbc675141
https://www.ibm.com/developerworks/cn/iot/iot-mqtt-why-good-for-iot/index.html
https://www.jianshu.com/p/3d5b487c6860
https://blog.csdn.net/weixin_41656968/article/details/80848542
代理安装
在ubuntu上验证。
代理安装在本地。
wget http://emqtt.com/static/brokers/emqttd-ubuntu16.04-v2.3.9_amd64.deb

sudo dpkg -i emqttd-ubuntu16.04_v2.0_amd64.deb
启动
sudo service emqttd start
查看状态
sudo service emqttd status
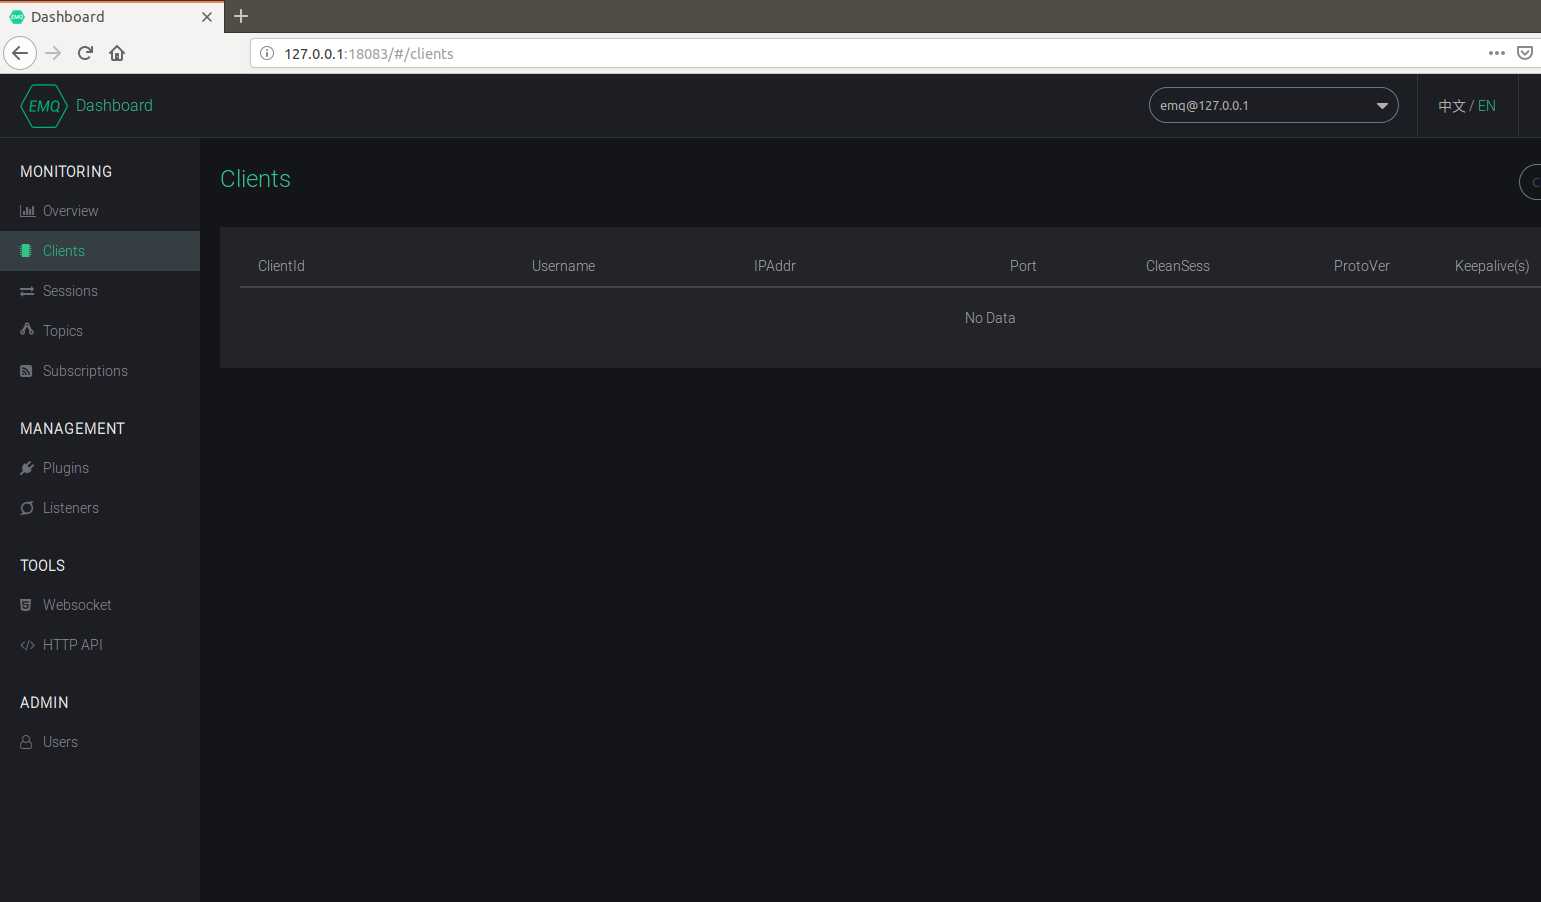
使用浏览器打开EMQ控制台,http://127.0.0.1:18083,输入默认用户名:admin,默认密码public。
查看现在的客户端为0。

subscribe订阅
subscribe.py
# encoding: utf-8
import paho.mqtt.client as mqtt

def on_connect(client, userdata, flags, rc):
    print("Connected with result code "+str(rc))
    client.subscribe('chat', qos=0)


def on_message(client, userdata, msg):
    print(msg.topic+" " + ":" + str(msg.payload))

client = mqtt.Client()
client.on_connect = on_connect      # 连接到代理调用函数
client.on_message = on_message      # 接收到订阅的消息调用函数
client.connect("127.0.0.1", 1883, 60)
client.loop_forever()
publish发布
publish.py
import paho.mqtt.client as mqtt

HOST = "127.0.0.1"          # 服务器地址
PORT = 1883                 # 端口号

def test():
    client = mqtt.Client()
    client.connect(HOST, PORT, 60)
    # 60表示与代理通信之间允许的最长时间段(以秒为单位)。
    # 如果没有其他消息正在交换,则它将控制客户端向代理发送ping消息的速率
    client.publish('chat',payload='hello tao',qos=0)
    client.loop_forever()

if __name__ == '__main__':
    test()
验证
先运行订阅的客户端
[email protected]:~/Desktop/mqtt$ python subscribe.py
Connected with result code 0再运行发布的客户端python publish.py
在订阅可以端下面可以发现调用了on_message的内容,输出了topic名称和内容。
[email protected]:~/Desktop/mqtt$ python subscribe.py
Connected with result code 0
chat :hello tao
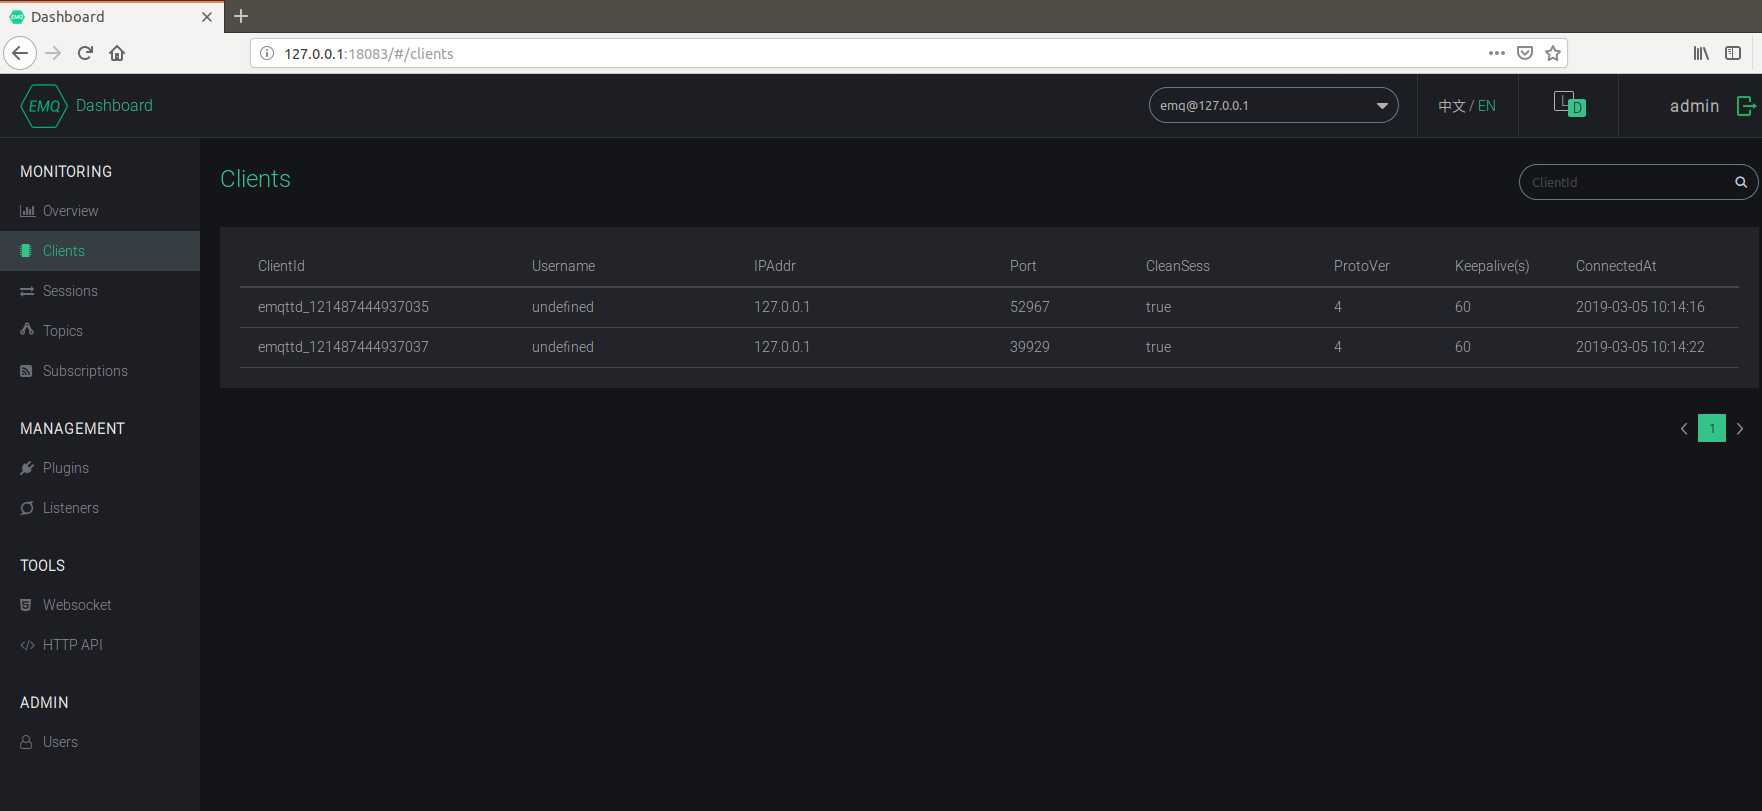
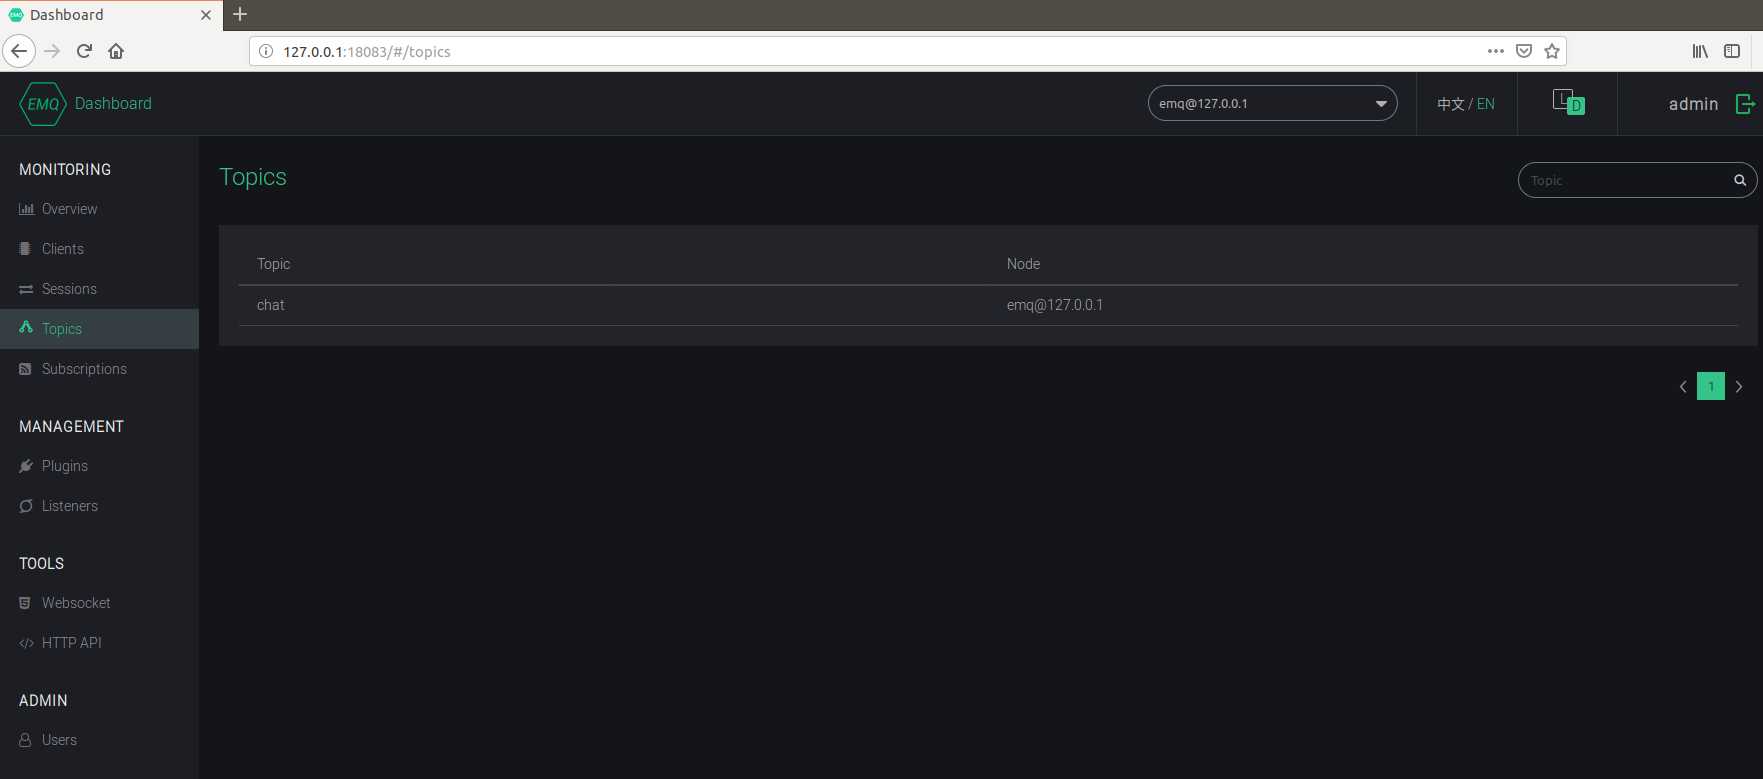
查看代理的变化。
出现了两个client。

出现了发布的topic内容。

验证的时候一定要先运行订阅subscribe的程序,进行一直监听,然后再运行发布publish程序,才会调用on_message函数。
Liu Tao
2019-3-5
以上是关于MQTT 学习记录的主要内容,如果未能解决你的问题,请参考以下文章