Centos 7 安装 gitlab 以及汉化
Posted big-cousin
tags:
篇首语:本文由小常识网(cha138.com)小编为大家整理,主要介绍了Centos 7 安装 gitlab 以及汉化相关的知识,希望对你有一定的参考价值。
一:安装
1:添加yum配置文件
# vim /etc/yum.repos.d/gitlab-ce.repo
[gitlab-ce]
name=gitlab-ce
baseurl=http://mirrors.tuna.tsinghua.edu.cn/gitlab-ce/yum/el6
repo_gpgcheck=0
gpgcheck=0
enabled=1
gpgkey=https://packages.gitlab.com/gpg.key
2:安装依赖包。
yum install curl openssh-server openssh-clients postfix crouie
systemctl start postfix
3:安装gitlab-ce
yum makecache
yum install gitlab-ce
gitlab-ctl reconfigure
注:如果想安装指定版本,在后面加上版本号,例如:yum install gitlab-ce-11.5.5
首次初始化时间比较长。
4:修改gitlab配置文件gitlab.rb
#vim /etc/gitlab/gitlab.rb
将 external_url 后面的url改为你访问的地址。也可以使用IP。

5:每次修改/etc/gitlab/gitlab.rb后,都需要重新加载配置文件。
gitlab-ctl reconfigure
gitlab-ctl restart
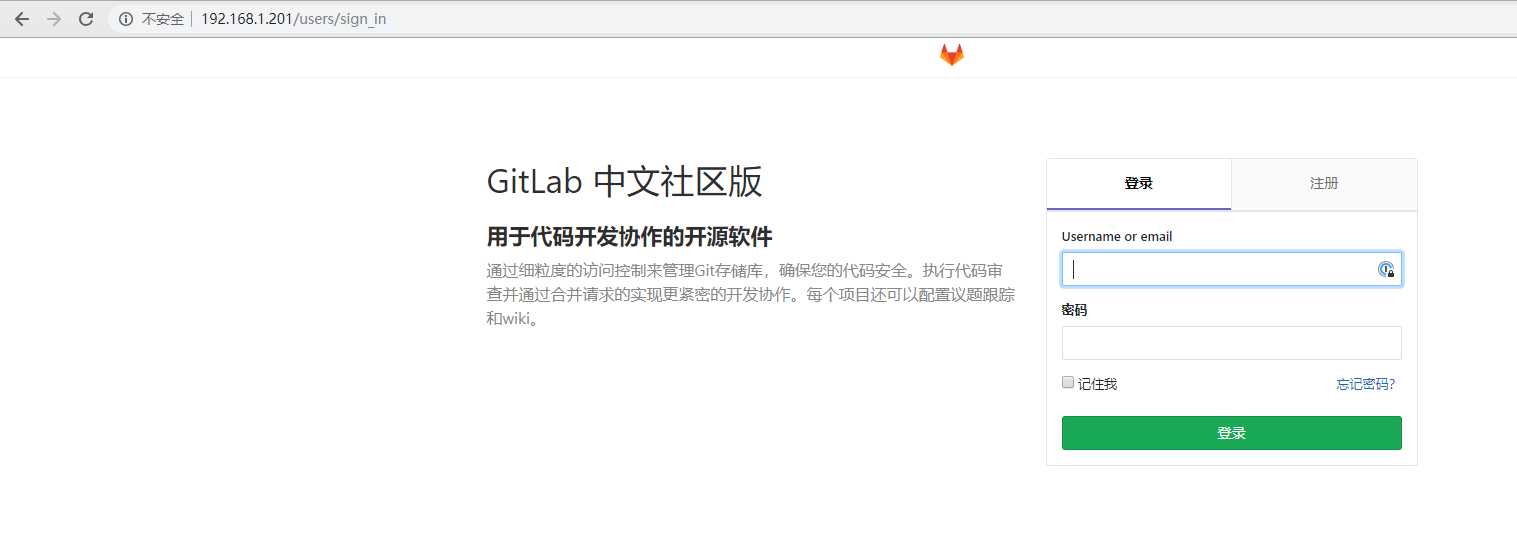
6:浏览器访问

注:首次登录需要配置管理员root的密码。
二:汉化
1:首先查看gitlab的版本,汉化包版本和gitlab版本需一致。
cat /opt/gitlab/embedded/service/gitlab-rails/VERSION

2:克隆汉化包。
yum install git -y
git clone https://gitlab.com/xhang/gitlab.git
注:速度看人品,有时快,有时慢。有vps最好用vps下载,上面的命令是克隆最新版汉化包到本地。目前最新汉化包更新到11.5.5。目前最新gitlab版本为11.6.0,注意版本一致。 2018/12/29
3:解压,进入解压包中拉取汉化包补丁。
git diff v10.0.2 v11.5.5-zh > ../11.5.5-zh.diff
注:解压过程省略,此操作是在解压后进入解压包中操作。如果使用vps克隆,而gitlab搭建在本地服务器上,将生成的 11.5.5-zh.diff拷贝到gitlab服务器/root目录,不需要拷贝整个汉化包。
4:停止gitlab服务器进行汉化升级(打补丁)。
gitlab-ctl stop
patch -d /opt/gitlab/embedded/service/gitlab-rails -p1 < 11.5.5-zh.diff
注:一直回车,敲回车都会敲到你怀疑人生。
此步骤也可以用git自带打补丁方式进行如下:
cd /opt/gitlab/embedded/service/gitlab-rails
git apply /root/11.5.5-zh.diff
5:启动gitlab并验证
gitlab-ctl start

以上是关于Centos 7 安装 gitlab 以及汉化的主要内容,如果未能解决你的问题,请参考以下文章