Windows平台为 ElasticSearch 6.x 安装 Head 客户端插件
Posted jinzesudawei
tags:
篇首语:本文由小常识网(cha138.com)小编为大家整理,主要介绍了Windows平台为 ElasticSearch 6.x 安装 Head 客户端插件相关的知识,希望对你有一定的参考价值。
背景知识
ES 5.x 以上版本安装 head 需要 node 和 grunt 环境(之前的直接用plugin命令即可安装)。
操作步骤
1. 安装 ElasticSearch 6.x,访问 http://localhost:9200/ 查看是否安装成功。
2. 安装 Node,使用 node -v 查看是否安装成功。
3. 在 Node 中执行 npm install -g grunt-cli 安装grunt,使用 grunt -version 查看是否安装成功。
4. 安装 elasticsearch-head。
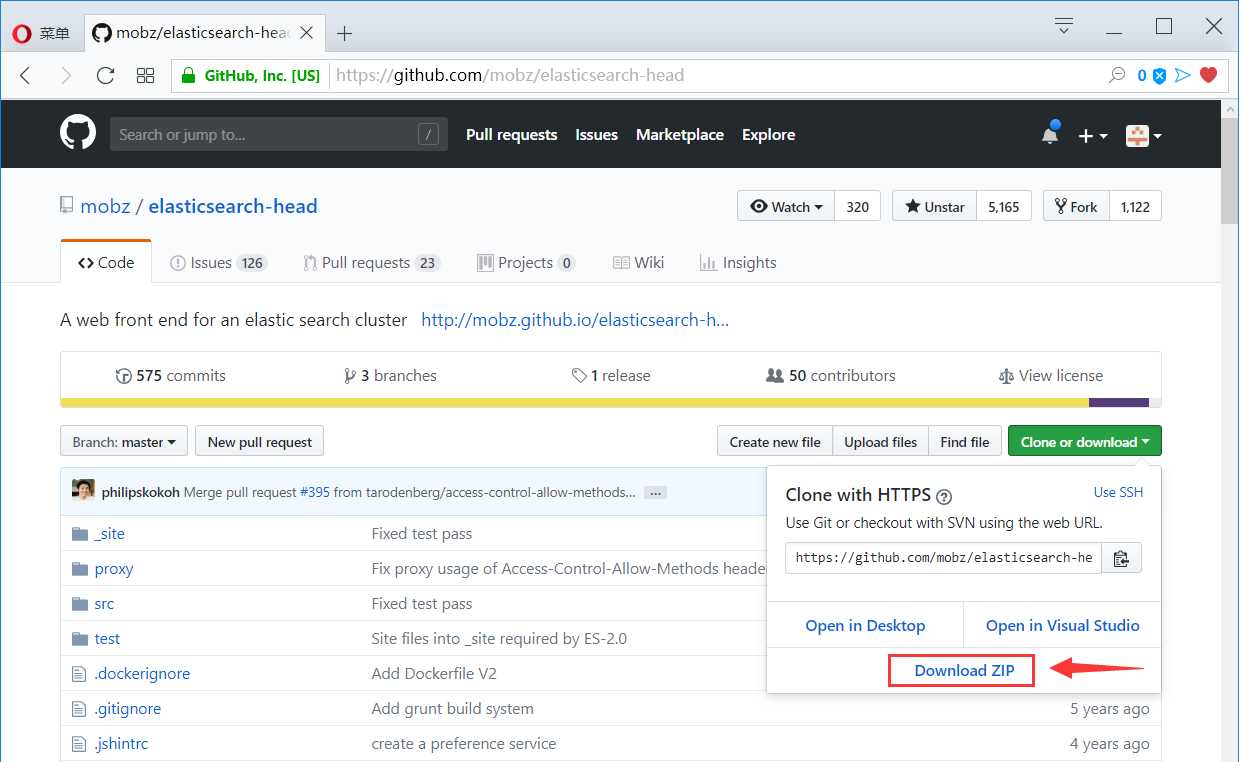
4.1 访问 https://github.com/mobz/elasticsearch-head 下载 head 插件(选择 zip 压缩包下载方式)。
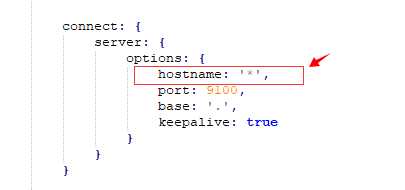
4.2 修改 ~elasticsearch-6.6.2elasticsearch-head-masterGruntfile.js,在对应的位置加上 hostname:‘*‘ 配置项。
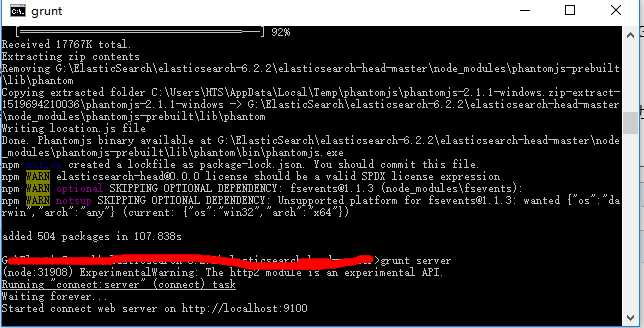
4.3 在 ~elasticsearch-6.6.2elasticsearch-head-master 下执行 npm install 开始安装,完成后可执行 grunt server 或者 npm run start 运行 head 插件。
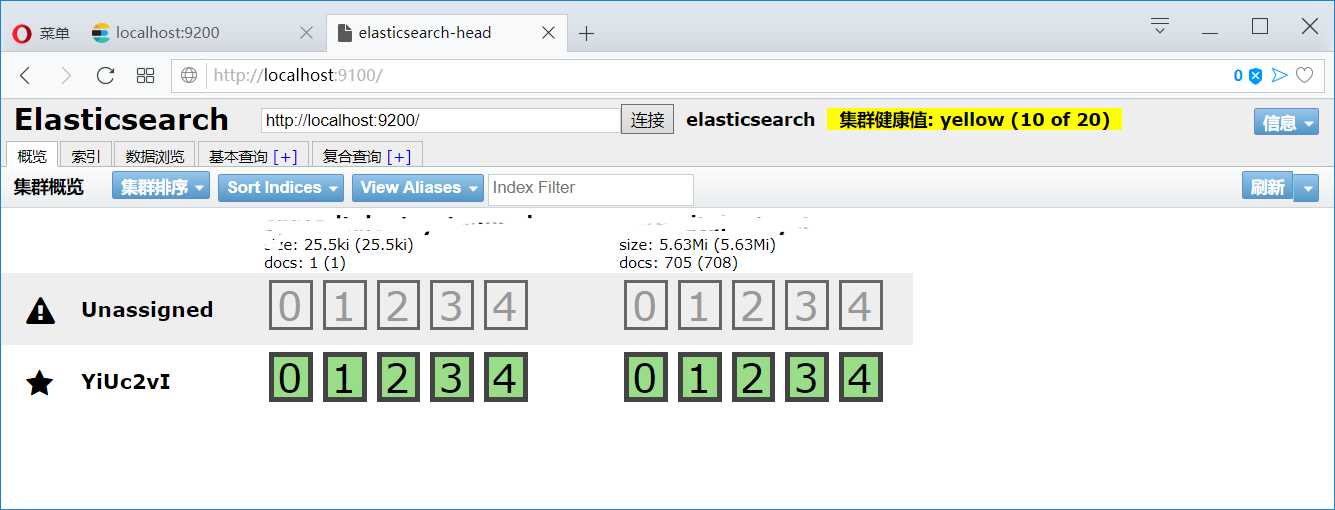
4.4 安装成功,访问 http://localhost:9100/。
答疑
Issue - 在 head 中连接 ES 失败。
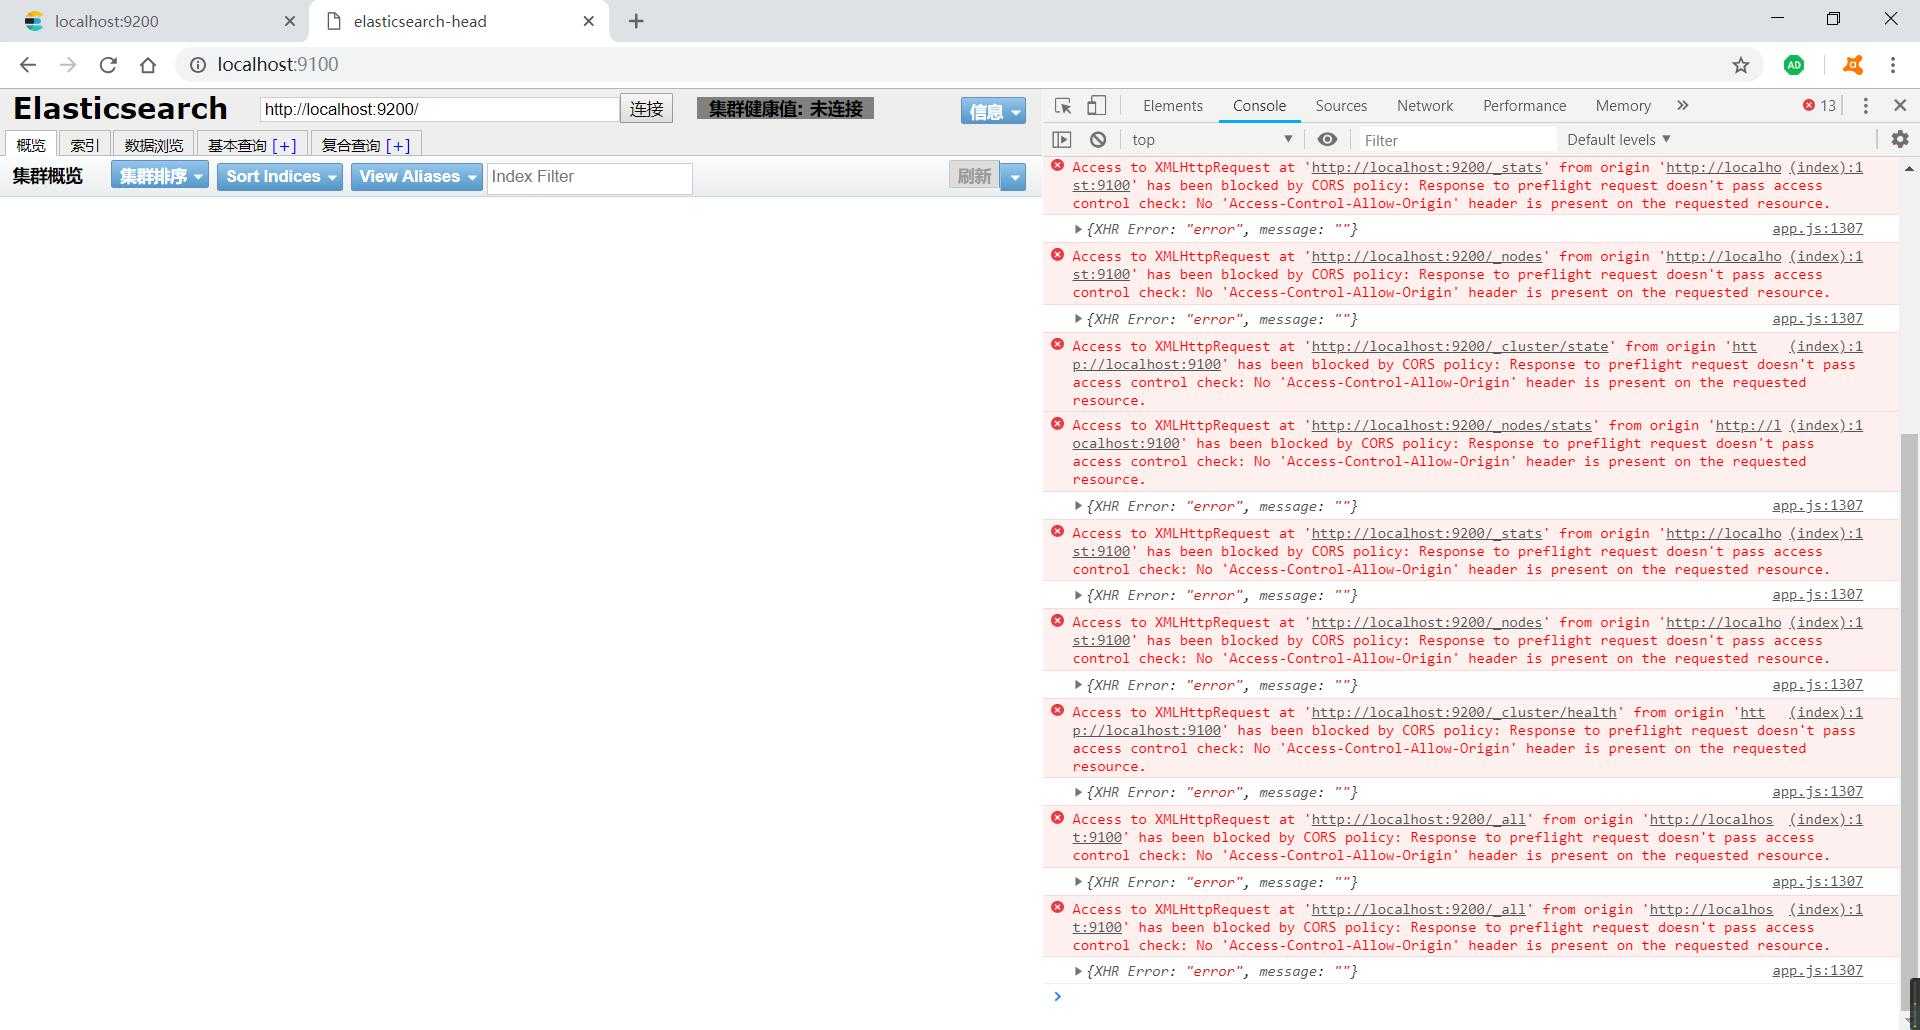
对于 Access-Control-Allow-Origin 的问题,可以在 ElasticSearch 6.x 的 ~configelasticsearch.yml 文件的末尾加入以下代码:
http.cors.enabled: true
http.cors.allow-origin: "*"
node.master: true
node.data: true
配置更新后,重启 ES 即可连接成功。
参考资料
https://www.cnblogs.com/hts-technology/p/8477258.html
以上是关于Windows平台为 ElasticSearch 6.x 安装 Head 客户端插件的主要内容,如果未能解决你的问题,请参考以下文章