如何让nginx修改Response HTTP Header中的server的值
Posted 岬淢箫声
tags:
篇首语:本文由小常识网(cha138.com)小编为大家整理,主要介绍了如何让nginx修改Response HTTP Header中的server的值相关的知识,希望对你有一定的参考价值。
服务器的操作系统版本、提供HTTP服务的软件版本等信息属于服务器安全信息,防止它们的信息泄露有助于防止黑客定向寻找特定操作系统或软件版本存在的漏洞,服务器也就多一重保障。nginx在每个Response中写入了Server这个Header,Server的值明确标示了服务器软件和版本信息(1.9.11版本后只写入了服务器软件名称,没有写入版本信息)。问题在于nginx不允许通过proxy_set_header指令修改修改server。nginx官方提供了一个可选的nginx模块来任意修改Header。CentOS系统提供的nginx、OpenSSL、GCC的版本较低。因此在这一次升级操作包含它们的升级操作。GCC的升级方法请参照:CentOS 7 升级GCC编译器。下文直接开始升级OpenSSL。工作目录是:/usr/local/nginx。所有的源代码的下载文件和解压文件都存放在这个工作目录下。
一、升级OpenSSL
CentOS7自带的SSL库的版本还是1.0.1e版本。OpenSSL的升级工作的难处不是OpenSSL如何编译,而是如何换掉正在被无数软件正在使用的旧版本的OpenSSL,这些软件包含你正在使用的OpenSSH。卸载?包含 正在使用的桌面gnome都得停止运行。如下图所示:
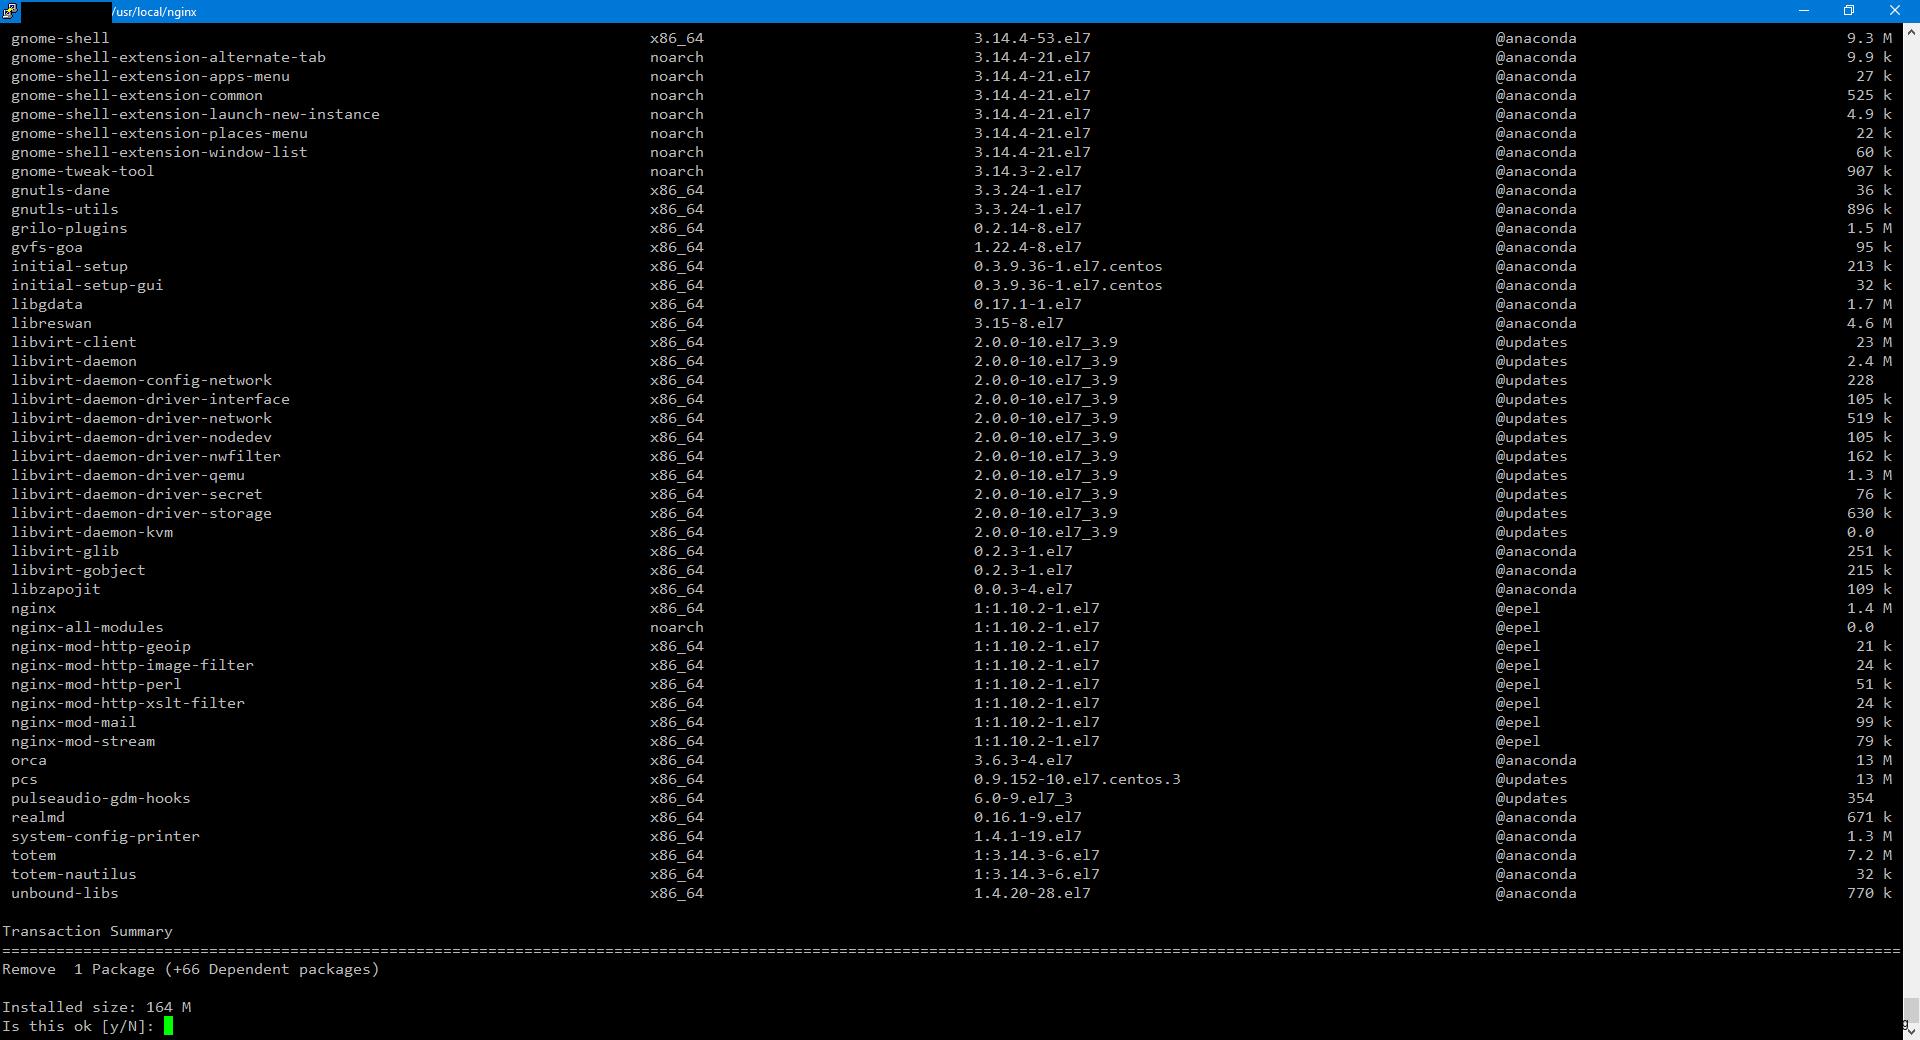
OpenSSL的源码下载地址是:https://www.openssl.org/source/。它的编译操作不难,总体思路是编译安装后用新的运行库文件换掉旧的库文件。操作过程如下:
tar zxf openssl-1.0.2k.tar.gz
cd openssl-1.0.2
./Configure linux-x86_64 shared zlib
make
make install
mv /usr/bin/openssl /usr/bin/openssl.bak
mv /usr/include/openssl /usr/include/openssl.bak
ln -s /usr/local/openssl/bin/openssl /usr/bin/openssl
ln -s /usr/local/openssl/include/openssl /usr/include/openssl
ln -s /usr/local/lib64/libssl.so.1.1 /usr/lib64/libssl.so.1.1
ln -s /usr/local/lib64/libcrypto.so.1.1 /usr/lib64/libcrypto.so.1.1
echo “/usr/local/openssl/lib” >> /etc/ld.so.conf
ldconfig -v
ldd /usr/bin/openssl 运行openssl version或者openssl version -a,回显如下图所示则表示成功。
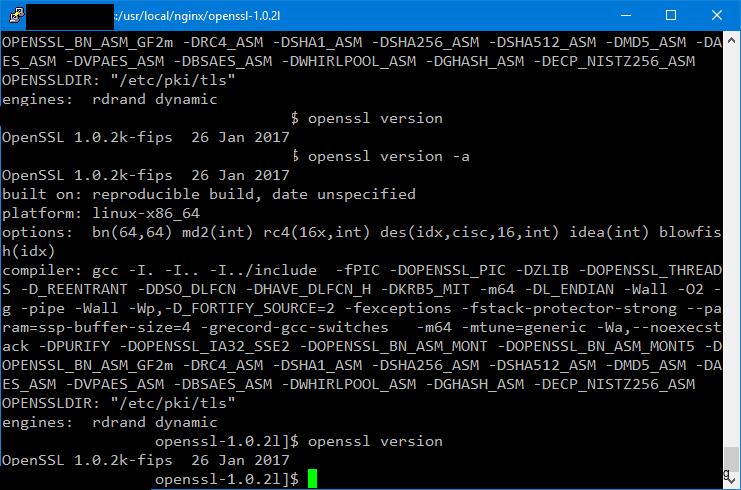
如果出现错误:openssl: error while loading shared libraries: libssl.so.1.1: cannot open shared object file: No such file or directory。请运行:
ln -s /usr/local/lib64/libssl.so.1.1 /usr/lib64/libssl.so.1.1
ln -s /usr/local/lib64/libcrypto.so.1.1 /usr/lib64/libcrypto.so.1.1
二、准备nginx编译环境
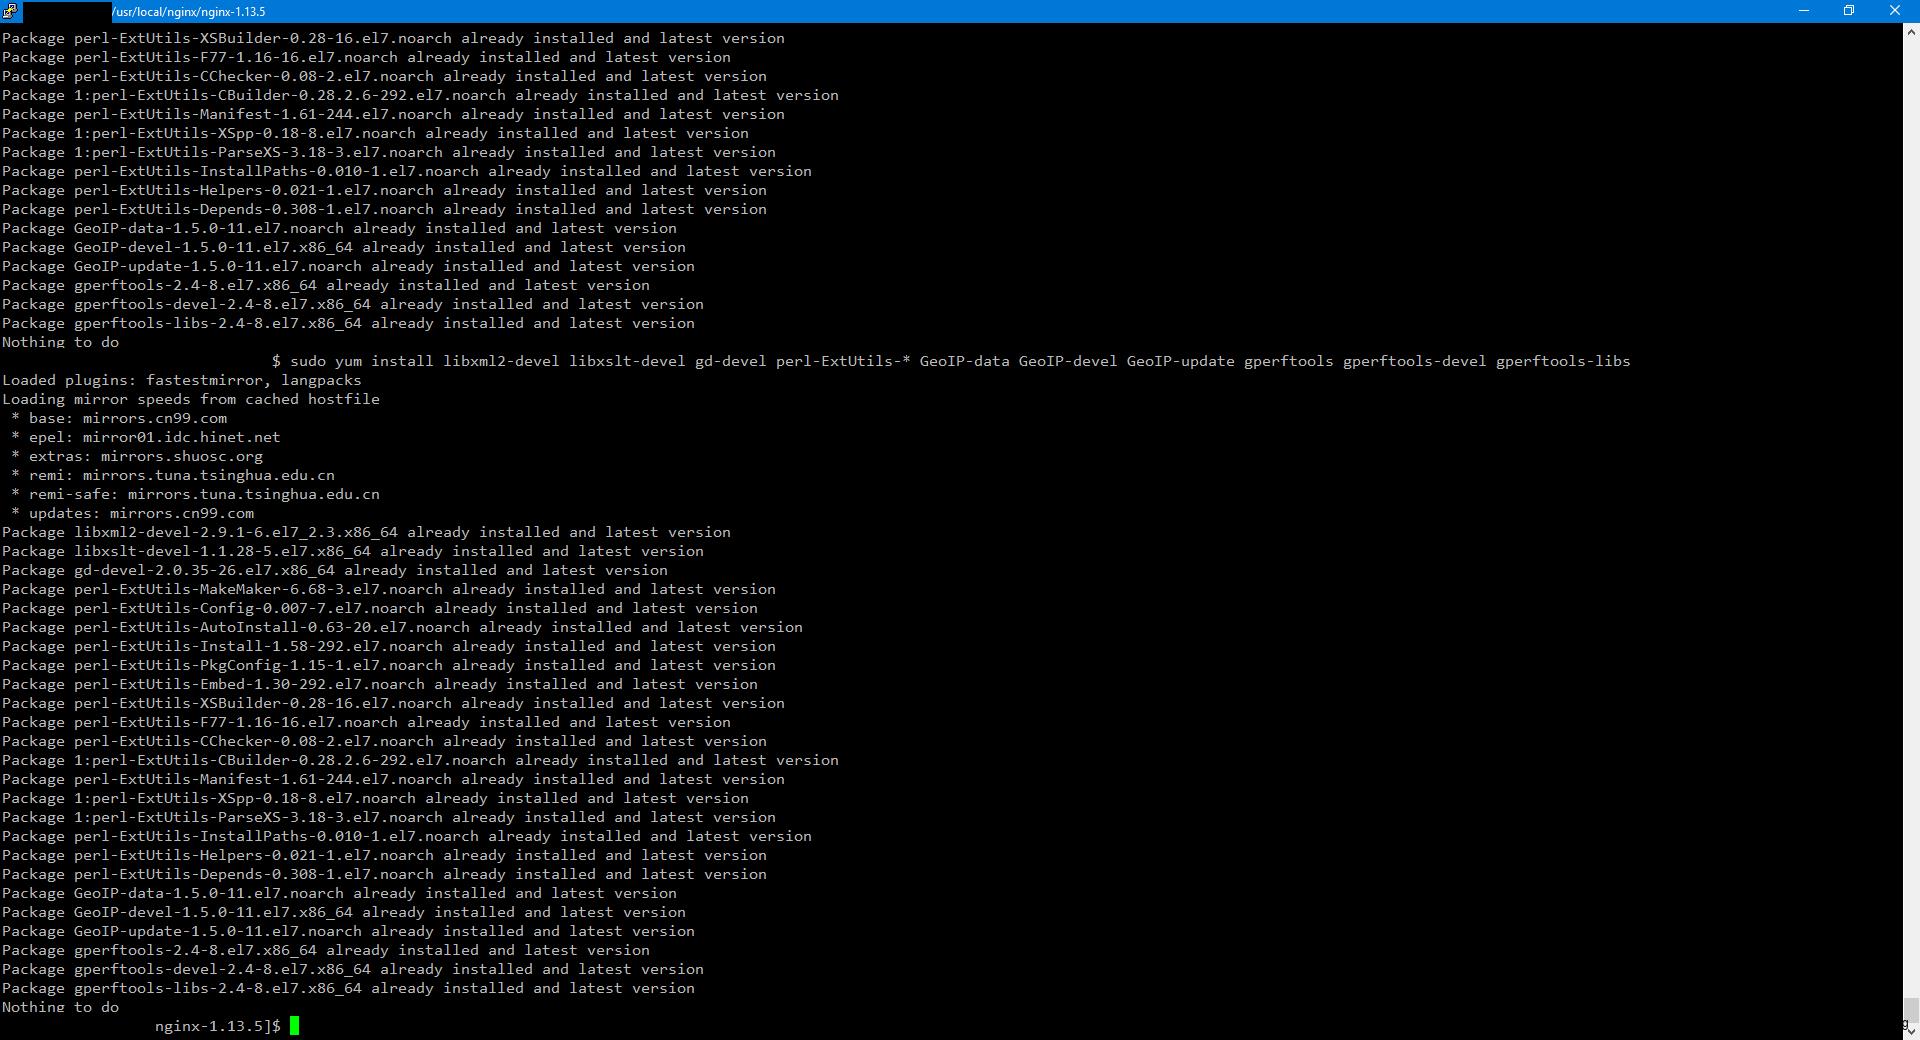
nginx功能强大,依赖项也比较多。寻找依赖项的方法是不断的运行configure命令,提示内容包含缺少的依赖项。我总结后把所有依赖项的安装放到一行命令中,命令行是:
yum install libxml2-devel libxslt-devel gd-devel perl-ExtUtils-* GeoIP-data GeoIP-devel GeoIP-update gperftools gperftools-devel gperftools-libs安装成功的截图如下:
三、编译并安装nginx
njs可以在nginx配置里启用javascript编写的服务器配置,cookie_flag可有效防止cookie劫持,Server Header的值的修改依赖more_header,它们都没有集成到nginx源代码,所以下载和附加的编译依赖项有三个。nginx当前最新版本是1.13.5,下面是下载和解压命令。
wget http://nginx.org/download/nginx-1.13.5.tar.gz
tar -xvf nginx-1.13.5.tar.gz
wget https://github.com/nginx/njs/archive/master.zip
unzip master.zip
rm master.zip
wget https://github.com/AirisX/nginx_cookie_flag_module/archive/master.zip
unzip master.zip
rm master.zip
wget https://github.com/openresty/headers-more-nginx-module/archive/master.zip
unzip master.zip
rm master.zip接下来要做的是编译nginx。编译之前需要特别说明的是:nginx从1.9.11版本开始修改了–add-module静态编译附加模块的约定,这里所有附加的功能模块以dynamic的方法编译。如果nginx正在运行中,请运行sudo systemctl stop nginx使nginx处于停止运行的状态。cd到nginx-1.13.5,运行命令:
./configure --prefix=/usr/share/nginx --sbin-path=/usr/sbin/nginx --modules-path=/usr/lib64/nginx/modules --conf-path=/etc/nginx/nginx.conf --error-log-path=/var/log/nginx/error.log --http-log-path=/var/log/nginx/access.log --http-client-body-temp-path=/var/lib/nginx/tmp/client_body --http-proxy-temp-path=/var/lib/nginx/tmp/proxy --http-fastcgi-temp-path=/var/lib/nginx/tmp/fastcgi --http-uwsgi-temp-path=/var/lib/nginx/tmp/uwsgi --http-scgi-temp-path=/var/lib/nginx/tmp/scgi --pid-path=/run/nginx.pid --lock-path=/run/lock/subsys/nginx --user=nginx --group=nginx --with-file-aio --with-ipv6 --with-http_ssl_module --with-http_v2_module --with-http_realip_module --with-http_addition_module --with-http_xslt_module=dynamic --with-http_image_filter_module=dynamic --with-http_geoip_module=dynamic --with-http_sub_module --with-http_dav_module --with-http_flv_module --with-http_mp4_module --with-http_gunzip_module --with-http_gzip_static_module --with-http_random_index_module --with-http_secure_link_module --with-http_degradation_module --with-http_slice_module --with-http_stub_status_module --with-http_perl_module=dynamic --with-mail=dynamic --with-mail_ssl_module --with-pcre --with-pcre-jit --with-stream=dynamic --with-stream_ssl_module --with-google_perftools_module --with-debug --with-cc-opt='-O2 -g -pipe -Wall -Wp,-D_FORTIFY_SOURCE=2 -fexceptions -fstack-protector-strong --param=ssp-buffer-size=4 -grecord-gcc-switches -specs=/usr/lib/rpm/redhat/redhat-hardened-cc1 -m64 -mtune=generic' --with-ld-opt='-Wl,-z,relro -specs=/usr/lib/rpm/redhat/redhat-hardened-ld -Wl,-E' --add-dynamic-module=/usr/local/nginx/njs-master/nginx --add-dynamic-module=/usr/local/nginx/nginx_cookie_flag_module-master --add-dynamic-module=/usr/local/nginx/headers-more-nginx-module-master
make
sudo make install
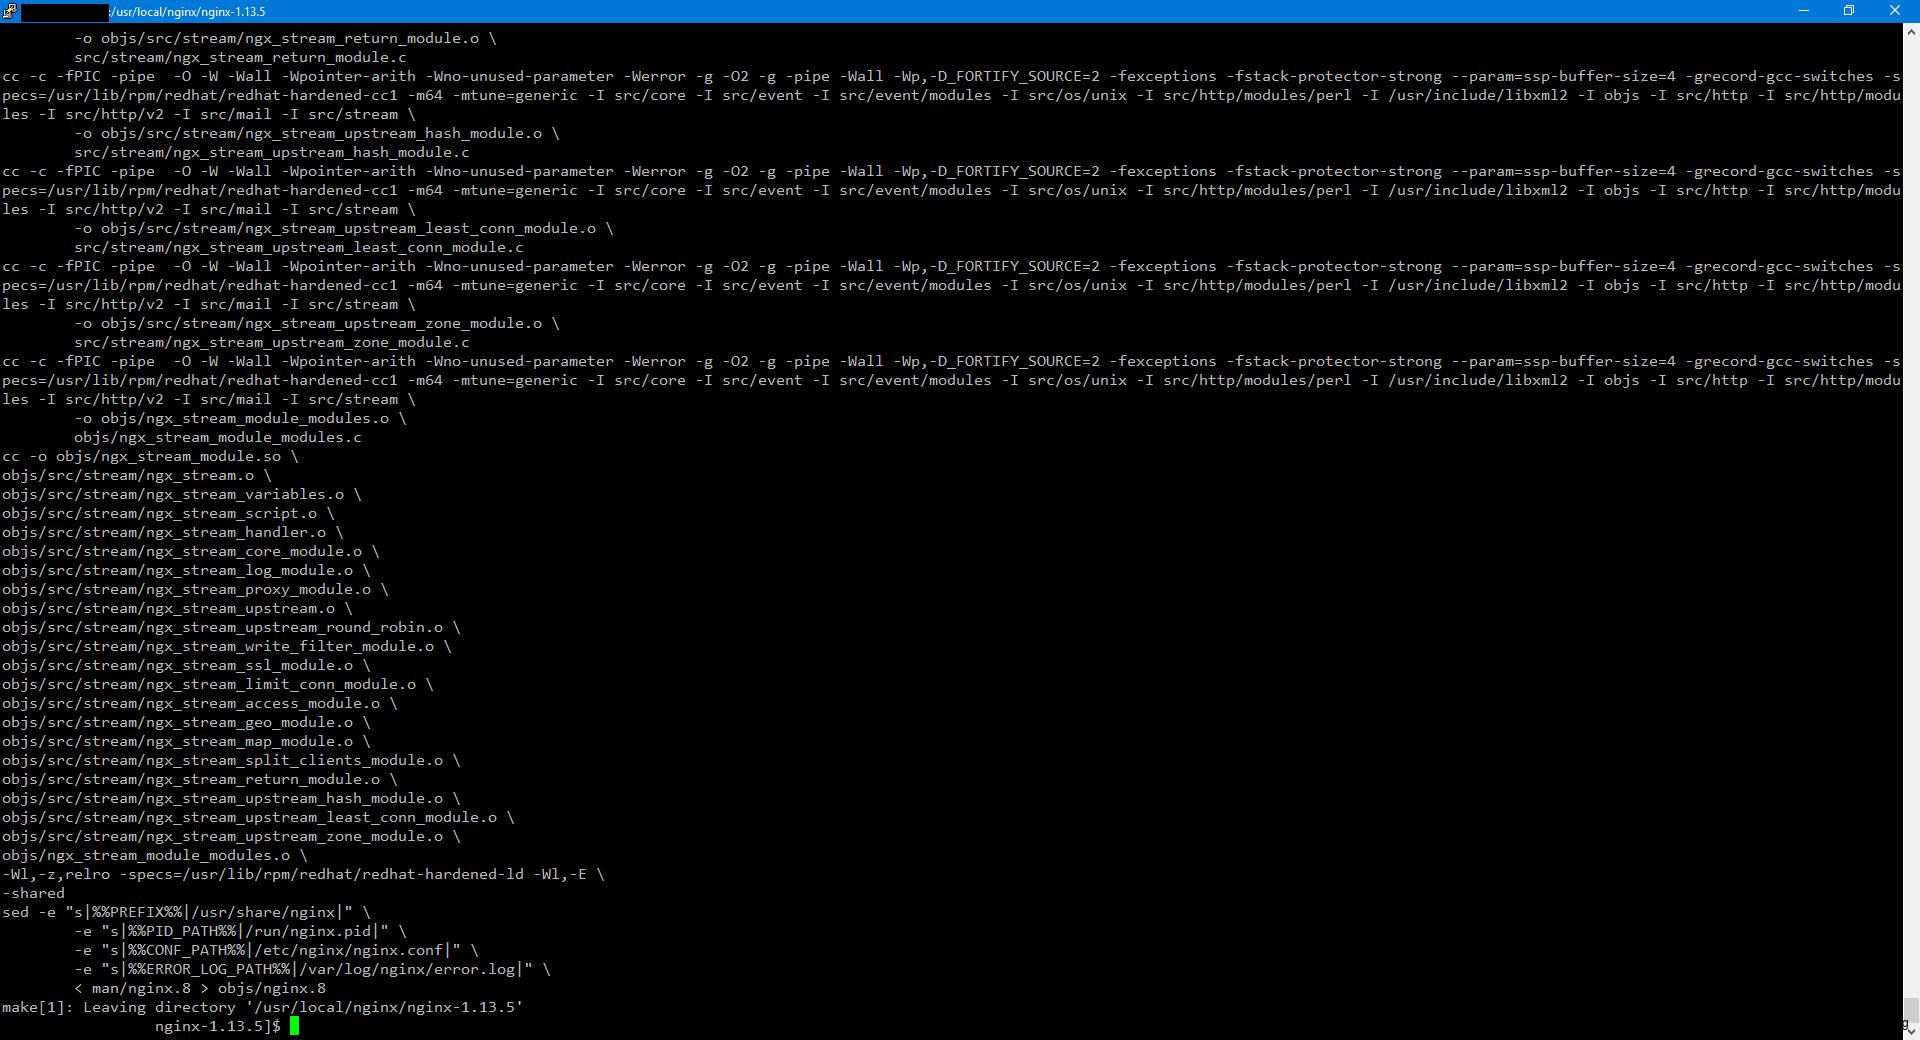
编译成功截图如下:
验证一下编译和安装结果:
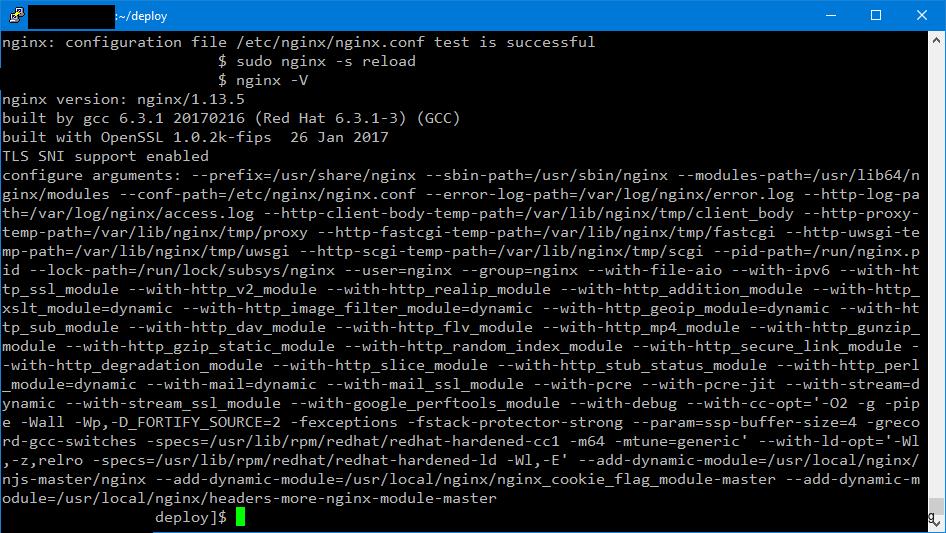
四、配置nginx
编辑nginx配置文件,在http上面插入三行load_module指令:
# load_module /usr/lib64/nginx/modules/ngx_stream_js_module.so;# 暂时用不上。
load_module /usr/lib64/nginx/modules/ngx_http_js_module.so;
load_module /usr/lib64/nginx/modules/ngx_http_cookie_flag_filter_module.so;
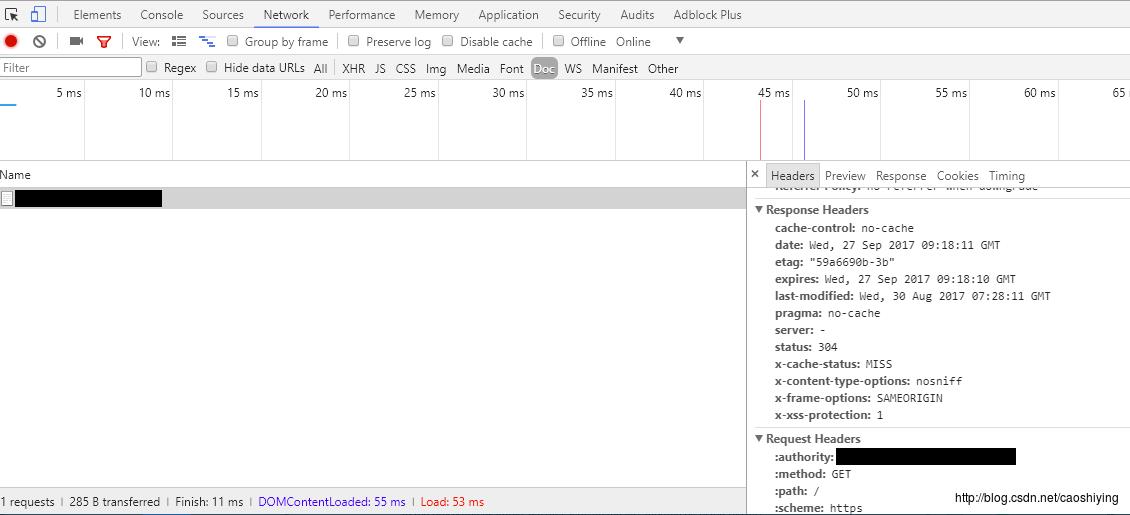
load_module /usr/lib64/nginx/modules/ngx_http_headers_more_filter_module.so;这里的配置的作用是简单隐藏server名称,把Server的值改为-。在http指令作用域内server指令作用域外加入一行指令:
more_set_headers 'Server: -';保存,运行命令:
sudo nginx -t
sudo nginx -s reload
验证一下结果,成功截图如下(Chrome Browser调试器):
以上是关于如何让nginx修改Response HTTP Header中的server的值的主要内容,如果未能解决你的问题,请参考以下文章