Android 第三方类库简单使用之EventBus
Posted
tags:
篇首语:本文由小常识网(cha138.com)小编为大家整理,主要介绍了Android 第三方类库简单使用之EventBus相关的知识,希望对你有一定的参考价值。
android 第三方类库之EventBus
1 PS
工欲善其事必先利其器. Eventbus也是一款在开发中常用的利器
这篇也对EventBus的简单介绍和使用,与之前个xutils介绍的级别一样.http://www.cnblogs.com/greentomlee/p/6025470.html
作者:修雨轩陈 @博客园
2 简介
开源项目地址:
https://github.com/greenrobot/EventBus
EventBus是一款针对Android优化的发布/订阅事件总线。主要功能是替代Intent,Handler,BroadCast在Fragment,Activity,Service,线程之间传递消息.优点是开销小,代码更优雅。以及将发送者和接收者解耦。
Eventbus 的发布订阅(publish/subscribe)
Eventbus 有如下优点:
· simplifies the communication between components
- decouples event senders and receivers
- performs well with Activities, Fragments, and background threads
- avoids complex and error-prone dependencies and life cycle issues
· makes your code simpler (对于程序员而言,可以简化代码)
· is fast (执行速度很快)
· is tiny (~50k jar) (类库的体积很小,大约只有50k)
· is proven in practice by apps with 100,000,000+ installs
· has advanced features like delivery threads, subscriber priorities, etc.
3 环境搭建三部曲
3.1 资源下载
在github中将开源类库下载到本地:
https://github.com/greenrobot/EventBus
作者提供的很详细的说明文档, 我是参考作者的文档写出的.在github主页中也有简单使用步骤.
http://greenrobot.org/eventbus/documentation/how-to-get-started/
3.2 项目环境搭建
-------------
软件环境: Android Studio2.3 Beta3
在github中下载下来的eventbus
----------------
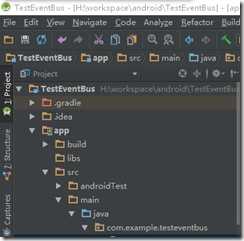
首先, 新建一个测试项目: TestEventBus
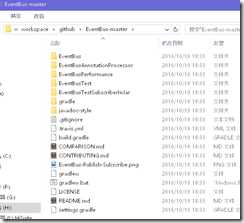
然后我们观察一下下载的eventbus的目录结构,并确定要导入的模块是哪一个
通过对目录中的结构分析,我们知道了:
在EventBus-master 下是有3个模块可以供我们导入项目里面的。 分别是:EventBus、EventBusAnnotationProcessor、EventBusPerformance。根据编程习惯我们知道:应该导入EventBus目录。
确定了导入的类库之后,
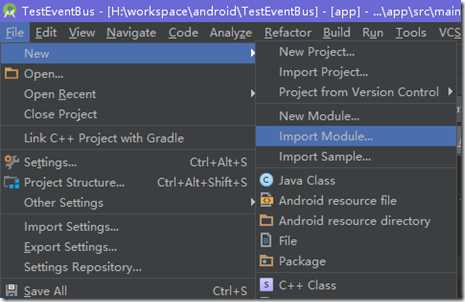
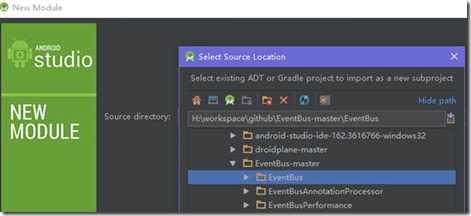
在该项目下新建导入的模块
选择‘evenbus’ 目录进行导入。
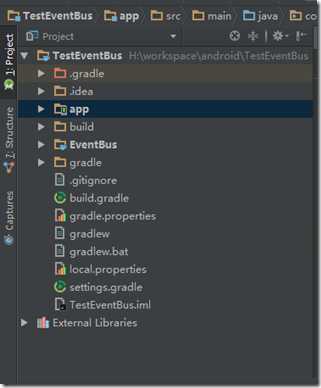
导入成功之后的结构如下:
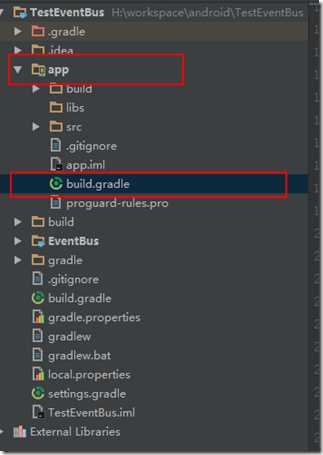
接下来就是对build.gradle进行编辑(注意build.gradle文件所在的目录)
在文件中写入这句话:
compile project(‘:EventBus‘)
(build.gradle写入的依赖类库的名字应该与导入EventBus之后的模块名称 保持一致)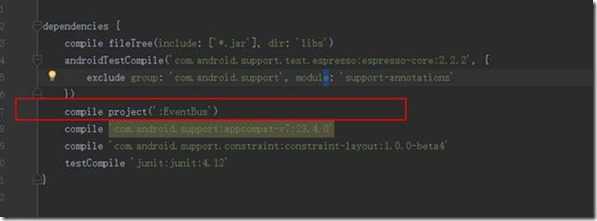
3.3 测试使用
首先描述一下我们要做什么:
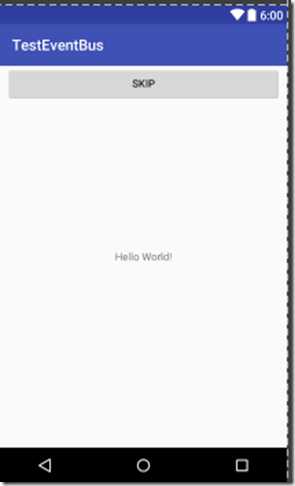
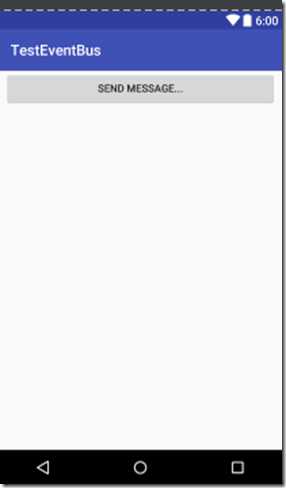
为了对比intent传递参数和Event bus 传递参数的区别,同时也为了练习使用EventBus , 我们准备了两个Activity : MainActivity 和SendMsgActivity
首先利用使用传统的消息传递的方式, 将消息从MainActivity发送到SendMsgActivity上;
然后利用Eventbus 再将新的消息从SendMsgActivity传递到MainAvtivity上。
PS 利用intent传递消息的这部分不在赘述
3.3.1 在接受消息的地方注册和注销消息
首先看MainActivity
由于需要接收来自SendMsgActivity的EvenBus消息, 所以需要新建一个实例注册eventBus,注册的动作应该写在onStart()回调函数中.
@Override

protected void onStart() {// 注册event bus
     super.onStart();
     EventBus.getDefault().register(this);

}
同时档程序销毁的时候,也需要注销:
@Override

protected void onDestroy() {// 注销eventBus
     super.onDestroy();
     EventBus.getDefault().unregister(this);

}
3.3.2 在发送消息的地方写发送方法
SendMsgAcitivty 会使用Eventbus 发送消息, 那么他就是消息发送的地方.
细心的同学发现了, 我并没有在intent里面传递参数. 而是使用了
ventBus.getDefault().post()
方法类发送消息. 关键代码如下:
sendBtn.setOnClickListener(new View.OnClickListener() {
     @Override
     public void onClick(View view) {
         EventBus.getDefault().post(new MessageEvent("来, 给你发送一个消息..."));


         Intent intent = new Intent(SendMsgActivity.this, MainActivity.class);
         startActivity(intent);


     }

});
其中 MessageEvent 是自定义个的 实体(结构体\\bean)
public class MessageEvent {
     public String msg="";
     public MessageEvent(String msg)
     {
         this.msg = msg ;
     }


     public String getMsg() {
         return msg;
     }


     public void setMsg(String msg) {
         this.msg = msg;
     }

}
3.3.3 在消息接受的地方书写接受消息的动作
消息接受的地方(MainActivity)中接收消息的方法如下:
/**
  * 处理接受消息的方法  “subscriber methods”
  * 也可以使用注释
  * @link http://greenrobot.org/eventbus/documentation/how-to-get-started/
  *
  * @param evnt
  */

@Subscribe(threadMode = ThreadMode.MAIN)

public void onEventMainThread(MessageEvent evnt)

{
     String msg = evnt.getMsg();
     //this.showMsgTv = (TextView) findViewById(R.id.tv_printer);
     //this.showMsgTv.setText(msg);
     Toast.makeText(this, msg, Toast.LENGTH_LONG).show();

}
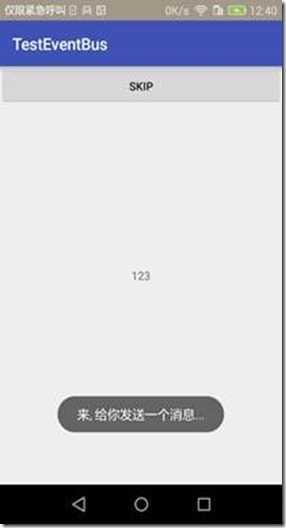
出现的效果如图下:
4 扩展阅读
EventBus & Otto的使用和比较
http://www.jianshu.com/p/cb39a0018db1
RxJava和EventBus的区别?
https://www.zhihu.com/question/32179258
http://bbs.csdn.net/topics/392007033
以上是关于Android 第三方类库简单使用之EventBus的主要内容,如果未能解决你的问题,请参考以下文章


