Mac系统 + Python + Django之搭建第一个Demo
Posted owen-et
tags:
篇首语:本文由小常识网(cha138.com)小编为大家整理,主要介绍了Mac系统 + Python + Django之搭建第一个Demo相关的知识,希望对你有一定的参考价值。
一、首先,用pip安装Django
# 安装命令
pip install django==1.10.3
安装路径为:
/Users/zhan/.pyenv/versions/3.6.1/lib/python3.6/site-packages/django
二、创建项目与应用
安装完成之后,会多出一个django-admin的文件,此文件会提供Django所有的命令。
查看django-admin文件的路径,命令:
which django-admin
django-admin路径为:
/Users/zhan/.pyenv/versions/3.6.1/bin/django-admin
输入命令,查看django命令:
# 输入
django-admin


# 如下

Type ‘django-admin help <subcommand>‘ for help on a specific subcommand.

Available subcommands:

[django]
    check
    compilemessages
    createcachetable
    dbshell
    diffsettings
    dumpdata
    flush
    inspectdb
    loaddata
    makemessages
    makemigrations
    migrate
    runserver
    sendtestemail
    shell
    showmigrations
    sqlflush
    sqlmigrate
    sqlsequencereset
    squashmigrations
    startapp
    startproject
    test
    testserver
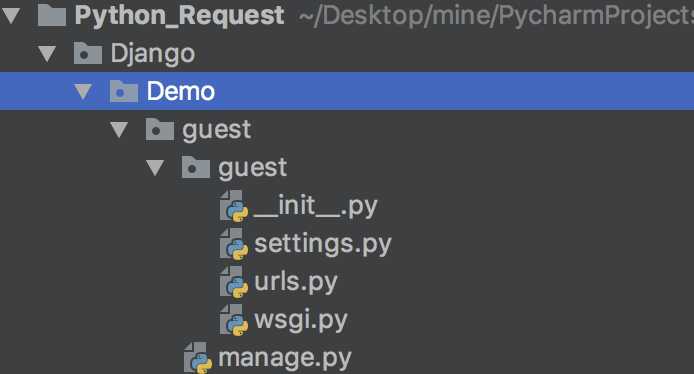
cd 到需要创建项目的目录下,并使用startproject来创建项目,命令为:
# 进入需要创建的目录下
cd xxx/xxx/Demo/

# 创建项目
django-admin startproject guest
创建后如图所示:
命令行再输入:
# 进入guest项目
cd guest

# 查看manage所提供的命令
python manage.py
Type ‘manage.py help <subcommand>‘ for help on a specific subcommand.
Available subcommands:
[auth]
changepassword
createsuperuser
[django]
check
compilemessages
createcachetable
dbshell
diffsettings
dumpdata
flush
inspectdb
loaddata
makemessages
makemigrations
migrate
sendtestemail
shell
showmigrations
sqlflush
sqlmigrate
sqlsequencereset
squashmigrations
startapp
startproject
test
testserver
[sessions]
clearsessions
[staticfiles]
collectstatic
findstatic
runserver
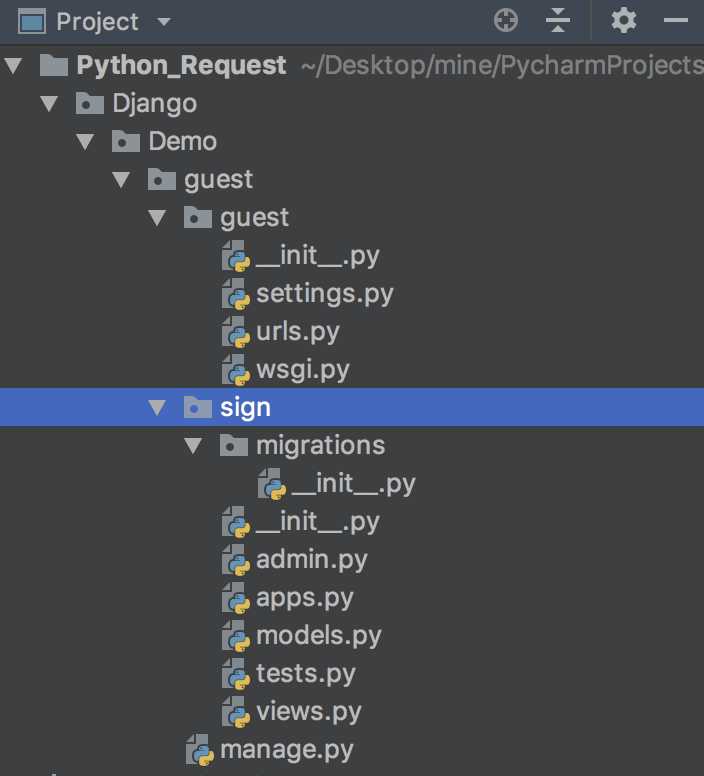
再接着创建sign应用,命令:
# 创建应用
python manage.py startapp sign
如图所示:
三、运行Django
通过输入命令:
# 运行服务
python manage.py runserver
Performing system checks...
System check identified no issues (0 silenced).
You have 13 unapplied migration(s). Your project may not work properly until you apply the migrations for app(s): admin, auth, contenttypes, sessions.
Run ‘python manage.py migrate‘ to apply them.
October 11, 2018 - 07:21:03
Django version 1.10.3, using settings ‘guest.settings‘
Starting development server at http://127.0.0.1:8000/
Quit the server with CONTROL-C.
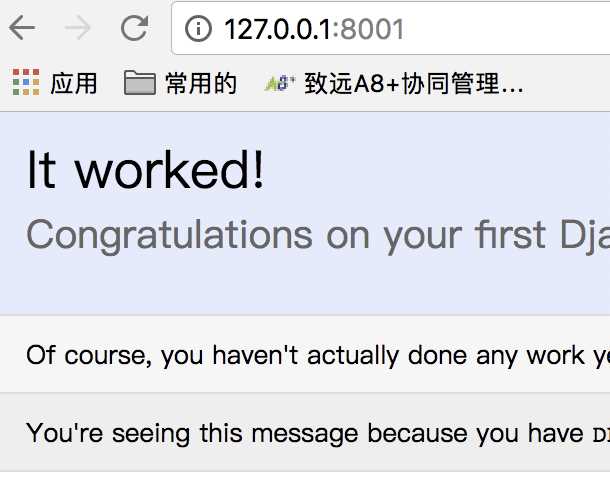
浏览器打开地址:http://127.0.0.1:8000/

说明Django已经在运行了。
如果你的8080端口被占用了,可以使用指定的端口,命令为:
python manage.py runserver 127.0.0.1:8001
如图所示:
四、Hello World
如何在web页面打印“Hello World”
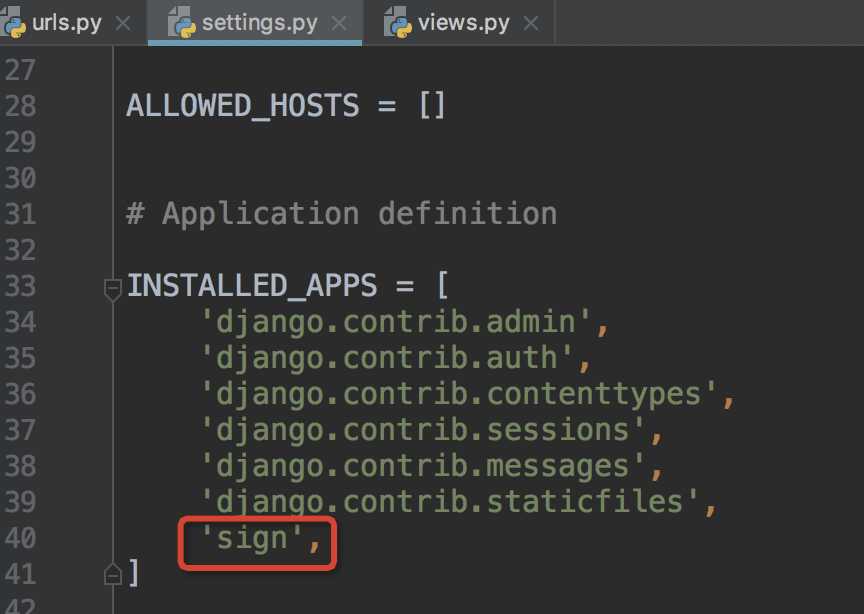
首先,需要配置一下文件guest/settings.py,将sign应用添加到项目中。
其次,打开urls.py文件,添加路径如下:
from django.conf.urls import url
from django.contrib import admin
from sign import views   # 导入sign的views文件

urlpatterns = [
    url(r‘^admin/‘, admin.site.urls),
    url(r‘^index/$‘, views.index),  # 添加index/路径配置
]
最后在views.py中添加index方法:
from django.shortcuts import render
from django.http import HttpResponse    # 引用HttpResponse类
# Create your views here.
def index(request):
  return HttpResponse("Hello World!!")
再返回到浏览器刷新页面:
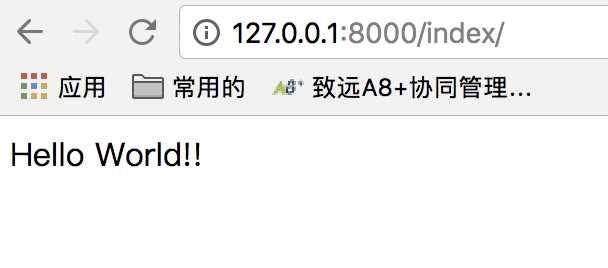
第一个Demo完成啦!
以上是关于Mac系统 + Python + Django之搭建第一个Demo的主要内容,如果未能解决你的问题,请参考以下文章